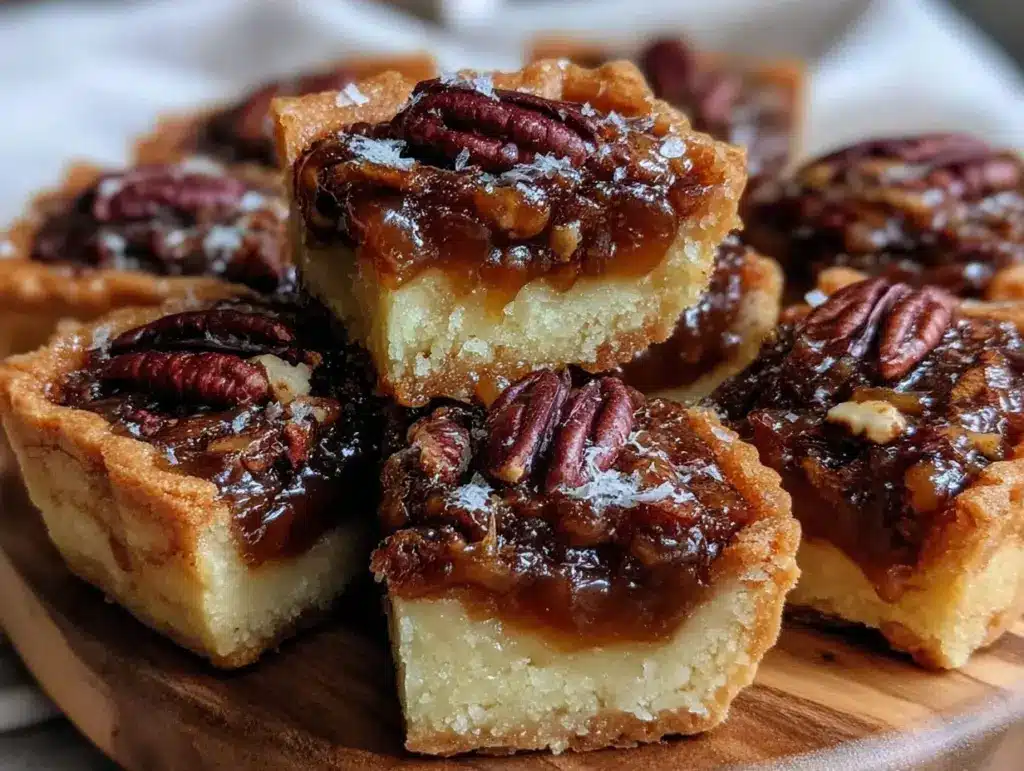
There is a specific kind of panic that sets in about an hour before Thanksgiving dinner. You’ve got the turkey in the oven, the gravy is simmering, and your family is already eyeing the dessert table like it’s a treasure map. That’s exactly where I found myself last year, staring at a half-eaten pumpkin pie and thinking, “This is fine, but it’s not *special*.” I wanted something that tasted like Canada but felt like a bakery treat—something with a crunch, a chew, and a filling so rich it makes people close their eyes.
That’s how I discovered these Canadian Thanksgiving butter tart squares. They’re my answer to the holiday dessert panic. If you’ve never had a traditional butter tart, think of it as the Canadian cousin to pecan pie, but with a deeper, more caramelized flavor and a filling that’s somewhere between a custard and a toffee. By turning it into a square with a flaky shortbread crust, I’ve managed to create a dessert that’s easier to slice, easier to serve, and honestly? Tastes better than the original.
I’ve tested this recipe through three different Thanksgivings now. The first time, I rushed the crust and it was tough. The second time, I undercooked the filling and it was runny. But the third time? Perfect. Golden, flaky, chewy, and sweet without being cloying. My uncle, who is notoriously difficult about desserts, asked for the recipe before he even finished his second bite. That’s the power of a good butter tart square.
Why You’ll Love These Butter Tart Squares
There are about ten reasons I keep making these for every holiday gathering, but here are the big ones that will win you over:
- Best of Both Worlds — You get the buttery, crumbly texture of shortbread cookies on the bottom, topped with the gooey, caramel-like filling of a traditional butter tart. It’s like having two desserts in one bite.
- Make-Ahead Magic — These actually taste better the next day. The crust softens just slightly, melding with the filling. I make them two days before Thanksgiving so I don’t have to stress on the day of.
- Easy to Serve — Square slices are so much easier to manage than wedges of pie. No sliding off plates, no messy forks. Just pick up a square and eat. I’ve served these at potlucks where guests grab them with their hands like cookies.
- Rich but Not Overwhelming — The shortbread crust cuts through the sweetness of the molasses and brown sugar. It balances everything out so you can eat three without feeling sick.
- Impressive but Simple — It looks like something from a fancy bakery, but it’s basically just mixing a few things together. No complex techniques, no tempering chocolate, no soufflés.
This is my go-to when I want to bring a dessert that feels traditional but has a modern twist. It’s comforting, it’s nostalgic, and it’s guaranteed to disappear by the end of the night.
Ingredients You’ll Need
Here’s the best part: you probably have most of these ingredients already. I’m particular about two things here—the quality of your butter and the type of molasses—but otherwise, this is straightforward pantry cooking.
For the Flaky Shortbread Crust
All-purpose flour (1 ½ cups / 190g) — Don’t try to substitute with whole wheat here. You want that tender, cookie-like crumb. If you’re gluten-free, use a 1:1 gluten-free flour blend that contains xanthan gum.
Unsalted butter (½ cup / 115g, cold and cubed) — This is crucial. The butter needs to be cold so it creates steam pockets in the oven, which makes the crust flaky. I keep a stick in the freezer for 10 minutes if I forget to take it out.
Granulated sugar (¼ cup / 50g) — Just a little bit to sweeten the crust. It helps with browning.
Salt (¼ teaspoon) — Enhances the butter flavor. Don’t skip it.
For the Butter Tart Filling
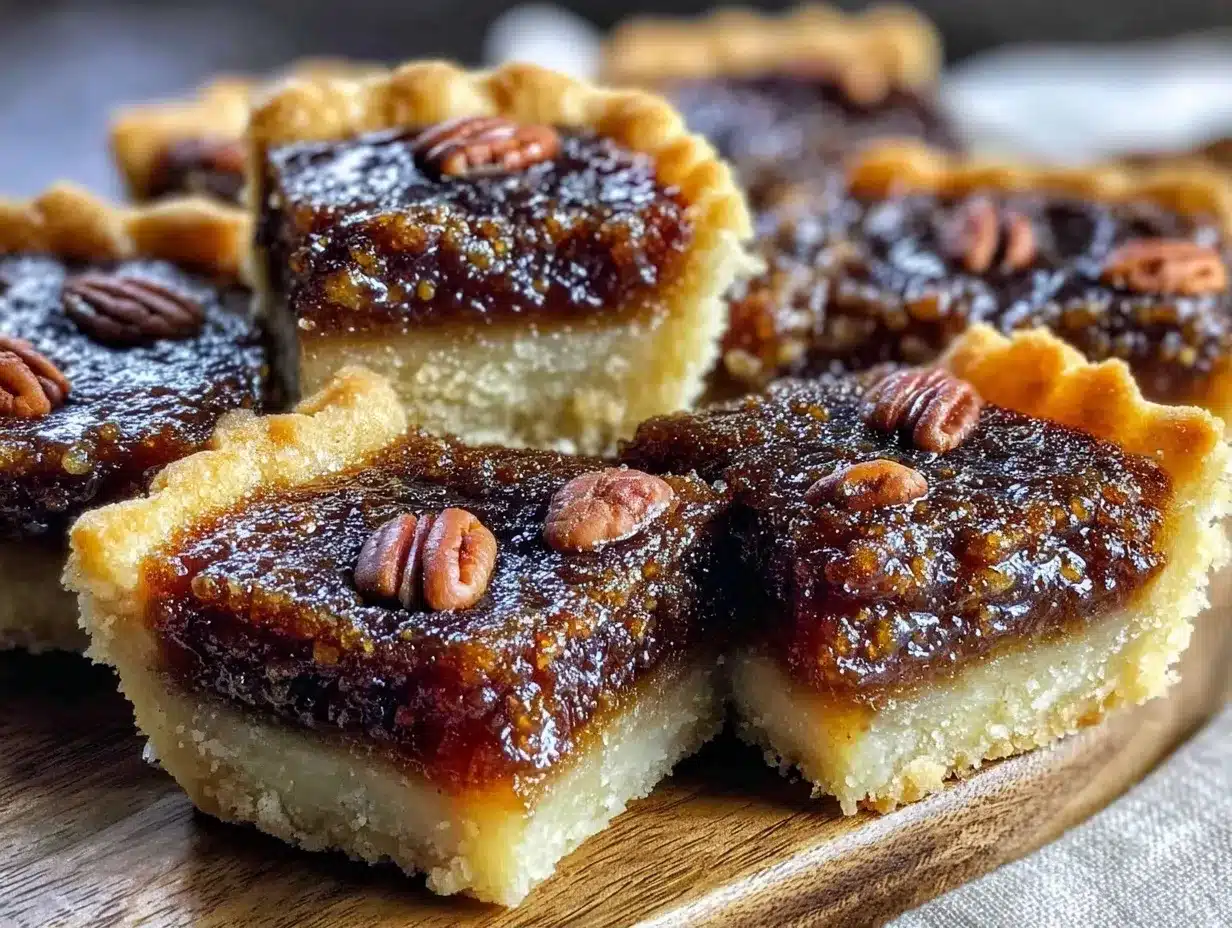
Brown sugar (1 cup / 200g, packed) — This gives the caramel depth. Dark brown sugar is better than light if you want a more molasses-forward taste.
Molasses (¼ cup / 60ml) — Use true blackstrap or robust molasses, not “sulfured” molasses if you can find it. It adds that distinct tart flavor. If you hate molasses, you can skip it, but you’ll lose the authentic taste.
Heavy cream (½ cup / 120ml) — Full fat is non-negotiable. It makes the filling creamy and rich. Half-and-half works in a pinch, but it’s thinner.
Eggs (2 large) — Room temperature eggs mix better into the filling. I take them out of the fridge while I prep the crust.
Vanilla extract (1 teaspoon) — Good quality vanilla makes a huge difference. I use pure vanilla, not imitation.
Butter (¼ cup / 55g, melted) — This goes into the filling. It adds extra richness and helps the filling set.
Optional Add-ins
Chopped pecans or raisins — Traditional butter tarts often have raisins, and modern ones often have pecans. I like a mix, but you can do either. If you’re avoiding nuts, skip them or use sunflower seeds for crunch.
Dark chocolate chips — If you’re feeling fancy, sprinkle these on top before baking. They melt into the filling and add a nice contrast.
Equipment Needed
You don’t need fancy equipment for this. Here’s what I actually use.
9×9 inch baking pan — A square pan is essential for the “square” part of the equation. A 9×9 glass or metal pan works best. I prefer glass because it browns the bottom evenly.
Food processor — This is my secret weapon for the crust. It cuts the butter into the flour quickly, keeping it cold. If you don’t have one, use a pastry cutter or your fingers, but it takes longer.
Mixing bowls — One medium bowl for the crust, one large for the filling.
Whisk — For beating the eggs and cream together smoothly.
Parchment paper — Lining the pan makes cleanup effortless. I leave an overhang on two sides so I can lift the squares out easily.
Rolling pin — Only needed if you’re rolling out the crust. I actually press mine in with my hands, but if you want it perfectly even, use a rolling pin.
How to Make It: Step-by-Step
Alright, let’s make these! I’m walking you through exactly how I do it, including the little tricks I’ve picked up.
Step 1: Prep the Crust (5 minutes)
Preheat your oven to 350°F (175°C). Line your 9×9 inch baking pan with parchment paper, leaving an overhang on two sides for easy removal. In a food processor, combine the flour, sugar, and salt. Pulse once to mix.
Step 2: Cut in the Butter (2 minutes)
Add the cold, cubed butter to the food processor. Pulse 10-15 times until the mixture looks like coarse crumbs with some pea-sized pieces of butter remaining. Don’t over-process it into a paste. Those butter chunks are what create the flakes. If you’re doing this by hand, use a pastry cutter or your fingertips to rub the butter into the flour until it resembles coarse meal.
Step 3: Press the Crust (3 minutes)
Transfer the crumb mixture to your prepared pan. Press it down firmly and evenly into the bottom and slightly up the sides. Use the bottom of a measuring cup or your fingers to pack it tight. If the crust cracks, just press it back together. Chill this in the fridge for 10 minutes while you make the filling. This prevents the crust from shrinking.
Step 4: Make the Filling (5 minutes)
In a large bowl, whisk together the brown sugar and molasses until smooth. Add the melted butter and whisk again. Add the eggs and vanilla extract. Whisk vigorously until the mixture is glossy and well combined. The key is to get rid of any lumps of brown sugar.
Step 5: Add Mix-ins (1 minute)
If you’re using pecans or raisins, fold them into the filling now. I like to use pecans for a nutty crunch, but raisins are more traditional. If you’re doing chocolate chips, hold them back for the top.
Step 6: Assemble and Bake (30-35 minutes)
Pour the filling over the chilled crust. Spread it out evenly. If you’re adding chocolate chips, sprinkle them on top now. Bake for 30-35 minutes. The edges should be bubbling and golden brown, and the center should be set but still have a slight jiggle. It will firm up as it cools.
Step 7: Cool Completely (Critical Step)
Let the squares cool in the pan on a wire rack for at least 1 hour. Do not rush this. If you cut them while they’re warm, the filling will be runny and the squares will fall apart. They need to set. I usually let them cool overnight in the fridge for the cleanest cuts.
Troubleshooting Tip: If the crust starts browning too quickly, cover the edges with foil for the last 10 minutes of baking.
Expert Tips & Tricks
Here’s everything I’ve learned from making these dozens of times. These tips will save you from my mistakes.
Keep the Butter Cold
This is the #1 rule for shortbread. If the butter melts before it hits the oven, you lose the flaky texture. I cube the butter and put it back in the fridge for 10 minutes after cutting it. If your kitchen is hot, work quickly.
Don’t Skip the Chill
Chilling the pressed crust before baking prevents it from sliding down the sides. It also helps the butter stay solid longer in the oven, creating lift. I know it’s tempting to skip it, but don’t.
Test for Doneness
The filling is tricky. It should look set around the edges but slightly jiggly in the center. If it’s completely firm in the pan, it’s overbaked and will be hard. If it’s very liquid, it’s underbaked. Aim for that slight jiggle.
Clean Cuts
Use a sharp knife to cut the squares. Wipe the knife clean between cuts for neat edges. If you’re having trouble, run the knife under hot water and dry it before each cut. The heat helps slice through the set filling cleanly.
Storage is Key
These keep best in an airtight container in the fridge for up to 5 days. They actually taste better after a day in the fridge because the flavors meld. Bring them to room temperature for 15 minutes before serving for the best texture.
Variations & Substitutions
Once you’ve nailed the basic version, here’s how you can mix it up. I’ve tried all of these.
Pecan Butter Tart Squares
Add 1 cup of chopped pecans to the filling. This is the most popular variation. The nuts add a nice crunch and complement the caramel flavor.
Raisin Butter Tart Squares
Add ½ cup of raisins. Traditionalists swear by this. I soak the raisins in hot water for 10 minutes first to plump them up, then drain them. This prevents them from drying out the filling.
Chocolate Chip Butter Tart Squares
Stir ½ cup of semi-sweet chocolate chips into the filling, or sprinkle them on top before baking. The chocolate melts into pockets of goo. It’s like a brownie-butter tart hybrid.
Gluten-Free Version
Use a 1:1 gluten-free flour blend in the crust. Make sure it contains xanthan gum. The rest of the recipe is naturally gluten-free. I’ve used Bob’s Red Mill and it works perfectly.
Dairy-Free Version
Replace the butter in the crust with cold vegan butter sticks. Use coconut oil or vegan butter in the filling. Replace the heavy cream with full-fat coconut cream. It’s rich and creamy, just with a slight coconut note.
Egg-Free Option
This is trickier because eggs provide structure. You can try using 2 tablespoons of cornstarch mixed with ¼ cup water per egg, but the texture will be more like a bar cookie than a tart. I haven’t perfected this one yet, but it’s worth experimenting with.
Serving & Storage
How to serve these squares to impress your guests.
How to Serve:
I usually serve these at room temperature. They look rustic and elegant when arranged on a platter. I like to dust them with a little powdered sugar or sea salt flakes before serving. The salt cuts the sweetness beautifully.
Pairing Ideas:
These go well with black coffee or Earl Grey tea. If you’re serving them with dessert, they’re rich enough that you don’t need much else. I often serve them alongside sweet potato pie bars for a fall-themed dessert table. The earthy sweet potato balances the sweet caramel.
Storage Instructions:
Refrigerator: Store in an airtight container for up to 5 days. They will firm up in the fridge, which is good for cutting.
Freezing: These freeze well! Bake them, cool them completely, then cut into squares. Wrap them individually in plastic wrap and store in a freezer bag for up to 3 months. Thaw in the fridge overnight.
Reheating: You don’t need to reheat these, but if you want a warm square, microwave it for 10-15 seconds. It makes the filling gooey and delicious.
Nutrition Information
I’m not a nutritionist, but here’s the breakdown if you’re tracking. Keep in mind these are rich squares, so portion control is key.
Per Square (based on 16 squares):
- Calories: 280
- Protein: 3g
- Carbs: 35g
- Fiber: 1g
- Sugar: 24g
- Fat: 15g
- Saturated Fat: 9g
- Cholesterol: 35mg
- Sodium: 120mg
What’s Good:
- It’s a satisfying treat that doesn’t require a huge portion.
- The shortbread crust adds some fat that helps with satiety.
What to Know:
- High in sugar and saturated fat due to the butter, cream, and brown sugar.
- Contains gluten and dairy.
My Take:
Look, these are butter tart squares. They’re supposed to be rich and sweet. They’re not a health food. But they’re homemade, so you know exactly what’s in them. When I make them, I cut them into smaller squares and share them with family. It’s about enjoyment, not deprivation.
Final Thoughts
So that’s my take on Canadian Thanksgiving butter tart squares! I’ve probably talked your ear off at this point, but when you make a recipe this often, you have a lot to say about it.
This has become my signature holiday dessert. It’s my answer to “what’s for dessert” when I want something that feels special but is easy to make. My family loves the crunch of the shortbread and the chew of the filling. It’s the perfect blend of textures and flavors.
Make it yours! Try different nuts, add chocolate, or skip the molasses if you prefer. The best recipes are the ones you adapt to your family’s tastes. If you make this, drop a comment and let me know what you think! I love hearing how recipes turn out in your kitchen.
Happy baking! And I hope your kitchen smells like caramel and butter all day long.
Frequently Asked Questions
Can I use light brown sugar instead of dark?
Yes, but the flavor will be milder. Dark brown sugar has more molasses, which gives that deep, robust tart flavor. If you only have light, it’s fine, but you might want to add an extra tablespoon of molasses to compensate.
Why is my filling runny?
Usually, this means it wasn’t baked long enough. The filling should be set around the edges and slightly jiggly in the center. It will firm up as it cools. If it’s still runny after cooling, it might be because your oven runs hot and the eggs didn’t set properly. Next time, bake for 5 more minutes.
Can I make the crust ahead of time?
Yes! You can press the crust into the pan, wrap it tightly in plastic wrap, and refrigerate for up to 2 days. Or freeze it for up to a month. Just let it thaw in the fridge before adding the filling.
Do I need to use a food processor?
No, but it makes the crust easier. If you’re doing it by hand, use a pastry cutter or two forks to cut the butter into the flour. It takes a bit more effort, but the result is the same.
Can I double this recipe?
Absolutely! Double everything and use a 9×13 inch baking pan. The baking time might increase by 5-10 minutes. Keep an eye on the edges to make sure they don’t burn.
What if I don’t like raisins?
Then don’t add them! Many people prefer pecans or no add-ins at all. This recipe is very flexible. The base filling is delicious on its own.
Can I freeze the finished squares?
Yes, they freeze beautifully. Cool them completely, cut them into squares, wrap them individually, and store in a freezer bag. They’ll last for up to 3 months. Thaw in the fridge overnight.
Pin This Recipe!
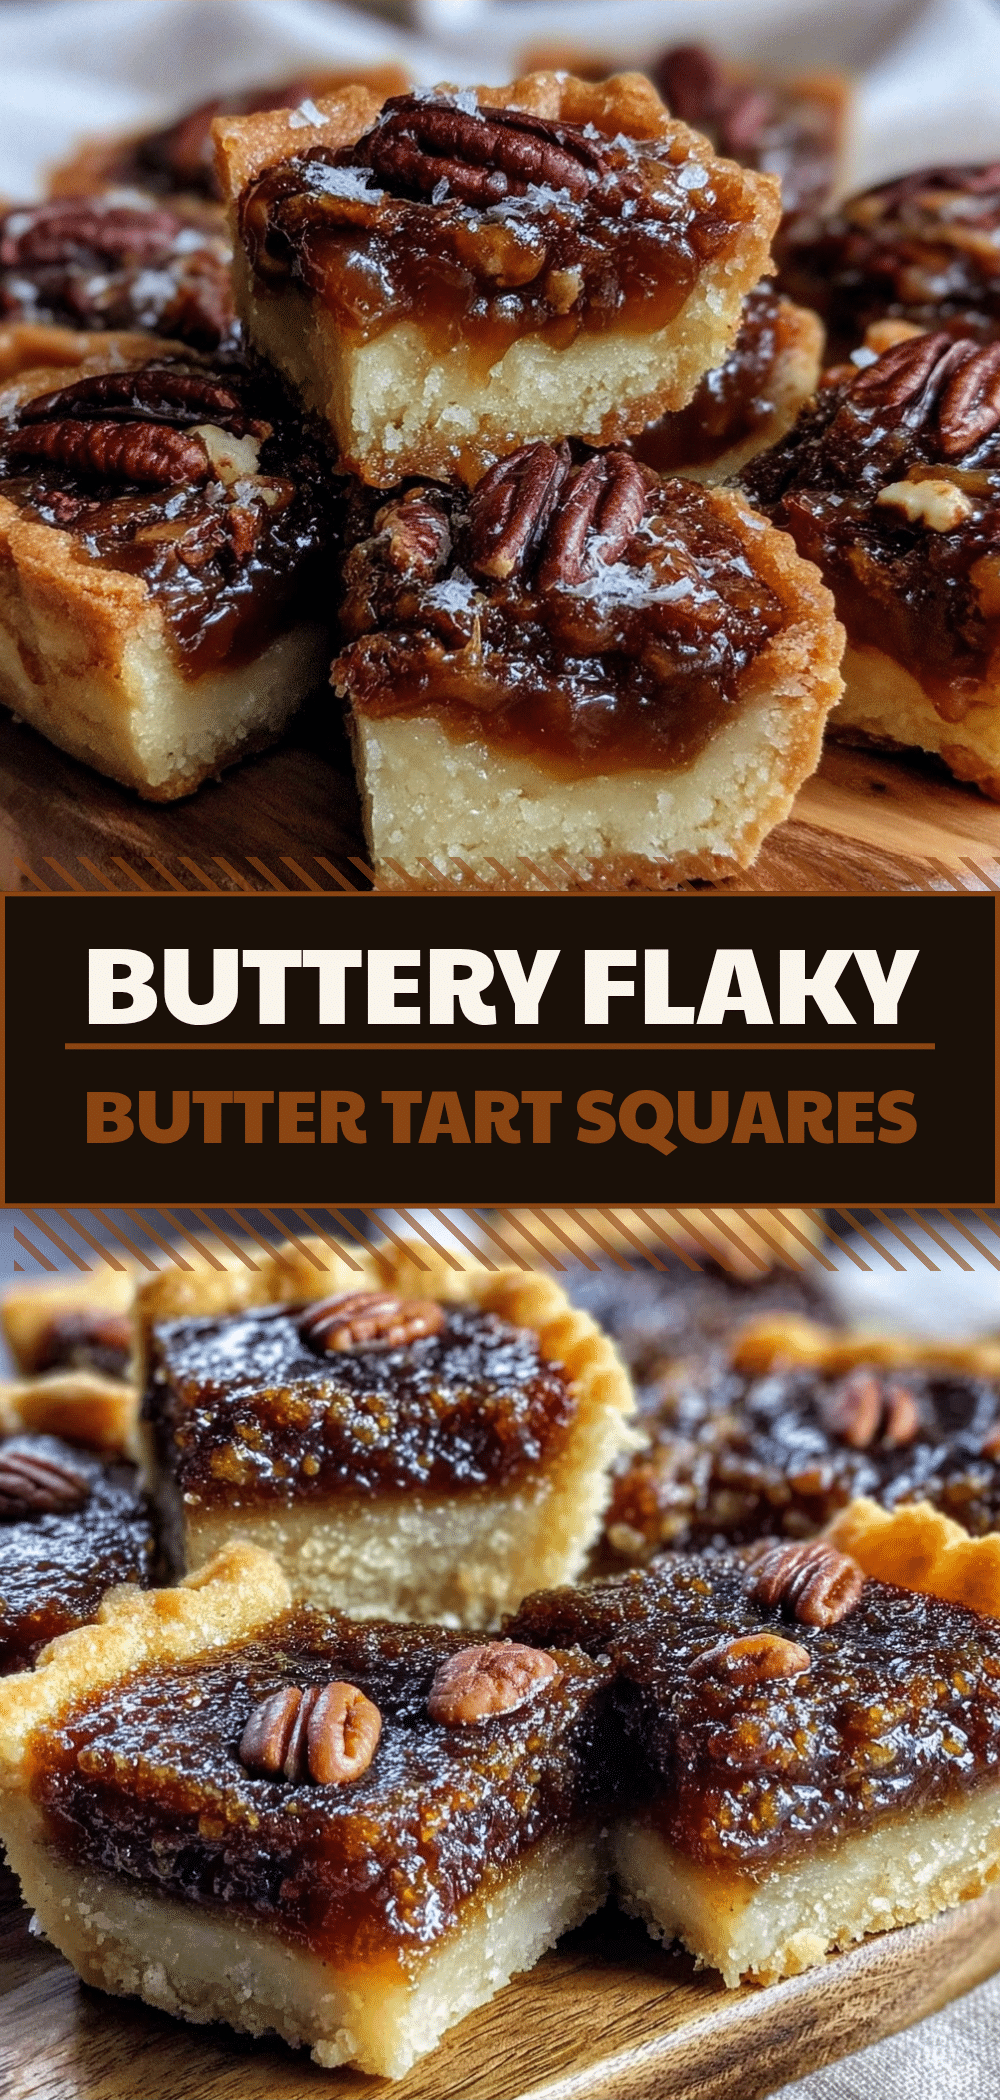
Perfect Butter Tart Squares: Easy Canadian Thanksgiving Recipe
- Total Time: 45-50 minutes
- Yield: 16 servings 1x
Description
A rich, caramel-like dessert featuring a flaky shortbread crust topped with a gooey butter tart filling. These squares are easier to serve than traditional pies and taste even better the next day.
Ingredients
- 1 ½ cups all-purpose flour
- ½ cup unsalted butter, cold and cubed
- ¼ cup granulated sugar
- ¼ teaspoon salt
- 1 cup packed brown sugar
- ¼ cup molasses
- ½ cup heavy cream
- 2 large eggs, room temperature
- 1 teaspoon vanilla extract
- ¼ cup butter, melted
- Optional: 1 cup chopped pecans or ½ cup raisins
- Optional: ½ cup dark chocolate chips
Instructions
- Preheat oven to 350°F (175°C). Line a 9×9 inch baking pan with parchment paper, leaving an overhang on two sides.
- In a food processor, pulse flour, granulated sugar, and salt to mix.
- Add cold cubed butter and pulse 10-15 times until the mixture resembles coarse crumbs with pea-sized butter pieces.
- Transfer crust mixture to the prepared pan and press firmly into the bottom and slightly up the sides. Chill in the fridge for 10 minutes.
- In a large bowl, whisk brown sugar and molasses until smooth. Whisk in melted butter, then add eggs and vanilla extract, whisking vigorously until glossy and lump-free.
- Fold in optional mix-ins like pecans or raisins if using.
- Pour filling over the chilled crust and spread evenly. Sprinkle chocolate chips on top if using.
- Bake for 30-35 minutes until edges are bubbling and golden, and the center is set but has a slight jiggle.
- Cool completely in the pan on a wire rack for at least 1 hour (or overnight in the fridge) to allow the filling to set before cutting.
Notes
Keep butter cold for a flaky crust. Chill the pressed crust before baking to prevent shrinking. The filling must cool completely to set properly. Store in an airtight container in the fridge for up to 5 days. Can be frozen for up to 3 months.
- Prep Time: 15 minutes
- Cook Time: 30-35 minutes
- Category: Dessert
- Cuisine: Canadian
Nutrition
- Serving Size: 1 square
- Calories: 280
- Sugar: 24
- Sodium: 120
- Fat: 15
- Saturated Fat: 9
- Carbohydrates: 35
- Fiber: 1
- Protein: 3
Keywords: butter tart squares, canadian thanksgiving dessert, shortbread crust, caramel dessert, holiday baking, make-ahead dessert



