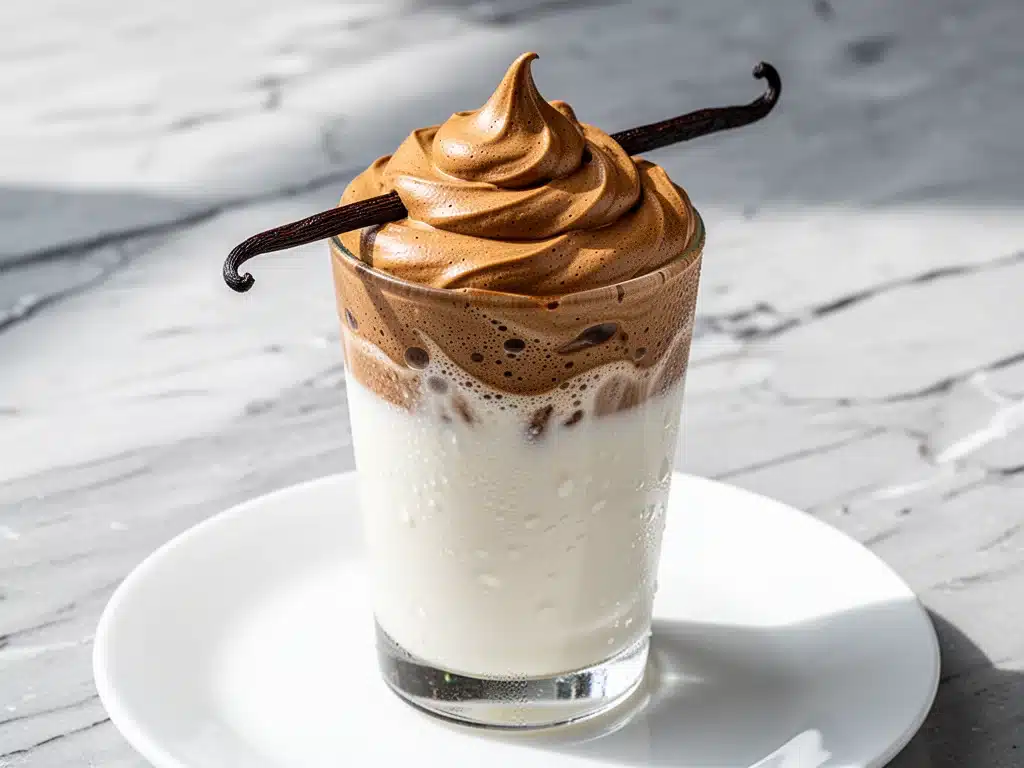
Last winter, I was stuck in that specific kind of pandemic-era lockdown boredom where I decided to learn how to bake sourdough, then immediately got distracted by a TikTok video of someone whipping coffee grounds into a fluffy cloud. You know the one. The one where they pour cold milk over the brown foam and it looks like a dessert from a high-end café, but the caption says it’s just instant coffee, sugar, and water.
I laughed. Then I bought instant coffee. Then I made a mess.
Here’s the honest truth: my first attempt at whipped coffee was a disaster. I used too much sugar and not enough hot water, and the result was a gritty, sweet sludge that tasted like burnt caramel syrup. My husband took one sip, made that face people make when they’re being polite but internally judging your life choices, and asked if we could order takeout instead. It stung. But it also motivated me. Because I’ve spent years perfecting everything from honey garlic glazed meatloaf to delicate desserts, I refused to let a cup of coffee defeat me.
I spent the next three weeks testing ratios. I tried different brands of instant coffee. I experimented with cold vs. hot water. I even tried adding vanilla extract to the foam itself (spoiler: it gets weird). Eventually, I cracked the code. The secret isn’t just the whipping—it’s the texture. You want clouds, not meringue. You want something that melts into the milk, not sits on top like a sad hat.
Now, this whipped dalgona coffee with cold vanilla milk is my go-to afternoon pick-me-up. It’s perfect for busy weeknights when I need a mental break but don’t have time to drive to a café. It’s also surprisingly easy to make ahead, which is a game-changer when you’re rushing to get dinner on the table. And yes, it tastes better than the $7 version from the coffee shop. Let’s get into how to make it without the stress.
Why You’ll Love This Recipe
I know what you’re thinking. “Isn’t this just sweetened coffee foam?” And sure, on paper, it sounds simple. But the reality is that this drink has completely changed my after-school routine. Here’s why I keep coming back to it:
It Takes Five Minutes — Seriously. If you can whisk, you can make this. I’ve timed it. From grabbing the jar to pouring the milk, it’s 5 minutes flat. I make this while my kids are doing homework or while I’m waiting for the kettle to boil for pasta. It’s the ultimate multitasker.
It’s Surprisingly Satisfying — There’s something deeply therapeutic about watching the coffee transform from a dark liquid to a light, airy mousse. It’s like edible play-doh, but delicious. The texture is what keeps me coming back. It’s not just coffee; it’s an experience.
It’s Budget-Friendly — You probably already have instant coffee in your pantry. I keep a cheap jar of Maxwell House or Nescafé specifically for this. Compared to buying a latte every day, this costs pennies per serving. It’s a luxury treat that doesn’t break the bank.
It’s Customizable — Want it sweeter? Add more sugar. Want it less caffeinated? Use decaf instant coffee. Want to make it a dessert drink? Add a splash of vanilla syrup to the milk. I’ve even used this method to make pumpkin spice tiramisu vibes in a cup by adding pumpkin spice to the foam. The possibilities are endless.
It’s a Mood Booster — I don’t care what anyone says. Making something beautiful and frothy in your kitchen makes a stressful weeknight feel a little more special. It’s a small ritual that says, “I deserve a break.”
This isn’t just a drink. It’s a pause button. And in our busy lives, that’s worth more than the caffeine.
Ingredients You’ll Need
Here’s the best part: you don’t need a fancy espresso machine or a dozen exotic ingredients. This recipe relies on pantry staples. Here’s what you need to make the perfect whipped dalgona coffee with cold vanilla milk.
For the Whipped Coffee Foam
Instant Coffee (2 tablespoons / 12g) — This is the most critical ingredient. Do not use brewed coffee. Do not use ground coffee beans. It must be instant coffee. I prefer granulated instant coffee over powder because it dissolves faster and creates a lighter texture. If you’re sensitive to caffeine, use decaf instant coffee. I’ve tried both, and the flavor difference is negligible once it’s mixed with milk.
White Sugar (2 tablespoons / 25g) — Yes, equal parts coffee and sugar. The sugar isn’t just for sweetness; it helps stabilize the foam and gives it that glossy, meringue-like shine. If you’re watching your sugar intake, you can reduce it to 1 tablespoon, but the texture won’t be quite as fluffy. I’m not here to judge—I’m here to help you make the best version of this for your body.
Hot Water (2 tablespoons / 30ml) — Just enough to dissolve the coffee and sugar. Don’t use boiling water if you can help it, as it can scorch the coffee slightly. Hot tap water works fine if you’re in a rush. The key is that it needs to be hot enough to dissolve the crystals completely.
For the Cold Vanilla Milk Base
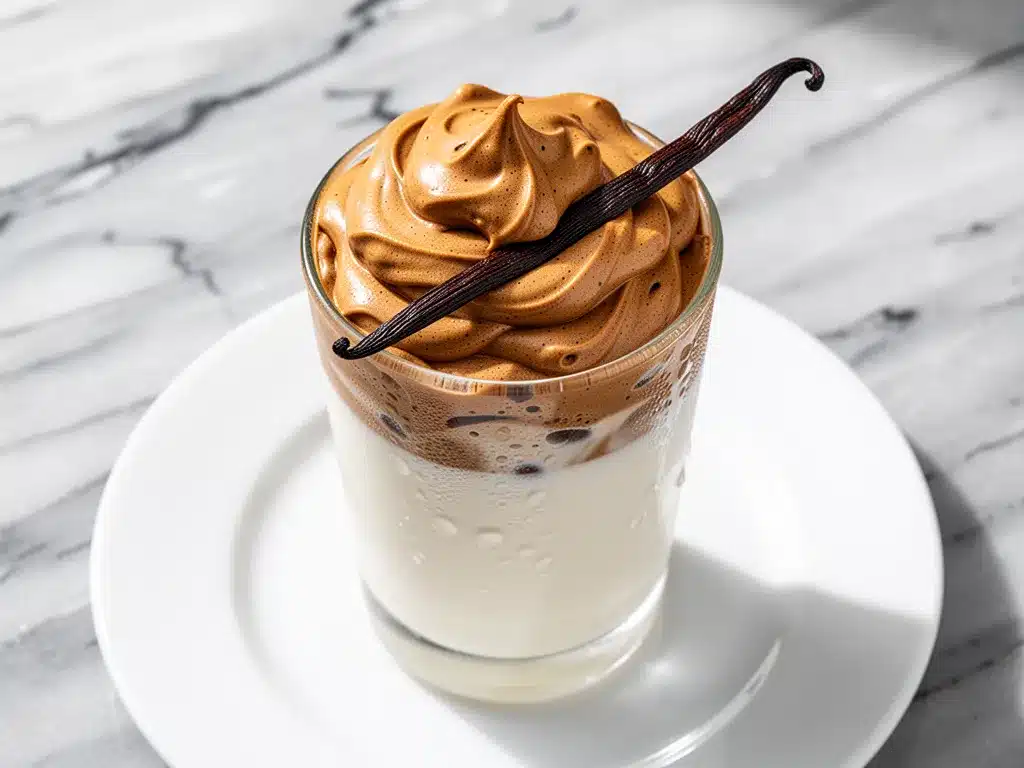
Cold Milk (1 cup / 240ml) — You can use whatever milk you prefer. Whole milk makes the richest, creamiest drink. Oat milk is my personal favorite for plant-based because it’s naturally sweet and froths well. Almond milk works too, but it’s thinner. I usually keep a carton of organic whole milk in the fridge specifically for this.
Vanilla Extract (½ teaspoon) — Pure vanilla extract, not imitation. Just a splash adds a subtle sweetness that complements the coffee beautifully. If you have vanilla syrup, use that instead for a sweeter, more dessert-like drink. I keep a bottle of vanilla extract in my spice rack, right next to my small batch vanilla bean birthday cake ingredients, because I use it for everything.
Ice Cubes (Optional) — If you like your drink extra cold, add a few ice cubes to the glass before pouring the milk. It helps keep the foam distinct from the milk for longer.
Whipped Cream (Optional) — I sometimes top the finished drink with a dollop of whipped cream and a sprinkle of cocoa powder. It’s not necessary, but it makes it feel like a special occasion. I do this when I have guests over.
Equipment Needed
You don’t need fancy equipment for this. Here’s what I actually use, and what you can substitute if you don’t have it.
A Whisk or Electric Mixer — This is the only non-negotiable tool. You need to whip the coffee mixture until it doubles or triples in volume. A small hand whisk works, but it takes about 3-5 minutes of arm workout. An electric hand mixer makes it effortless in 1-2 minutes. I used to use a whisk until my arm gave out, then I bought a cheap hand mixer from Target. Best $15 I ever spent.
A Small Bowl — Any small mixing bowl works. I use a ceramic ramekin or a small glass bowl. Just make sure it’s wide enough for the whisk to move freely.
A Tall Glass — You need a glass that’s tall enough to hold the milk and the foam separately. I like using a mason jar or a highball glass. It looks pretty and makes it easy to see the layers.
A Spoon — For stirring the milk and vanilla. And for scooping the foam if you want to add it in dollops.
A Measuring Spoon — For the coffee, sugar, and water. Accuracy matters here, especially for the sugar-to-coffee ratio.
How to Make It: Step-by-Step
Alright, let’s make this! I’m walking you through exactly how I do it, including the little tricks I’ve picked up so you don’t end up with a gritty mess like I did.
Step 1: Prep Your Coffee Mixture (2 minutes)
In your small bowl, add the instant coffee and white sugar. Stir them together briefly to combine. Then, pour in the hot water. Stir once or twice just to dissolve the granules. You don’t need to mix it perfectly yet; you just need it to be a liquid. If there are still visible sugar crystals, give it a few more seconds. This step ensures your foam won’t be gritty.
Step 2: Whip the Coffee (2-4 minutes)
Now for the fun part. Grab your whisk or electric mixer. Start beating the coffee mixture vigorously. If you’re using a hand whisk, use an upward motion, like you’re trying to lift the bowl off the counter. If you’re using an electric mixer, start on medium speed and let it do the work.
Watch the color change. It will start dark brown, then lighten to a caramel color, and finally turn into a light, golden-brown mousse. The volume should double or triple. This is the key indicator. If it’s still liquid, keep whipping. If it’s stiff and holds its shape when you lift the whisk, you’re done. This usually takes 2-4 minutes with an electric mixer, or 5-7 minutes with a hand whisk.
Step 3: Prepare the Milk
While the coffee is whipping, fill your tall glass with cold milk. If you’re using vanilla syrup, stir it into the milk now. If you’re using vanilla extract, add it now. If you want ice cubes, add them now. Keep the milk cold so the foam stays distinct when you add it.
Step 4: Assemble the Drink
There are two ways to do this. The classic way is to spoon the whipped coffee foam gently on top of the cold milk. Use a large spoon and let it float. Don’t stir it in yet! You want to see those beautiful layers.
The alternative way, which I sometimes do when I’m in a hurry, is to stir the foam into the milk immediately. This makes a sweet, creamy coffee drink without the layering effect. But for the full dalgona experience, keep it layered.
Step 5: Serve Immediately
Drink it while the foam is still fluffy. If you wait too long, the foam will start to dissolve into the milk, which is fine, but it’s not the same experience. Take a sip of the foam first, then stir and sip the milk. Enjoy!
Expert Tips & Tricks
Here’s everything I’ve learned from making this dozens of times. These tips will save you from my mistakes.
Don’t Rush the Whipping — The texture is everything. If you stop too early, the foam will be thin and watery. Wait until it’s stiff. It should hold peaks when you lift the whisk. If it droops, keep going.
Use Cold Milk — Warm milk will melt the foam faster. Keep your milk in the fridge until the last second. If you’re making this for a group, keep the milk in the fridge and assemble each cup individually.
Adjust the Sweetness — If you find the 2:2 ratio too sweet, try 2:1 (coffee to sugar). If you like it sweeter, try 2:3. I like it balanced, but taste is subjective. Start with 2:2 and adjust next time.
Add Flavor Variations — Try adding a pinch of cinnamon or nutmeg to the coffee mixture for a cozy twist. Or add a drop of almond extract for a different flavor profile. I’ve even added a teaspoon of cocoa powder to make a mocha version.
Make Ahead Strategy — You can whip the coffee foam up to 2 hours ahead and store it in the fridge in an airtight container. Just give it a gentle stir before using, as it might deflate slightly. This is great for meal prep if you want a quick drink in the morning.
Variations & Substitutions
Once you’ve nailed the basic version, here’s how you can mix it up. I’ve tried all of these.
Mocha Dalgona — Add 1 teaspoon of cocoa powder to the coffee mixture before whipping. It adds a chocolatey depth that pairs well with the vanilla milk.
Caramel Dalgona — Stir 1 tablespoon of caramel syrup into the milk. It adds a rich, buttery sweetness that’s perfect for dessert.
Matcha Dalgona — Swap the instant coffee for 1 tablespoon of matcha powder. Use hot water to dissolve it, then whip with sugar. The green color is stunning against the white milk.
Coconut Dalgona — Use coconut milk instead of dairy milk. It adds a tropical flavor that works surprisingly well with the coffee foam.
Decaf Version — Use decaf instant coffee. The process is the same, and you get the same texture. Perfect for evenings when you don’t want caffeine.
Serving & Storage
How to Serve: I usually serve this straight from the glass at the counter. It looks rustic and stays cold. But here are other ways I’ve enjoyed it:
Toppings: I sometimes add a dollop of whipped cream and a sprinkle of cocoa powder or cinnamon. It makes it feel like a dessert. I also like to add a few chocolate chips on top for crunch.
Storage: The whipped coffee foam can be stored in the fridge for up to 2 hours. After that, it starts to deflate and lose its texture. The milk should be used fresh. Do not store the assembled drink in the fridge, as the foam will dissolve.
Reheating: This is a cold drink, so reheating isn’t necessary. But if you want a hot version, you can steep the coffee foam in hot milk instead of using cold milk. It’s less dramatic but still delicious.
Nutrition Information
I’m not a nutritionist, but here’s the breakdown if you’re tracking. This is per serving (1 cup of milk with 2 tbsp coffee foam).
Calories: 120
Protein: 4g
Carbs: 18g
Sugar: 16g
Fat: 3g
Caffeine: ~60mg (varies by coffee brand)
What’s Good: It’s a light drink with minimal calories compared to a fancy coffee shop drink. The caffeine gives you a boost without the crash of energy drinks.
What to Know: The sugar content is moderate. If you’re watching your sugar intake, reduce the sugar in the foam or use a sugar substitute. The caffeine content is similar to a cup of brewed coffee.
My Take: Look, this is a treat. It’s not health food. But it’s better than a sugary latte, and it’s satisfying. When I want to make it lighter, I use unsweetened almond milk and reduce the sugar to 1 tablespoon. But usually? I just enjoy it as is.
Final Thoughts
So that’s my whipped dalgona coffee with cold vanilla milk! I’ve probably talked your ear off at this point, but when you make a recipe this often, you have a lot to say about it.
This has saved my afternoons more times than I can count. It’s my answer to “I need a break” when I’m tired, don’t want to leave the house, and still want something that tastes really good. My kids are happy, my husband’s happy (eventually), and I’m happy because I’m not stressed about making something fancy.
Make it yours! Try different milks, add different extracts, adjust the sweetness. The best recipes are the ones you adapt to your tastes.
If you make this, drop a comment and let me know what you think! I love hearing how recipes turn out in your kitchen. And if something doesn’t work, tell me that too—I’m here to help troubleshoot.
Happy sipping! And I hope your kitchen smells half as good as mine does right now.
Frequently Asked Questions
Q: Can I use ground coffee instead of instant coffee?
A: No. Instant coffee is essential because it dissolves completely and whips up into a foam. Ground coffee won’t dissolve and will make your drink gritty and bitter. If you don’t have instant coffee, you can try using cold brew concentrate, but the texture won’t be the same.
Q: Why is my foam not stiff?
A: You probably didn’t whip it long enough. Keep going until it doubles in volume and holds peaks. Also, make sure your bowl and whisk are clean and dry. Any oil or moisture can prevent the foam from forming.
Q: Can I make this with hot milk?
A: Yes, but it’s called “hot dalgona” and it’s less common. The foam will melt faster into the hot milk. It’s still delicious, but the visual appeal is lost. For the classic experience, use cold milk.
Q: How long does the foam last?
A: The foam is best fresh. It will start to deflate after 30 minutes. If you need to make it ahead, whip it 2 hours before and store it in the fridge in an airtight container. Give it a gentle stir before using.
Q: Can I use artificial sweetener?
A: You can, but it won’t whip up the same way. Sugar helps stabilize the foam. If you use a liquid sweetener like stevia, you may need to add a thickener like xanthan gum, but that’s complicated. I recommend sticking with sugar or honey for the best texture.
Q: Is this recipe vegan?
A: The coffee foam is naturally vegan. Just use a plant-based milk like oat, almond, or coconut milk for the base. It’s a great vegan-friendly drink!
Q: Can I double this recipe?
A: Absolutely! Just use a larger bowl and whip the mixture in batches if your mixer is small. The ratio stays the same: 2 parts coffee, 2 parts sugar, 2 parts hot water.
Pin This Recipe!
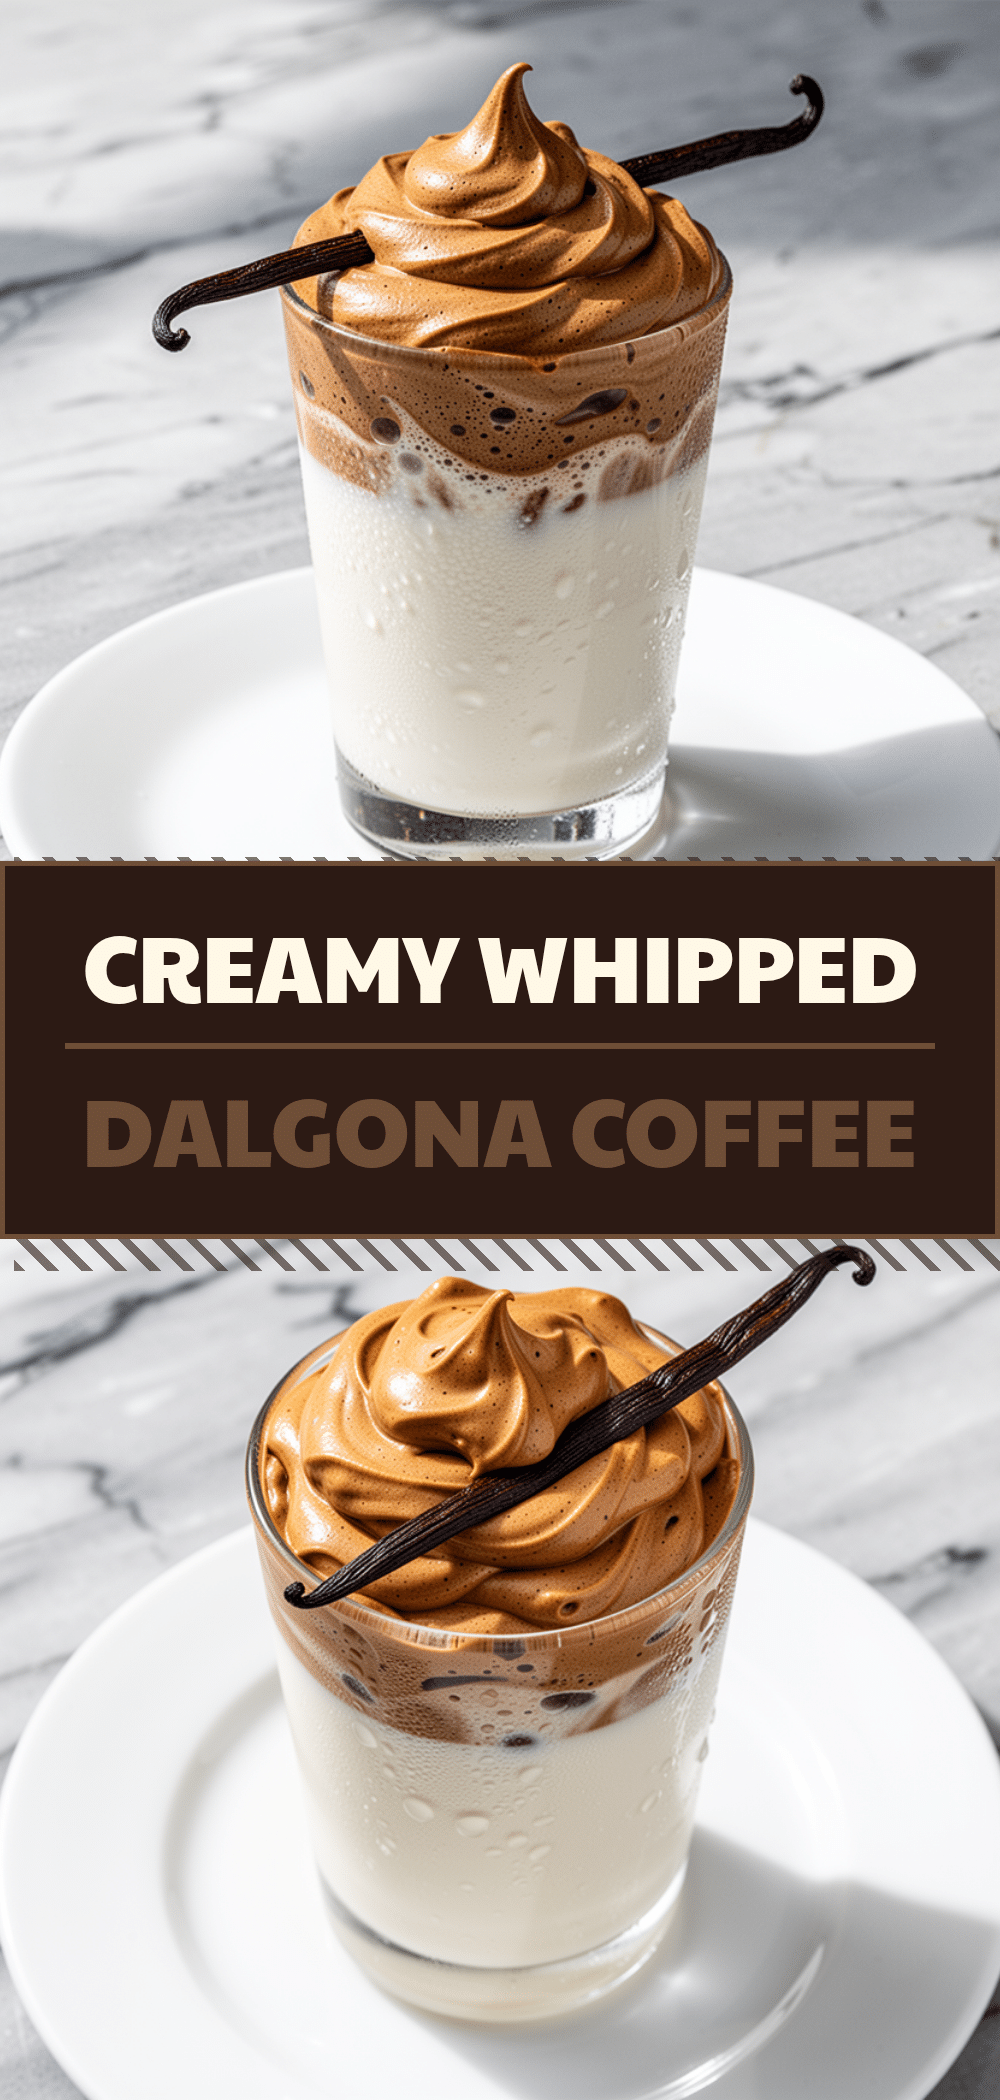

Whipped Dalgona Coffee: Easy 5-Minute Cold Vanilla Drink
- Total Time: 5 minutes
- Yield: 1 serving 1x
Description
A viral TikTok-inspired drink featuring fluffy, whipped instant coffee foam served over cold vanilla milk. It’s a budget-friendly, customizable treat that takes just five minutes to make.
Ingredients
- 2 tablespoons instant coffee (granulated preferred)
- 2 tablespoons white sugar
- 2 tablespoons hot water
- 1 cup cold milk (dairy or plant-based like oat or almond)
- 1/2 teaspoon vanilla extract
- Ice cubes (optional)
- Whipped cream (optional, for topping)
- Cocoa powder or cinnamon (optional, for topping)
Instructions
- In a small bowl, combine instant coffee and white sugar. Stir briefly to combine.
- Pour in hot water and stir until the granules are fully dissolved into a liquid.
- Using a hand whisk or electric mixer, whip the coffee mixture vigorously until it doubles or triples in volume, turns light golden-brown, and forms stiff peaks (2-4 minutes with electric mixer, 5-7 minutes with hand whisk).
- While whipping, fill a tall glass with cold milk and stir in vanilla extract.
- Add ice cubes to the glass if desired.
- Spoon the whipped coffee foam gently on top of the cold milk to create layers, or stir it in for a mixed drink.
- Serve immediately while the foam is still fluffy.
Notes
Do not use brewed or ground coffee; instant coffee is essential for the foam texture. Ensure the bowl and whisk are clean and dry for best whipping results. The foam can be made ahead and stored in the fridge for up to 2 hours, but the drink is best served immediately. Adjust sugar to taste, though reducing it may affect the foam’s stability.
- Prep Time: 5 minutes
- Cook Time: 0 minutes
- Category: Beverage
- Cuisine: Korean-inspired
Nutrition
- Serving Size: 1 tall glass
- Calories: 120
- Sugar: 16
- Sodium: 45
- Fat: 3
- Saturated Fat: 1.5
- Carbohydrates: 18
- Protein: 4
Keywords: dalgona coffee, whipped coffee, viral recipe, 5 minute drink, cold coffee, vanilla milk, instant coffee, easy dessert drink, budget friendly



