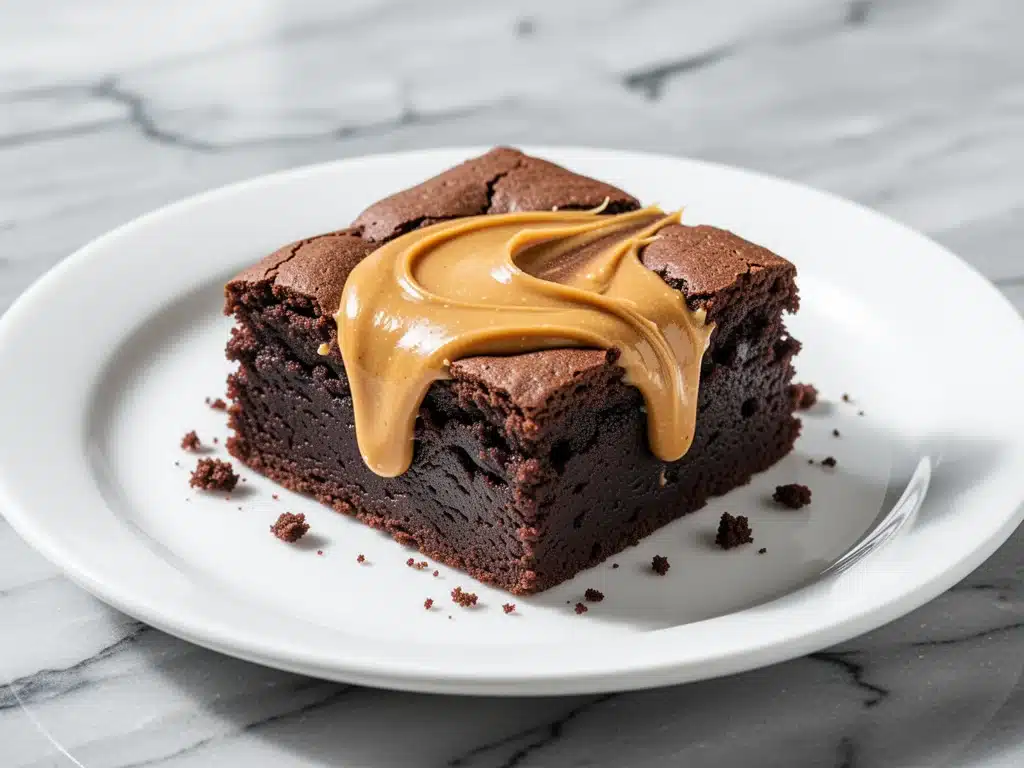
I have a confession to make: I’ve made these fudgy peanut butter swirl brownies at least eight times in the last three weeks. Eight. And I’m not even mad about it. Usually, when I find a recipe that good, I make it once, declare it perfect, and move on to the next culinary adventure. But these? These are different. They’re the kind of dessert that sits on my counter, staring at me, daring me to take just one more bite before they disappear.
The story of how I landed on this recipe actually starts with a disaster. I was trying to make a standard chocolate cake for my nephew’s birthday, and I ran out of vanilla extract. In a panic, I grabbed the jar of creamy peanut butter from the pantry and dumped a generous spoonful into the batter, thinking it would add some weird nutty depth. I was ready to order a store-bought sheet cake. But when the cake came out of the oven, the smell was incredible—rich chocolate meeting salty, roasted peanuts. My nephew took one bite and asked if I could make it every week. I couldn’t say no.
That accidental cake evolved. I tweaked the ratios, swapped the cake flour for cocoa powder, and added that signature swirl of peanut butter on top that I’d missed in the original mix-up. What emerged wasn’t just a cake or a brownie—it was something denser, fudgier, and infinitely more satisfying. These fudgy peanut butter swirl brownies are now my go-to for any occasion where I need a dessert that feels fancy but takes less than an hour to throw together.
I’ve tested this version multiple times, adjusting the sweetness of the peanut butter and the density of the chocolate base until it was exactly right. The result is a brownie that’s moist enough to be almost gooey in the center, with pockets of salty-sweet peanut butter that melt into the chocolate. If you’re a fan of the classic combination, you’re going to want to pin this one. It’s better than any bakery brownie I’ve ever bought, and honestly? It’s easier to make than those ultra-moist carrot cake recipes you see floating around, even if it doesn’t have vegetables in it.
Why You’ll Love This Recipe
There are a lot of brownie recipes out there. Some are cakey, some are crispy-edged, and some are just okay. But this fudgy peanut butter swirl brownies recipe hits a specific sweet spot that keeps me coming back. Here’s why this batch is going to become a staple in your baking rotation:
One-Bowl Simplicity — Seriously, you only need one bowl for the batter and one for the peanut butter swirl. I know how much I love a one-pot creamy chicken alfredo for dinner, but for dessert, I want minimal cleanup too. You whisk the chocolate stuff, you stir the peanut butter stuff, you swirl, you bake. Done. No fancy mixers required.
The Perfect Texture Contrast — This isn’t a dry, crumbly brownie. It’s dense and fudgy, almost like a blondie but with deep chocolate flavor. The peanut butter swirl adds these soft, chewy ribbons that contrast beautifully with the crisp top and gooey center. It’s the kind of texture that makes people close their eyes when they take a bite.
Uses Common Pantry Staples — You probably already have most of this in your kitchen. Cocoa powder, sugar, butter, eggs, peanut butter, flour. No weird ingredients you have to drive to three different specialty stores to find. It’s budget-friendly and accessible.
Customizable Sweetness — This is huge for me. I can control how sweet the brownies are. If you like them less sweet, use a natural peanut butter. If you like them super indulgent, use a processed creamy peanut butter with added sugar. You’re the boss of the swirl.
Great for Gifting or Sharing — These bake up in a standard 9×13 pan, which means they’re easy to cut and share. I’ve wrapped these in foil and handed them to neighbors, teachers, and coworkers. They always get better reviews than the homemade cookies or that soft batch snickerdoodle cookies I sometimes try to make.
This recipe is my answer to “I want something sweet but don’t want to spend hours in the kitchen.” It’s reliable, delicious, and makes your house smell like a chocolate factory. Once you make these, you’ll understand why I’m obsessed.
Ingredients You’ll Need
Here’s the best part: the ingredient list for these fudgy peanut butter swirl brownies is short and straightforward. I’m particular about a few things here, mostly because they make a huge difference in the final texture. Let’s break it down.
For the Fudgy Chocolate Base
Unsalted Butter (½ cup / 113g) — I use unsalted so I can control the saltiness. Melted butter is key here for that dense, fudgy texture. If you use melted butter, you don’t need to cream it with sugar, which keeps the brownies chewy rather than cakey.
Granulated Sugar (1 cup / 200g) — This provides the sweetness and the crisp, crackly top. Don’t reduce this too much, or you’ll lose that signature brownie crust. I use regular white sugar.
Brown Sugar (½ cup / 100g) — This is the secret weapon. The molasses in brown sugar adds moisture and a hint of caramel flavor. It’s what makes these brownies stay soft for days. If you’re out, you can use all granulated sugar, but the texture will be slightly less chewy.
Eggs (2 large, room temperature) — Room temp eggs blend into the batter more easily, creating a smoother mix. I learned this the hard way when my batter looked curdled once. Just let them sit on the counter for 20 minutes.
Vanilla Extract (1 teaspoon) — Pure vanilla, not imitation. It enhances the chocolate flavor without overpowering it. I keep a bottle of Nielsen-Massey on hand.
All-Purpose Flour (¾ cup / 95g) — Just standard flour. Don’t use cake flour; you want some structure. Sift it if it’s lumpy, but generally, just measuring it out is fine.
Cocoa Powder (½ cup / 50g) — Use unsweetened natural cocoa powder, not Dutch-processed. Natural cocoa has a brighter, more chocolatey flavor that pairs well with the peanut butter. I use Hershey’s or Ghirardelli.
Baking Powder (½ teaspoon) — Just a little bit to give them a tiny lift so they aren’t completely solid bricks.
Salt (½ teaspoon) — Essential. It balances the sweetness and makes the chocolate taste more like chocolate.
For the Peanut Butter Swirl
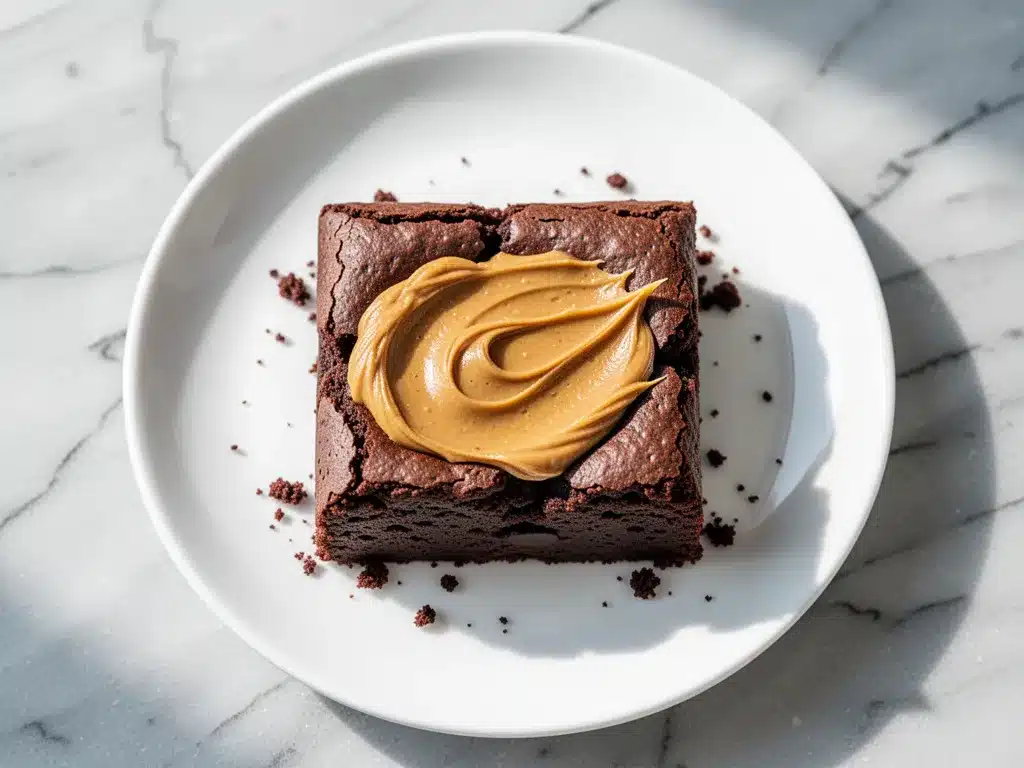
Creamy Peanut Butter (½ cup / 125g) — This is where you can play. I like using Jif or Skippy for a smoother, sweeter swirl that melts nicely. If you use natural peanut butter (the kind that separates), it might be a bit denser and less sweet. Both work, but the texture differs.
Powdered Sugar (2 tablespoons / 15g) — This helps thicken the peanut butter so it holds its swirl shape and doesn’t just sink to the bottom. It also adds a little extra sweetness to cut the saltiness of the nuts.
Heavy Cream or Milk (1 teaspoon) — Just enough to loosen the peanut butter so you can dollop it easily. If you don’t have heavy cream, whole milk works too.
Optional: Mini Chocolate Chips — I sometimes sprinkle a handful on top before baking for extra chocolatey bites. Not necessary, but nice.
Pro Tip on Peanut Butter: Make sure your peanut butter is at room temperature. Cold peanut butter is stiff and hard to mix with the powdered sugar. If it’s straight from the fridge, microwave it for 10 seconds to soften it up.
Equipment Needed
You don’t need a fancy kitchen to make these fudgy peanut butter swirl brownies. Here’s what I actually use:
9×13 Inch Baking Pan — This is the standard size. I line mine with parchment paper, leaving an overhang on the sides. This is non-negotiable for easy removal. If you don’t have parchment, grease it well with butter or non-stick spray, but parchment is better for cleanup.
Microwave-Safe Bowl or Small Saucepan — To melt the butter. I use a glass measuring cup in the microwave because it’s easy to pour. If you use a saucepan on the stove, keep the heat low so the butter doesn’t burn.
Medium Mixing Bowl — For whisking the chocolate batter. A bowl with a spout is nice but not required.
Small Mixing Bowl — For the peanut butter swirl mixture.
Whisk and Spatula — A whisk for the batter and a silicone spatula for folding in the flour and scraping the bowl. The spatula is crucial for getting every bit of batter into the pan.
Toothpick or Small Fork — For swirling the peanut butter. A toothpick gives you thinner, more delicate lines. A fork gives you chunkier swirls. I usually use a toothpick for that classic look.
Cooling Rack — To cool the brownies. You can also cool them in the pan on the counter, but a rack helps air circulate so the bottom doesn’t get soggy.
Knife or Pizza Cutter — For cutting. A sharp knife works, but a pizza cutter is surprisingly effective for clean cuts without squishing the brownies.
How to Make It: Step-by-Step
Alright, let’s get baking! I’m walking you through exactly how I do it, including the little tricks I’ve picked up to ensure those brownies are perfectly fudgy.
Step 1: Prep Your Pan and Oven (5 minutes)
Preheat your oven to 350°F (175°C). Line your 9×13 inch baking pan with parchment paper. I like to make an ‘X’ with two strips of parchment so they cross in the middle, leaving overhang on all four sides. This makes lifting the brownies out of the pan a breeze later. If you don’t have enough parchment, just grease the pan thoroughly.
Step 2: Melt the Butter (2 minutes)
Melt the butter in the microwave in 30-second intervals, stirring in between, until completely liquid. Alternatively, melt it in a small saucepan over low heat. Let it cool for a minute so it’s warm but not hot. You don’t want to scramble the eggs when you add them.
Step 3: Mix the Wet Ingredients (2 minutes)
In your medium mixing bowl, whisk together the melted butter, granulated sugar, and brown sugar. Whisk vigorously for about a minute. You want the mixture to look glossy and slightly thickened. This step helps create that crackly top. Then, add the eggs and vanilla extract. Whisk again until fully combined. The batter should be smooth and shiny.
Step 4: Add the Dry Ingredients (1 minute)
Add the flour, cocoa powder, baking powder, and salt to the wet mixture. Use your spatula to fold these in gently. Mix just until no streaks of flour remain. Do not overmix. Overmixing develops gluten, which makes brownies cakey instead of fudgy. Stop as soon as the batter looks uniform. It’s okay if it looks a little thick.
Step 5: Pour and Spread the Batter (1 minute)
Pour the chocolate batter into your prepared pan. Use your spatula to spread it out evenly, getting it into all the corners. Tap the pan gently on the counter a couple of times to release any air bubbles and level the surface.
Step 6: Make the Peanut Butter Swirl (2 minutes)
In your small bowl, combine the peanut butter, powdered sugar, and heavy cream (or milk). Whisk until smooth and creamy. If it’s too thick to dollop, add another half-teaspoon of milk. You want a consistency similar to thick frosting.
Step 7: Swirl It Together (2 minutes)
Dollop spoonfuls of the peanut butter mixture over the chocolate batter. Don’t worry about covering the whole surface; random dollops look best. Take a toothpick or small fork and gently drag it through the peanut butter and chocolate batter. You can make simple lines, zig-zags, or just random circles. Don’t overdo it—you want visible swirls, not a muddy mix. A few passes are enough.
Step 8: Bake (25-30 minutes)
Place the pan in the preheated oven. Bake for 25-30 minutes. Here’s the tricky part: you want the edges to be set and pulling slightly away from the pan, but the center should still look slightly soft and jiggly. If you insert a toothpick into the center, it should come out with moist crumbs, not wet batter, but not completely clean. Overbaking is the enemy of fudgy brownies.
Step 9: Cool Completely (1 hour)
Let the brownies cool in the pan on a wire rack for at least 30 minutes. Then, lift them out using the parchment overhang and finish cooling on the rack. Do not skip this step. If you cut them while they’re hot, they’ll be a mushy mess. Cooling allows them to set and firm up so you get clean squares.
Total Time: About 45 minutes active, plus cooling time.
Expert Tips & Tricks
Here’s everything I’ve learned from making these dozens of times. These tips will save you from my mistakes and guarantee success.
Don’t Overbake — This is the #1 rule. Brownies continue to cook in the hot pan after you take them out of the oven. If they look done, they’re probably done. Aim for that moist-crumb toothpick test. If you want cakey brownies, bake them longer. If you want fudgy, pull them early.
Room Temperature Ingredients — I can’t stress this enough. Cold eggs or butter can cause the batter to separate. Let everything come to room temperature before you start. It takes 10 minutes to melt butter, but 20 minutes for eggs to warm up.
Quality Cocoa Powder — Since cocoa powder is a main flavor component, use a good brand. Hershey’s, Ghirardelli, or Valrhona are great. Avoid the cheapest store-brand cocoa if you can help it; it can taste dusty or bitter.
Peanut Butter Choice Matters — If you use natural peanut butter (oil separates), stir it very well and maybe add a touch more powdered sugar to stabilize the swirl. Processed peanut butter (like Jif) has emulsifiers that make it easier to swirl and keep its shape.
Use Parchment Paper — I know it feels like extra trash, but lining the pan saves so much headache. Trying to scrape brownies out of a greased pan is frustrating and leads to broken edges. Parchment makes removal perfect every time.
Cooling is Crucial — I know the smell is tempting and you want to dive in. But patience pays off. Warm brownies are messy and soft. Cooled brownies hold their shape and have the perfect texture. If you can’t wait, chill them in the fridge for 15 minutes to speed things up.
Storage Hack — If you’re making these ahead, store them in an airtight container at room temperature for up to 4 days. If it’s hot and humid, keep them in the fridge. Bring them to room temperature before serving for the best texture.
Variations & Substitutions
Once you’ve nailed the basic version, here’s how you can mix it up. I’ve tried all of these, and they all work.
Dark Chocolate Version — Swap the semi-sweet chocolate chips (if you add them) for dark chocolate chunks. Or use dark cocoa powder for a deeper, less sweet chocolate flavor. Great for coffee pairing.
Salted Caramel Swirl — Skip the peanut butter and use store-bought or homemade salted caramel sauce. Dollop it on top and swirl. This pairs beautifully with the chocolate.
Nutty Twist — Add ½ cup of chopped walnuts or pecans to the chocolate batter before pouring it into the pan. Toast the nuts first for extra flavor. This adds crunch to the fudgy texture.
Gluten-Free — Use a 1-to-1 gluten-free flour blend (like Bob’s Red Mill or King Arthur). The texture will be almost identical. Make sure your baking powder is gluten-free.
Dairy-Free — Use dairy-free butter (like Earth Balance) and check your chocolate/cocoa for dairy processing. The peanut butter swirl is usually naturally dairy-free, but check labels. These turn out surprisingly good dairy-free.
Less Sweet — Reduce the granulated sugar to ¾ cup and use unsweetened cocoa powder. You’ll lose a bit of that crackly top, but the flavor will be more intense.
Mini Cupcakes — You can make these in a muffin tin! Fill liners ¾ full and bake for 18-20 minutes. Perfect for portion control or school lunches.
Serving & Storage
How to serve these bad boys?
At Room Temperature — These are best at room temp. Cold brownies lose some of their fudgy texture. If you’re serving them for a party, take them out of the fridge an hour before.
With Coffee or Milk — A hot coffee or a cold glass of milk is the perfect companion. The bitterness of coffee cuts through the sweetness, and milk softens the chocolate.
With Whipped Cream — For a special occasion, top a square with a dollop of whipped cream and a drizzle of extra peanut butter. Fancy, but easy.
Storage Instructions
Room Temperature: Store in an airtight container for up to 4 days. Place a piece of bread in the container with the brownies; the bread will stay soft, and the brownies will stay moist. I swear by this trick.
Refrigerator: If you live in a hot climate, refrigerate them. They’ll last up to a week. Let them come to room temperature before eating.
Freezer: Yes, you can freeze these! Wrap individual squares in plastic wrap and put them in a freezer bag. They’ll last up to 3 months. Thaw at room temperature or microwave for 10 seconds.
Reheating: If you want them warm, microwave a square for 10-15 seconds. It makes them extra gooey. Don’t overdo it, or they’ll melt into a puddle.
Nutrition Information
I’m not a nutritionist, but here’s the breakdown if you’re tracking. Keep in mind that these are rich, dense brownies, so a little goes a long way.
Per Serving (based on 16 brownies):
- Calories: 280
- Protein: 6g
- Carbs: 32g
- Fiber: 2g
- Sugar: 24g
- Fat: 16g
- Saturated Fat: 7g
- Cholesterol: 35mg
- Sodium: 120mg
These are definitely an indulgent treat. The peanut butter adds healthy fats and protein, which helps balance things out a bit compared to plain chocolate brownies. But let’s be real—you’re eating these for the taste, not the macros. Enjoy a square or two and savor it.
Final Thoughts
So, that’s my go-to fudgy peanut butter swirl brownies recipe! I’ve probably talked your ear off at this point, but when you find a recipe that works this well, you want to share all the details.
These brownies have saved me more times than I can count. They’re my answer to “I need a dessert now” when I don’t have time to bake a cake or make a complicated pie. They’re reliable, delicious, and always make people happy. My kids love them, my husband begs for them, and my friends ask for the recipe.
Make it yours! Try different nut butters, add chocolate chips, or play with the swirl patterns. The best recipes are the ones you adapt to your tastes. And if you make these, drop a comment and let me know how they turned out! I love hearing from you.
Happy baking! And I hope your kitchen smells half as good as mine does right now.
Frequently Asked Questions
Can I use crunchy peanut butter instead of creamy?
Yes, you can! But the texture will be different. Crunchy peanut butter will create more distinct chunks in the swirl, which some people love. If you use crunchy, you might need to mix it with a bit more powdered sugar to help it hold together. I prefer creamy for a smoother, more uniform swirl, but crunchy adds a nice contrast.
Why are my brownies cakey instead of fudgy?
This usually happens for two reasons: overmixing or overbaking. If you mix the batter too much after adding the flour, you develop gluten, which makes them cakey. Also, if you bake them too long, they dry out. Pull them out when the toothpick has moist crumbs, not wet batter, and mix gently.
Can I make these ahead of time?
Absolutely. These brownies actually taste better the next day after they’ve had time to set. You can bake them up to 2 days ahead and store them in an airtight container at room temperature. If you need to make them further in advance, freeze them (see storage section above).
Can I use natural peanut butter for the swirl?
You can, but natural peanut butter tends to be looser and less sweet. If you use it, you might need to add a bit more powdered sugar (maybe 3 tablespoons instead of 2) to thicken the swirl so it doesn’t sink into the batter. Also, make sure the peanut butter is well-stirred and at room temperature.
How do I get clean cuts?
Cool the brownies completely. Then, use a sharp knife wiped clean with a paper towel between cuts, or use a pizza cutter. For extra clean cuts, dip your knife in hot water and wipe it dry before each slice. The heat helps cut through the fudgy texture without squishing.
Can I double this recipe?
This recipe is already for a 9×13 pan, which is a standard size. If you want to make more, you can double it and bake in two pans, or use a larger 9×13 pan (but the brownies will be thinner). I usually stick to one batch because they disappear so fast!
Pin This Recipe!
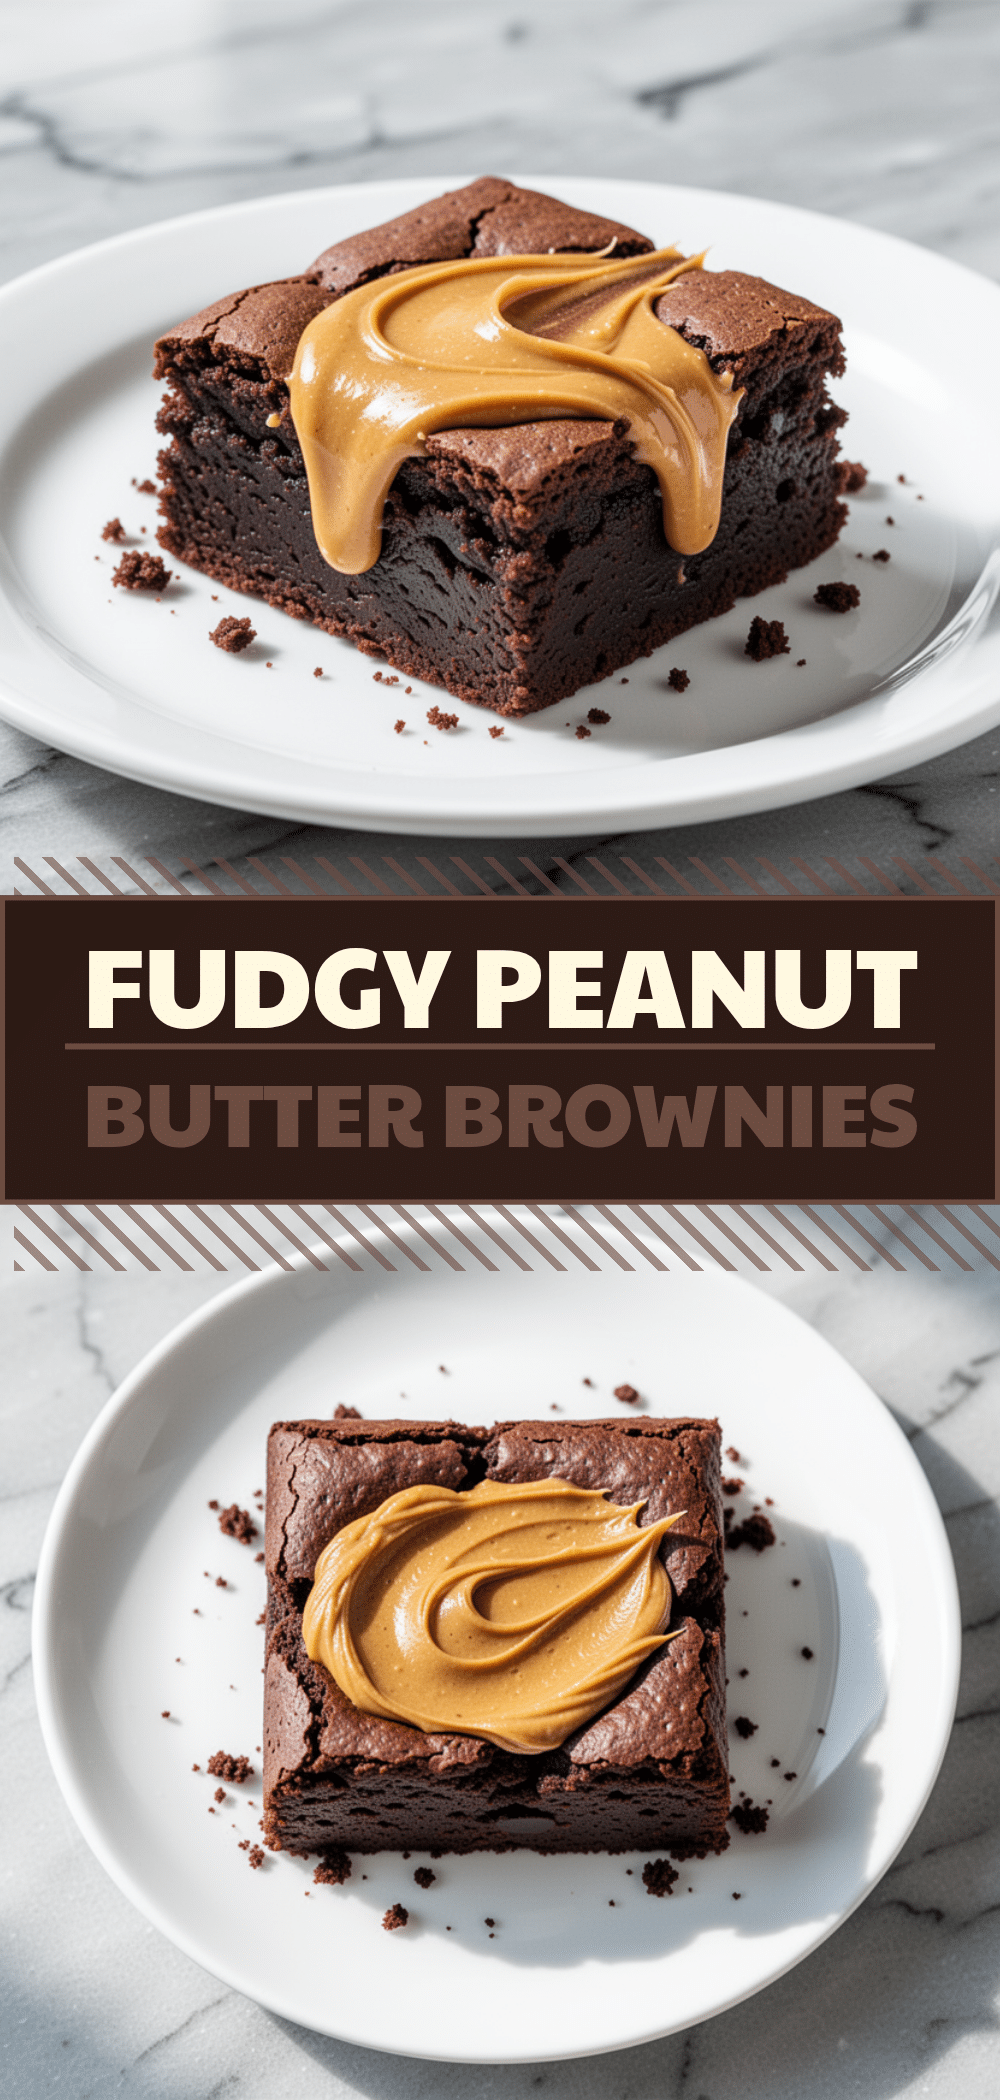
Fudgy Peanut Butter Swirl Brownies
- Total Time: 45 minutes
- Yield: 16 servings 1x
Description
These fudgy peanut butter swirl brownies are dense, moist, and incredibly easy to make in one bowl. Featuring a rich chocolate base with ribbons of salty-sweet peanut butter, they are the perfect indulgent dessert that comes together in under an hour.
Ingredients
- 1/2 cup (113g) unsalted butter, melted
- 1 cup (200g) granulated sugar
- 1/2 cup (100g) brown sugar
- 2 large eggs, room temperature
- 1 teaspoon vanilla extract
- 3/4 cup (95g) all-purpose flour
- 1/2 cup (50g) unsweetened natural cocoa powder
- 1/2 teaspoon baking powder
- 1/2 teaspoon salt
- 1/2 cup (125g) creamy peanut butter, room temperature
- 2 tablespoons (15g) powdered sugar
- 1 teaspoon heavy cream or milk
- Optional: Mini chocolate chips for topping
Instructions
- Preheat oven to 350°F (175°C). Line a 9×13 inch baking pan with parchment paper, leaving an overhang on the sides for easy removal.
- Melt the butter in the microwave or saucepan. Let it cool slightly so it is warm but not hot.
- In a medium mixing bowl, whisk together the melted butter, granulated sugar, and brown sugar vigorously for about a minute until glossy and slightly thickened.
- Add the eggs and vanilla extract to the butter mixture and whisk until fully combined and smooth.
- Add the flour, cocoa powder, baking powder, and salt to the wet ingredients. Use a spatula to fold gently until just combined. Do not overmix.
- Pour the batter into the prepared pan and spread evenly. Tap the pan gently to release air bubbles.
- In a small bowl, whisk together the peanut butter, powdered sugar, and heavy cream (or milk) until smooth and creamy.
- Dollop spoonfuls of the peanut butter mixture over the chocolate batter. Use a toothpick or fork to gently swirl the peanut butter into the batter.
- Bake for 25-30 minutes. The edges should be set and pulling away from the pan, but the center should still look slightly soft and jiggly. A toothpick inserted into the center should come out with moist crumbs.
- Cool the brownies completely in the pan on a wire rack for at least 30 minutes before lifting them out and cutting into squares.
Notes
Do not overbake the brownies to maintain a fudgy texture. Ensure ingredients are at room temperature for best results. For clean cuts, cool completely and use a sharp knife wiped clean between slices or a pizza cutter. Store in an airtight container at room temperature for up to 4 days.
- Prep Time: 15 minutes
- Cook Time: 30 minutes
- Category: Dessert
- Cuisine: American
Nutrition
- Serving Size: 1 brownie square
- Calories: 280
- Sugar: 24
- Sodium: 120
- Fat: 16
- Saturated Fat: 7
- Carbohydrates: 32
- Fiber: 2
- Protein: 6
Keywords: brownies, peanut butter, fudgy brownies, easy dessert, one bowl recipe, chocolate dessert, baking, homemade brownies



