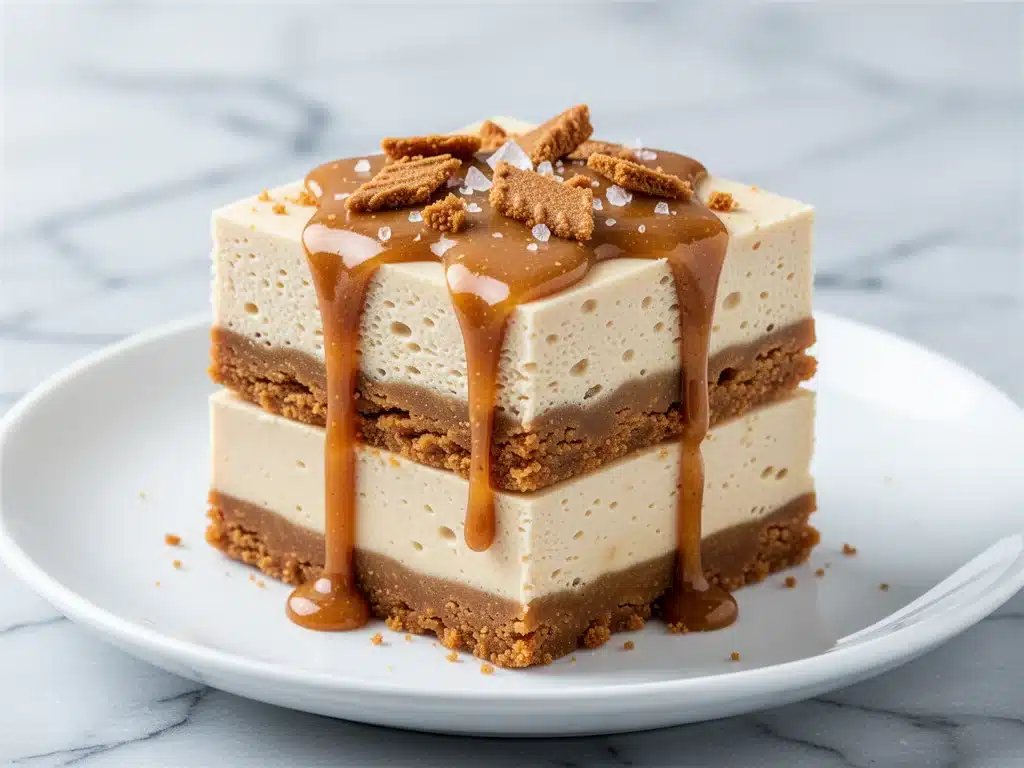
Last month, I was standing in my kitchen at 11 PM, staring into the open fridge like it held the secrets to the universe. I had zero energy for baking. I had zero patience for preheating an oven. And I definitely had zero desire to wash a dozen bowls and spatulas just to make a dessert that might still fall apart on my plate.
But I had a craving. A deep, soulful craving for something creamy, sweet, and just a little bit spiced. And that’s when I saw it: a jar of Biscoff cookie butter sitting next to the milk, looking smugly delicious.
I didn’t plan this. I really didn’t. I just dumped a package of cream cheese into a bowl, threw in some powdered sugar, stirred it up, and pressed a layer of crushed Biscoff cookies into the bottom of a pan. Then I drizzled more cookie butter on top. I stuck it in the fridge for an hour, walked away, and came back to find my family fighting over the last square.
That was the birth of these no-bake Biscoff cheesecake bars. They aren’t fancy. They don’t require a water bath or a springform pan that leaks. They don’t even require turning on the oven. But they taste like you spent hours in a bakery kitchen. They’re rich, tangy, crunchy, and impossibly smooth.
I’ve made these at least a dozen times since that late-night snack session. I’ve brought them to potlucks where people asked for the recipe three times. I’ve made them for holidays, for last-minute guests, and just because. They are hands-down the easiest way to impress people who think baking is magic. And the best part? You only need five ingredients. Five. If you can count, you can make this.
Why You’ll Love This No-Bake Biscoff Cheesecake Recipe
Look, I know there are a lot of desserts out there. There’s the pumpkin spice cheesecake bars I posted last fall, which are great if you’re in the autumn mood. And there’s the classic New York-style cheesecake that requires a lot of effort. But this Biscoff version? It lives in its own special lane. It’s the dessert you make when you want to feel like a genius with almost zero effort.
Here’s why these bars have taken over my kitchen (and probably will take over yours):
- Zero Oven Required — Seriously. If you can turn on a stove (or just use a microwave to soften butter), you’re good. No preheating, no checking for cracks, no worrying about overbaking. You mix, you press, you chill. Done.
- Five Ingredients Max — I’m not joking. Cream cheese, powdered sugar, Biscoff spread, vanilla, and cookies. That’s it. No weird stabilizers, no gelatin, no heavy lifting. It’s the most budget-friendly dessert I make because I already have these staples in my pantry.
- Make-Ahead Friendly — This is the ultimate stress-buster. Make it the night before a party. It actually gets *better* after sitting in the fridge overnight. The flavors meld, the texture firms up, and it’s ready to serve when you need it most. Unlike some dips I make that need to be eaten fresh, this dessert thrives on patience.
- The Texture Contrast — You get that dense, creamy cheesecake layer on top and the crunchy, buttery cookie base on the bottom. It’s like eating a cheesecake and a cookie in one bite. It’s ridiculous. I’m obsessed.
- Gluten-Free Option — While the classic Biscoff cookies contain wheat, you can swap them for gluten-free shortbread or gluten-free Biscoff-style cookies if you’re catering to guests with sensitivities. The filling is naturally gluten-free, so you’re not stuck making two separate desserts.
This is my go-to when I need a dessert that looks like I tried hard, but actually I just chilled it for two hours. It’s reliable, it’s delicious, and it never fails to disappear.
Ingredients You’ll Need
Before we get to the mixing, let’s talk about what you need. I’m being specific here because with only five ingredients, quality matters. You don’t have much to hide behind, so you want everything to taste good on its own.
For the Crust
Biscoff Cookies (about 2 cups crushed / 200g) — I use the original Lotus Biscoff cookies. The spiced caramel flavor is non-negotiable here. You need enough to get a full cup of crumbs. If you’re buying them just for this, grab a box or two. They’re great for snacking, so they won’t go to waste.
Unsalted Butter (6 tablespoons / 85g, melted) — This binds the crust. Don’t use margarine. Don’t use oil. You need real butter for that rich, baked-cookie flavor. Melt it in the microwave or a small saucepan. Let it cool slightly so it’s warm, not boiling, before mixing.
For the Cheesecake Filling
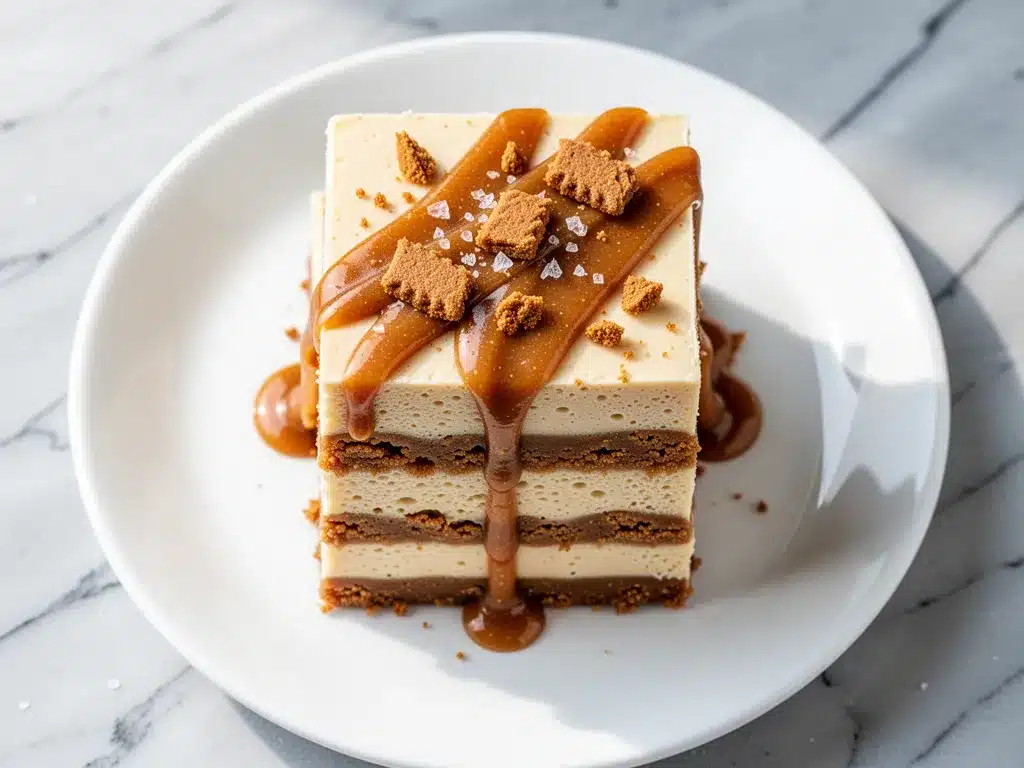
Full-Fat Cream Cheese (2 blocks / 16oz / 450g) — This is the star. Do not use the low-fat tubs. Do not use the “light” blocks. Low-fat cream cheese has higher water content and won’t set properly. It will make your bars runny. Block cream cheese, straight from the fridge, is best. If you’re in a rush, let it sit on the counter for 20 minutes so it’s easier to whip, but cold cheese actually helps keep the bars firm.
Heavy Cream (1 cup / 240ml) — Wait, didn’t I say five ingredients? Technically, yes. But I’m counting the Biscoff spread as the flavor agent. The heavy cream is what gives these bars that airy, mousse-like texture. Without it, you’re just making a dense cream cheese block. Whip this to stiff peaks—it’s the secret to the lift.
Powdered Sugar (1 cup / 120g) — This sweetens the filling and helps stabilize it. Granulated sugar won’t dissolve in a no-bake recipe, so you’ll end up with gritty bars. Powdered sugar is a must. Sift it if it’s lumpy.
Biscoff Spread (1/2 cup / 120g) — This goes *into* the filling too, not just on top. It adds that signature cookie-butter flavor throughout the cream cheese layer. Use the smooth kind, not the crunchy kind, for a silky texture.
Vanilla Extract (1 teaspoon) — Just a splash to round out the flavors. Pure vanilla is best, but imitation works in a pinch.
Extra Biscoff Spread (for drizzling) — Save a little extra for the top. This is the garnish that makes it look fancy.
Pro Tip: If you want to save time, you can buy pre-crushed Biscoff cookies, but crushing them yourself gives you better control over the texture. I like a mix of fine crumbs and tiny chunks for interest.
Equipment Needed
You don’t need a fancy stand mixer or a food processor. Here’s what I actually use:
9×9 Inch Baking Pan — This is the perfect size for bars. Line it with parchment paper, leaving an overhang on the sides. This is crucial. You need the “handles” to lift the entire block of cheesecake out of the pan once it’s set. Without parchment, you’ll be digging for it with a spatula, and it will break.
Large Mixing Bowl — For the crust. Any bowl works.
Hand Mixer or Stand Mixer — A hand mixer is totally fine. I use my hand mixer because it’s faster to clean than a stand mixer for such a simple recipe. If you’re whisking by hand, you’re going to need strong arms. I don’t recommend it unless you want a workout.
Whisk or Spatula — For folding the whipped cream into the cream cheese. Be gentle here. You want to keep the air in the mixture.
Zester or Grater — Optional, but a little Biscoff cookie crumble on top looks beautiful for photos. If you’re posting this on Pinterest (and you should), this detail matters.
How to Make It: Step-by-Step
Alright, let’s make these bars. It’s actually incredibly simple, but there are a few tricks to keep them from being too soft or too dense.
Step 1: Prep Your Pan
Line your 9×9 inch pan with parchment paper. I like to do an “X” shape—lay two strips of parchment across the pan, crossing in the middle. This gives you four handles to lift the bars out later. Grease the parchment lightly with butter spray or oil so nothing sticks.
Step 2: Make the Crust
Pulse your Biscoff cookies in a food processor until they’re fine crumbs. If you don’t have a food processor, put them in a zip-top bag and crush them with a rolling pin. It takes a few minutes, but it works. Transfer the crumbs to a bowl and stir in the melted butter. It should look like wet sand. If it’s too dry, add a teaspoon more butter. If it’s soupy, add a few more crumbs.
Press this mixture firmly into the bottom of your prepared pan. Use the bottom of a measuring cup to pack it down tight. You want it even. Put the pan in the fridge while you make the filling. This helps the crust set faster.
Step 3: Whip the Cream Cheese
In a large bowl, beat the block cream cheese on medium-high speed until it’s completely smooth and creamy. This takes about 2-3 minutes. Scrape down the sides of the bowl. If there are lumps, they’ll show up in the final product. Add the powdered sugar, vanilla, and 1/2 cup of the Biscoff spread. Beat until combined. It will be thick.
Step 4: Whip the Heavy Cream
In a separate cold bowl, whip the heavy cream until it forms stiff peaks. This means when you lift the beater, the cream stands up straight and doesn’t droop. Don’t over-whip it into butter, just get it nice and firm.
Step 5: Fold It Together
This is the most important step. Add half of the whipped cream to the cream cheese mixture and fold it in gently with a spatula. This lightens the dense cream cheese. Then, add the rest of the whipped cream and fold until just combined. You want to keep as much air in there as possible. Over-mixing here will deflate the bars and make them dense.
Step 6: Assemble and Chill
Pour the filling over the chilled crust. Smooth the top with your spatula. Drizzle the remaining Biscoff spread over the top in a zigzag pattern. Use a knife or toothpick to swirl it in slightly—it looks pretty and adds pockets of flavor.
Cover the pan with plastic wrap or foil and refrigerate for at least 4 hours, but ideally overnight. I know it’s tempting to cut into it after an hour, but it needs time to set. If you rush it, it’ll be a mess.
Step 7: Slice and Serve
Once set, lift the bars out of the pan using the parchment handles. Place them on a cutting board. Use a sharp knife to slice into squares. Wipe the knife clean between cuts for clean edges. Dust with a little extra cookie crumble if you’re feeling fancy.
Total Time: About 15 minutes active work, plus 4+ hours chilling.
Expert Tips & Tricks for Perfect Bars
I’ve made enough of these to know what goes wrong and how to fix it. Here’s my hard-won wisdom:
Keep Everything Cold — I mentioned this before, but it bears repeating. Cold cream cheese and cold heavy cream help the bars set faster. If your kitchen is hot, keep the bowls in the fridge until you’re ready to mix.
Don’t Skip the Stiff Peaks — If your whipped cream is soft and droopy, your filling will be too. Whip it until it’s firm. It should hold its shape like a mountain.
Pack the Crust Tight — A loose crust means crumbly bars. Press it down hard. You want it to feel like a solid foundation.
Use a Sharp Knife — Dull knives crush the bars. Sharp knives slice through them cleanly. If you don’t have a sharp knife, dip it in hot water and wipe it dry between cuts. The heat helps slice through the cold cream cheese.
Storage is Key — These bars must be stored in the fridge. They don’t travel well at room temperature. If you’re taking them to a picnic, keep them in a cooler with ice packs.
Variations & Substitutions
Once you’ve nailed the basic version, here’s how you can mix it up. I’ve tried these variations, and they’re all winners.
Strawberry Biscoff Bars — Add a layer of sliced fresh strawberries between the crust and the filling. Or swirl some strawberry jam into the Biscoff drizzle. It’s bright and refreshing.
Chocolate Biscoff Bars — Drizzle melted chocolate over the top instead of (or in addition to) the Biscoff spread. The combo of chocolate and caramelized sugar is incredible.
Mini Bars — Use a mini muffin tin. Press the crust into the cups, fill with the cheesecake mixture, and chill. These are perfect for potlucks because they’re individual portions. No cutting required.
Gluten-Free — Swap the Biscoff cookies for gluten-free shortbread cookies or gluten-free Biscoff-style cookies (available in some stores). The rest of the recipe is naturally gluten-free.
Dairy-Free — Use dairy-free cream cheese (like Miyoko’s or Kite Hill) and coconut cream instead of heavy cream. Whip the coconut cream like regular cream. It works surprisingly well, though the flavor will be more coconut-forward.
Less Sweet — Reduce the powdered sugar to 3/4 cup and use unsweetened almond milk instead of heavy cream (though the texture will be less airy). Or just use less Biscoff spread in the filling.
Serving & Storage
How to Serve — I serve these chilled, straight from the fridge. They’re best with a cup of coffee or tea. The bitterness of the coffee balances the sweetness of the dessert. I also like to serve them with a dollop of freshly whipped cream on the side for people who want extra richness.
Side Dishes — These bars are rich, so they don’t need much else. A simple green salad or some fresh fruit can cut through the heaviness if you’re serving a large meal.
Storage — Store in an airtight container in the fridge for up to 5 days. They actually taste better on day 2 or 3, as the flavors meld. If you need to transport them, keep them cold.
Freezing — You can freeze these bars! Wrap the whole block tightly in plastic wrap and then aluminum foil. Freeze for up to 2 months. Thaw in the fridge overnight before slicing. They thaw beautifully and don’t get watery.
Nutrition Information
I’m not a nutritionist, but here’s the rough breakdown if you’re tracking. Keep in mind that this is a rich dessert, so portions matter.
Per Bar (based on 16 bars):
- Calories: ~280
- Protein: 4g
- Carbs: 28g
- Fat: 18g
- Sugar: 20g
It’s high in sugar and fat, obviously, because it’s cream cheese and cookie butter. But it’s also satisfying. One or two squares is usually enough. If you’re watching sugar, consider reducing the powdered sugar in the filling or using a sugar substitute.
Final Thoughts
So, that’s my go-to no-bake Biscoff cheesecake bars! I know I’ve talked a lot about how easy they are, but that’s the whole point. Life is busy. We don’t always have time to bake a complicated cake. But we always have time for something delicious.
These bars have saved me more times than I can count. They’re my answer to “I need a dessert for tomorrow” or “I forgot to buy a cake for the party.” They’re reliable, they’re delicious, and they make everyone happy. Plus, they look like you put in way more effort than you actually did.
Make them your own! Add different toppings, swap in gluten-free cookies, or try the strawberry variation. The best recipes are the ones you adapt to your tastes. And if you make these, I want to hear about it. Drop a comment and let me know how they turned out. Did you add extra drizzle? Did you share them with neighbors? I love hearing from you.
Happy chilling! And I hope your kitchen smells like cookie butter soon.
Frequently Asked Questions
Can I use low-fat cream cheese?
I really don’t recommend it. Low-fat cream cheese has more water and less fat, which means it won’t set properly. Your bars will be soft and possibly runny. Block cream cheese is worth the extra cost and the extra effort of whipping it smooth.
Why are my bars too soft?
Usually, this means they didn’t chill long enough. They need at least 4 hours, but overnight is best. Also, make sure you whipped the heavy cream to stiff peaks. If it was soft, the filling won’t hold its structure. And check your crust—make sure it’s packed down tight.
Can I use crunchy Biscoff spread?
You can, but the texture will be different. The chunks might make the filling a bit uneven. I prefer smooth spread for a silky cheesecake, but if you like crunch, go for it. Just be aware it might affect the smoothness.
How do I store these bars?
Keep them in the fridge in an airtight container. They’ll last for up to 5 days. If you need to freeze them, wrap them tightly in plastic and foil. They freeze well for up to 2 months.
Can I make this in a springform pan?
Yes! Just use a 9-inch springform pan. Press the crust into the bottom, fill, and chill. When it’s set, remove the ring and slice. The parchment handles make it easier to lift out, but a springform works fine too.
What if I don’t have a food processor?
No problem. Put the cookies in a zip-top bag and crush them with a rolling pin, a heavy pan, or even your hands. It takes a few minutes, but you’ll get crumbs. Just make sure they’re fine enough to bind with the butter.
Can I add other mix-ins?
Absolutely. You can fold in chopped nuts, chocolate chips, or dried fruit. Just be careful not to over-mix, or you’ll deflate the filling. Add them gently at the end.
Pin This Recipe!
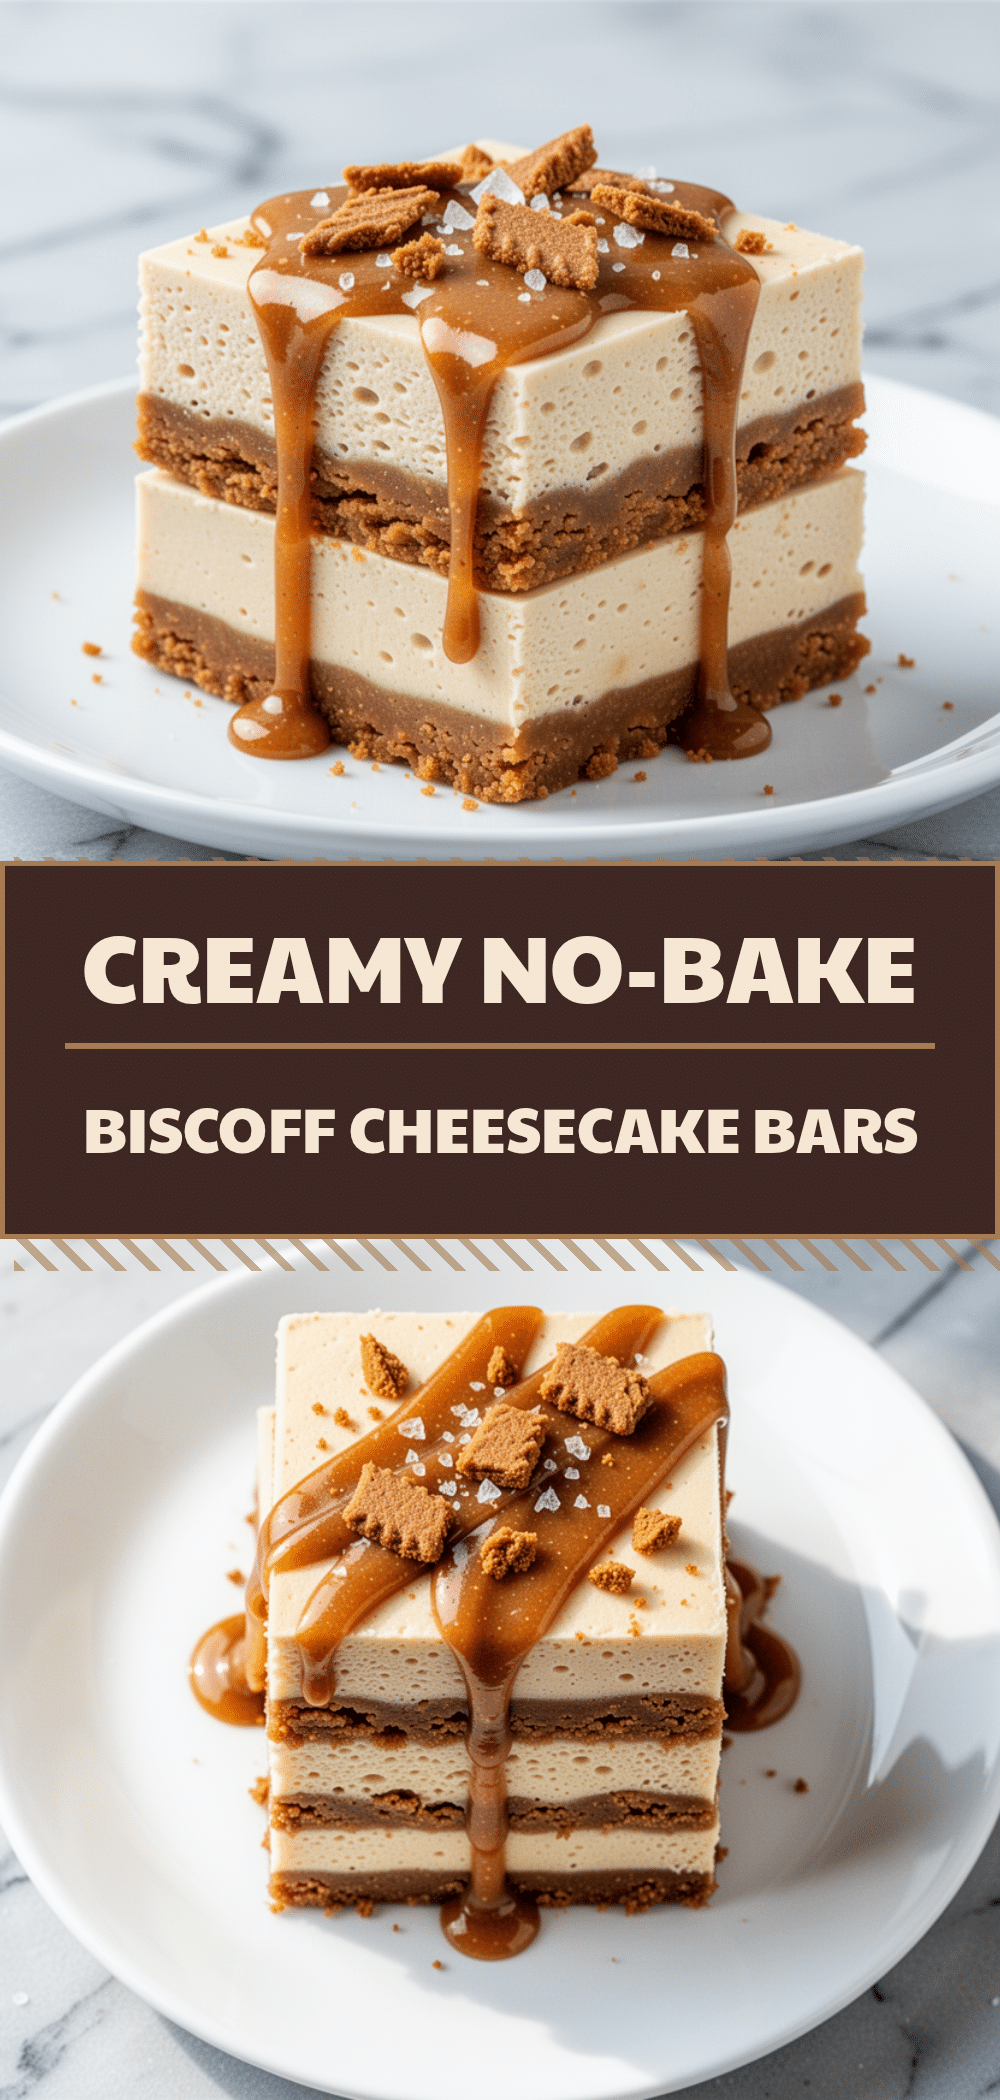
No-Bake Biscoff Cheesecake Bars
- Total Time: 4 hours 15 minutes
- Yield: 16 servings 1x
Description
A rich, creamy, and crunchy no-bake dessert made with just a few simple ingredients. These bars require no oven and are perfect for make-ahead entertaining.
Ingredients
- 2 cups crushed Biscoff cookies (approx. 200g)
- 6 tablespoons unsalted butter, melted
- 2 blocks (16oz / 450g) full-fat cream cheese, softened
- 1 cup heavy cream
- 1 cup powdered sugar
- 1/2 cup Biscoff spread (smooth)
- 1 teaspoon vanilla extract
- Extra Biscoff spread for drizzling
Instructions
- Line a 9×9 inch baking pan with parchment paper in an ‘X’ shape to create handles, and lightly grease with butter spray.
- Pulse Biscoff cookies into fine crumbs. Mix with melted butter until it resembles wet sand. Press firmly into the bottom of the prepared pan and refrigerate.
- In a large bowl, beat cream cheese on medium-high speed until smooth. Add powdered sugar, vanilla, and 1/2 cup Biscoff spread; beat until combined.
- In a separate cold bowl, whip heavy cream until stiff peaks form.
- Gently fold half of the whipped cream into the cream cheese mixture to lighten it. Fold in the remaining whipped cream until just combined.
- Pour filling over the chilled crust and smooth the top. Drizzle with extra Biscoff spread and swirl with a knife.
- Cover and refrigerate for at least 4 hours, ideally overnight, until set.
- Lift bars out using parchment handles, slice into squares, and serve chilled.
Notes
Ensure cream cheese and heavy cream are cold for best setting results. Whip cream to stiff peaks to maintain structure. Store in the fridge for up to 5 days or freeze for up to 2 months. For a gluten-free option, swap cookies for gluten-free shortbread.
- Prep Time: 15 minutes
- Cook Time: 0 minutes
- Category: Dessert
- Cuisine: American
Nutrition
- Serving Size: 1 bar
- Calories: 280
- Sugar: 20
- Sodium: 150
- Fat: 18
- Saturated Fat: 10
- Carbohydrates: 28
- Fiber: 1
- Protein: 4
Keywords: no-bake, Biscoff, cheesecake bars, dessert, easy recipe, make-ahead, cookie butter



