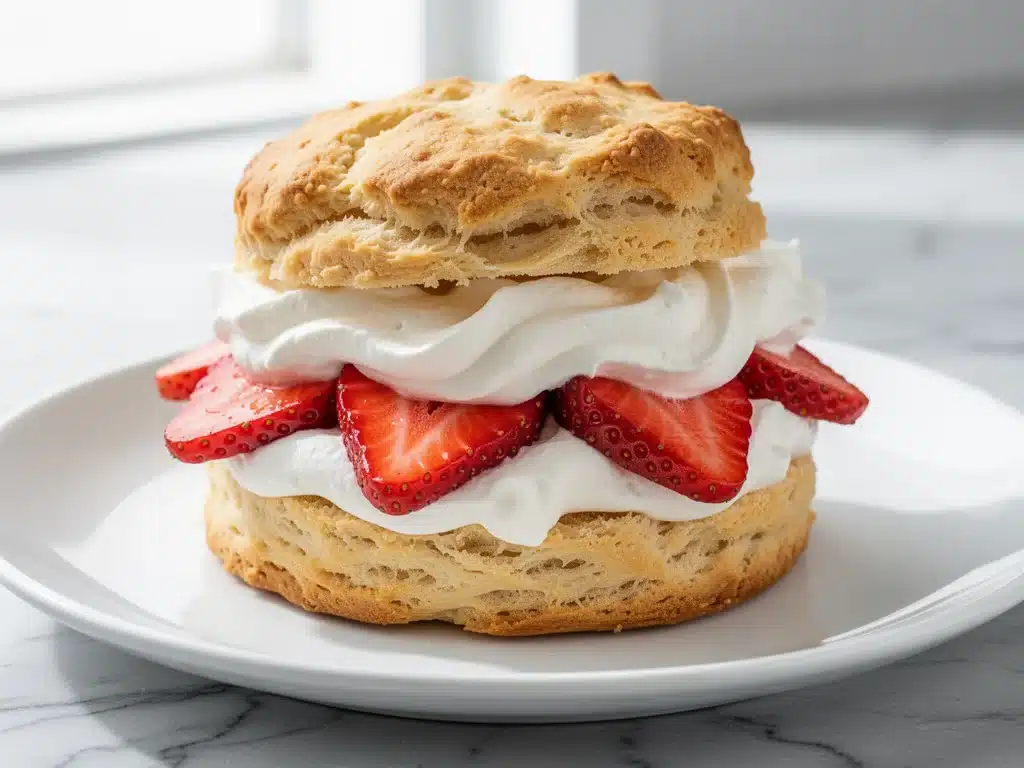
There is a specific, sticky kind of magic that happens when June turns to July. You know the feeling. The air gets thick, the sun hangs heavy in the sky, and suddenly you’re craving something cold, sweet, and impossibly light. For me, that craving always leads back to one thing: strawberry shortcake. Not the kind with a graham cracker crust and whipped cream that tastes like aerosol air, but the real deal. Soft, buttery biscuits split open and dripping with juicy, macerated strawberries, topped with a dollop of freshly whipped cream that barely holds its shape.
I used to think making this from scratch was too much work for a Tuesday. I’d buy the canned fruit cocktail or settle for store-bought scones that were dry enough to scrub a pan with. Then, last summer, my neighbor handed me a colander of strawberries so red they looked like they’d been painted on. They were cheap, too—like $2 a pound cheap. I looked at what I had in my pantry: flour, sugar, butter, cream. I realized I didn’t need a complicated recipe. I just needed to stop overthinking it.
That afternoon, I threw together what I now call my classic strawberry shortcake. It’s the kind of dessert that feels elegant enough for a garden party but simple enough to make in your pajamas. I’ve tested this 3-ingredient easy dessert (okay, technically four if you count salt, but who’s counting?) so many times that I can make it with my eyes closed. And let me tell you, the first time I served it at a backyard gathering, plates were cleared in minutes. People kept asking for the recipe, thinking I’d hired a baker. Nope. Just flour, butter, and patience.
This isn’t just a dessert; it’s a summer ritual. It’s the taste of porch swings, lemonade, and lazy afternoons. If you’ve been intimidated by baking biscuits, or if you think you need fancy equipment, let me save you some time. You don’t. You just need to know a few tricks to keep those biscuits tender and those strawberries bursting with flavor. I’m going to walk you through exactly how I make my classic strawberry shortcake so you can create that same magic in your own kitchen. Trust me, once you taste a berry that’s been kissed by sugar and time, you’ll never go back to the canned stuff again.
Why You’ll Love This Recipe
There are a million reasons to keep this classic strawberry shortcake in your rotation, but let’s be real—you’re here because you want something that tastes amazing without taking over your entire weekend. Here’s why this recipe has become my go-to summer treat:
It’s Actually Three Ingredients — Seriously. Flour, butter, and sugar (plus strawberries and cream, obviously). No yeast to proof, no eggs to separate, no weird chemical leaveners you can’t pronounce. If you have these basics in your house, you’re already halfway done. I’ve made this on days when I forgot to go grocery shopping because I only needed staples.
Ready in Under 30 Minutes — From mixing to eating, this 3-ingredient easy dessert comes together fast. The biscuits bake in 12-15 minutes, and while they cool, the strawberries macerate. That’s it. I can make this on a whim when friends drop by unexpectedly, and it still looks like I planned it for weeks.
Zero Fancy Equipment Needed — You don’t need a stand mixer. You don’t need a food processor. A bowl, a fork, a rolling pin, and a baking sheet are all you need. I use a dull butter knife to cut in the butter, and it works perfectly. No excuses.
It’s a Crowd-Pleaser — I’ve served this to picky eaters, food snobs, and everyone in between. Kids love the sweetness, adults love the flakiness. It’s nostalgic without being boring. Unlike my ultra-moist carrot cake which requires a lot of prep, this is instant gratification.
Perfect for Summer Gatherings — Because it’s served cold (or room temp) and doesn’t need reheating, it’s the ultimate make-ahead dessert. You can prep the strawberries hours before guests arrive. It’s less stressful than a fall apple cider donut cake which needs to be warm and fresh out of the oven.
This recipe is my answer to “What’s for dessert?” when I want to impress without the stress. It’s light, it’s refreshing, and it tastes like sunshine. I make it whenever I need a little pick-me-up, and I bet you will too.
Ingredients You’ll Need
Here’s the best part about this classic strawberry shortcake: the ingredient list is short enough to fit on a sticky note. I’m particular about quality here, though, because when you have so few ingredients, each one has to do heavy lifting. You don’t need anything exotic, just good basics.
For the Biscuits
All-purpose flour (2 cups / 250g) — This is your base. Don’t use self-rising flour unless you adjust the salt and baking powder, but honestly, using all-purpose gives you more control. I always spoon it into the measuring cup and level it off; scooping directly packs it down and makes dry biscuits.
Granulated sugar (2 tablespoons) — Just a little bit. It sweetens the biscuit dough slightly and helps create that crisp, golden exterior. If you prefer less sweet biscuits, drop it to 1 tablespoon. I like the balance.
Baking powder (1 tablespoon) — Fresh is key. If your baking powder has been sitting in the back of the cupboard since 2021, toss it. Old baking powder means flat, dense biscuits. Test it by dropping a teaspoon in hot water—if it fizzes vigorously, you’re good.
Salt (½ teaspoon) — Essential for flavor. It makes the strawberry flavor pop and balances the sweetness. Don’t skip it.
Unsalted butter (½ cup / 1 stick / 113g, very cold) — This is non-negotiable. Cold butter creates steam pockets as it melts in the oven, which creates those flaky layers. Cube it and throw it in the freezer for 10 minutes before using if your kitchen is warm. I use Kerrygold or Plugrá because the high fat content makes for tender biscuits.
Heavy cream (¾ cup / 180ml, very cold) — This binds the dough. Some recipes use buttermilk, but heavy cream makes them richer and more tender. Keep it cold! If it’s warm, your butter will melt into the flour instead of staying in little chunks.
For the Strawberries
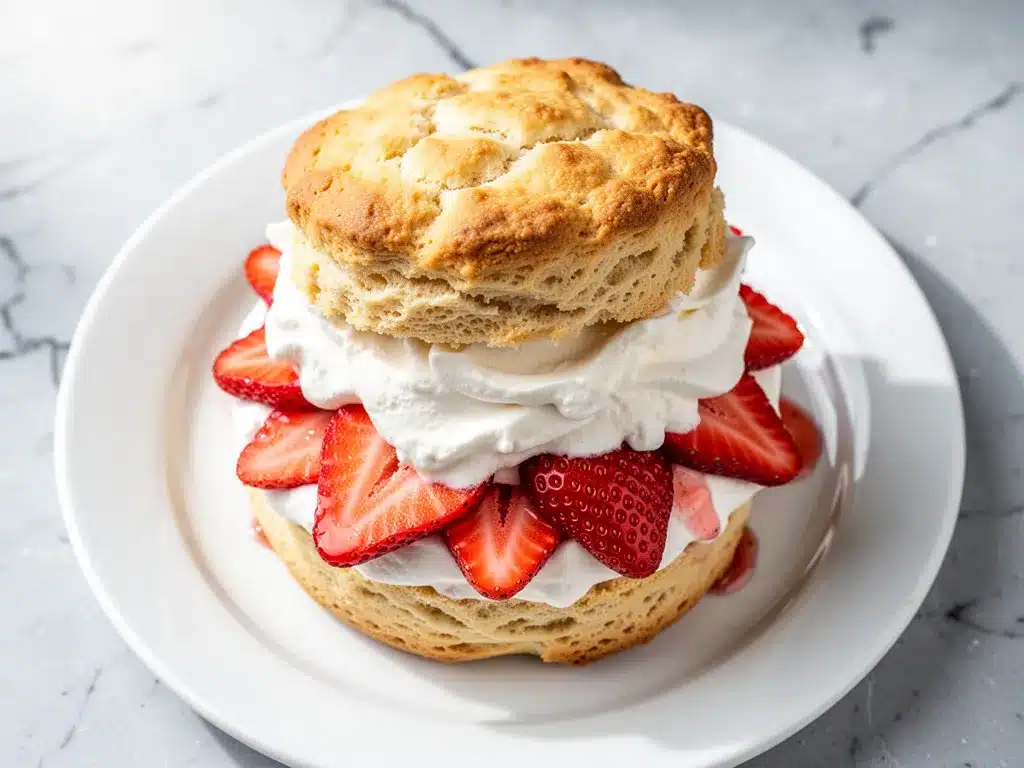
Fresh strawberries (1.5 pounds / 680g) — Look for bright red berries with white tips near the stem. If they’re white near the stem, they’re underripe and sour. Wash them, hull them (remove the green tops), and slice them. I like a mix of slices and halves for texture.
Granulated sugar (3-4 tablespoons) — This draws out the juices. The ratio depends on how sweet your berries are. Taste a berry first. If it’s tart, go with 4 tablespoons. If it’s super sweet, 3 is plenty.
Lemon juice (1 teaspoon, optional) — A splash of acid brightens the strawberry flavor. It’s subtle, but it makes the dessert taste less one-dimensional. I always add it.
For the Topping
Heavy whipping cream (1 cup / 240ml, cold) — For whipping. If you can’t find heavy whipping cream, look for “whipping cream” with at least 30% fat. Light cream won’t hold peaks.
Confectioners’ sugar (2 tablespoons) — Sweetens the whipped cream and helps stabilize it slightly.
Vanilla extract (1 teaspoon) — Pure vanilla, not imitation. It adds that classic dessert aroma that makes people close their eyes and sigh.
Whole milk or half-and-half (1-2 tablespoons) — To adjust the consistency of the whipped cream if it gets too stiff.
Extra fresh mint leaves — For garnish. It looks pretty and adds a fresh contrast to the rich cream.
Equipment Needed
You don’t need a fancy kitchen for this classic strawberry shortcake. In fact, keeping things simple is part of the charm. Here’s what I actually use:
Large mixing bowl — I use a 4-quart ceramic bowl. It’s wide enough to mix easily and sturdy enough not to tip over.
Fork or pastry cutter — To cut the butter into the flour. I prefer a fork because I can feel when the butter is the right size. A pastry cutter works too, but a fork is faster for this small batch.
Measuring cups and spoons — Standard stuff. I use both liquid and dry measuring cups for accuracy. Precision matters more here than in some other recipes because there’s so little room for error.
Rolling pin — Any rolling pin works. I use a wooden one. If you don’t have one, you can use a clean glass bottle.
Baking sheet — A standard 13×18 inch sheet. I line it with parchment paper for easy cleanup, but it’s not strictly necessary if you grease it well.
Biscuit cutter or glass — A 2.5-inch biscuit cutter gives uniform shapes. If you don’t have one, a drinking glass works. Just dip the rim in flour so it doesn’t stick.
Electric mixer or whisk — For whipping the cream. I use a hand mixer because it’s faster, but a whisk works if you have strong arms. It’s good cardio.
Small mixing bowl — For macerating the strawberries. Glass is nice because you can see the juices pooling at the bottom.
Serrated knife — To slice the strawberries evenly and to split the biscuits. A serrated knife glides through the soft biscuit without squishing it.
How to Make It: Step-by-Step
Alright, let’s make this classic strawberry shortcake! I’m walking you through exactly how I do it, including the little tricks I’ve picked up over the years. It’s easier than it looks, I promise.
Step 1: Prep the Strawberries (10 minutes)
Start here because the strawberries need time to release their juices. Wash and hull your berries, then slice them into quarters or halves, depending on their size. Toss them with 3-4 tablespoons of sugar and the lemon juice in a small bowl. Stir gently to coat. Set them aside at room temperature. You’ll see liquid start to form after about 10 minutes. This process, called maceration, concentrates the flavor and makes the strawberries juicy and luscious. While they sit, preheat your oven to 400°F (200°C). Line your baking sheet with parchment.
Step 2: Mix the Dry Ingredients (2 minutes)
In your large bowl, whisk together the flour, 2 tablespoons of sugar, baking powder, and salt. Whisking ensures the leavening agent is evenly distributed, so your biscuits rise uniformly. Make a well in the center of the mixture. This is where you’ll add the wet ingredients.
Step 3: Cut in the Butter (3 minutes)
Add the cold, cubed butter to the flour mixture. Using a fork or your fingers, work the butter into the flour. You want the mixture to look like coarse crumbs with some pea-sized chunks of butter remaining. Those chunks are crucial—they create the flaky layers. Don’t overmix here. If the butter is too small, the biscuits will be dense. If it’s too big, you’ll get big pockets of butter but less structure. Aim for a mix of sizes.
Step 4: Add the Cream (2 minutes)
Pour the cold heavy cream into the bowl. Use a spatula or your hands to gently mix it in. Stop as soon as the dough starts to come together. It will look shaggy and dry in places. That’s okay. Overmixing develops gluten, which makes biscuits tough. You want tender, not chewy. Gather the dough into a ball. If it’s too dry, add a teaspoon more cream. If it’s too sticky, sprinkle a little more flour.
Step 5: Shape and Cut the Biscuits (5 minutes)
Turn the dough out onto a lightly floured surface. Gently pat it out into a circle about ¾-inch thick. Do not roll it out like a pie crust; patting keeps the layers intact. Use your biscuit cutter or glass to cut out circles. Press straight down—do not twist the cutter, or the edges will seal and the biscuits won’t rise. Place them on the baking sheet, about 1 inch apart. Gather the scraps and pat them out again to cut more biscuits. You should get about 8-10 biscuits.
Step 6: Bake (12-15 minutes)
Bake the biscuits at 400°F for 12-15 minutes, or until they are golden brown on top and cooked through. They should look puffed and firm. If they’re pale, they need more time. If they’re dark brown on the bottom, your oven might be too hot, or the pan is too dark. Let them cool on the pan for 5 minutes before moving them. They’re fragile when hot.
Step 7: Whip the Cream (5 minutes)
In a cold bowl, combine the heavy whipping cream, confectioners’ sugar, and vanilla. Whip with a hand mixer or whisk until soft peaks form. This means when you lift the beaters, the cream holds a shape but still droops slightly. Don’t overwhip, or you’ll get butter. If it gets too stiff, add a teaspoon of milk to loosen it up. Keep it in the fridge until you’re ready to serve.
Step 8: Assemble the Shortcake (5 minutes)
Split the cooled biscuits in half horizontally with a serrated knife. Place the bottom half on a plate. Spoon a generous amount of macerated strawberries (including the juicy syrup) over the biscuit. Top with a dollop of whipped cream. Add the top half of the biscuit. Garnish with mint leaves. Serve immediately. The biscuit should be warm, the strawberries cool and juicy, and the cream light and airy.
Expert Tips & Tricks
Here’s everything I’ve learned from making this classic strawberry shortcake dozens of times. These tips will save you from my mistakes.
Keep Everything Cold
This is the #1 rule for tender biscuits. Cold butter, cold cream, cold bowl. If your butter melts before it hits the oven, you lose the flakiness. I keep my butter in the freezer until the last second. If your kitchen is hot, put your bowl in the fridge for 10 minutes before mixing.
Don’t Overmix the Dough
I know it’s tempting to mix it until it’s smooth. Don’t. Stop as soon as the flour disappears. Lumpy dough is better than smooth dough. Smooth dough means tough biscuits. I’ve made this mistake too many times, and the results are sad. Trust me.
Use Fresh Strawberries
Nothing beats fresh, ripe strawberries. If they’re out of season, frozen strawberries can work, but they release more water and can make the biscuits soggy. If you must use frozen, thaw them, drain the excess liquid, and pat them dry before adding sugar. But fresh is best. I once tried this with canned strawberries from a can, and it was… okay. But fresh is transformative.
Whip Cream in a Cold Bowl
Put your mixing bowl and beaters in the freezer for 15 minutes before whipping. Cold cream whips faster and holds its shape better. If your cream splits or looks grainy, it’s too warm. Put the bowl in the fridge for 5 minutes, then whip again.
Let the Strawberries Macerate
Don’t skip the sugar and wait time. The sugar draws out the juices, creating that syrupy goodness that soaks into the biscuit. If you assemble immediately, the berries will be dry and the biscuit dry. Give it 15-30 minutes. I often prep the berries in the morning and let them sit in the fridge until dinner.
Serve Warm, Not Hot
Let the biscuits cool for 5 minutes after baking. If you serve them piping hot, the cream will melt instantly, and the biscuit might fall apart. Warm is the sweet spot (pun intended).
Variations & Substitutions
Once you’ve nailed the basic version, here’s how you can mix it up. I’ve tried all of these, and they’re all winners.
Blueberry Shortcake
Swap strawberries for blueberries. Use 1.5 pounds of fresh blueberries. Blueberries don’t release as much juice, so you might want to add 1 tablespoon of cornstarch to the sugar to thicken the syrup. It’s equally delicious and perfect for late summer.
Raspberry Shortcake
Raspberries are tart and delicate. Use 1.5 pounds of fresh raspberries. They break easily, so handle them gently. The flavor is intense and sophisticated. Great with a bit of lavender sugar added to the cream.
Almond Shortcake
Add 1 teaspoon of almond extract to the biscuit dough and 1 teaspoon to the whipped cream. It tastes like those fancy French pastries. Very elegant.
Gluten-Free Option
Use a 1:1 gluten-free flour blend. The texture might be slightly denser, but it still works. I’ve used Bob’s Red Mill and it’s fine. Just make sure your baking powder is gluten-free.
Dairy-Free Option
Use cold coconut oil instead of butter, and coconut cream instead of heavy cream. The coconut flavor pairs well with strawberries. It’s not exactly the same, but it’s creamy and delicious. My dairy-free friend loves this version.
Lower-Sugar Option
Reduce the sugar in the biscuits to 1 tablespoon and in the strawberries to 2 tablespoons. You can use a sugar substitute like erythritol, but it might change the texture slightly. Fresh berries are naturally sweet enough if they’re ripe.
Mini Shortcakes
Cut the dough into smaller biscuits for individual servings. They bake faster (8-10 minutes). Great for parties because people can grab one easily. Similar to how I serve football tailgate chocolate peanut butter buckeye bars, but bite-sized.
Serving & Storage
How to Serve:
I usually serve this straight from the kitchen, with plates and forks ready. It’s rustic and inviting. But here are other ways I’ve enjoyed it:
- Deconstructed Shortcake: Layer the components in a glass or trifle dish. Biscuit crumbles, strawberries, cream. Looks fancy and is easy to eat with a spoon.
- Shortcake Sundaes: Crumble the biscuit over vanilla ice cream and top with strawberries and cream. Dessert on dessert.
- With Coffee: Serve with a strong cup of coffee or tea. It’s a perfect afternoon snack.
Side Dishes:
Since this is a dessert, you don’t need sides. But if you’re having a full meal, it pairs well with crispy air fryer pork schnitzel or a light garlic parmesan charcuterie board for appetizers.
Storage Instructions:
Refrigerator: Store the baked biscuits in an airtight container at room temperature for up to 2 days. Store the strawberries and cream separately in the fridge for up to 2 days. Do not assemble until ready to serve, or the biscuit will get soggy.
Reheating: Warm the biscuits in a 350°F oven for 5 minutes. Do not microwave, or they’ll get chewy. The strawberries and cream are served cold, so no reheating needed.
Freezing: You can freeze the baked biscuits for up to 3 months. Wrap them tightly in plastic wrap and foil. Thaw at room temperature and warm before serving. Do not freeze the assembled shortcake; the texture will suffer.
Meal Prep: Prep the strawberries the night before. Whip the cream the morning of. Bake the biscuits the morning of. Assemble right before serving. This minimizes stress and maximizes freshness.
Nutrition Information
I’m not a nutritionist, but here’s the breakdown if you’re tracking. Keep in mind that this is a rich dessert, so portion control is key.
Per Serving (based on 1 biscuit, ½ cup strawberries, ¼ cup cream):
- Calories: 280
- Protein: 4g
- Carbs: 35g
- Fiber: 2g
- Sugar: 18g
- Fat: 14g
- Saturated Fat: 9g
- Cholesterol: 45mg
- Sodium: 180mg
What’s Good:
- Strawberries provide vitamin C and antioxidants.
- It’s a relatively small portion size.
- Can be made with less sugar if desired.
What to Know:
- High in calories from cream and butter.
- Contains dairy and gluten.
- Natural sugars from fruit, but added sugar is present.
My Take:
Look, this is dessert. It’s meant to be enjoyed. It’s not a health food, but it’s made with real ingredients. When I make it, I use fresh berries and good butter, so it’s better than most store-bought desserts. I enjoy one serving and savor it. If you want to lighten it up, use less cream or more berries. But usually? I just enjoy it and move on.
Final Thoughts
So that’s my classic strawberry shortcake! I’ve probably talked your ear off at this point, but when you make a recipe this often, you have a lot to say about it. This dessert has saved my summer evenings more times than I can count. It’s my answer to “What’s for dessert?” when I want something special but don’t want to spend hours in the kitchen.
It’s the kind of recipe that brings people together. I’ve made this for birthday parties, casual get-togethers, and quiet nights in. Everyone loves it. The combination of warm biscuit, juicy berries, and cool cream is just perfect.
Make it yours! Try different berries, add different extracts, or serve it in different ways. The best recipes are the ones you adapt to your family’s tastes. If you make this 3-ingredient easy dessert, drop a comment and let me know what you think! I love hearing how recipes turn out in your kitchen. And if something doesn’t work, tell me that too—I’m here to help troubleshoot.
Happy cooking! And I hope your kitchen smells half as good as mine does right now.
Frequently Asked Questions
Can I use frozen strawberries?
You can, but fresh is best. Frozen strawberries release a lot of water, which can make the biscuits soggy. If you must use frozen, thaw them completely, drain the excess liquid, and pat them dry with paper towels before adding sugar. You might also want to cook them down slightly to reduce the liquid. But for the best texture, stick to fresh.
Why are my biscuits dense?
This usually happens for two reasons: overmixing the dough or old baking powder. If you mix the dough until it’s smooth, you develop gluten, which makes biscuits tough. Stop as soon as the flour disappears. Also, check your baking powder. If it’s old, it won’t leaven properly. Test it in hot water to see if it fizzes.
Can I make the biscuits ahead of time?
Yes! Bake the biscuits up to 2 days ahead. Store them in an airtight container at room temperature. Reheat them in a 350°F oven for 5 minutes before serving. Do not assemble with strawberries and cream until ready to serve, or the biscuit will get soggy.
Why did my whipped cream separate?
This usually means the cream was too warm or you overwhipped it. If the cream is warm, it won’t hold its structure. Use a cold bowl and cold cream. If you overwhip, the fat separates and you get butter. If it’s already separated, try whipping in a teaspoon of cold cream to bring it back together. If that doesn’t work, you can use it for baking or cooking.
Can I use buttermilk instead of heavy cream?
You can, but the biscuits will be tangier and less rich. Buttermilk is a good option if you want a lighter biscuit. Use the same amount. Just make sure it’s cold. I prefer heavy cream for the tenderest texture, but buttermilk works well too.
How do I store leftover strawberries?
Store the macerated strawberries in an airtight container in the fridge for up to 2 days. The syrup will continue to draw out, so they’ll be very juicy. Stir them before serving. They’re great on oatmeal or yogurt too.
Can I double this recipe?
Absolutely! Double everything and use a larger bowl. The baking time might increase by 2-3 minutes. Make sure you have enough space on the baking sheet for the biscuits to rise. I usually bake them in two batches if my oven is small.
Pin This Recipe!
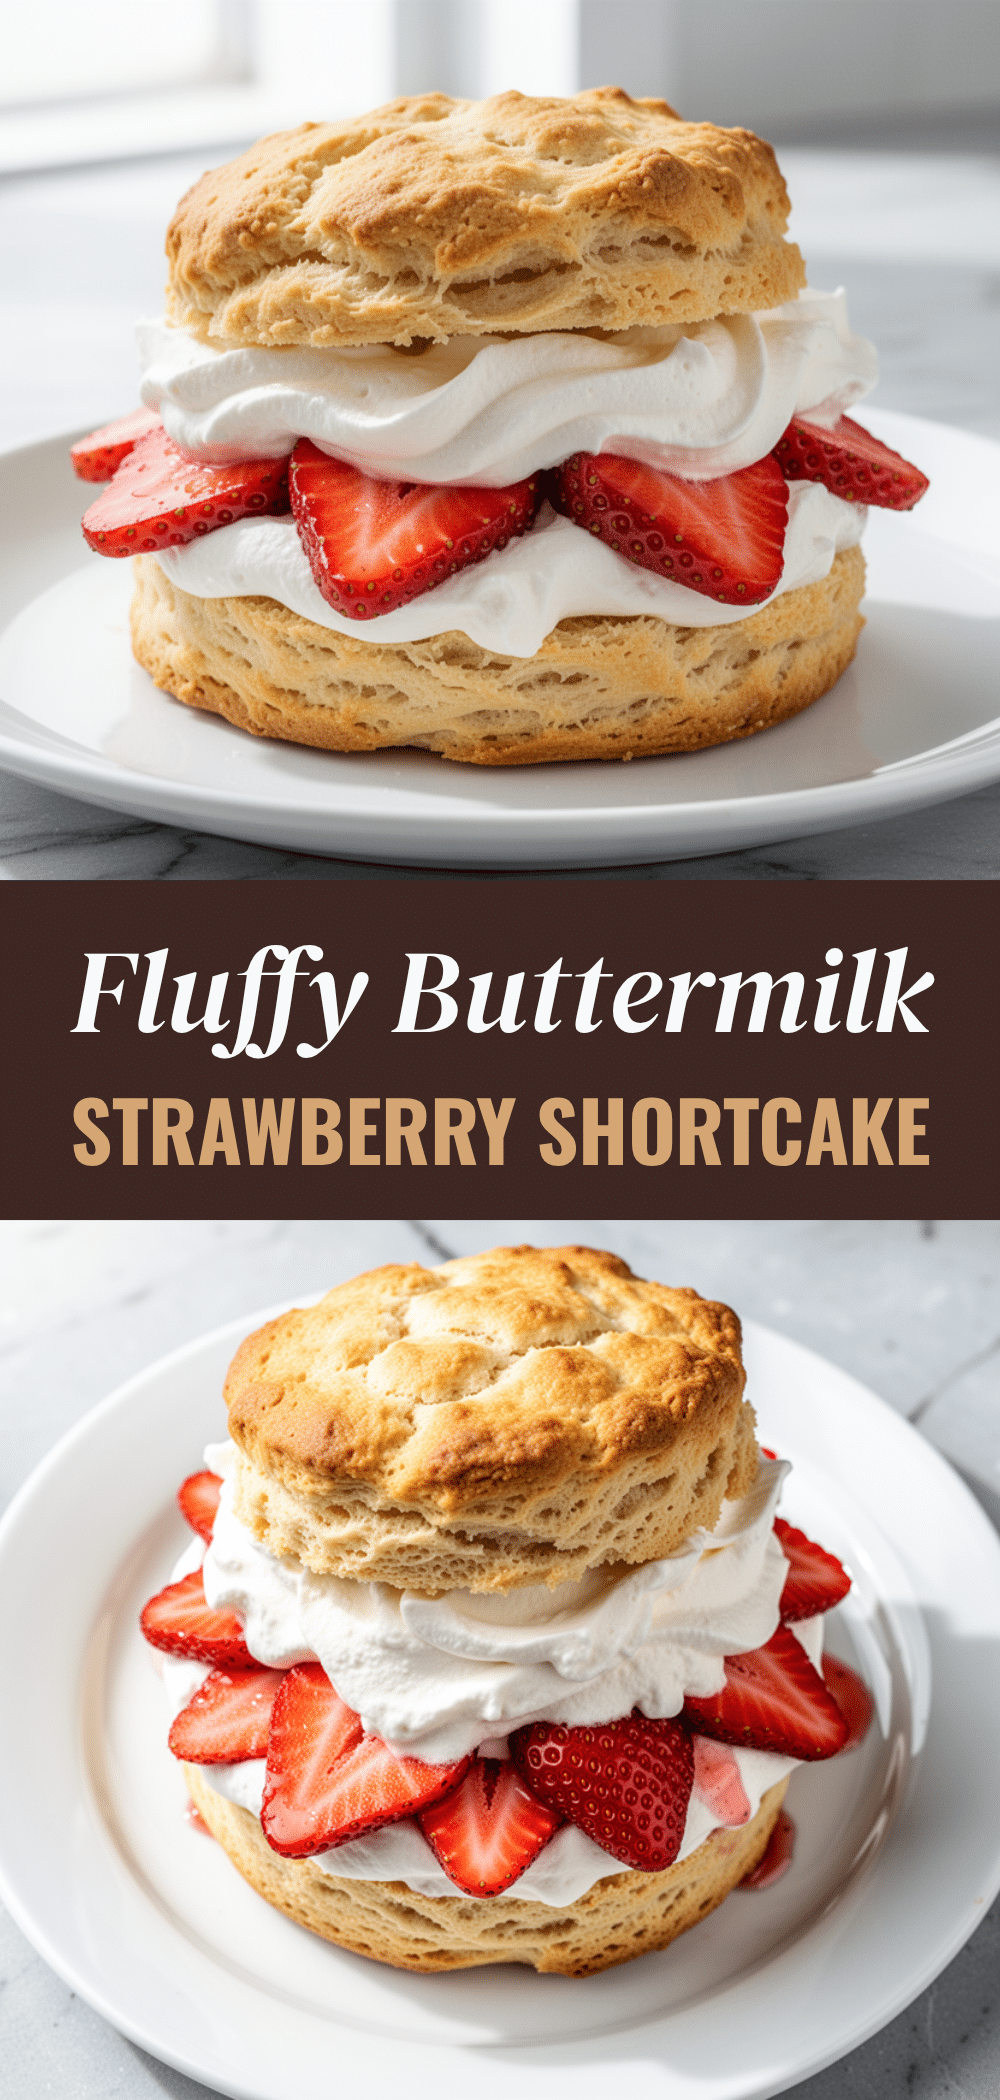
Classic Strawberry Shortcake: 3-Ingredient Easy Dessert
- Total Time: 35 minutes
- Yield: 8 servings 1x
Description
A simple, elegant summer dessert featuring soft, buttery biscuits topped with juicy macerated strawberries and freshly whipped cream. This recipe requires minimal ingredients and equipment, making it perfect for quick weeknight treats or garden parties.
Ingredients
- 2 cups (250g) all-purpose flour
- 2 tablespoons granulated sugar (for biscuits)
- 1 tablespoon baking powder
- ½ teaspoon salt
- ½ cup (1 stick / 113g) unsalted butter, very cold and cubed
- ¾ cup (180ml) heavy cream, very cold
- 1.5 pounds (680g) fresh strawberries, hulled and sliced
- 3–4 tablespoons granulated sugar (for strawberries)
- 1 teaspoon lemon juice
- 1 cup (240ml) heavy whipping cream, cold
- 2 tablespoons confectioners’ sugar
- 1 teaspoon vanilla extract
- 1–2 tablespoons whole milk or half-and-half (optional)
- Extra fresh mint leaves for garnish
Instructions
- Wash, hull, and slice the strawberries. Toss them with 3-4 tablespoons of sugar and lemon juice in a small bowl. Set aside at room temperature for 10-30 minutes to macerate.
- Preheat oven to 400°F (200°C) and line a baking sheet with parchment paper.
- In a large bowl, whisk together the flour, 2 tablespoons of sugar, baking powder, and salt.
- Add the cold, cubed butter to the flour mixture. Use a fork or pastry cutter to work the butter into the flour until the mixture resembles coarse crumbs with some pea-sized chunks of butter remaining.
- Pour in the cold heavy cream. Gently mix with a spatula or hands until the dough just comes together. It should look shaggy; do not overmix.
- Turn the dough onto a lightly floured surface and pat it into a circle about ¾-inch thick. Do not roll it.
- Cut out circles using a 2.5-inch biscuit cutter or glass, pressing straight down without twisting. Place biscuits on the baking sheet about 1 inch apart.
- Bake for 12-15 minutes until golden brown and puffed. Let cool on the pan for 5 minutes.
- In a cold bowl, whip the heavy whipping cream, confectioners’ sugar, and vanilla until soft peaks form. Add milk if needed to adjust consistency.
- Split the cooled biscuits in half horizontally. Place the bottom half on a plate, top with macerated strawberries and syrup, add a dollop of whipped cream, and cover with the top half. Garnish with mint and serve immediately.
Notes
Keep all ingredients (butter, cream, bowl) cold to ensure flaky biscuits. Do not overmix the dough to avoid tough biscuits. Let strawberries macerate to create a juicy syrup. Biscuits can be made ahead and frozen; assemble just before serving to prevent sogginess.
- Prep Time: 20 minutes
- Cook Time: 15 minutes
- Category: Dessert
- Cuisine: American
Nutrition
- Serving Size: 1 biscuit, ½ cup str
- Calories: 280
- Sugar: 18
- Sodium: 180
- Fat: 14
- Saturated Fat: 9
- Carbohydrates: 35
- Fiber: 2
- Protein: 4
Keywords: strawberry shortcake, easy dessert, summer recipe, biscuits, fresh strawberries, whipped cream, 3-ingredient dessert, gluten-free option, dairy-free option



