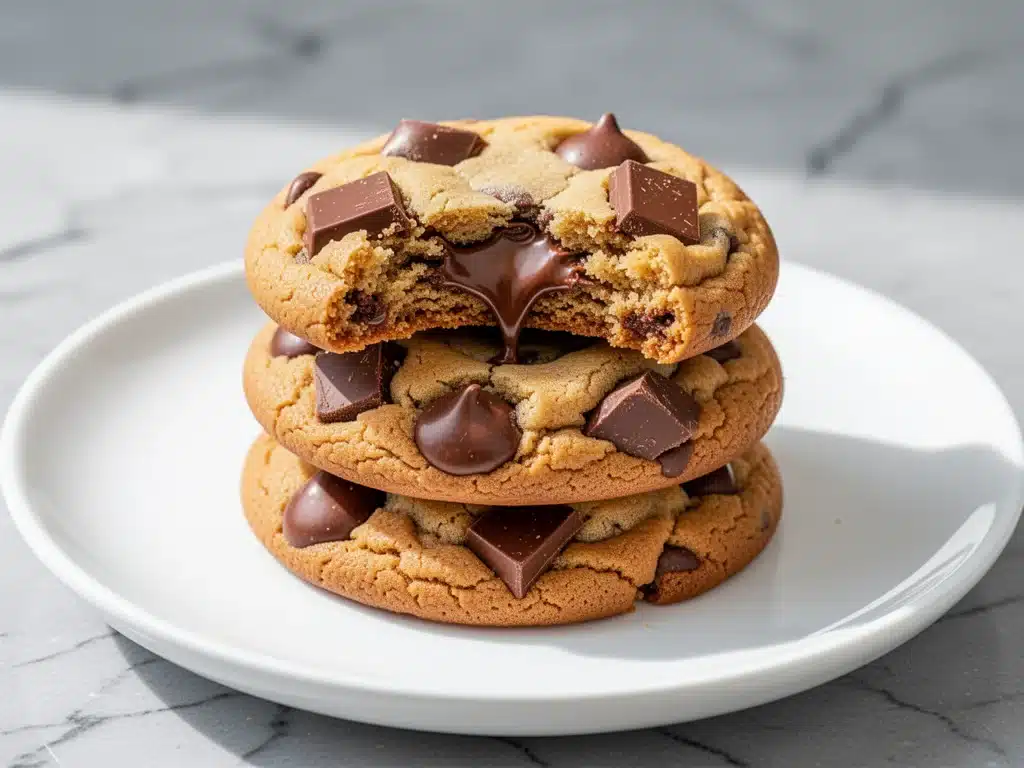
It was 7:15 PM on a Tuesday, and I was staring into my pantry with the same desperate hope I usually reserve for finding the TV remote. My kids were hungry, the delivery app was threatening to charge me a fortune in fees, and I had exactly zero energy to cook a “real” dinner. Then I saw it: a stick of butter that had been sitting on the counter, softening, and a bag of chocolate chips that was suspiciously close to empty.
I didn’t want cake. I didn’t want pie. I wanted something sweet, warm, and immediate. So I threw together what I thought would be a mediocre, quick fix. I browned the butter because I was bored, threw in the chocolate chips, and popped them in the oven. Twenty minutes later, I walked into the kitchen to find my ten-year-old sitting at the table, face covered in chocolate, looking at me like I’d just pulled a rabbit out of a hat.
“Mom, these are better than the ones from the bakery,” he mumbled through a mouthful of warm dough.
I laughed it off then, but I didn’t laugh when I tasted one myself. That brown butter chocolate chip cookie was nutty, chewy, and impossibly rich. It wasn’t just a quick fix; it was a revelation. I’ve made this recipe at least a dozen times since that random Tuesday, tweaking the ratios and testing different chocolates, and I can confidently say it’s the best 15-minute weeknight treat I’ve ever created. It’s not actually 15 minutes from start to finish (you do have to wait for the butter to cool), but the active time is less than 10 minutes. It’s the perfect balance of “I can do this tonight” and “I am a culinary genius.”
If you’re looking for a dessert that feels fancy but requires zero stress, this is your answer. It’s got that deep, toasted flavor that usually takes hours of prep, but here, it’s all in the butter. Let’s get into why this cookie is about to become your new best friend.
Why You’ll Love This Brown Butter Chocolate Chip Cookie Recipe
There are a million cookie recipes out there. I have a whole shelf of them. But this brown butter chocolate chip cookie sits in a category all its own. It’s not just “good for a quick dessert.” It’s genuinely superior to most standard recipes, and here’s why it keeps me coming back to the kitchen after a long day.
Deep, Nutty Flavor Without the Effort
Most people think browning butter is complicated. It’s not. It’s just melting butter until it smells like hazelnuts. That single step adds a layer of sophistication that makes these cookies taste like they came from a high-end bakery, not a 15-minute scramble. It’s the kind of flavor that makes people ask, “What’s in these?” when you serve them.
Chewy, Not Cakey
I hate dry, crumbly cookies. I’ve spent years chasing that perfect chewy texture, and the secret here is the browned butter itself. The milk solids in the butter change how the fat interacts with the flour, resulting in a cookie that is crisp on the edges but soft and gooey in the center. It’s the same texture you get in those expensive ultra-fudgy one-bowl chocolate chip cookies, but with a nuttier twist.
Uses Pantry Staples
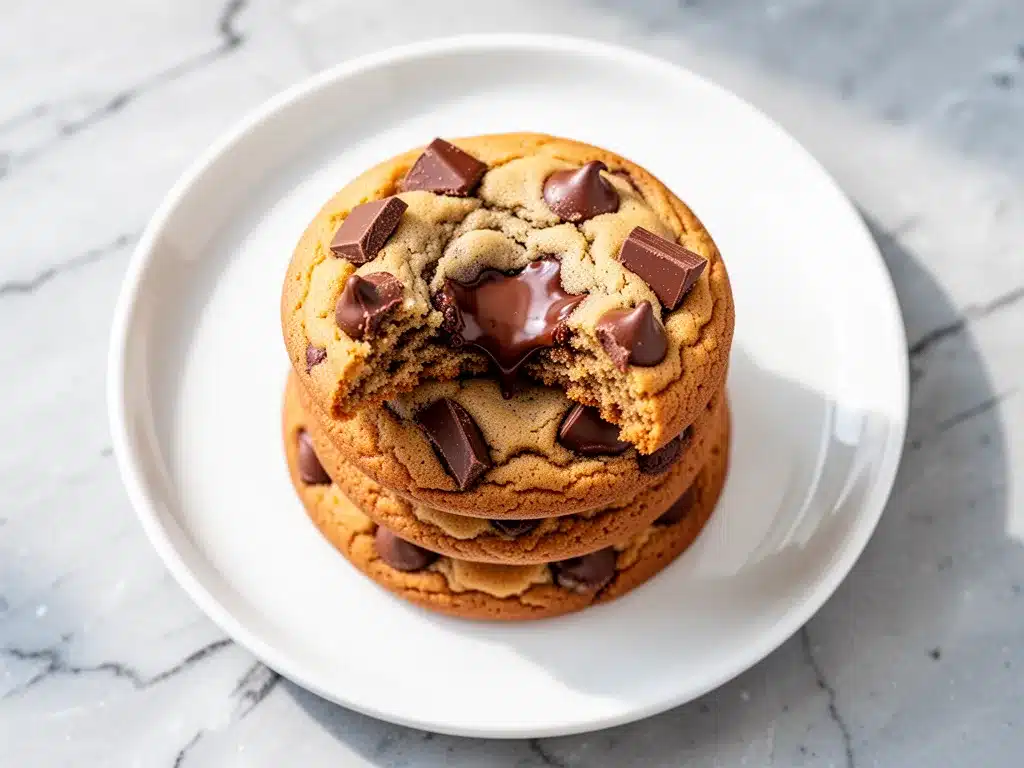
You probably have everything you need right now. Butter, sugar, eggs, flour, chocolate chips. No weird extracts or hard-to-find ingredients. This is the ultimate busy weeknight treat because it doesn’t require a trip to the store. It’s budget-friendly and stress-free.
Kid-Approved (and Adult-Demanded)
I’ve made these for school bake sales, last-minute dinner guests, and just because I wanted a snack. Every time, they disappear within minutes. They’re sweet but not cloying, rich but not heavy. My kids love them, but let’s be honest—they’re the ones fighting over the last one because they know how good they are.
So basically, if you want a dessert that looks impressive but takes less time than ordering takeout, this is it. It’s reliable, delicious, and impossible to mess up.
Ingredients You’ll Need
Here’s the best part: this brown butter chocolate chip cookie recipe is simple. You don’t need a stand mixer. You don’t need fancy ingredients. You just need to pay attention to the butter. Here’s what you’ll need and why each piece matters.
For the Base
Unsalted Butter (1 cup / 2 sticks / 226g) — This is where the magic happens. You’ll be browning this. Use high-quality butter if you can afford it, because you’re tasting the butter here. Salted butter can work, but you’ll need to reduce the added salt in the recipe. I prefer unsalted so I can control the flavor.
Granulated Sugar (¾ cup / 150g) — This helps create those crispy edges. Don’t skip this or swap it all for brown sugar, or you’ll lose that texture. It provides structure and crunch.
Brown Sugar (1 cup / 200g, packed) — This is the chewy factor. Dark brown sugar has more molasses, which gives a deeper flavor and a softer texture. Light brown works, but dark is better for that rich, caramel-like taste.
Eggs (2 large, room temperature) — Room temperature eggs mix better into the sugar. Cold eggs can cause the butter to seize up slightly. If you forgot to take them out, just crack them into a warm bowl of water for 5 minutes.
Vanilla Extract (2 teaspoons) — Use real vanilla, not imitation. It makes a huge difference in the aroma. I use a good bottle of Madagascar vanilla because it smells amazing while I’m cooking.
For the Structure
All-Purpose Flour (2 cups / 250g) — Standard flour works perfectly. Don’t use cake flour; it’ll make them too tender. Spoon and level your flour—don’t scoop it directly from the bag, or you’ll pack it down and get dry cookies.
Baking Soda (1 teaspoon) — This helps the cookies spread and brown. Make sure it’s fresh; if it’s old, your cookies might not rise properly.
Salt (1 teaspoon) — Essential for balancing the sweetness. Since we’re using unsalted butter, this is crucial. If using salted butter, reduce to ½ teaspoon.
For the Flavor
Chocolate Chips (2 cups / 340g) — I use a mix of semi-sweet and milk chocolate chips. Semi-sweet keeps it from being too sweet, while milk chocolate adds creaminess. You can also chop up a chocolate bar for bigger, melty chunks. I don’t recommend using white chocolate chips unless you really want it sweet.
Flaky Sea Salt (for topping, optional) — This is the pro move. Sprinkling a little Maldon sea salt on top right after they come out of the oven elevates the flavor instantly. The contrast between sweet chocolate and salty crust is addictive.
Quick Tip: I always keep a bag of chocolate chips and a stick of butter on hand for nights like this. If you’re planning to make these often, buy the butter in bulk. It freezes well, so you can brown it ahead of time and store it in the fridge.
Equipment Needed
You don’t need fancy gadgets for this 15-minute weeknight treat. Here’s what I actually use in my kitchen.
Medium Saucepan — I use a stainless steel saucepan because I can see the color change clearly. Non-stick works too, but you won’t see the milk solids forming as easily. A light-colored pan is best so you don’t burn the butter without noticing.
Large Mixing Bowl — A glass or ceramic bowl is nice because it helps cool the butter faster. Plastic is fine, but glass retains heat less.
Whisk — For beating the eggs and sugar. A balloon whisk works best for incorporating air.
Spatula — A silicone spatula is essential for folding in the chocolate chips without overmixing the dough.
Baking Sheets — I use heavy-gauge aluminum sheets. They conduct heat evenly. If you’re using thin sheets, your cookies might brown too fast on the bottom.
Parchment Paper — Always line your sheets. Cleanup is so much easier, and the cookies slide off perfectly. I never bake these on unlined sheets anymore.
Cooling Rack — Optional but helpful if you’re making a big batch. It stops the cookies from cooking on the hot pan.
How to Make It: Step-by-Step
Alright, let’s make this! I’m walking you through exactly how I do it, including the little tricks I’ve picked up over the years. This brown butter chocolate chip cookie recipe is straightforward, but the browning step requires a tiny bit of attention.
Step 1: Brown the Butter (5-7 minutes)
Melt the butter in your saucepan over medium heat. Stir it constantly with a wooden spoon. At first, it will just bubble. Then, the bubbles will get quieter, and you’ll see little brown specks form at the bottom. The smell will change from just “buttery” to “toasted nuts” or “popcorn.” This is the key moment. As soon as it smells nutty and looks like amber-colored tea with specks, take it off the heat immediately. Pour it into a heat-proof bowl to stop the cooking. Let it cool for 10-15 minutes until it’s just warm, not hot. If it’s too hot, it’ll cook the eggs when you add them.
Step 2: Mix the Sugars (2 minutes)
Once the butter is slightly cooled, add it to your large mixing bowl. Add both the granulated and brown sugar. Whisk vigorously for about a minute. You want the mixture to look glossy and combined. This step helps dissolve the sugar slightly, which contributes to the chewy texture. Don’t rush this part.
Step 3: Add Eggs and Vanilla (1 minute)
Add the eggs one at a time, whisking well after each addition. Then add the vanilla extract. Mix until the batter is smooth and uniform. It should look like a thick, shiny paste. If it looks slightly separated, just keep whisking—it’ll come together.
Step 4: Add Dry Ingredients (2 minutes)
Stir in the flour, baking soda, and salt. Use a spatula or wooden spoon. Mix just until no streaks of flour remain. Do not overmix! Overmixing develops gluten, which makes cookies tough. You want them tender. It should take about 30 seconds of stirring.
Step 5: Fold in Chocolate Chips (1 minute)
Pour in the chocolate chips. Fold them in gently. If you want bigger chocolate chunks, chop up a bar instead of using chips. I usually do a mix of both for variety. Make sure every cookie gets a good amount of chocolate.
Step 6: Scoop and Bake (15-18 minutes)
Preheat your oven to 350°F (175°C). Line two baking sheets with parchment paper. Scoop the dough into balls (about 2 tablespoons each) and place them on the sheets, spaced 2 inches apart. They will spread. Bake for 12-14 minutes. You want the edges to be golden brown but the centers to still look slightly underdone. They will firm up as they cool. If you bake them until they look fully done in the oven, they’ll be dry.
Step 7: Cool and Salt (5 minutes)
Let the cookies cool on the baking sheet for 5 minutes. This is when you sprinkle the flaky sea salt on top if you’re using it. Then transfer them to a cooling rack. Eat them warm with a glass of milk, or save them for later.
Total Time: About 30 minutes (5 minutes active browning, 10 minutes mixing, 15 minutes baking).
Expert Tips & Tricks
Here’s everything I’ve learned from making this brown butter chocolate chip cookie dozens of times. These tips will save you from my mistakes.
Don’t Burn the Butter
This is the #1 risk. Brown butter goes from “perfect” to “burnt” in seconds. If it smells acrid or bitter, start over. Burnt butter tastes terrible and can’t be fixed. When in doubt, take it off the heat earlier. You can always brown it a bit more next time, but you can’t un-burn it.
Cool the Butter Properly
If you add hot butter to the sugar and eggs, you’ll get greasy cookies. Let the butter cool until it’s just warm to the touch. If you’re in a rush, put the bowl in the fridge for 5 minutes. Don’t skip this step.
Chill the Dough (Optional but Recommended)
For the best flavor and texture, chill the dough for at least 30 minutes (or up to 3 days). This allows the flour to hydrate fully and the flavors to meld. It also prevents the cookies from spreading too much. If you’re in a hurry, you can bake them right away, but chilled dough yields a thicker, chewier cookie.
Use a Cookie Scoop
I know you can use a spoon, but a cookie scoop ensures uniform size. This means even baking. If some cookies are big and some are small, the small ones will burn before the big ones are done.
Underbake Slightly
I cannot stress this enough. Take them out when they look slightly soft in the middle. They continue to cook on the hot pan after you remove them from the oven. Overbaked cookies are dry and crumbly. Underbaked cookies are chewy and delicious.
Flaky Salt is Non-Negotiable
If you’ve never tried sea salt on chocolate chip cookies, you’re missing out. The salt enhances the chocolate flavor and cuts the sweetness. It’s a game-changer. Sprinkle it on right after they come out of the oven so it sticks to the melted chocolate.
Variations & Substitutions
Once you’ve nailed the basic version, here’s how you can mix it up. I’ve tried all of these, and they all work.
White Chocolate Macadamia
Swap the chocolate chips for white chocolate chips and add 1 cup of chopped macadamia nuts. It’s like a tropical twist. Great for summer.
Chewy Pumpkin Spice
Add ½ cup of pumpkin puree and 1 teaspoon of pumpkin pie spice. This is similar to my fall brown butter pumpkin snickerdoodles, but with chocolate. Perfect for autumn.
Double Chocolate
Add ¼ cup of cocoa powder to the dry ingredients and use semi-sweet chips. It’s rich, fudgy, and intense. If you love chocolate, this is your version.
Gluten-Free
Use a 1:1 gluten-free flour blend. The texture will be slightly more tender, but it still works. I’ve used Bob’s Red Mill and it’s great.
Chewy Snickerdoodle Style
Roll the dough balls in a mixture of cinnamon and sugar before baking. It gives you that classic snickerdoodle crunch. These are similar to my soft batch snickerdoodle cookies, but with brown butter.
Mini Chocolate Chips
Use mini chips instead of regular. They distribute more evenly and give you a chocolatey bite in every forkful. Great for kids.
Serving & Storage
How to Serve
I usually serve these warm, straight from the cooling rack. They’re best fresh. Pair them with a cold glass of milk, or for a fancier touch, serve with a scoop of vanilla ice cream or a dollop of whipped cream. They’re also great for lunchboxes or after-school snacks.
Storage Instructions
Room Temperature: Store in an airtight container for up to 5 days. They stay soft and chewy if you keep them sealed. I usually keep a piece of bread in the container to keep them moist.
Fridge: Not recommended. The fridge dries out cookies. Stick to room temperature.
Freezer: Yes! You can freeze the dough balls. Scoop them onto a sheet, freeze until hard, then transfer to a bag. Bake from frozen, adding 2-3 minutes to the bake time. Or freeze baked cookies for up to 3 months. Thaw at room temperature.
Reheating
Warm them up in the microwave for 10-15 seconds. It makes them gooey again. Or pop them in a 350°F oven for 3-4 minutes. Never eat a cold brown butter cookie if you can help it—it’s just not the same experience.
Nutrition Information
I’m not a nutritionist, but here’s the breakdown if you’re tracking. Keep in mind that these are rich cookies, so portion control is key.
Per Cookie (makes approx. 24 cookies):
- Calories: 180
- Protein: 3g
- Carbs: 22g
- Fat: 10g
- Sugar: 14g
Look, this is a treat. It’s not a health food. But it’s made with real ingredients, and it’s way better than store-bought cookies. When I make these, I usually eat two and feel completely satisfied. It’s comfort food, plain and simple.
Final Thoughts
So that’s my go-to brown butter chocolate chip cookie! I’ve probably talked your ear off at this point, but when you make a recipe this often, you have a lot to say about it. This has saved me on more weeknights than I can count. It’s my answer to “what’s for dessert?” when I’m tired, don’t want to order out, and still want something that tastes really good.
My kids are happy, my husband’s happy, and I’m happy because I’m not stressed about cooking. It’s that rare recipe that delivers big flavor with minimal effort. Make it yours! Try different chocolates, add nuts, or skip the salt if you prefer. The best recipes are the ones you adapt to your family’s tastes.
If you make this, drop a comment and let me know what you think! I love hearing how recipes turn out in your kitchen. And if something doesn’t work, tell me that too—I’m here to help troubleshoot. Happy cooking! And I hope your kitchen smells half as good as mine does right now.
Frequently Asked Questions
Can I use salted butter instead of unsalted?
You can, but you’ll need to reduce the added salt in the recipe to ½ teaspoon. Salted butter varies in salt content, so taste the dough if you can (it’s okay to do a little bit!) to adjust. I prefer unsalted because it gives me more control over the final flavor.
Why did my cookies spread too much?
This usually means the butter was too warm when you mixed the dough, or you didn’t chill it. If the butter is liquid, it melts in the oven before the structure sets. Make sure your butter is just warm, not melted, and consider chilling the dough for 30 minutes before baking.
Can I freeze the brown butter?
Yes! You can brown the butter ahead of time and freeze it in an ice cube tray or small containers. When you’re ready to make the cookies, just thaw it in the fridge and proceed with the recipe. This is great for meal prep.
Why do my cookies taste slightly burnt?
Did you burn the butter? Brown butter has a very narrow window between “perfectly nutty” and “burnt.” If it smells acrid, you went too far. Next time, take it off the heat a little earlier. Also, check your oven temperature; if it’s too hot, the edges might burn before the center is done.
Can I make these gluten-free?
Absolutely! Use a 1:1 gluten-free flour blend. The texture might be slightly more tender, but it still works. I’ve used Bob’s Red Mill and King Arthur’s blends with success. Just make sure your baking soda and chocolate chips are certified gluten-free if you have a severe allergy.
How do I get chewy cookies instead of crispy ones?
More brown sugar, less granulated sugar, and underbaking slightly. Also, chilling the dough helps retain moisture. If you like crispy cookies, use more granulated sugar and bake them a minute longer. This recipe is tuned for chewy, but you can adjust to your preference.
Can I add nuts?
Yes! Walnuts or pecans are classic pairings with brown butter. Add 1 cup of toasted nuts along with the chocolate chips. Toasting the nuts first enhances their flavor and adds a nice crunch.
Pin This Recipe!
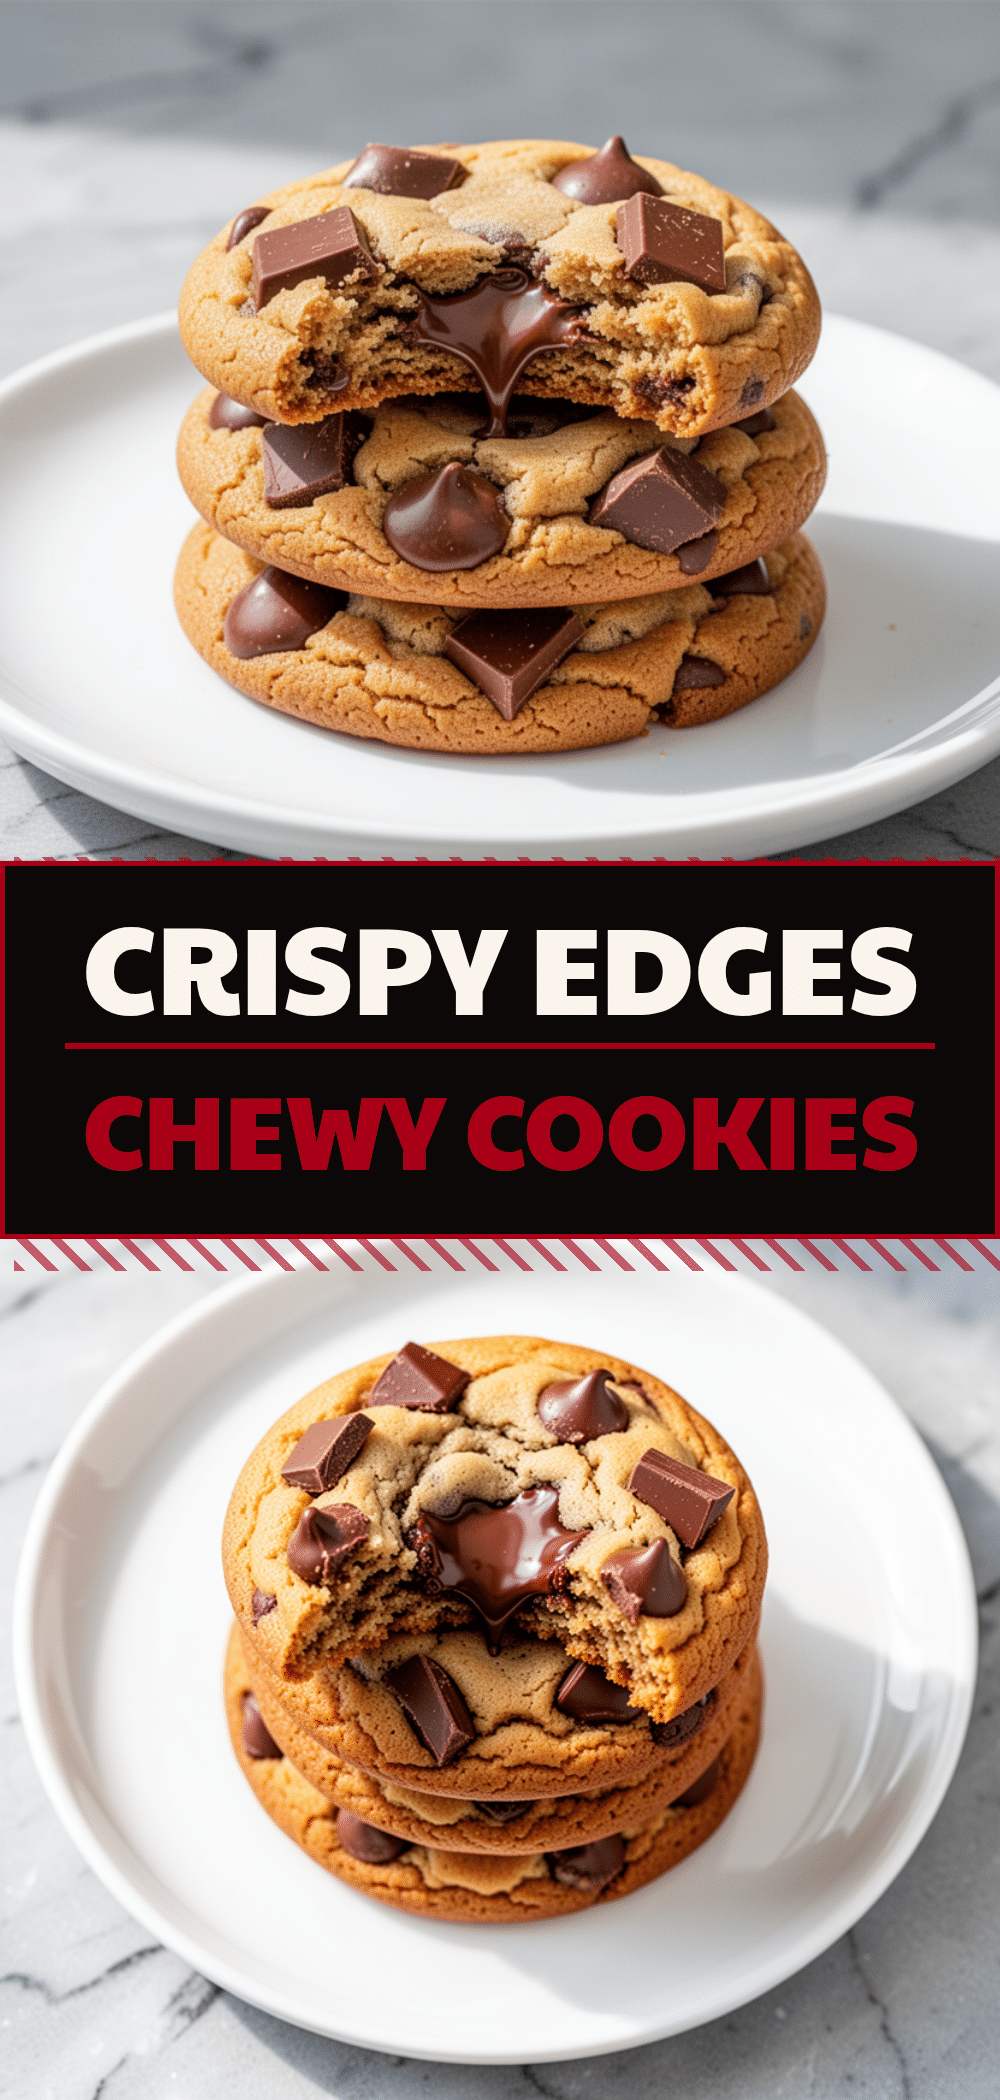
Brown Butter Chocolate Chip Cookies: Easy 15-Min Weeknight Treat
- Total Time: 30 minutes
- Yield: 24 cookies 1x
Description
These brown butter chocolate chip cookies offer a deep, nutty flavor and chewy texture with minimal active prep time, making them the perfect quick weeknight dessert using pantry staples.
Ingredients
- 1 cup (2 sticks / 226g) unsalted butter
- ¾ cup (150g) granulated sugar
- 1 cup (200g) packed brown sugar
- 2 large eggs, room temperature
- 2 teaspoons vanilla extract
- 2 cups (250g) all-purpose flour
- 1 teaspoon baking soda
- 1 teaspoon salt
- 2 cups (340g) chocolate chips (semi-sweet and milk mix)
- Flaky sea salt, for topping (optional)
Instructions
- Melt butter in a medium saucepan over medium heat, stirring constantly until it smells nutty and turns amber with brown specks (5-7 minutes). Pour into a heat-proof bowl and cool for 10-15 minutes until just warm.
- In a large mixing bowl, whisk the cooled browned butter with granulated and brown sugar until glossy and combined.
- Add eggs one at a time, whisking well after each addition, then add vanilla extract. Mix until smooth.
- Stir in flour, baking soda, and salt using a spatula or wooden spoon just until no streaks of flour remain. Do not overmix.
- Fold in chocolate chips gently.
- Preheat oven to 350°F (175°C). Line baking sheets with parchment paper. Scoop dough into 2-tablespoon balls, spacing them 2 inches apart.
- Bake for 12-14 minutes until edges are golden brown but centers look slightly underdone.
- Let cookies cool on the baking sheet for 5 minutes. Sprinkle with flaky sea salt if desired, then transfer to a cooling rack.
Notes
Ensure butter is cooled to just warm before adding to eggs to prevent cooking them. For best texture, chill dough for 30 minutes before baking. Do not overbake; cookies continue to cook on the hot pan. Store in an airtight container with a piece of bread to maintain moisture.
- Prep Time: 10 minutes
- Cook Time: 15 minutes
- Category: Dessert
- Cuisine: American
Nutrition
- Serving Size: 1 cookie
- Calories: 180
- Sugar: 14
- Sodium: 150
- Fat: 10
- Saturated Fat: 6
- Carbohydrates: 22
- Fiber: 1
- Protein: 3
Keywords: brown butter, chocolate chip cookies, weeknight dessert, easy cookies, chewy cookies, baking, pantry staples



