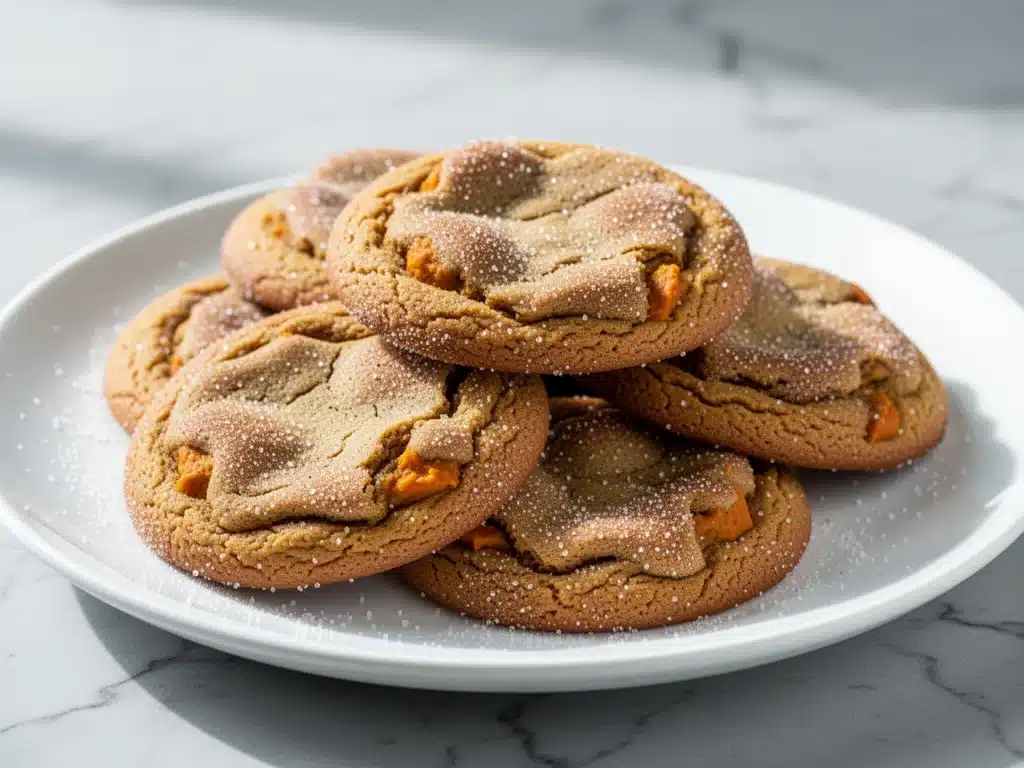
Last Tuesday, while trying to decide between ordering takeout or actually cooking dinner, I decided to bake. It wasn’t a grand plan. It was just 4pm on a random Tuesday, the house was quiet, and I needed something to fill the kitchen with a smell that wasn’t just “microwave popcorn.” I pulled out the brown butter I’d made the night before (because I’m always one step ahead in my own kitchen) and looked at the half-empty can of pumpkin puree in my fridge.
I was tired of the usual pumpkin spice lattes and overly sweet pumpkin bread. I wanted something with teeth. Something that had that nostalgic, sugar-cookie snap but with the deep, nutty complexity of brown butter. That’s when I decided to mash up two of my favorite things: the soft batch snickerdoodle cookies and the rich, toasty flavor of brown butter. The result? These Fall Brown Butter Pumpkin Snickerdoodles.
I made a small batch first. Just twelve cookies. I ate three of them while they were still warm, standing over the counter in my pajamas. They were soft in the middle, crisp at the edges, and coated in cinnamon sugar that actually tasted like cinnamon, not just sugar. My husband walked in, saw me grinning with chocolate-smeared fingers, and immediately asked for the recipe. By the time the second batch was in the oven, my kids had already claimed the third batch for “school tomorrow.” That’s how you know these Fall Brown Butter Pumpkin Snickerdoodles are a winner. They disappear fast.
I’ve tested this recipe five times in the last month. I’ve tweaked the pumpkin-to-flour ratio, played with the browning time on the butter, and even tried different types of cinnamon sugar. This version? This is the one. It’s the perfect balance of spice, sweetness, and that incredible nutty depth that only brown butter can bring. It’s not just a cookie; it’s a hug in dessert form.
Why You’ll Love This Recipe
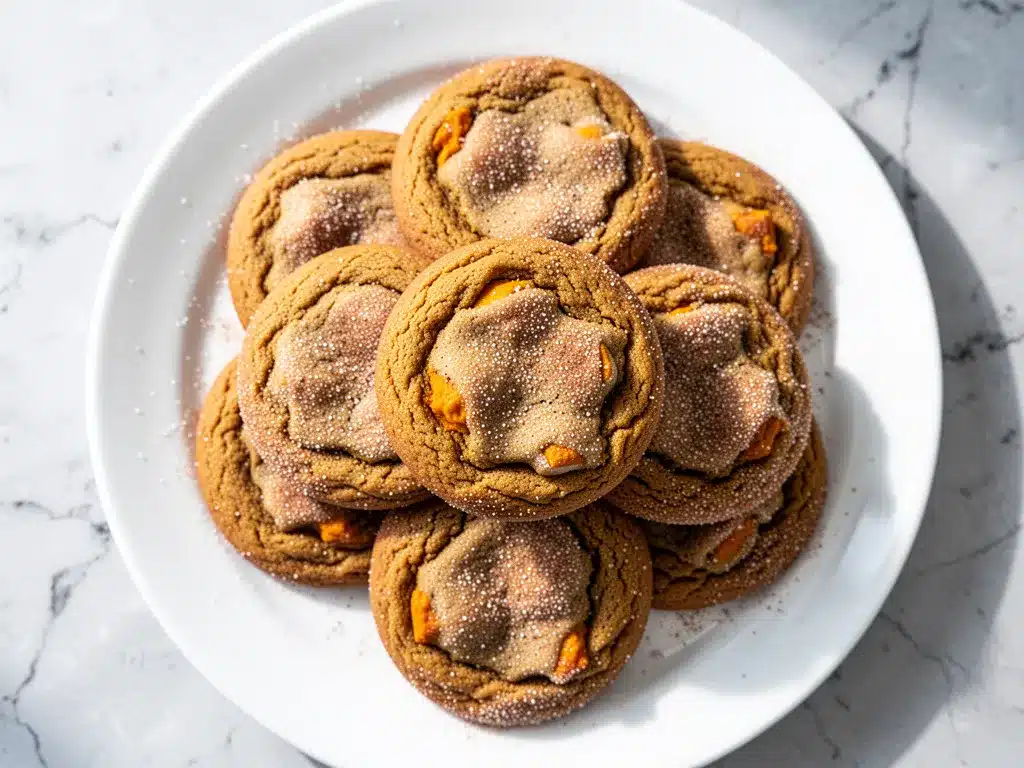
There are a hundred pumpkin cookies out there. So why this one? Here’s the real talk: most pumpkin cookies are dense, cakey, and taste like they’re trying too hard to be healthy. These Fall Brown Butter Pumpkin Snickerdoodles are different. They’re chewy. They’re spiced. And they have that irresistible crinkle-top that makes people stop what they’re doing and stare at the baking sheet.
The Brown Butter Factor — Seriously, this changes everything. Brown butter adds a toasty, hazelnut flavor that makes the pumpkin taste deeper and richer. It’s the kind of flavor that makes people ask, “What’s in these? They taste amazing.” Hint: it’s just butter, browned to perfection.
Soft-Batch Texture — I’m obsessed with the texture of these. The outside is slightly crisp from the cinnamon sugar coating, but the inside is soft, chewy, and pillowy. It’s that perfect contrast you get with good snickerdoodles, but with a pumpkin twist. I’ve tried making them cakey, and they’re just not as good. Chewy is king here.
Spice It Up — These aren’t just sweet. They’re spiced with cinnamon, nutmeg, and a pinch of cloves. It’s warm and inviting, like walking into a cozy living room with a fireplace going. It’s the essence of fall in a single bite.
Easy to Make — You don’t need fancy equipment. You don’t need a stand mixer if you don’t want to use one (though it helps). The hardest part is waiting for the butter to brown. The rest is mixing, scooping, and baking. It’s a one-bowl wonder if you’re careful with your cleanup.
Make-Ahead Friendly — These cookies freeze beautifully. I make a double batch, freeze the dough balls, and bake them fresh whenever the craving hits. They thaw and bake up just as good as fresh. Perfect for last-minute guests or midnight snack emergencies.
This recipe has saved me more times than I can count. It’s my go-to when I need to impress, when I need a comfort treat, or when I just need to make my house smell like a bakery. Trust me, once you make these Fall Brown Butter Pumpkin Snickerdoodles, you’ll be making them every fall.
Ingredients You’ll Need
Here’s the best part: you probably have most of these ingredients already. This isn’t a recipe that requires a special trip to three different stores. It’s pantry-friendly, with a few key items that make the magic happen.
For the Cookie Base
Unsalted Butter (1 cup / 226g) — This is where the brown butter magic happens. Start with high-quality butter. I use Kerrygold or Plugra. The better the butter, the better the flavor. You’ll need to brown it, so make sure you have time for that step.
Pumpkin Puree (½ cup / 120g) — Not pumpkin pie filling! Just pure, plain pumpkin puree. I use Libby’s or make my own roasted pumpkin puree. Make sure it’s not watery. If it is, strain it through a coffee filter for 15 minutes. Excess moisture is the enemy of chewy cookies.
Granulated Sugar (1 cup / 200g) — Regular white sugar. Don’t try to substitute with brown sugar here; we want that crisp edge. The sugar helps create the crackly top.
Light Brown Sugar (½ cup / 100g) — Packed. This adds moisture and chewiness. Molasses flavor pairs beautifully with the pumpkin and spices.
Large Egg (1) — Room temperature. It binds everything together and adds richness. Don’t skip it.
Vanilla Extract (2 teaspoons) — Use real vanilla. I know it’s expensive, but it makes a huge difference in baked goods. Fake vanilla tastes chemical and clashes with the warm spices.
For the Dry Mix
All-Purpose Flour (2 ¼ cups / 280g) — Spoon and level your flour. Don’t scoop directly from the bag, or you’ll end up with too much flour and dry cookies. I always use King Arthur Flour for consistency.
Baking Soda (1 teaspoon) — Helps the cookies spread and rise. Make sure it’s fresh; old baking soda won’t work as well.
Baking Powder (½ teaspoon) — Adds a little lift. Combined with the baking soda, it gives that perfect texture.
Ground Cinnamon (2 teaspoons) — The star of the show. Use a good quality cinnamon; it’s the main flavor profile.
Ground Nutmeg (½ teaspoon) — Adds warmth. Freshly grated is best, but ground works fine.
Ground Cloves (¼ teaspoon) — Just a pinch. It adds depth without overpowering. Don’t skip it; it’s what makes it taste like “fall.”
Salt (½ teaspoon) — Essential for balancing the sweetness. Use kosher salt.
For the Coating
Granulated Sugar (½ cup / 100g) — For rolling the dough balls.
Ground Cinnamon (1 teaspoon) — Mixed with the sugar. This creates that classic snickerdoodle crust.
Optional: Flaky Sea Salt — A sprinkle on top right after baking adds a nice contrast. I love the salty-sweet combo.
Equipment Needed
You don’t need fancy equipment for this. Here’s what I actually use.
Large Skillet or Saucepan — For browning the butter. I use a stainless steel pan because it lets me see the color change clearly. A light-colored pan is best so you can see the milk solids turning golden.
Mixing Bowls — Two medium bowls. One for wet ingredients, one for dry. I have a set of glass bowls that nest together—super handy for cleanup.
Whisk — For beating the butter and sugars until creamy. A wooden spoon works too, but a whisk is faster.
Silicone Spatula — For folding in the flour and pumpkin. I love my silicone spatulas; they’re flexible and easy to clean.
Cookie Scoop — I use a 2-tablespoon scoop for uniform cookies. It saves time and ensures even baking. If you don’t have one, a tablespoon works, but the cookies might be slightly different sizes.
Baking Sheets — Two large sheets. I use half-sheet pans. Line them with parchment paper or silicone baking mats. I prefer parchment paper for easy cleanup.
Wire Rack — For cooling the cookies. Essential. You don’t want to leave them on the hot pan, or they’ll keep cooking and get hard.
How to Make It: Step-by-Step
Alright, let’s make these Fall Brown Butter Pumpkin Snickerdoodles! I’m walking you through exactly how I do it, including the little tricks I’ve picked up along the way.
Step 1: Brown the Butter (5-7 minutes)
This is the most important step. Place your butter in a light-colored stainless steel skillet over medium heat. Stir constantly with a silicone spatula. At first, it will melt and foam. Then, the foam will settle, and you’ll start to see little golden milk solids at the bottom. The smell will change from buttery to nutty and toasty. This usually takes 5-7 minutes. Watch it closely! If you walk away, it can burn in seconds. Once it smells like hazelnuts and looks amber-colored, remove it from the heat immediately. Pour it into a heat-safe bowl to cool slightly. You want it warm but not hot.
Step 2: Mix the Wet Ingredients (2 minutes)
Once the brown butter is slightly cooled, add the granulated sugar and brown sugar to the bowl. Whisk vigorously for about 1-2 minutes until the mixture looks glossy and creamy. This incorporates air and helps create that crinkly top. Add the egg and vanilla extract. Whisk again until fully combined. The mixture should look smooth and emulsified.
Step 3: Combine Dry Ingredients (1 minute)
In a separate bowl, whisk together the flour, baking soda, baking powder, cinnamon, nutmeg, cloves, and salt. Make sure there are no lumps of baking soda. This ensures even distribution of leavening agents.
Step 4: Bring It All Together (3 minutes)
Gradually add the dry ingredients to the wet ingredients. Use a silicone spatula to fold them together. Stop as soon as the flour disappears. Do not overmix! Overmixing develops gluten, and you’ll end up with tough cookies. The dough will be soft and slightly sticky. This is normal. Fold in the pumpkin puree last, mixing until just combined. The dough should be uniform in color.
Step 5: Chill the Dough (30 minutes – 2 hours)
I know it’s tempting to bake right away, but chilling is crucial. Pumpkin adds moisture, and if the dough is too warm, the cookies will spread too thin and lose their texture. Cover the bowl with plastic wrap and refrigerate for at least 30 minutes, or up to 2 hours. If you’re in a hurry, you can freeze it for 15 minutes. Chilled dough also makes scooping easier.
Step 6: Preheat and Prepare (5 minutes)
Preheat your oven to 350°F (175°C). Line two baking sheets with parchment paper. In a small bowl, mix the ½ cup granulated sugar with the 1 teaspoon cinnamon. This is your coating.
Step 7: Scoop and Roll (10 minutes)
Take the chilled dough and scoop out 2-tablespoon portions. Roll them into balls. Then, roll each ball in the cinnamon-sugar mixture, coating it completely. Place them on the prepared baking sheets, spacing them about 2 inches apart. They will spread. If you’re making a large batch, use two sheets. Don’t overcrowd the pan.
Step 8: Bake (10-12 minutes)
Bake for 10-12 minutes. The edges should be set and slightly golden, but the centers should still look soft and puffy. They will look slightly underbaked. This is key! They will firm up as they cool. Do not overbake, or they’ll be hard. If you bake them until they look done in the oven, they’ll be dry once cooled.
Step 9: Cool and Serve (15 minutes)
Let the cookies cool on the baking sheet for 5 minutes. Then, transfer them to a wire rack to cool completely. If you’re impatient like me, you can eat one warm. They’re soft and gooey. But for the best texture, let them cool for at least 15 minutes. The bottom will crisp up, and the center will stay chewy.
Total Time: About 45 minutes (including chill time)
Expert Tips & Tricks
Here’s everything I’ve learned from making these dozens of times. These tips will save you from my mistakes.
Brown Butter Carefully — The difference between perfect brown butter and burnt butter is about 30 seconds. If it smells acrid, start over. Burnt butter tastes bitter and ruins the cookies. If you’re nervous, take it off the heat a minute before you think it’s done. The residual heat will finish the browning.
Strain Your Pumpkin — If your pumpkin puree is watery, your cookies will spread too much and be cakey. I always strain mine through a coffee filter or cheesecloth for 15 minutes. It’s an extra step, but it makes a huge difference in texture.
Don’t Overmix — Once you add the flour, mix until just combined. Overmixing leads to tough cookies. I’ve made that mistake before, and the cookies were like hockey pucks. Soft is better.
Chill the Dough — I can’t stress this enough. Chilling solidifies the fat, which prevents spreading. It also allows the flavors to meld. If you skip this, you’ll get flat, greasy cookies. Chill them. Trust me.
Underbake Slightly — Remove the cookies when the edges are set but the centers are still soft. They will continue to cook on the hot baking sheet. If you wait until they look done, they’ll be hard. Soft centers = chewy cookies.
Use a Cookie Scoop — Uniform size means even baking. If you scoop by hand, some cookies will be done while others are still raw. A scoop saves time and ensures consistency.
Store Properly — Store cookies in an airtight container with a slice of bread. The bread keeps them soft for days. If they get stale, add a fresh slice of bread overnight.
Variations & Substitutions
Once you’ve nailed the basic version, here’s how you can mix it up. I’ve tried all of these.
White Chocolate Chip — Add ½ cup white chocolate chips to the dough. The sweetness pairs beautifully with the pumpkin and brown butter. This is my personal favorite variation.
Pecan or Walnut — Fold in ½ cup chopped pecans or walnuts. Adds crunch and nuttiness. It’s like a pumpkin pie cookie now.
Spiced Latte — Add 1 tablespoon of instant espresso powder to the dry ingredients. It enhances the chocolate and spice flavors without tasting like coffee. Great for fall mornings.
Maple Glaze — Drizzle a simple glaze (powdered sugar + maple syrup) over the cooled cookies. Adds a nice sweetness and visual appeal. Good for gift-giving.
Dairy-Free — Use a dairy-free butter alternative and ensure your pumpkin puree is dairy-free (most are). The texture might be slightly different, but they’ll still be delicious.
Gluten-Free — Substitute the all-purpose flour with a 1:1 gluten-free flour blend. Make sure it contains xanthan gum, or add ½ teaspoon. The texture will be slightly more tender.
Mini Cookies — Use a 1-tablespoon scoop for mini cookies. Bake for 8-10 minutes. Great for parties and sharing.
Serving & Storage
How to Serve: I usually serve these warm, right off the baking sheet. They’re best with a glass of cold milk or a cup of coffee. I also love them with a dollop of whipped cream or a scoop of vanilla ice cream for a dessert treat.
Side Dishes: These cookies stand alone as a treat, but they pair well with autumnal drinks like spiced cider, pumpkin spice latte, or hot chocolate.
Toppings Bar: For holidays, I set out a topping bar with extra cinnamon sugar, flaky sea salt, and white chocolate drizzle. Guests can customize their cookies.
Storage Instructions:
Room Temperature: Store in an airtight container for up to 5 days. Add a slice of bread to keep them soft.
Refrigerator: Not recommended. Refrigeration dries out baked goods. Stick to room temp.
Freezer: These freeze beautifully. Freeze the dough balls on a baking sheet, then transfer to a freezer bag. Bake from frozen, adding 1-2 minutes to the bake time. Or freeze baked cookies for up to 3 months.
Reheating: Microwave for 10-15 seconds to warm them up. They’ll be soft and gooey again.
Nutrition Information
I’m not a nutritionist, but here’s the breakdown if you’re tracking. These are indulgent cookies, so enjoy them in moderation.
Per Cookie (makes approx. 24 cookies):
- Calories: 180
- Protein: 2g
- Carbs: 24g
- Fiber: 1g
- Sugar: 14g
- Fat: 9g
- Saturated Fat: 5g
- Cholesterol: 25mg
- Sodium: 120mg
What’s Good: Pumpkin adds some fiber and vitamin A. The spices have antioxidant properties. It’s a treat, but not entirely empty calories.
What to Know: Higher in sugar and fat from the butter and sugar coating. Contains gluten and dairy. Not suitable for vegans or those with allergies without modifications.
Final Thoughts
So that’s my Fall Brown Butter Pumpkin Snickerdoodles! I’ve probably talked your ear off at this point, but when you make a recipe this often, you have a lot to say about it. These cookies have become a staple in my fall baking rotation. They’re soft, chewy, spiced, and packed with that incredible brown butter flavor that makes people stop and ask for the recipe.
I make these for Thanksgiving, for Halloween parties, and just because. They’re the perfect balance of sweet and spiced, with a texture that’s impossible to resist. My kids love them, my husband loves them, and even my picky eaters can’t say no to these.
Make them yours! Try adding white chocolate chips, nuts, or a maple glaze. The best recipes are the ones you adapt to your tastes. If you make these Fall Brown Butter Pumpkin Snickerdoodles, drop a comment and let me know what you think! I love hearing how recipes turn out in your kitchen. And if something doesn’t work, tell me that too—I’m here to help troubleshoot.
Happy baking! And I hope your kitchen smells half as good as mine does right now.
Frequently Asked Questions
Can I use canned pumpkin pie filling instead of pure pumpkin puree?
No, please don’t. Pumpkin pie filling has added sugar and spices, which will throw off the balance of your recipe. You need plain, unsweetened pumpkin puree. If you use pie filling, your cookies will be too sweet and too wet.
Why did my cookies spread too much?
This usually happens if the butter wasn’t cooled enough before mixing, or if the dough wasn’t chilled long enough. Make sure your brown butter is cool to the touch before adding the sugars. Also, chill the dough for at least 30 minutes. Warm dough spreads more than cold dough.
Can I freeze the cookie dough?
Yes! Scoop the dough into balls, freeze them on a baking sheet, then transfer to a freezer bag. They’ll keep for up to 3 months. Bake from frozen, adding 1-2 minutes to the bake time. This is great for meal prep.
Why are my cookies hard?
You probably overbaked them. Remove the cookies when the edges are set but the centers are still soft. They will firm up as they cool. Overbaking dries them out and makes them hard. Also, check your oven temperature; it might be running hot.
Can I make these gluten-free?
Yes, use a 1:1 gluten-free flour blend. Make sure it contains xanthan gum, or add ½ teaspoon. The texture will be slightly more tender, but they’ll still be delicious. I’ve tested this with King Arthur Gluten-Free Measure for Measure Flour, and it works well.
Can I double the recipe?
Absolutely! Double all the ingredients. Just make sure you have enough space on your baking sheets. Bake in batches if needed. The cooking time stays the same.
What’s the best way to brown butter?
Melt butter in a light-colored stainless steel skillet over medium heat. Stir constantly. Watch for the foam to settle and the milk solids to turn golden. Listen for a sizzling sound, which indicates the water is evaporating. When it smells nutty and looks amber, remove from heat immediately. Pour into a bowl to stop the cooking.
Pin This Recipe!
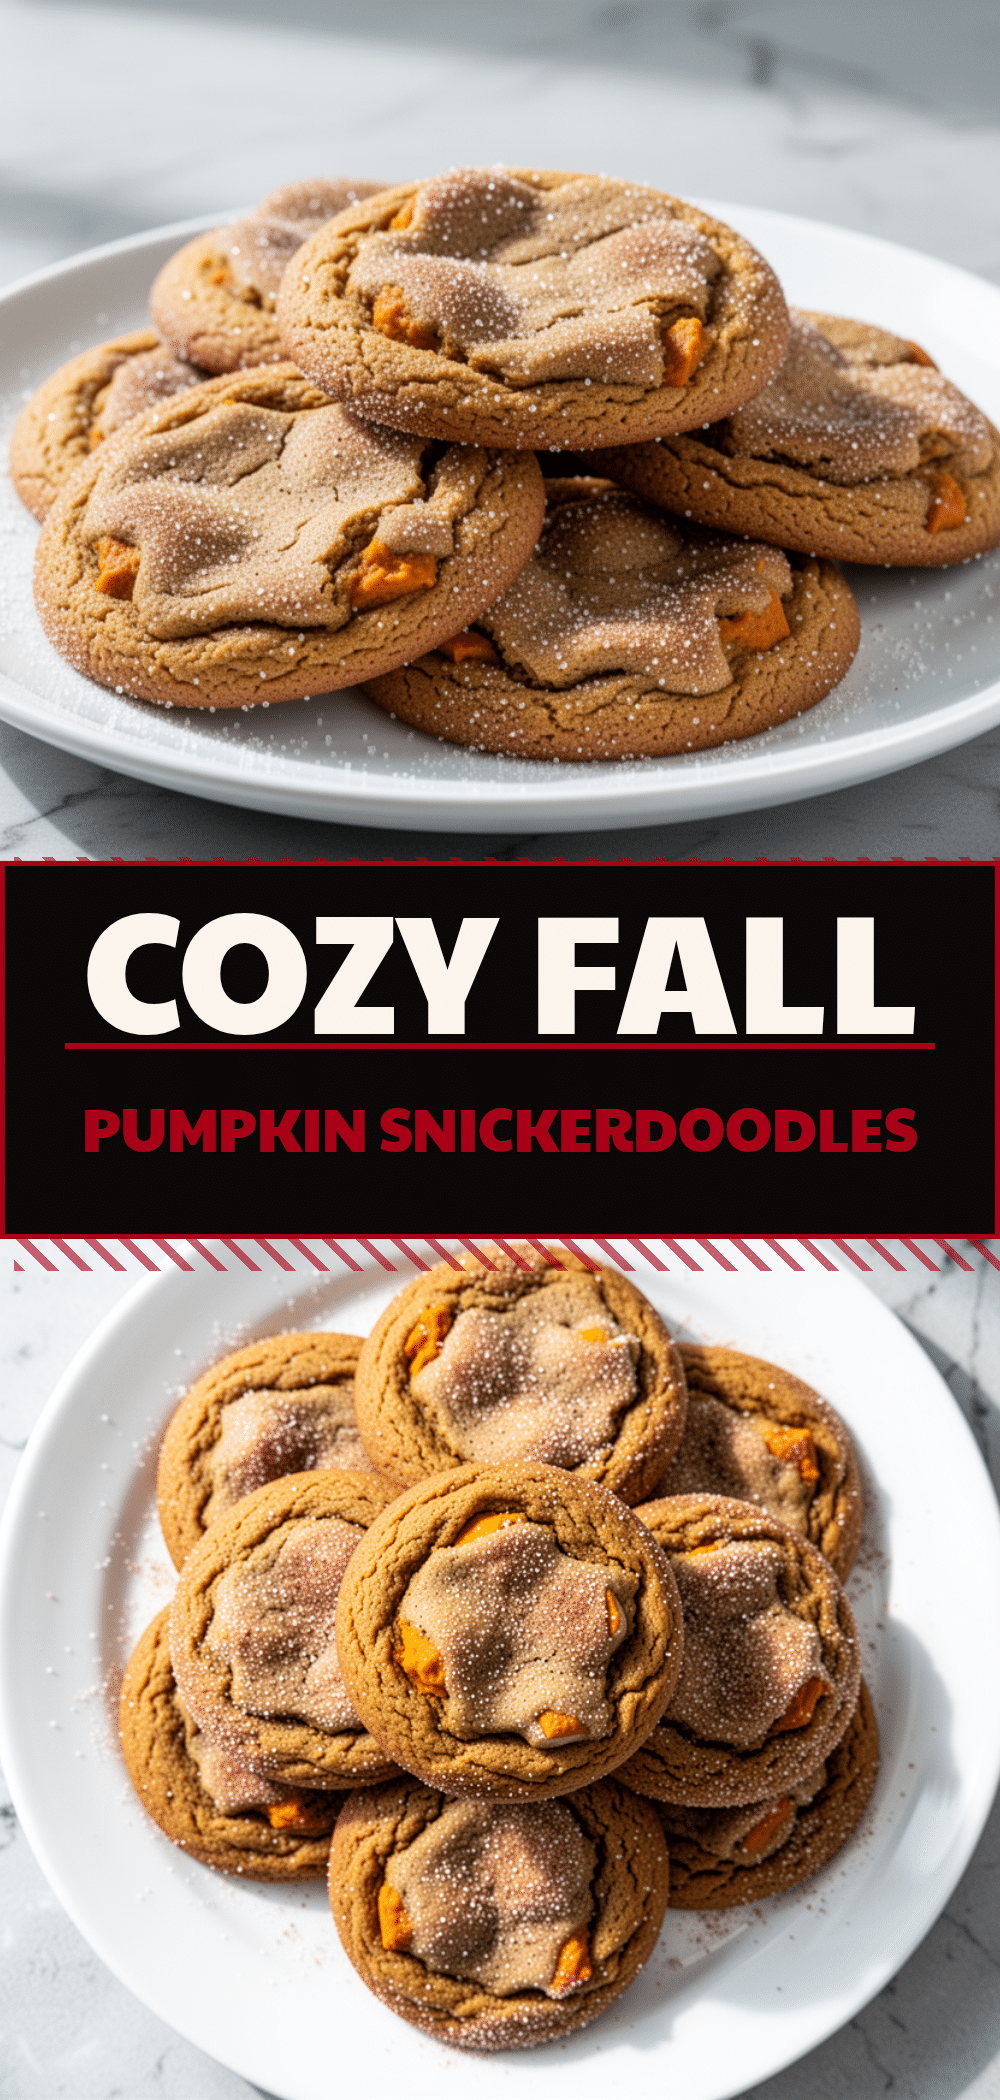
Fall Brown Butter Pumpkin Snickerdoodles
- Total Time: 45 minutes
- Yield: 24 cookies 1x
Description
Soft, chewy pumpkin cookies with a crisp cinnamon-sugar coating and deep, nutty brown butter flavor. These fall-themed snickerdoodles are easy to make and perfect for holiday baking.
Ingredients
- 1 cup (226g) unsalted butter
- 1 cup (200g) granulated sugar
- 1/2 cup (100g) light brown sugar, packed
- 1 large egg, room temperature
- 2 teaspoons vanilla extract
- 2 1/4 cups (280g) all-purpose flour
- 1 teaspoon baking soda
- 1/2 teaspoon baking powder
- 2 teaspoons ground cinnamon
- 1/2 teaspoon ground nutmeg
- 1/4 teaspoon ground cloves
- 1/2 teaspoon salt
- 1/2 cup (120g) pumpkin puree
- 1/2 cup (100g) granulated sugar (for coating)
- 1 teaspoon ground cinnamon (for coating)
- Flaky sea salt (optional)
Instructions
- Brown the butter: Melt butter in a light-colored stainless steel skillet over medium heat. Stir constantly until it foams, settles, and turns amber with a nutty aroma (5-7 minutes). Pour into a heat-safe bowl to cool slightly.
- Mix wet ingredients: Whisk the cooled brown butter, granulated sugar, and brown sugar until glossy and creamy. Whisk in the egg and vanilla extract until smooth.
- Combine dry ingredients: In a separate bowl, whisk together flour, baking soda, baking powder, cinnamon, nutmeg, cloves, and salt.
- Bring it together: Gradually fold the dry ingredients into the wet mixture until just combined. Do not overmix. Fold in the pumpkin puree last until uniform.
- Chill dough: Cover and refrigerate dough for at least 30 minutes (up to 2 hours) to prevent spreading.
- Preheat and prepare: Preheat oven to 350°F (175°C). Line baking sheets with parchment paper. Mix 1/2 cup sugar and 1 teaspoon cinnamon for coating.
- Scoop and roll: Scoop 2-tablespoon portions of dough, roll into balls, and coat thoroughly in the cinnamon-sugar mixture. Place on baking sheets 2 inches apart.
- Bake: Bake for 10-12 minutes until edges are set and slightly golden, but centers remain soft.
- Cool: Let cookies cool on the baking sheet for 5 minutes, then transfer to a wire rack to cool completely.
Notes
Ensure pumpkin puree is not watery; strain through a coffee filter if necessary. Do not overmix the dough to avoid tough cookies. Chill dough thoroughly to prevent excessive spreading. Underbake slightly for chewy texture. Store with a slice of bread to maintain softness.
- Prep Time: 30 minutes
- Cook Time: 12 minutes
- Category: Dessert
- Cuisine: American
Nutrition
- Serving Size: 1 cookie
- Calories: 180
- Sugar: 14
- Sodium: 120
- Fat: 9
- Saturated Fat: 5
- Carbohydrates: 24
- Fiber: 1
- Protein: 2
Keywords: pumpkin cookies, brown butter, snickerdoodles, fall baking, soft batch cookies, cinnamon sugar cookies



