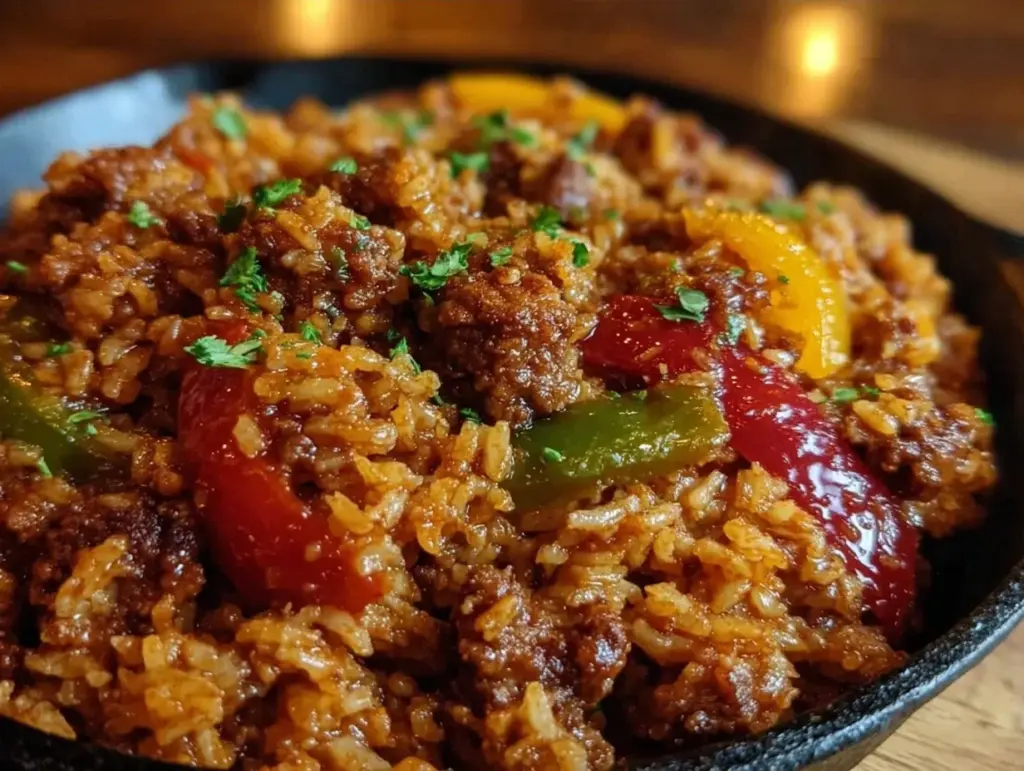
I still remember the Tuesday evening that changed my life. Or at least, changed my weeknight dinner life. It was 6:30 PM, the kids were screaming about hunger, my husband had just walked in the door looking exhausted, and I was staring into the fridge at a half-empty shelf. No rotisserie chicken. No leftover lasagna. Just a pound of ground beef, a box of long-grain white rice, and some sad-looking bell peppers.
Most people would have ordered pizza. I was too broke for pizza that week. So, I threw everything into my largest skillet, added some basic pantry spices, and let it simmer. Ten minutes later, the smell of savory, garlicky beef and rice filled the house. My kids stopped screaming. My husband sat down without complaining. And we ate every single bite.
That was the birth of my favorite one-pot ground beef and rice skillet with bell peppers. It’s not fancy. It’s not gourmet. But it is the most reliable, budget-friendly, crowd-pleasing meal I have ever made. I’ve been making this dinner at least once a week for the last three years, and I can honestly say it has saved my sanity more times than I can count.
If you’re tired of washing a mountain of dishes after dinner, or if you’re trying to feed a hungry family without breaking the bank, this recipe is your new best friend. It’s simple, it’s delicious, and it’s ready in under 30 minutes. Let me show you how to make it.
Why You’ll Love This Recipe
There are a dozen reasons I keep coming back to this skillet dinner, but let’s be real—you probably just need dinner to work tonight. Here’s why this one-pot ground beef and rice skillet with bell peppers actually delivers:
Stupid Simple Cleanup — Seriously, one pot. That’s it. I’m not joking. You brown the beef, you add the rice and liquid, you dump in the veggies, and you let it go. When dinner is done, you wash one skillet and maybe a measuring cup. If you’re a parent who hates doing dishes at 8 PM, this is the recipe for you.
Budget-Friendly — We are talking about pennies per serving. Ground beef is affordable, especially if you buy the larger packs on sale. Rice is dirt cheap. Bell peppers are reasonably priced, and you can swap them for whatever vegetables are on sale that week. This meal costs less than a single slice of pizza at some places.
Kid-Approved — My picky eater, who usually refuses to eat anything that isn’t breaded or fried, asks for this regularly. The rice absorbs the beef flavors, making it savory and comforting, not dry or bland. It’s the perfect texture for little ones.
Meal Prep Friendly — This makes a ton of food. I deliberately double the recipe on Sundays because it tastes even better the next day. The rice gets softer and more flavorful, and the beef stays juicy. It’s perfect for packed lunches or quick reheated dinners during the busy work week.
Lightning Fast — From start to finish, this takes about 25-30 minutes. That’s faster than waiting for a delivery driver. If you can boil water and chop a pepper, you can make this.
This is my go-to when I’m tired, broke, or just don’t want to think. It’s reliable, filling, and delicious. No stress. Just good food.
Ingredients You’ll Need
Here’s the best part: you probably have most of this already in your pantry. I’m not asking for anything fancy or expensive. This is real, everyday cooking.
Ground Beef (1.5 lbs / 680g) — I use 80/20 lean ground beef because the fat adds flavor. If you want it leaner, 90/10 works, but you might need a splash more broth. Don’t go super lean (99%) unless you like dry rice.
Long-Grain White Rice (1.5 cups / 300g) — Standard white rice is key here. It absorbs the liquid perfectly and stays fluffy. Do not use brown rice or instant rice unless you adjust the liquid and time (and honestly, brown rice just takes too long for a weeknight). I use Uncle Ben’s or store brand—doesn’t matter.
Bell Peppers (2 medium, diced / about 250g) — I love the mix of red and green for color, but honestly, any color works. Red is sweeter, green is more bitter. Use what’s on sale. Dice them into bite-sized pieces so they cook evenly.
Onion (1 medium, diced / about 150g) — Yellow onion is standard, but white onion works too. This adds sweetness and depth. If you’re really in a rush, you can skip it, but I don’t recommend it. The flavor base matters.
Garlic (3 cloves, minced / about 1 tablespoon) — Fresh garlic is non-negotiable here. Jarred garlic tastes metallic in this dish. Minced fresh garlic gives that savory punch that makes people ask for seconds.
Beef Broth (2.5 cups / 600ml) — This is what the rice cooks in. Use low-sodium broth so you can control the saltiness. If you’re out of beef broth, chicken broth works fine, or even water with a bouillon cube. Just don’t use plain water; it’ll be bland.
Tomato Sauce (1 cup / 240g) — I use a simple 15oz can of crushed tomatoes or tomato sauce. It adds acidity and richness to balance the savory beef. Some people use ketchup (my grandma did!), but tomato sauce feels a bit more substantial.
Spices — 1 teaspoon salt, ½ teaspoon black pepper, 1 teaspoon paprika (smoked or regular), and ½ teaspoon dried oregano. These are pantry staples. If you don’t have paprika, it’s fine, but it adds a nice smoky depth.
Optional Add-ins — I sometimes throw in a handful of frozen peas in the last 5 minutes for extra veggies. Or a splash of hot sauce if we like it spicy. But the base recipe is perfect on its own.
Equipment Needed
You don’t need fancy gadgets for this. Here’s what I actually use:
Large Skillet or Dutch Oven — I use a 12-inch non-stick skillet. It needs to be big enough to hold the beef, rice, and liquid without boiling over. A Dutch oven works too if you have one, but a skillet is easier for browning the meat.
Wooden Spoon or Spatula — For stirring the beef and scraping up the browned bits from the bottom of the pan. Those bits are flavor gold.
Measuring Cups and Spoons — Standard stuff. I use a liquid measuring cup for the broth and a dry cup for the rice.
Sharp Knife and Cutting Board — For chopping the peppers and onion. Dull knives make you cry more—literally. Learn this the hard way.
Lid for Skillet — Most non-stick skillets come with a lid. If yours doesn’t, you can use aluminum foil or a baking sheet to cover it. You need to trap the steam to cook the rice.
Colander — Not strictly necessary, but I rinse my rice sometimes to remove excess starch. If you skip rinsing, just be aware the rice might be slightly stickier.
How to Make It: Step-by-Step
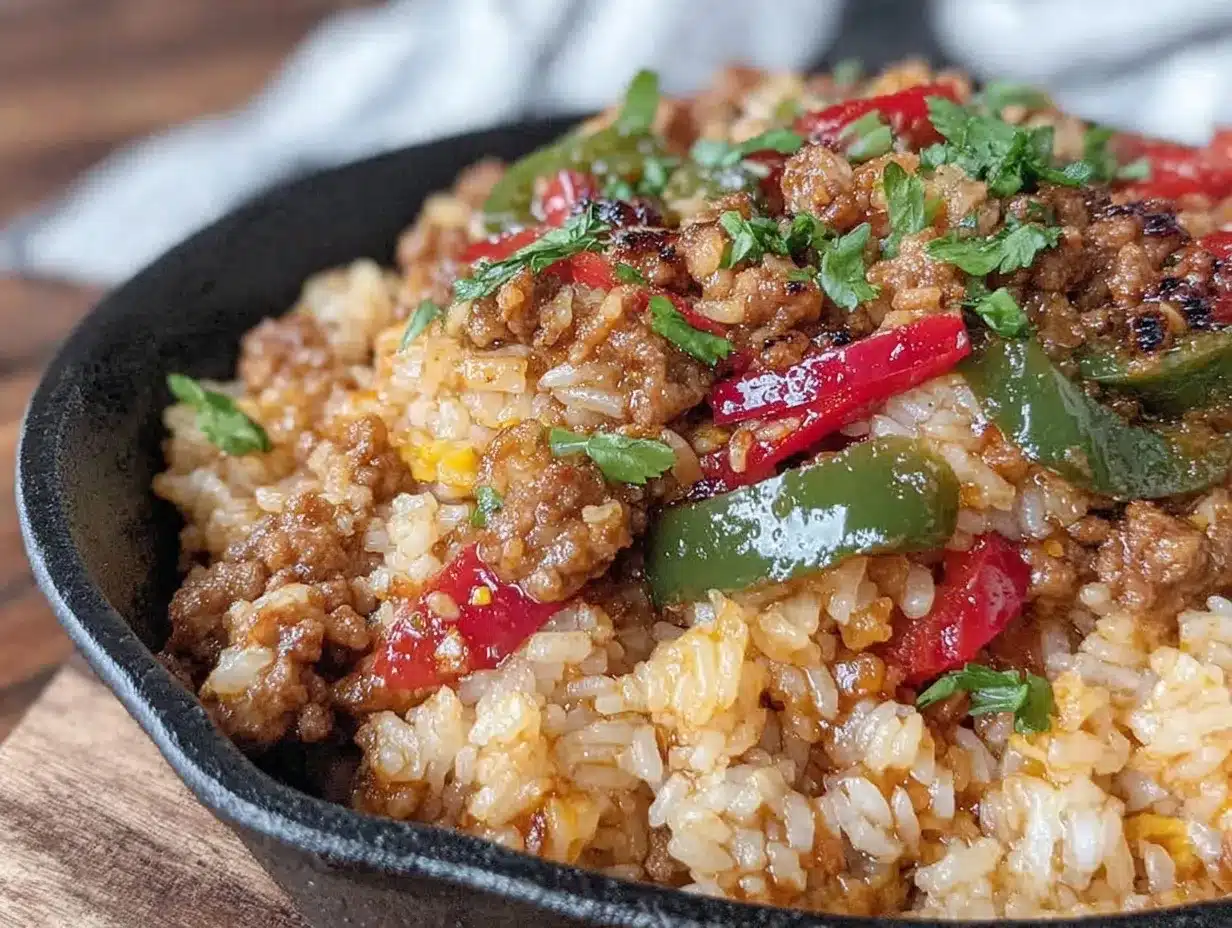
Alright, let’s make this! I’m walking you through exactly how I do it, including the little tricks I’ve picked up over the years.
Step 1: Prep Your Veggies (5 minutes)
Dice your onion and bell peppers. Mince your garlic. Have everything measured out and ready to go. I know it seems like extra work, but once you start cooking, things move fast. Having your veggies chopped means you won’t burn the garlic while you’re still fiddling with the peppers.
Step 2: Brown the Beef (8-10 minutes)
Heat your large skillet over medium-high heat. Add the ground beef. Break it up with your wooden spoon as it cooks. You want small crumbles, not big chunks. Cook until the beef is no longer pink, about 8-10 minutes. If there’s a lot of grease, drain most of it, but leave about 1 tablespoon for flavor. This step builds the foundation of the dish.
Step 3: Sauté the Aromatics (2-3 minutes)
Reduce the heat to medium. Add the diced onion and bell peppers to the beef. Stir well and cook for 2-3 minutes until the onions start to soften and become translucent. Add the minced garlic and dried spices (salt, pepper, paprika, oregano). Stir constantly for 1 minute until fragrant. Don’t let the garlic burn—it tastes bitter if it browns.
Step 4: Add Rice and Liquids (2 minutes)
Pour in the uncooked rice. Stir it into the beef mixture for 1 minute to toast it slightly. This helps the rice absorb the flavors better. Then, pour in the beef broth and tomato sauce. Stir everything together, making sure the rice is submerged in the liquid. Scrape up any browned bits from the bottom of the pan—those are pure flavor.
Step 5: Simmer and Cook (15-20 minutes)
Bring the mixture to a boil, then immediately reduce the heat to low. Cover the skillet with a tight-fitting lid. Let it simmer gently for 18-20 minutes. Do not lift the lid during this time! You need the steam to cook the rice evenly. After 15 minutes, check the rice. If it’s still hard and there’s no liquid left, add 2 tablespoons of water and cook for 2 more minutes.
Step 6: Rest and Serve (5 minutes)
Once the rice is tender and all the liquid is absorbed, remove the skillet from the heat. Keep the lid on and let it rest for 5 minutes. This allows the rice to fluff up and finish cooking. Fluff the rice with a fork, taste and adjust salt if needed, and serve immediately.
Total Time: About 30 minutes (10 minutes active, 20 minutes hands-off).
Expert Tips & Tricks
Here’s everything I’ve learned from making this dozens of times. These tips will save you from my mistakes.
Don’t Skip the Resting Time
I know you want to eat it now. But letting it rest for 5 minutes makes a huge difference. The rice absorbs the remaining moisture and becomes fluffy instead of mushy. If you serve it right away, the bottom might be soggy.
Toast the Rice First
Stirring the dry rice into the beef fat for a minute before adding liquid helps each grain stay separate. It’s a small step, but it prevents clumpy rice.
Watch Your Heat
When simmering, keep the heat on low. If it’s too high, the rice will burn on the bottom before it’s cooked through. You want a gentle bubble, not a rolling boil.
Check the Liquid Level
Every stove is different. Some evaporate liquid faster. If you see the rice is still hard after 18 minutes but the liquid is gone, add a splash more broth or water. It’s better to add a little extra than to have crunchy rice.
Doubles Easily
I often double this recipe for meal prep. Just use a larger pot or Dutch oven. The cooking time stays the same, but make sure you stir it halfway through so the rice at the bottom doesn’t stick.
Variations & Substitutions
Once you’ve nailed the basic version, here’s how you can mix it up. I’ve tried all of these.
Chicken Version
Swap ground beef for ground chicken or turkey. Use chicken broth instead of beef broth. It’s lighter but still delicious. My daughter prefers this version.
Veggie-Loaded
Add 1 cup of frozen peas or corn in the last 5 minutes of cooking. Or throw in some sliced mushrooms with the onions. It adds bulk and nutrients for very little extra cost.
Spicy Kick
Add ½ teaspoon of cayenne pepper or a diced jalapeño with the onions. If you like heat, this version is amazing. It reminds me of the flavors in tikka masala but way simpler.
Tex-Mex Style
Swap the paprika and oregano for taco seasoning. Use black beans and corn instead of bell peppers. Top with shredded cheese and sour cream. It’s like a deconstructed burrito bowl.
Gluten-Free
This recipe is naturally gluten-free as long as you use gluten-free broth and tomato sauce. Check labels to be sure.
Serving & Storage
How to Serve:
I serve this straight from the skillet at the table. It looks rustic and stays warm. I usually top it with shredded cheddar cheese, chopped fresh cilantro, or a dollop of sour cream. Garlic bread is a nice side if you have time, but it’s not necessary.
Storage:
Store leftovers in an airtight container in the fridge for up to 4 days. The rice will absorb more liquid over time, so it might look dry when you take it out.
Reheating:
To reheat, add a splash of water or broth to the skillet or microwave-safe bowl. Cover and heat on medium power, stirring halfway through. This adds moisture back to the rice. If you microwave it dry, it’ll be like eating rocks.
Freezing:
You can freeze this, but the texture of the rice might change slightly. It’s best eaten fresh or refrigerated. If you do freeze it, thaw it in the fridge overnight and reheat with extra liquid.
Nutrition Information
I’m not a nutritionist, but here’s the breakdown if you’re tracking. This is per serving (based on 6 servings).
Calories: 380
Protein: 22g
Carbs: 45g
Fiber: 3g
Sugar: 4g
Fat: 12g
Sodium: 650mg
It’s a solid, balanced meal. High protein from the beef, carbs from the rice, and veggies from the peppers. It’s comfort food, not diet food, but it’s definitely wholesome.
Final Thoughts
So that’s my go-to one-pot ground beef and rice skillet with bell peppers. It’s simple, cheap, and delicious. It’s the kind of meal that reminds me why I love cooking at home. It’s not about perfection; it’s about feeding the people you love with food that makes them happy.
If you make this, drop a comment and let me know what you think! I love hearing how recipes turn out in your kitchen. And if something doesn’t work, tell me that too—I’m here to help troubleshoot.
Happy cooking! And I hope your kitchen smells half as good as mine does right now.
Frequently Asked Questions
Can I use brown rice instead of white rice?
You can, but brown rice takes much longer to cook—usually 40-45 minutes. You’ll also need more liquid (about 3.5 cups). For a busy weeknight, white rice is much easier. If you must use brown rice, consider using a pressure cooker instead.
Why is my rice crunchy?
This usually means it didn’t cook long enough or there wasn’t enough liquid. Make sure you simmer it covered on low heat for the full 18-20 minutes. If it’s still hard, add a splash of water and cook for 2 more minutes.
Can I make this ahead of time?
Yes! This meal preps really well. Make it on Sunday, store in the fridge, and reheat individual portions throughout the week. It tastes even better on day two as the flavors meld together.
What can I substitute for bell peppers?
Any vegetable works. Zucchini, carrots, celery, or even frozen mixed vegetables. Bell peppers add a nice sweetness, but don’t feel locked into them. Use what you have.
Can I use ground turkey instead of beef?
Absolutely. Ground turkey is leaner and works great in this recipe. Just make sure to use chicken broth instead of beef broth to keep the flavor profile consistent.
How do I prevent the rice from sticking to the bottom?
Make sure you stir the rice into the beef and fat before adding the liquid. Also, keep the heat on low during the simmering phase. If you see liquid evaporating too fast, lower the heat further.
Pin This Recipe!
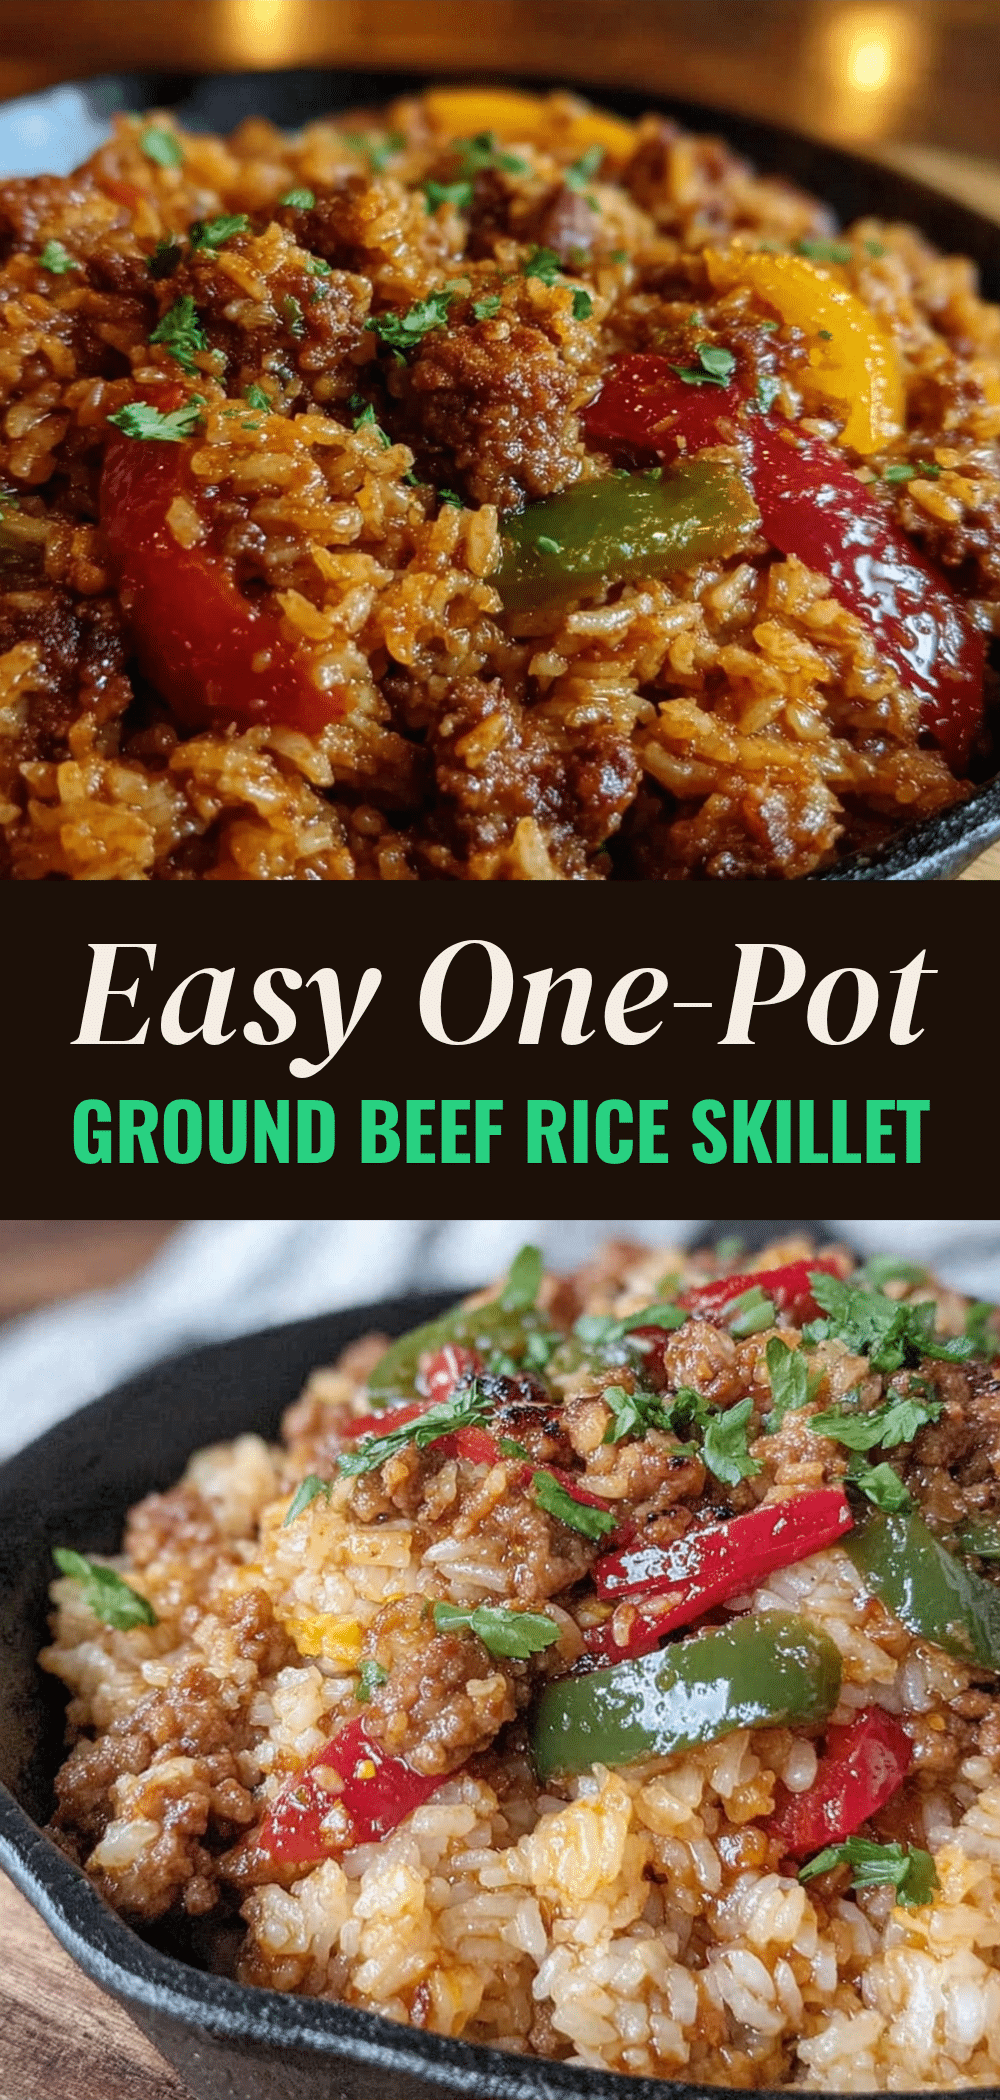
One-Pot Ground Beef and Rice Skillet: 5-Ingredient Family Dinner
- Total Time: 30 minutes
- Yield: 6 servings 1x
Description
A budget-friendly, one-pot weeknight dinner featuring ground beef, white rice, and bell peppers. This simple, kid-approved meal is ready in under 30 minutes and requires minimal cleanup.
Ingredients
- 1.5 lbs ground beef (80/20 lean recommended)
- 1.5 cups long-grain white rice
- 2 medium bell peppers, diced
- 1 medium onion, diced
- 3 cloves garlic, minced
- 2.5 cups beef broth (low-sodium)
- 1 cup tomato sauce
- 1 teaspoon salt
- 0.5 teaspoon black pepper
- 1 teaspoon paprika
- 0.5 teaspoon dried oregano
- Optional: 1 cup frozen peas or corn
- Optional: Hot sauce for spice
Instructions
- Dice the onion and bell peppers, and mince the garlic. Have all ingredients measured and ready.
- Heat a large skillet over medium-high heat. Add the ground beef and break it into small crumbles with a wooden spoon. Cook for 8-10 minutes until no longer pink. Drain excess grease, leaving about 1 tablespoon.
- Reduce heat to medium. Add the diced onion and bell peppers to the beef. Stir and cook for 2-3 minutes until onions soften. Add garlic and spices (salt, pepper, paprika, oregano). Stir constantly for 1 minute until fragrant.
- Add the uncooked rice to the skillet and stir for 1 minute to toast slightly. Pour in the beef broth and tomato sauce. Stir to combine and scrape up browned bits from the bottom of the pan.
- Bring the mixture to a boil, then immediately reduce heat to low. Cover with a tight-fitting lid and simmer for 18-20 minutes without lifting the lid.
- Check if rice is tender and liquid is absorbed. If rice is still hard, add 2 tablespoons of water and cook for 2 more minutes.
- Remove from heat and let rest, covered, for 5 minutes. Fluff with a fork, adjust salt if needed, and serve.
Notes
Do not skip the resting time; it allows the rice to fluff up and absorb remaining moisture. Toasting the rice before adding liquid helps prevent clumping. Keep heat on low during simmering to prevent burning. If using brown rice, increase cooking time to 40-45 minutes and add more liquid. This recipe doubles easily for meal prep.
- Prep Time: 10 minutes
- Cook Time: 20 minutes
- Category: Main Course
- Cuisine: American
Nutrition
- Serving Size: 1 serving
- Calories: 380
- Sugar: 4
- Sodium: 650
- Fat: 12
- Saturated Fat: 4
- Carbohydrates: 45
- Fiber: 3
- Protein: 22
Keywords: one-pot meal, ground beef, rice skillet, family dinner, budget-friendly, weeknight dinner, easy recipe, kid-approved



