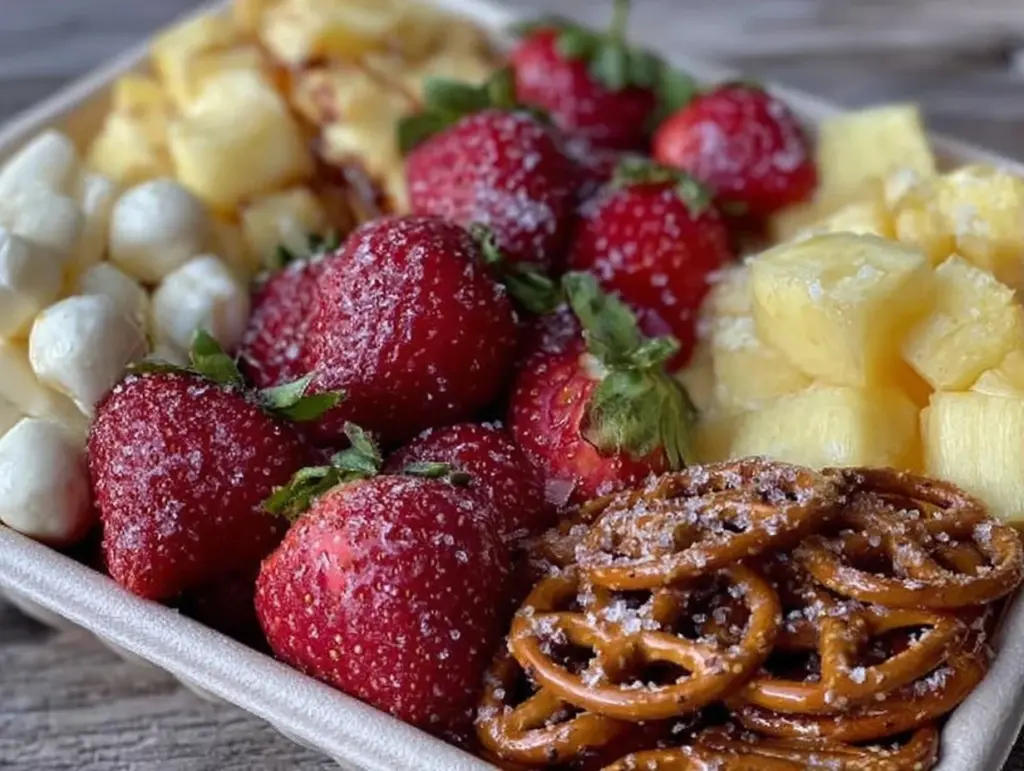
Last Tuesday, around 6:30 PM, I was standing in my kitchen staring at a half-empty box of crackers and a bag of string cheese that had somehow rolled behind the fridge. My seven-year-old was doing homework at the table, my husband was doom-scrolling in the living room, and I was mentally preparing myself for the nightly “what’s for lunch?” negotiation that usually ends with me buying a $9 pre-packaged box at the grocery store the next morning.
I’ve been there. You know the spot. It’s that place where you want to give your kids the best, but you also want to keep your sanity and your bank account intact. Those store-bought Lunchables are convenient, sure, but they’re also packed with preservatives, cost a fortune per box, and let’s be honest—they rarely have the good fruit or the interesting cheese shapes my kids actually want.
So, I grabbed a Tupperware container, threw together some turkey, crackers, cheese cubes, and a few strawberries I had lying around, and called it a day. The next morning, my son opened it, looked at me like I’d just handed him a gold bar, and said, “This is way better than the store ones.” That was the moment I realized I didn’t need to buy those expensive plastic trays anymore. I just needed a little organization and a few pantry staples.
Since then, I’ve made these homemade Lunchable snack boxes with fruit for my family almost every school day for the past three months. I’ve tested different combinations, figured out which cheeses stay fresh without getting weird textures, and learned how to prep this on Sunday night so my mornings are actually peaceful. It’s budget-friendly, it’s customizable (even for picky eaters), and it takes less time than you think.
If you’re drowning in back-to-school prep lists and wondering how to feed a growing kid without going broke, this is your answer. These snack boxes are my secret weapon for stress-free mornings and happy lunchboxes.
Why You’ll Love This Lunch Box Strategy
There are genuinely a dozen reasons I keep coming back to this method, but if I had to pick the ones that matter most to a tired parent’s life, here they are:
It’s Actually Cheaper — Seriously. A single store-bought Lunchable box can run you $3 to $5. Making your own costs about $1.50 to $2 per box, depending on what you buy. If you buy cheese and meat in bulk and use seasonal fruit, it’s even less. That’s less than the cost of a soda at school.
Sunday Prep, Zero Morning Stress — I assemble five boxes on Sunday evening. They stack nicely in the fridge. In the morning, my kids just grab one, throw it in their lunchbox, and go. No cooking, no chopping, no decision-making. It’s the ultimate time-saver.
You Control the Ingredients — Want gluten-free crackers? No problem. Want less sodium in the turkey? Easy. Want to sneak in some extra veggies? Done. I’ve been able to transition my kids away from processed meats just by swapping brands, and they haven’t even noticed the difference.
It’s a Customizable Canvas — My daughter loves strawberries and cheddar. My son is all about grapes and turkey. My picky eater only wants goldfish crackers and string cheese (so I make him a mini version). One system, infinite variations. It’s perfect for households with different tastes.
Leftovers Don’t Go to Waste — This is my favorite hack. When I buy a block of cheese or a pack of lunch meat for dinner recipes like loaded baked potato salad or one-pot creamy cajun sausage pasta, I always have scraps left over. Instead of letting them sit in the fridge until they’re forgotten, I chop them up and put them in these boxes. It’s the ultimate way to stretch your grocery budget.
Ingredients You’ll Need
Here’s the best part: you probably have most of this already. You don’t need fancy gourmet ingredients. You just need the basics, rotated regularly so your kids don’t get bored.
The Foundation
Crackers (1 sleeve / 100g) — This is your crunch. I use whole wheat wheat thins, goldfish, or pretzels. Whole wheat keeps them fuller longer, but for picky eaters, standard butter crackers work fine. I buy the family-size bags and portion them into small ziplocks to save space.
Lunch Meat (3-4 slices / 50g) — Turkey breast is my go-to because it’s lean and mild. Ham is a close second. Avoid the pre-sliced “turkey ham” if you can; it’s often higher in sodium. Look for brands with fewer ingredients. I buy the deli-pack or bulk packs and slice them myself.
Cheese (1 oz / 30g) — Cheddar cubes, mozzarella balls (bocconcini), or string cheese. Cubes are great because they fit into small nooks in the container. Mozzarella balls are fun for kids. String cheese is the easiest if you’re in a rush.
The Fresh Elements
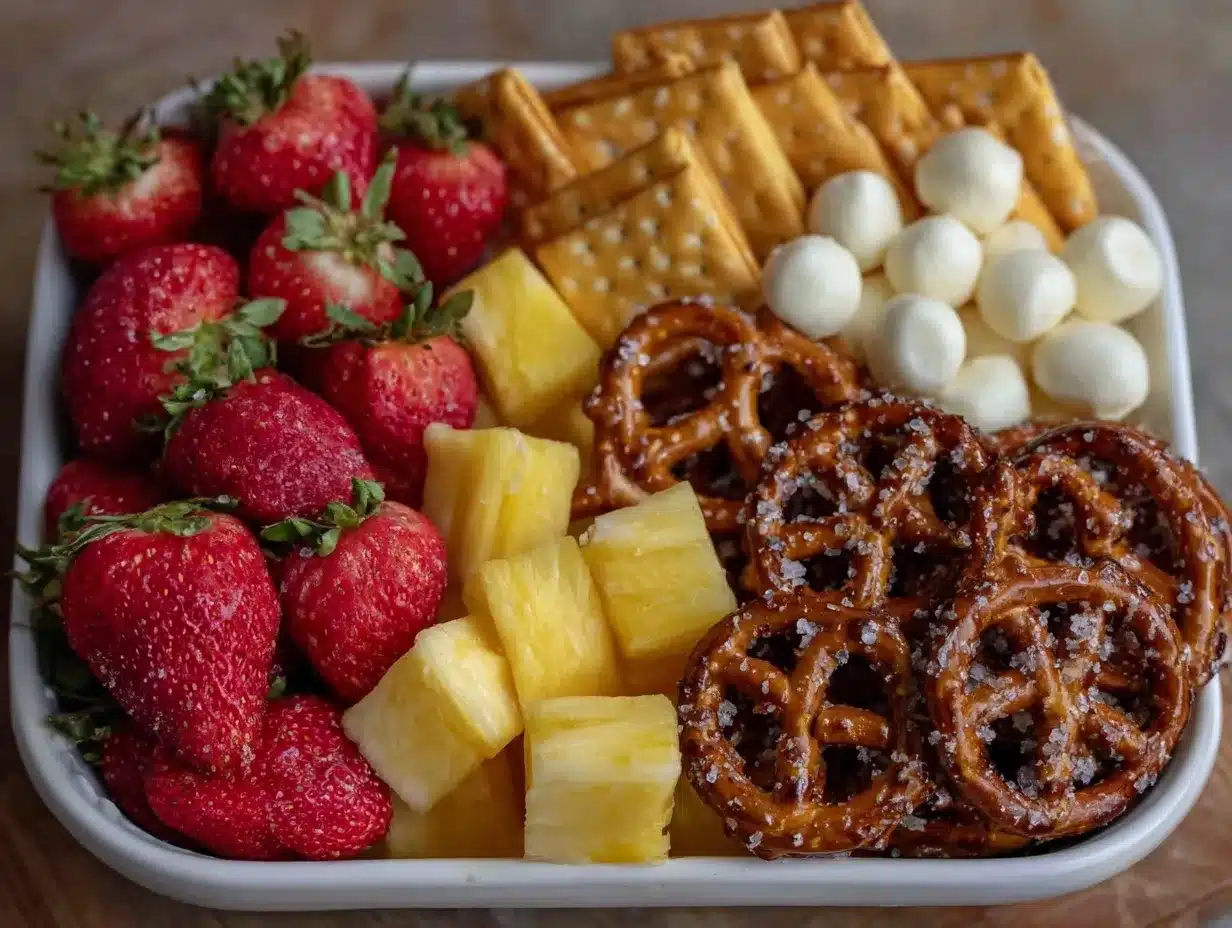
Fruit (1/2 cup / 75g) — This is what makes it a “real” lunch. Grapes (halved for little ones), apple slices (tossed in lemon water to prevent browning), berries, or melon cubes. Seasonal is best for price. In the fall, it’s apples and pears. In summer, it’s berries and melon.
Vegetable Dippers (1/2 cup / 50g) — Cucumber rounds, cherry tomatoes, or bell pepper strips. These add color and crunch. If your kids hate raw veggies, skip this or swap for a small cup of hummus or ranch for dipping.
The Extras (Optional but Fun)
Nuts or Seeds (1 tbsp / 10g) — Sunflower seeds or pumpkin seeds. Great for crunch and protein. Check school policies first, as many are nut-free zones now.
Small Treat (1 item) — A few dark chocolate chips, a mini cookie, or a couple of dried cranberries. This is the “reward” that makes them excited to open the box. I keep these small so it feels like a treat, not a candy bar.
Condiments (1 small container) — Hummus, ranch, or mustard. If you’re using turkey and cheese, a little mustard adds flavor. If you’re doing crackers and cheese, hummus is perfect.
Shopping Tips for Budget Parents
- Buy Store Brands: The crackers and cheese from the generic brand are often indistinguishable from name brands in taste tests with my kids.
- Buy in Bulk: I buy a 2-pound block of cheddar and cube it myself. It lasts weeks and costs half the price of pre-cubed cheese.
- Use Seasonal Fruit: Don’t buy blueberries in winter if you can avoid it. They’re expensive. Stick to apples or oranges. In summer, buy berries when they’re on sale and freeze them for later.
- Check the Clearance Aisle: I often find lunch meat or cheese that’s “best by” in two days on clearance. I use these immediately for these boxes, knowing they’ll be eaten that day.
Equipment Needed
You don’t need fancy gadgets. Here’s what I actually use:
Compartmentalized Lunch Boxes — I use bento-style boxes with three or four sections. This keeps the wet stuff (fruit, hummus) from touching the dry stuff (crackers). I’ve tried regular Tupperware, but the crackers get soggy. The compartments are worth the investment.
Small Ziplock Bags — For portioning crackers or nuts. Keeps things tidy and prevents crushing.
Knife and Cutting Board — For cubing cheese and slicing fruit. A serrated knife is best for bread and crackers if you’re making your own.
Measuring Cups — Not strictly necessary, but helps me keep portions consistent so I don’t overfill the boxes.
A Large Platter or Tray — I lay out all my boxes on a large baking sheet or serving tray. It makes assembly line prep so much faster. I can fill five boxes in under 10 minutes.
How to Make It: Step-by-Step
Alright, let’s make this! I’m walking you through exactly how I do my Sunday night prep. It’s simple, but there are a few tricks to keep everything fresh.
Step 1: Prep Your Components (10 minutes)
Before you start assembling, get everything ready. Cube your cheese into small, bite-sized pieces. Slice your lunch meat into strips or quarters. Wash and dry your fruit. If using apples, slice them and toss them in a bowl with a little lemon juice to keep them white. Dry your veggies well—moisture is the enemy of crisp crackers.
Step 2: Portion the Crackers (5 minutes)
Take your sleeve of crackers and break them into portions. I aim for about 10-12 crackers per box. Put them into the largest compartment of your lunch box. If you’re using pretzels or goldfish, pour them into a small ziplock bag and place that in the box. This prevents crushing.
Step 3: Add the Protein and Cheese (5 minutes)
Place the lunch meat and cheese cubes in the next largest compartment. Try to arrange them neatly. If using deli meat, fold it or roll it up—it looks nicer and fits better than flat slices. If using string cheese, leave it whole and place it in the box.
Step 4: Add the Fruit and Veggies (5 minutes)
Fill the remaining compartments with fruit and veggies. Keep the juiciest fruit (like berries or melon) away from the crackers. If using grapes, halve them for younger kids to prevent choking hazards. If using cherry tomatoes, make sure they’re dry.
Step 5: Add the Dippers and Treats (5 minutes)
Place a small container of hummus, ranch, or mustard in a side pocket or small cup. Add your small treat—maybe a few chocolate chips or a mini cookie. This is the fun part!
Step 6: Seal and Store
Close the lids tightly. Stack the boxes in the fridge. They’ll keep for 3-4 days. I usually make a batch for Monday through Friday, so I have five boxes ready to go. If you’re only making two or three, that’s fine too. Just make sure the lids are sealed well.
Total Prep Time: About 25-30 minutes for a week’s worth. That’s less than 5 minutes per day on average.
Troubleshooting Tips
- Crackers are soggy? You likely didn’t dry the fruit or veggies enough, or there’s too much moisture in the box. Pat everything dry with a paper towel before packing.
- Cheese is too hard? Some cheeses harden in the fridge. Let the box sit out for 10 minutes before lunch, or use softer cheeses like mozzarella or cheddar sticks.
- Apple slices are brown? You forgot the lemon juice. Or you left them out too long. Always toss them in acid immediately after cutting.
- Kids won’t eat veggies? Skip them or swap for a dip they love. Don’t force it. They’ll eat the crackers and cheese.
Expert Tips & Tricks
Here’s everything I’ve learned from making these boxes for months. These tips will save you from my early mistakes.
The “No-Sog” Rule — Moisture is the enemy. If you’re using watery veggies like cucumbers or tomatoes, pat them dry. If you’re using berries, make sure they’re completely dry. I keep a roll of paper towels handy for this. It’s a small step that makes a huge difference in texture.
Freeze the Fruit — For hot days, freeze some grapes or berries the night before. Put them in the box with an ice pack. By lunchtime, they’ll be thawed but still cold and refreshing. It’s like having a mini fruit salad without the mess.
Rotate the Flavors — Kids get bored fast. I use a simple rotation: Week 1 is Turkey/Cheese/Cracker. Week 2 is Ham/Cheese/Cracker. Week 3 is Peanut Butter/Cracker (if allowed). This keeps things interesting without extra effort.
Involve the Kids — Let your kids pick their fruit and their crackers. If they help choose, they’re more likely to eat it. My son loves picking out the “fun” crackers, like the shaped ones.
Double the Batch — If you’re making other meals like vegan creamy coconut chickpea curry or better than takeout chicken tikka masala, you might have extra ingredients. Use those scraps in the boxes. Don’t let anything go to waste.
Variations & Substitutions
Once you’ve nailed the basic version, here’s how you can mix it up. I’ve tried all of these.
Vegetarian Box — Skip the meat. Add extra cheese, hummus, and a hard-boiled egg. This is great for meatless Mondays. I use this when I want to save on meat costs.
Peanut Butter & Banana — Spread peanut butter on a cracker or slice of bread. Add banana slices and a few chocolate chips. Classic and filling. Check school nut policies first.
Caprese Box — Mozzarella balls, cherry tomatoes, basil leaves, and a drizzle of balsamic glaze (in a small cup). It’s like a mini salad. My kids love the sweetness of the balsamic.
Mini Pizza Box — Crackers topped with a slice of pepperoni and a cube of mozzarella. It’s a fun twist. Some kids even like it cold.
Gluten-Free Box — Use gluten-free crackers or rice cakes. Everything else is naturally gluten-free. I use these when my friend’s kid visits or when we’re just feeling fancy.
Lower-Sodium Box — Use fresh turkey breast instead of deli ham. Use low-sodium crackers. Rinse canned beans if you add them. Great for kids with sensitive tummies.
Serving & Storage
How to Serve: These boxes are best served cold or room temperature. If your school has a microwave, you can heat the meat and cheese, but most kids prefer it cold. Just make sure the ice pack is in the lunchbox to keep it safe.
Storage Instructions: Store in the fridge for up to 4 days. The crackers might soften slightly after day 3, but they’re still good. If you’re worried about them getting soft, put them in a separate ziplock bag inside the box.
Freezing: Don’t freeze the assembled boxes. The crackers will get soggy when thawed. You can freeze the fruit (like berries or grapes) separately, but assemble fresh.
Meal Prep Strategy: I prep on Sunday night. It takes about 30 minutes for the whole week. On busy mornings, I just grab a box and go. If I miss Sunday, I can do a quick 5-minute prep on Wednesday for the rest of the week.
Pro Tip: Label the boxes with the date. It helps you keep track of freshness. I use a piece of masking tape and a marker. It’s cheap and effective.
Nutrition Information
I’m not a nutritionist, but here’s the breakdown if you’re tracking. These numbers are approximate and vary based on your specific ingredients.
Per Box (Average):
| Nutrient | Amount |
|---|---|
| Calories | 350-450 |
| Protein | 15-20g |
| Carbs | 30-40g |
| Fiber | 3-5g |
| Sugar | 10-15g |
| Fat | 15-20g |
| Sodium | 400-600mg |
What’s Good: Good balance of protein and carbs. High in calcium from cheese. Fresh fruit adds vitamins. You control the sodium, which is a big win over store-bought versions.
What to Know: Calories can vary based on portion sizes. If you’re watching carbs, reduce the crackers and add more veggies. If you’re watching sodium, choose low-sodium meats and cheeses.
My Take: This is a balanced, filling snack that keeps my kids happy until dinner. It’s not a diet food, but it’s way better than processed snacks. I aim for a balance of everything.
Final Thoughts
So that’s my homemade Lunchable snack box strategy! I know it sounds like a lot of work at first, but once you get into the rhythm, it’s incredibly easy. It’s saved me so much money and so much stress. My kids love it, I love the savings, and my husband loves that he doesn’t have to worry about lunch.
Make it yours! Try different flavors, swap in your favorite fruits, and adjust the portions to fit your kids’ appetites. The best part is that it’s flexible. Some days they’ll eat everything. Some days they’ll leave the veggies. That’s okay. Progress, not perfection.
If you make these boxes, drop a comment and let me know what your kids’ favorite combination is! I love hearing how recipes turn out in your kitchen. And if you have any tips, share them—I’m always looking for new ideas.
Happy packing! And I hope your mornings are a little less chaotic starting now.
Frequently Asked Questions
Can I use different types of cheese?
Absolutely. I use cheddar, mozzarella, and provolone. You can use any cheese your kids like. Just make sure it’s cut into small pieces so it fits in the box. If you’re using soft cheeses like brie, skip it—they get too messy. Stick to firm or semi-firm cheeses.
How long do these boxes last in the fridge?
They last 3-4 days. After that, the crackers start to get stale and the fruit might get mushy. I make a fresh batch every Sunday. If you’re only making two or three boxes, they’ll be fine for 4-5 days.
Can I freeze the fruit?
Yes! Freezing grapes or berries is a great trick for hot days. Just make sure they’re completely dry before freezing. Put them in the box with an ice pack. By lunchtime, they’ll be thawed but still cold.
What if my school doesn’t allow nuts?
Many schools are nut-free. In that case, skip peanut butter and sunflower seeds. Use seeds like pumpkin or sunflower seeds if they’re allowed, or just stick to crackers and cheese. There are plenty of nut-free options.
Can I make these for adults?
Of course! I make these for myself sometimes. Just add more protein, like sliced salami or extra cheese. Add some nuts or seeds for crunch. It’s a great office lunch option.
How do I prevent the crackers from breaking?
Don’t overpack the box. Leave a little space. If using delicate crackers, put them in a ziplock bag first. Or use pretzels or rice cakes, which are less fragile.
Can I add a dip?
Yes! Hummus, ranch, or mustard work well. Use a small container or a silicone cup to hold the dip. Make sure it’s sealed tight so it doesn’t leak.
Pin This Recipe!
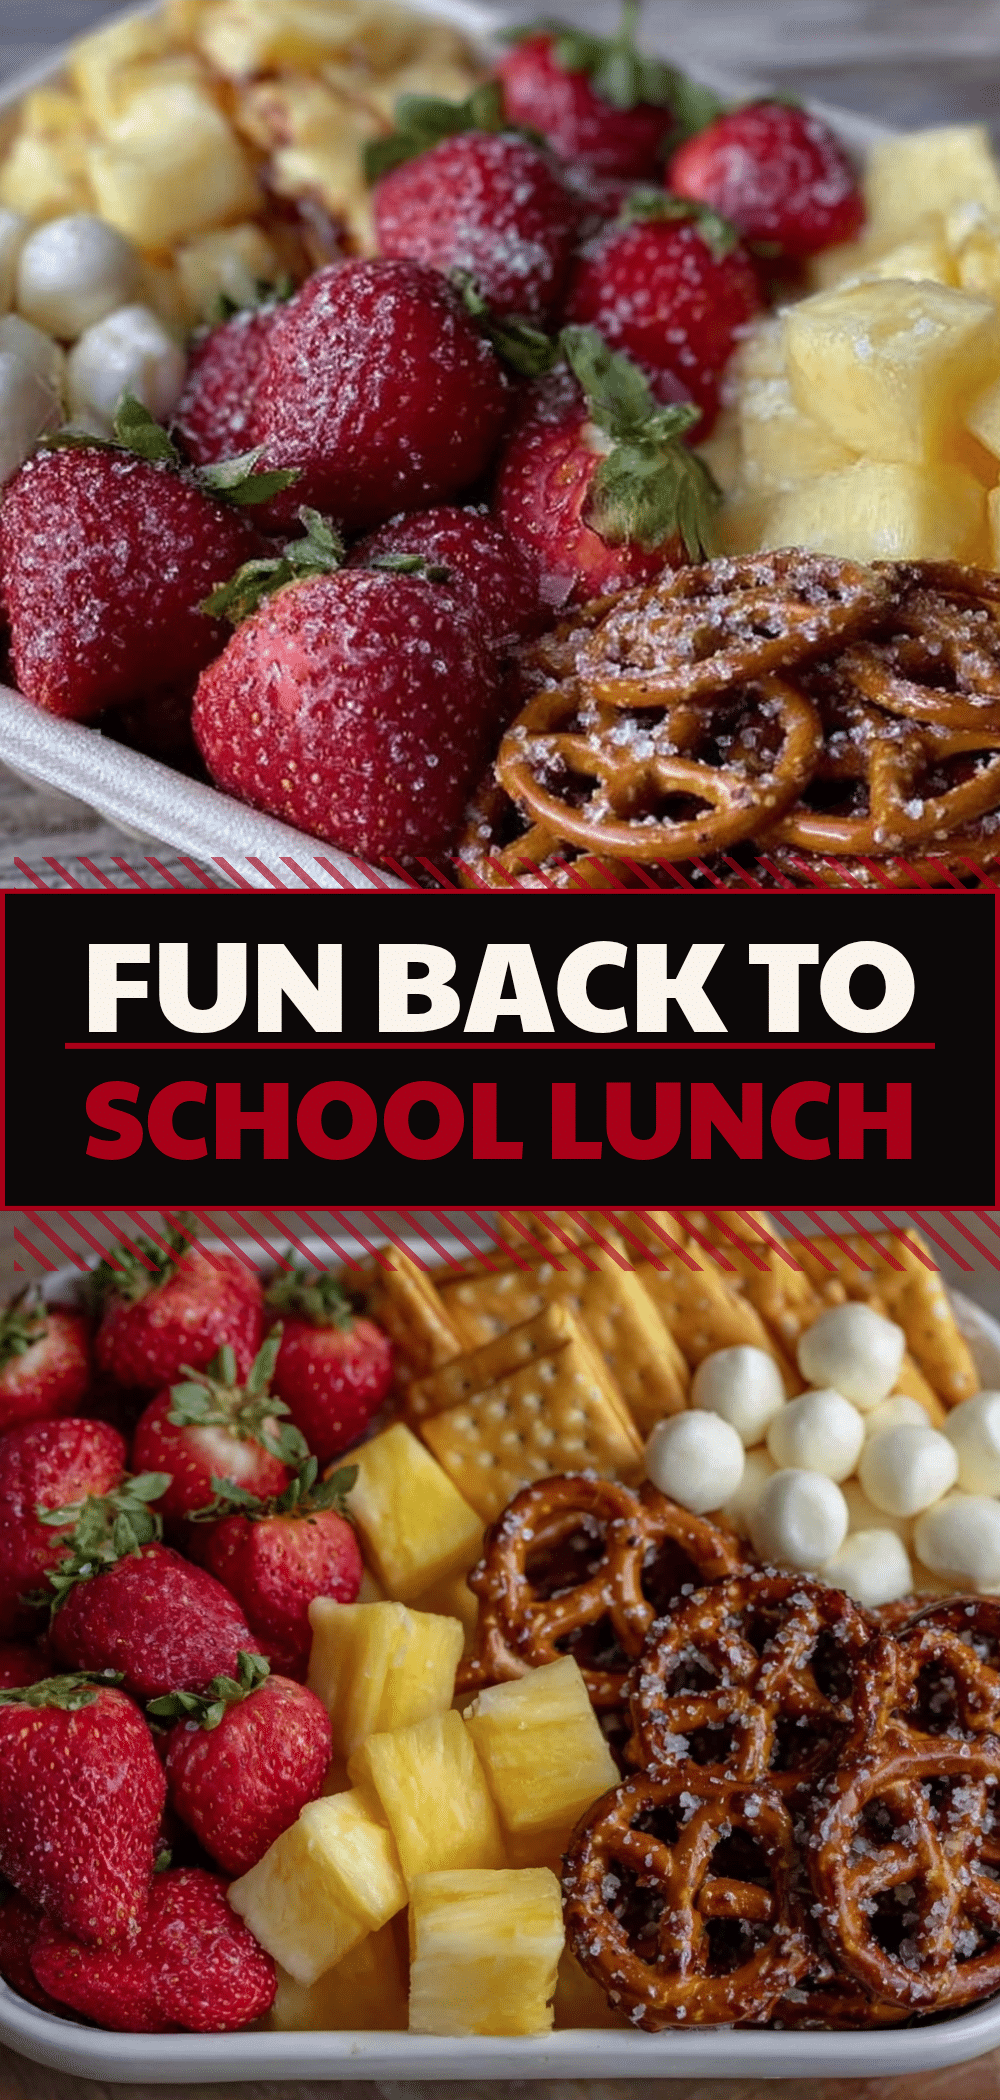

Homemade Lunchable Snack Boxes: Budget-Friendly Back to School Prep
- Total Time: 30 minutes
- Yield: 5 servings
Description
A customizable, budget-friendly meal prep strategy for creating homemade lunch boxes that are cheaper and healthier than store-bought alternatives. Perfect for busy parents looking to reduce morning stress and save money.
Ingredients
- Crackers (1 sleeve / 100g) – such as whole wheat thins, goldfish, or pretzels
- Lunch Meat (3-4 slices / 50g) – turkey breast or ham
- Cheese (1 oz / 30g) – cheddar cubes, mozzarella balls, or string cheese
- Fruit (1/2 cup / 75g) – grapes, apple slices, berries, or melon
- Vegetable Dippers (1/2 cup / 50g) – cucumber rounds, cherry tomatoes, or bell pepper strips
- Nuts or Seeds (1 tbsp / 10g) – sunflower or pumpkin seeds (optional)
- Small Treat (1 item) – dark chocolate chips, mini cookie, or dried cranberries
- Condiments (1 small container) – hummus, ranch, or mustard
Instructions
- Prep components: Cube cheese, slice lunch meat, wash and dry fruit and veggies. Toss apple slices in lemon water to prevent browning.
- Portion crackers: Place 10-12 crackers into the largest compartment of the lunch box, or in a small ziplock bag to prevent crushing.
- Add protein and cheese: Arrange lunch meat and cheese cubes in the next largest compartment. Fold or roll deli meat for better fit.
- Add fruit and veggies: Fill remaining compartments with fruit and veggies. Keep juicy items away from crackers. Halve grapes for younger children.
- Add dippers and treats: Place a small container of dip in a side pocket and add a small treat item.
- Seal and store: Close lids tightly and stack in the fridge. They will keep for 3-4 days.
Notes
Moisture is the enemy of crisp crackers; pat all fruit and veggies dry before packing. For hot days, freeze grapes or berries and include an ice pack. Rotate flavors weekly to prevent boredom. Do not freeze assembled boxes as crackers will become soggy.
- Prep Time: 25-30 minutes
- Cook Time: 0 minutes
- Category: Lunch
- Cuisine: American
Nutrition
- Serving Size: 1 box
- Calories: 350450
- Sugar: 1015
- Sodium: 400600
- Fat: 1520
- Carbohydrates: 3040
- Fiber: 35
- Protein: 1520
Keywords: homemade lunchables, back to school lunch, budget meal prep, kid friendly lunch, healthy school lunch, meal prep for kids, lunch box ideas



