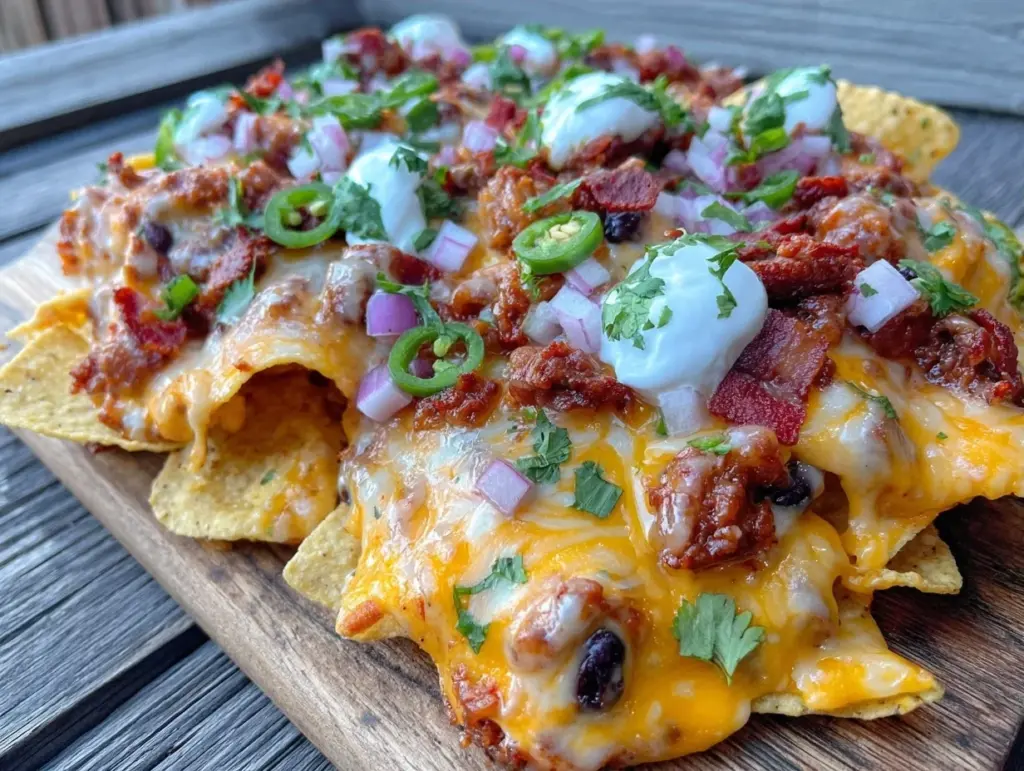
Let’s be real: the best part of game day isn’t always the score. It’s the food. Specifically, that chaotic, glorious mountain of cheese, chips, and toppings that sits in the middle of the living room while everyone argues about the referee. I used to think hosting a tailgate spread meant spending a fortune on fancy dips and ordering three different pizzas. Then I realized that nothing beats the crowd-pleasing power of a loaded nacho bar. It’s cheap, it’s messy, and it feeds a room full of hungry people without breaking the bank.
My family’s tradition is simple: the first person to grab a plate gets the good chips (yes, there’s drama), and the queso is the main event. This isn’t your standard jarred sauce. This is a smooth, stretchy, homemade queso that pulls in long, cheesy strands and coats every single chip. I’ve made this Football Tailgate Loaded Nacho Bar with Qeo for everything from Super Bowl parties to quiet Tuesday night watches, and it never fails to disappear. It’s the ultimate budget-friendly feast that tastes like you spent hours in the kitchen (even though you didn’t).
Why You’ll Love This Game Day Feast
There are a dozen reasons I keep coming back to this setup, but let’s be honest—you’re here because you want easy, cheap, and delicious. Here’s why this nacho bar wins every time:
- Stretches to Feed a Crowd — Seriously, one batch of chips and queso feeds 8-10 people easily. If you have a big family or a rowdy group of friends, just double the chips. It’s the most cost-effective way to feed a room.
- Homemade Queso That Actually Stays Warm — Store-bought queso gets oily and weird in a slow cooker. This recipe uses a roux-based method (don’t panic, it’s easy) that keeps the sauce smooth and creamy for hours. No separation, no graininess.
- Zero Stress Cooking — You’re not plating individual servings. You’re making components. The chips sit in a bowl. The queso simmers. The toppings are just chopped and thrown in bowls. You can set the table while the game is on.
- Kid-Approved and Picky-Eater Safe — My kids love the cheese. My picky brother loves the chips. Even the vegan friend can get a bowl of chips and veggies with a little olive oil. It’s inclusive.
- Budget Smart — You can make this entire spread for under $30 if you buy store brands. That’s less than what we’d spend on takeout for four people, and way more fun.
This is my go-to when I need to feed a lot of people and I’m not in the mood to cook a complicated meal. It’s interactive, it’s fun, and it leaves everyone happy. Plus, it pairs perfectly with a cold drink and a cold night—though honestly, it works great in the summer too.
Ingredients You’ll Need
Here’s the best part: you probably have most of this already in your pantry. This isn’t a gourmet recipe; it’s a practical, pantry-staple recipe. I’m particular about three things here: the cheese blend, the chips, and the heat level. But otherwise, this is super flexible.
For the Homemade Queso
Unsalted butter (4 tablespoons / 56g) — This is the base. Don’t skip it. It helps thicken the sauce and adds that rich mouthfeel. I use salted butter sometimes, but then I reduce the added salt.
All-purpose flour (4 tablespoons / 30g) — This creates a roux with the butter. It’s what stops the queso from being just melted cheese water. It gives it that creamy, coating texture. You can use gluten-free flour if needed, but regular flour works best for stability.
Milk (2 cups / 480ml) — Whole milk is best for richness. If you’re watching calories, 2% works, but it won’t be as luxurious. I keep a carton of milk in the fridge specifically for this because it’s a staple.
Cheddar cheese (2 cups / 200g, shredded) — This is the flavor backbone. Use sharp cheddar for a punchy taste. Mild cheddar is okay, but it’s bland. Crucial tip: Shred your own cheese. Pre-shredded cheese has cellulose in it that prevents it from melting smoothly. I’ve burned my queso trying to use pre-shredded cheese, and it’s grainy. Just grate it from a block. It takes two minutes.
Monterey Jack cheese (1 cup / 100g, shredded) — This is the melting cheese. It’s mild and gooey, which helps the cheddar stretch. If you can’t find Monterey Jack, mozzarella works too, but Jack is traditional.
Roasted green chiles (1 can, 4oz / 113g) — These are the mild, smoky ones from the can. Drain them well! If you want heat, add a diced jalapeño or a teaspoon of cayenne. If you’re feeding kids, stick to just the green chiles.
Cumin (1 teaspoon) — This is the secret ingredient. It adds that warm, earthy “nacho” flavor without making it taste like chili. Don’t skip it.
Garlic powder (½ teaspoon) — Fresh garlic can burn in cheese sauce. Powder is safer and distributes evenly.
Salt and black pepper — To taste. Remember, the cheese is salty, so go easy on the salt initially.
For the Loaded Nacho Bar
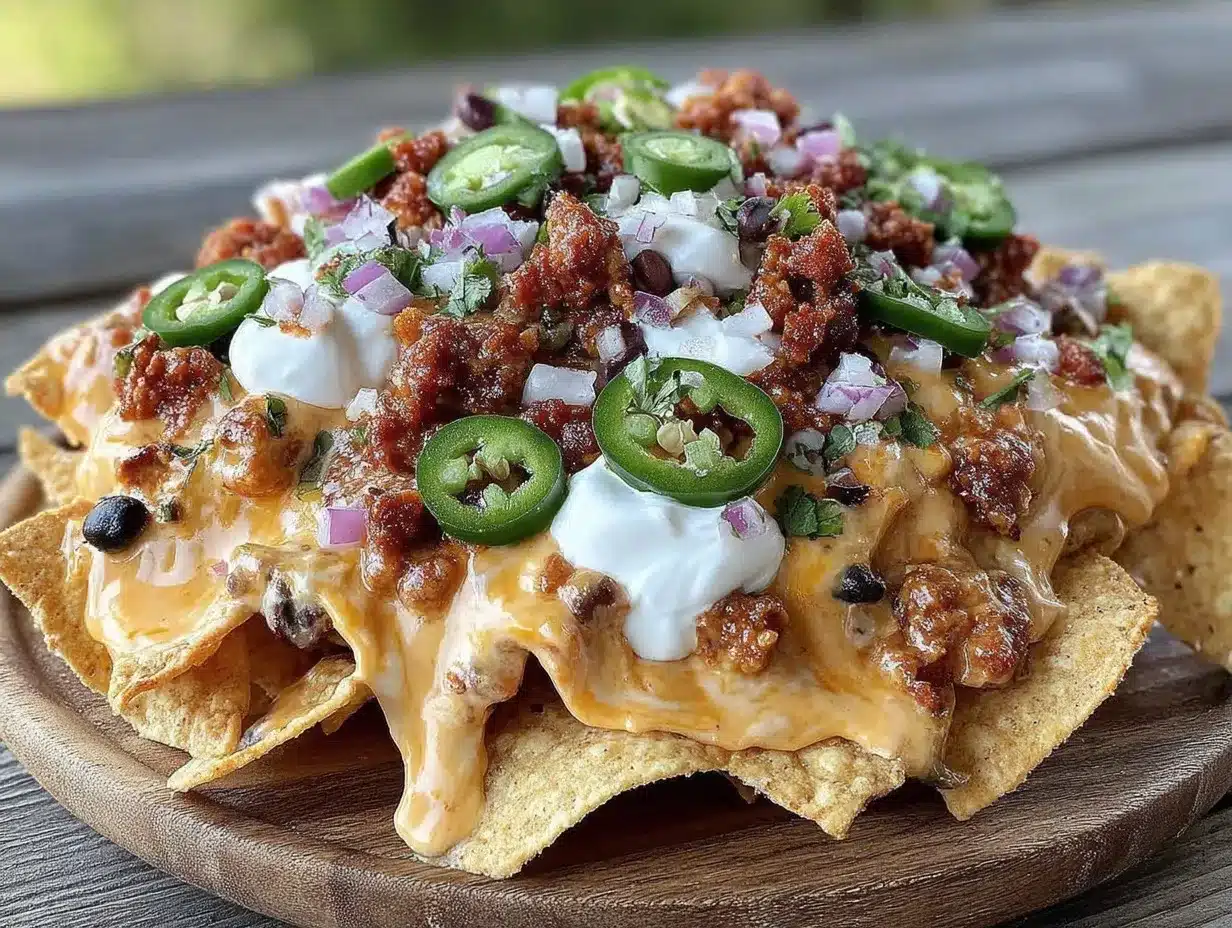
Restaurant-style tortilla chips (2 large bags, about 12-14oz total) — You want the thick, sturdy ones. The thin ones break under the weight of the toppings. I love store-brand restaurant style chips; they’re cheaper and just as good.
Black beans (1 can, 15oz / 425g, rinsed and drained) — Adds protein and makes it filling. I rinse them until the water runs clear to avoid that canned taste.
Ground beef or turkey (1 pound / 450g, cooked and seasoned) — I use a simple taco seasoning packet. If you want to skip meat, skip it. The beans are enough. But honestly, the meat makes it feel like a real meal.
Tomatoes (2 medium, diced) — Fresh tomatoes add brightness. I use Roma tomatoes because they’re less watery. If you’re in winter and tomatoes are sad, use roasted red peppers from a jar.
Green onions (4 stalks, sliced) — For that fresh onion bite. White parts and green parts both work.
Sour cream and salsa — To serve on the side. I like a mild salsa and a thick sour cream.
Optional Add-ins — Jalapeños (fresh or pickled), olives (sliced), lettuce (shredded), corn (canned or frozen/thawed). I usually have a “toppings bar” setup where everyone adds what they want.
Equipment Needed
You don’t need fancy gadgets for this. Here’s what I actually use:
Medium saucepan — For the queso. A 3-quart pot is perfect. It needs to be wide enough to stir the roux easily. My old stainless steel pot works fine.
Whisk — Essential for the roux. You need to whisk constantly to avoid lumps. Don’t use a spoon; you won’t get it smooth.
Large skillet — For cooking the ground meat. If you’re skipping meat, you can skip this.
Serving bowls — You’ll need several bowls for the toppings. I use whatever mismatched bowls I have in the cupboard. It adds to the casual vibe.
Slow cooker (optional) — If you’re hosting a long party, keep the queso in a slow cooker on “warm” to keep it melty. It stays smooth for hours.
Knife and cutting board — For chopping veggies. Sharp knife helps, but any knife works.
Colander — For rinsing the beans and draining the chiles.
How to Make It: Step-by-Step
Alright, let’s make this! I’m walking you through exactly how I do it, including the little tricks I’ve picked up over the years. This is easier than it looks.
Step 1: Prep Your Ingredients (10 minutes)
Before you turn on the stove, get everything ready. This is crucial because the queso comes together fast. Shred your cheeses (if you haven’t already). Dice your tomatoes. Slice your green onions. Rinse and drain your black beans. Measure out your spices. I know it seems fussy, but it makes the actual cooking way less stressful. Once you start cooking, things move quickly.
Step 2: Cook the Meat (If Using) (10 minutes)
Heat a large skillet over medium-high heat. Add your ground beef or turkey. Break it up with a wooden spoon as it cooks. Season with taco seasoning and a little water. Cook until browned and no longer pink. Drain any excess fat. If you’re skipping meat, skip this step. Set the meat aside in a bowl to keep warm.
Step 3: Make the Roux (5 minutes)
In your medium saucepan, melt the butter over medium heat. Once it’s foaming, add the flour. Whisk constantly for about 1-2 minutes. You want it to turn a light golden color and smell nutty. This is the roux. If you don’t cook it enough, it will taste raw. If you burn it, start over. It’s worth it.
Step 4: Add the Liquid (5 minutes)
Slowly pour in the milk while whisking constantly. This is the tricky part. If you pour it all at once, you’ll get lumps. Pour a little, whisk until smooth, then pour a little more. Keep whisking until the mixture thickens and coats the back of a spoon. This should take about 3-4 minutes. Don’t rush this step.
Step 5: Add the Cheese and Flavor (5 minutes)
Reduce the heat to low. Add the cumin, garlic powder, salt, and pepper. Stir well. Now, add the shredded cheese, a handful at a time, whisking until each handful is melted before adding the next. This ensures a smooth sauce. Once all the cheese is in, stir in the drained green chiles. The queso is done when it’s smooth, glossy, and bubbly.
Step 6: Assemble the Bar (5 minutes)
Spread the tortilla chips on a large platter or in a few large bowls. Spoon the hot queso over the chips. Top with the seasoned meat, black beans, tomatoes, and green onions. Arrange the other toppings (salsa, sour cream, jalapeños) in small bowls around the nachos. Serve immediately.
Pro Tip: If you’re serving later, keep the queso in a slow cooker on “warm.” Add a splash of milk if it gets too thick, and stir occasionally.
Expert Tips & Tricks
Here’s everything I’ve learned from making this dozens of times. These tips will save you from my mistakes.
- Shred Your Own Cheese — I can’t stress this enough. Pre-shredded cheese has anti-caking agents that make your queso grainy and prevent it from melting smoothly. Buy a block of cheddar and Monterey Jack and grate it yourself. It takes two minutes and makes a huge difference.
- Whisk the Roux Well — The key to smooth queso is a lump-free roux. Whisk constantly when you add the milk. If you see lumps, keep whisking or strain the sauce through a sieve before adding cheese. Trust me, you don’t want chunks of flour in your queso.
- Drain the Chiles — Roasted green chiles come in liquid. If you don’t drain them well, your queso will be watery. Press them against the side of the colander to get as much liquid out as possible.
- Low Heat for Cheese — Once you add the cheese, keep the heat low. High heat can make the cheese seize up and become oily. Low and slow is the way to go.
- Adjust Consistency — Queso thickens as it cools. If it’s too thick, add a splash of milk. If it’s too thin, let it simmer a bit longer or add a little more cheese. You want it to be pourable but thick enough to coat a chip.
Variations & Substitutions
Once you’ve nailed the basic version, here’s how you can mix it up. I’ve tried all of these.
- Vegetarian Version — Skip the meat. Add extra black beans or pinto beans for protein. You can also add corn or sautéed mushrooms for extra flavor and texture.
- Spicy Kick — Add diced jalapeños to the queso while it simmers. Or use pepper jack cheese instead of Monterey Jack. I love adding a teaspoon of cayenne pepper for heat.
- Chicken Nachos — Instead of ground beef, use shredded rotisserie chicken. Toss it with taco seasoning and warm it up. It’s lighter and faster.
- Bacon Bits — Crispy bacon on top is amazing. I cook it, crumble it, and sprinkle it over the nachos right before serving. It adds a smoky crunch.
- Gluten-Free — Use gluten-free tortilla chips and make sure your taco seasoning is gluten-free. The rest of the ingredients are naturally gluten-free.
- Dairy-Free — This is harder because queso relies on cheese. You can use dairy-free cheese shreds, but they don’t melt the same way. I recommend a cashew-based queso or just serving chips with guacamole and salsa.
Serving & Storage
How to Serve: I usually set up the chips in a big bowl in the center, with the queso in a slow cooker or saucepan nearby. Everyone builds their own plate. It’s interactive and fun. I also put out napkins—lots of them.
Side Dishes: These nachos are filling, but you can add sides if you want. I like serving them with a simple green salad or some fruit skewers. It balances out the heaviness. For drinks, I usually have sodas, iced tea, and maybe some beer or wine.
Storage: Leftover queso can be stored in an airtight container in the fridge for up to 3 days. It will thicken up significantly. To reheat, add a splash of milk and warm it gently on the stove, stirring constantly. Leftover chips are best eaten fresh, but you can store them in an airtight container for a day or two. They’ll lose some crunch, but they’re still good.
Freezing: I don’t recommend freezing queso. The texture changes and it can become grainy or separate. It’s best made fresh. If you have leftover meat and beans, you can freeze those separately for up to 3 months.
Nutrition Information
I’m not a nutritionist, but here’s the breakdown if you’re tracking. This is per serving (based on 1/10th of the batch).
| Nutrient | Amount |
|---|---|
| Calories | 350 |
| Protein | 12g |
| Carbs | 30g |
| Fiber | 3g |
| Sugar | 2g |
| Fat | 20g |
| Sodium | 600mg |
What’s good? It has protein from the cheese and beans. What to know? It’s high in calories and sodium because of the cheese and chips. But hey, it’s game day food. Enjoy it in moderation. If you want to make it lighter, use less cheese, more veggies, and baked chips.
Final Thoughts
So that’s my go-to Football Tailgate Loaded Nacho Bar with Queso! I’ve probably talked your ear off at this point, but when you make a recipe this often, you have a lot to say about it. This has saved game days more times than I can count. It’s my answer to “what’s for dinner” when I’m tired, don’t want takeout, and still want something that tastes really good. My kids are happy, my husband’s happy, and I’m happy because I’m not stressed about cooking.
Make it yours! Try different add-ins, swap in your favorite vegetables, adjust the heat. The best recipes are the ones you adapt to your family’s tastes. If you make this, drop a comment and let me know what you think! I love hearing how recipes turn out in your kitchen. And if something doesn’t work, tell me that too—I’m here to help troubleshoot.
Happy cooking! And I hope your kitchen smells half as good as mine does right now.
Frequently Asked Questions
Q: Can I use pre-shredded cheese?
A: You can, but I don’t recommend it. Pre-shredded cheese has cellulose in it that prevents it from melting smoothly. Your queso will be grainy and won’t have that nice stretch. Just grate your own from a block. It takes two minutes and makes a huge difference.
Q: How do I keep the queso warm for a party?
A: Transfer the queso to a slow cooker set to “warm.” Stir occasionally and add a splash of milk if it gets too thick. It will stay smooth and melty for hours.
Q: Can I make this ahead of time?
A: Yes! Make the queso and let it cool. Store it in the fridge. Reheat it gently on the stove with a splash of milk before serving. The toppings can be prepped and stored in the fridge.
Q: Why did my queso get grainy?
A: Usually, this happens because the heat was too high when you added the cheese, or you used pre-shredded cheese. Always add cheese off the heat or on very low heat, and whisk constantly.
Q: Can I freeze the queso?
A: I don’t recommend it. The texture changes and it can become grainy or separate. It’s best made fresh.
Q: What kind of chips work best?
A: Restaurant-style tortilla chips are best because they’re thick and sturdy. Thin chips will break under the weight of the toppings. Store brands work just as well as name brands.
Q: Can I make this without meat?
A: Absolutely. Skip the ground beef and add extra beans or corn. The queso and veggies are enough to make it filling and delicious.
Pin This Recipe!
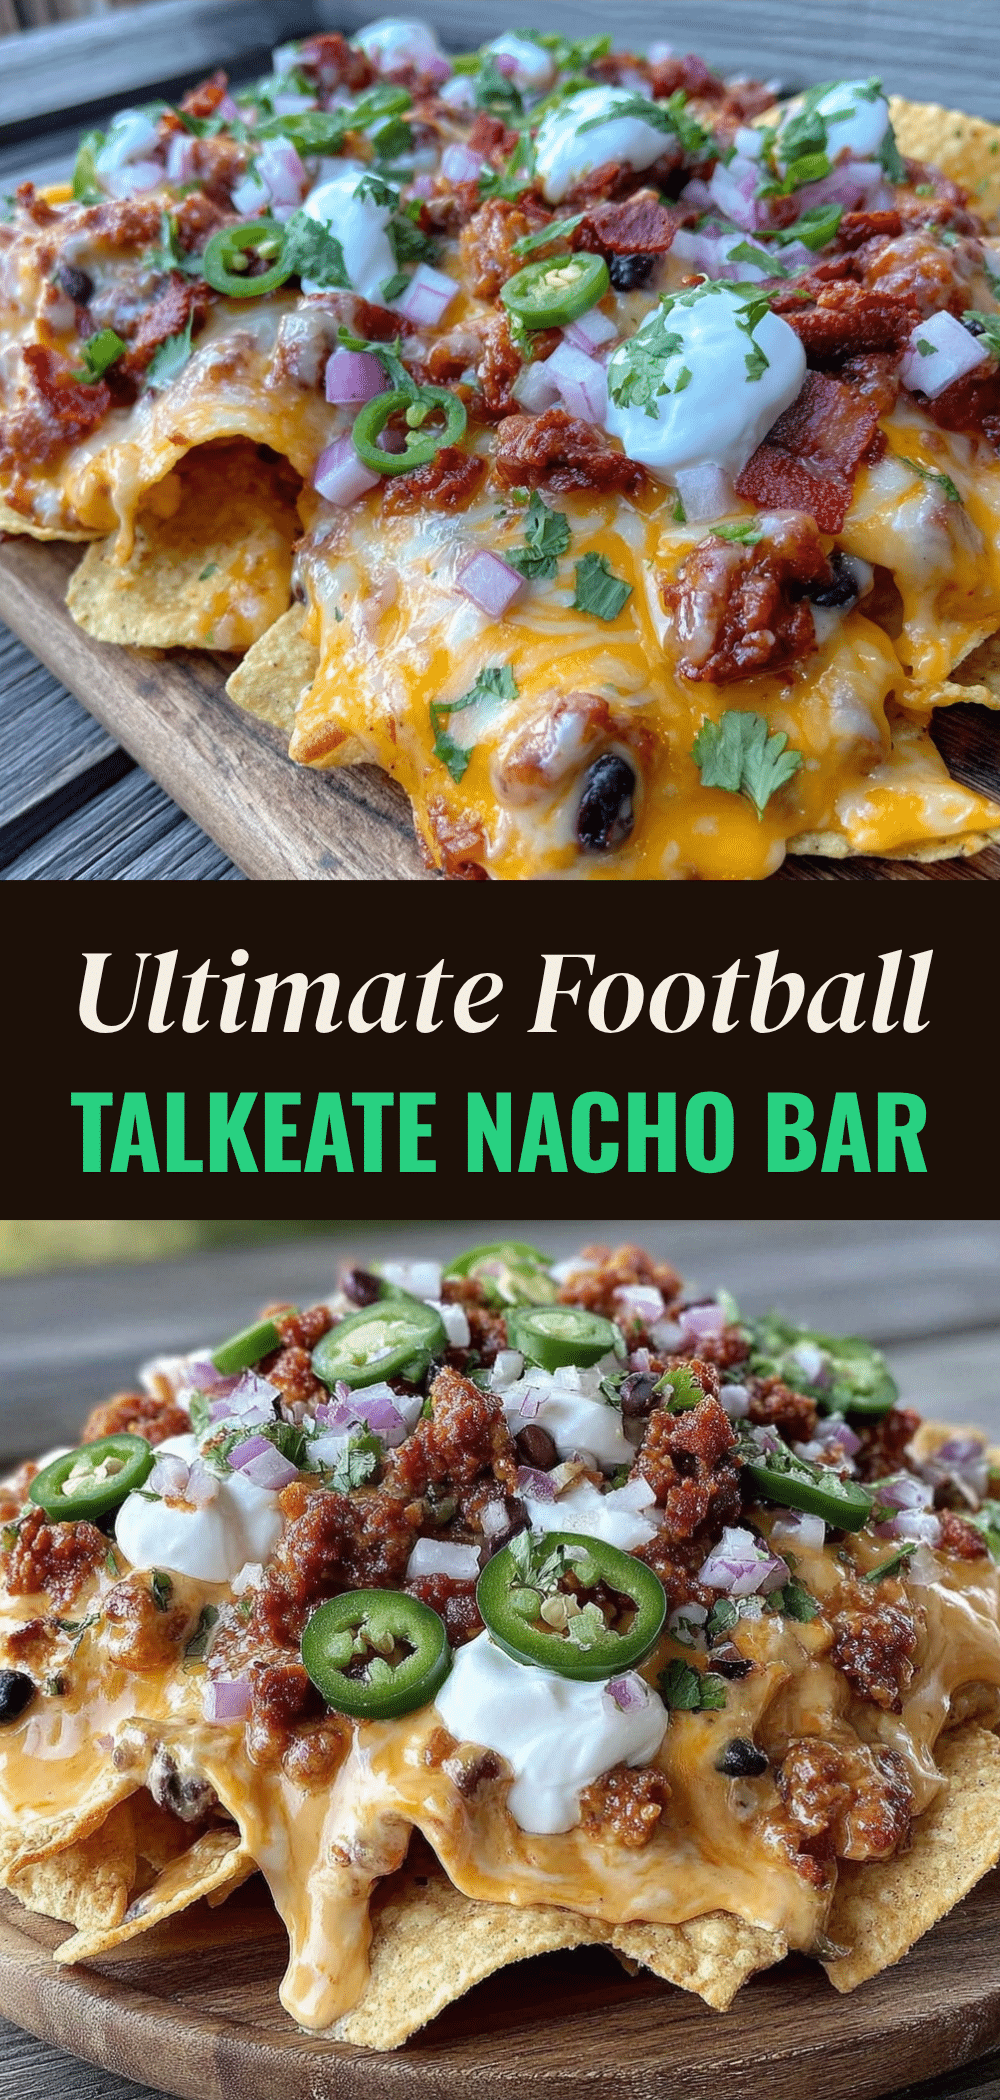

Football Tailgate Loaded Nachos: Easy Budget Game Day Feast
- Total Time: 40 minutes
- Yield: 8-10 servings 1x
Description
A budget-friendly, crowd-pleasing loaded nacho bar featuring a smooth, homemade roux-based queso that stays warm and creamy. This interactive meal is perfect for game days, feeding 8-10 people with minimal stress.
Ingredients
- 4 tablespoons (56g) unsalted butter
- 4 tablespoons (30g) all-purpose flour
- 2 cups (480ml) whole milk
- 2 cups (200g) sharp cheddar cheese, shredded
- 1 cup (100g) Monterey Jack cheese, shredded
- 1 can (4oz / 113g) roasted green chiles, drained
- 1 teaspoon cumin
- ½ teaspoon garlic powder
- Salt and black pepper to taste
- 2 large bags (12-14oz total) restaurant-style tortilla chips
- 1 can (15oz / 425g) black beans, rinsed and drained
- 1 pound (450g) ground beef or turkey, cooked and seasoned with taco seasoning
- 2 medium Roma tomatoes, diced
- 4 stalks green onions, sliced
- Sour cream and salsa for serving
- Optional: Jalapeños, olives, lettuce, corn, bacon bits
Instructions
- Prep all ingredients: shred cheeses, dice tomatoes, slice green onions, and rinse/drains beans and chiles.
- If using meat, heat a large skillet over medium-high heat. Cook ground beef or turkey, breaking it up with a spoon. Season with taco seasoning and water. Cook until browned, drain excess fat, and set aside.
- In a medium saucepan, melt butter over medium heat. Add flour and whisk constantly for 1-2 minutes until the roux is light golden and nutty.
- Slowly pour in milk while whisking constantly to prevent lumps. Continue whisking until the mixture thickens and coats the back of a spoon (3-4 minutes).
- Reduce heat to low. Stir in cumin, garlic powder, salt, and pepper. Add shredded cheese a handful at a time, whisking until melted before adding the next. Stir in drained green chiles until the queso is smooth and glossy.
- Spread tortilla chips on a large platter or in bowls. Spoon hot queso over chips. Top with seasoned meat, black beans, tomatoes, and green onions. Serve with salsa and sour cream on the side.
Notes
Shred your own cheese to avoid anti-caking agents that cause graininess. Drain roasted green chiles thoroughly to prevent watery queso. Keep heat low when adding cheese to prevent seizing. If queso thickens upon cooling, add a splash of milk to thin it out. Do not freeze the queso as the texture will change.
- Prep Time: 10 minutes
- Cook Time: 30 minutes
- Category: Appetizer
- Cuisine: American
Nutrition
- Serving Size: 1/10th of the batch
- Calories: 350
- Sugar: 2
- Sodium: 600
- Fat: 20
- Carbohydrates: 30
- Fiber: 3
- Protein: 12
Keywords: football tailgate, loaded nachos, homemade queso, game day food, budget recipes, crowd pleaser, easy appetizer, party food



