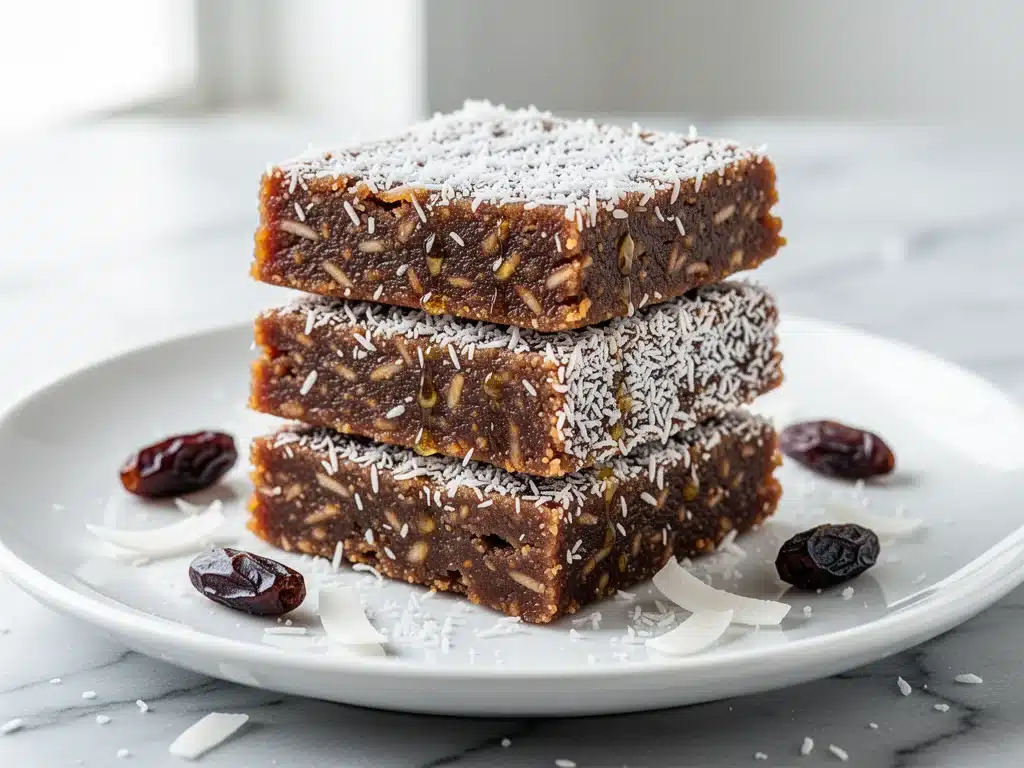
It was 3:15 PM on a Tuesday, and I was staring at the pantry door like it held the secrets to the universe. You know that feeling. Your brain is foggy, your energy is flatlining, and the thought of waiting for dinner is literally painful. In my pre-Whole30 life, I would have raided the junk drawer for something processed, sweet, and unfortunately, full of ingredients I couldn’t pronounce. But this time? I needed fuel that actually worked with my body, not against it.
I had three dates, a bag of shredded coconut, and a jar of almond butter. That’s it. No fancy superfoods, no obscure powders, and definitely no oven time. I threw them in the food processor, hit pulse, and waited. When I took the first bite, I nearly dropped it. It was sweet, chewy, salty, and rich all at once. It tasted like a candy bar, but it was clean eating gold. That was six months ago. Since then, I’ve made these Whole30 No-Bake Coconut Date Energy Bars at least twenty times. They are the reason I don’t buy granola bars anymore. They are the reason I actually look forward to my afternoon snack.
If you’re trying to eat cleaner but you’re tired of bland, dry, “health food” that tastes like cardboard, you need to stop scrolling and start blending. This recipe is stupid simple, requires zero baking skills, and comes together faster than you can order takeout. It’s my go-to for meal prep, for post-workout fuel, or just for when I need to satisfy a serious sweet tooth without the sugar crash. Let me show you how easy it is to make these 4-ingredient miracles.
Why You’ll Love This Whole30 No-Bake Coconut Date Energy Bars Recipe
There are a dozen reasons I keep coming back to this recipe, but honestly? It’s the simplicity that keeps me loyal. Here’s the real talk on why these bars have taken over my kitchen:
- Zero Baking Required — Seriously. If you can operate a food processor, you can make these. No preheating, no timing, no cleaning a baking sheet. I’ve made these on busy weeknights when I was too exhausted to even think about turning on the oven.
- Four Ingredients, Max — You don’t need a chemistry degree to shop for this. Just dates, coconut, nut butter, and maybe a pinch of salt. It’s pantry-friendly. I always keep dates and almond butter stocked specifically for these. It’s my emergency snack plan.
- Whole30 and Paleo Friendly — If you’re doing a reset or just trying to cut out refined sugars, this is your best friend. It’s naturally sweetened, dairy-free, and gluten-free. No weird fillers or hidden oils. Just real food.
- Meal Prep Champion — I make a batch on Sunday morning while I’m drinking my coffee. By Wednesday, I’m grateful I did. They keep in the fridge for two weeks or in the freezer for three months. They travel well in my gym bag. They don’t melt (mostly).
- Actually Tastes Good — This is the big one. A lot of “healthy” bars taste like sawdust and regret. These taste like dessert. Chewy dates, crunchy coconut, creamy nut butter. It’s addictive in the best way possible.
Look, I’m not going to lie to you. I’ve tried other energy bar recipes that required soaking cashews for six hours or using five different types of flour. Not this one. This one is for real life. It’s for when you’re hungry, you’re tired, and you want something that tastes indulgent but keeps you on track. These bars have saved me from buying vending machine snacks more times than I can count.
Ingredients You’ll Need
Here’s the best part: you probably have everything you need right now. I’m not asking you to drive to three different stores for obscure ingredients. This recipe relies on simple, whole foods that are easy to find. Here is exactly what goes into these bars and why each one matters.
The Base
Dates (Medjool preferred) (1 cup pitted / about 150g) — These are the glue and the sweetener. Medjool dates are larger, softer, and sweeter than regular dates, which makes them perfect for no-bake recipes. If you only have Deglet Noor dates, soak them in warm water for 10 minutes first to soften them. Do not skip pitting them! I once tried to process a date with the pit still in it. It broke my food processor blade. Don’t be me.
Unsweetened Shredded Coconut (1 cup / 70g) — This adds texture and that classic tropical flavor. I use the unsweetened flakes, not the sweetened kind. You want the natural coconut taste, not extra sugar. Fine shreds work, but I like the flakes because they give you little bursts of texture in every bite. It’s what makes these taste like a candy bar.
The Binder and Flavor
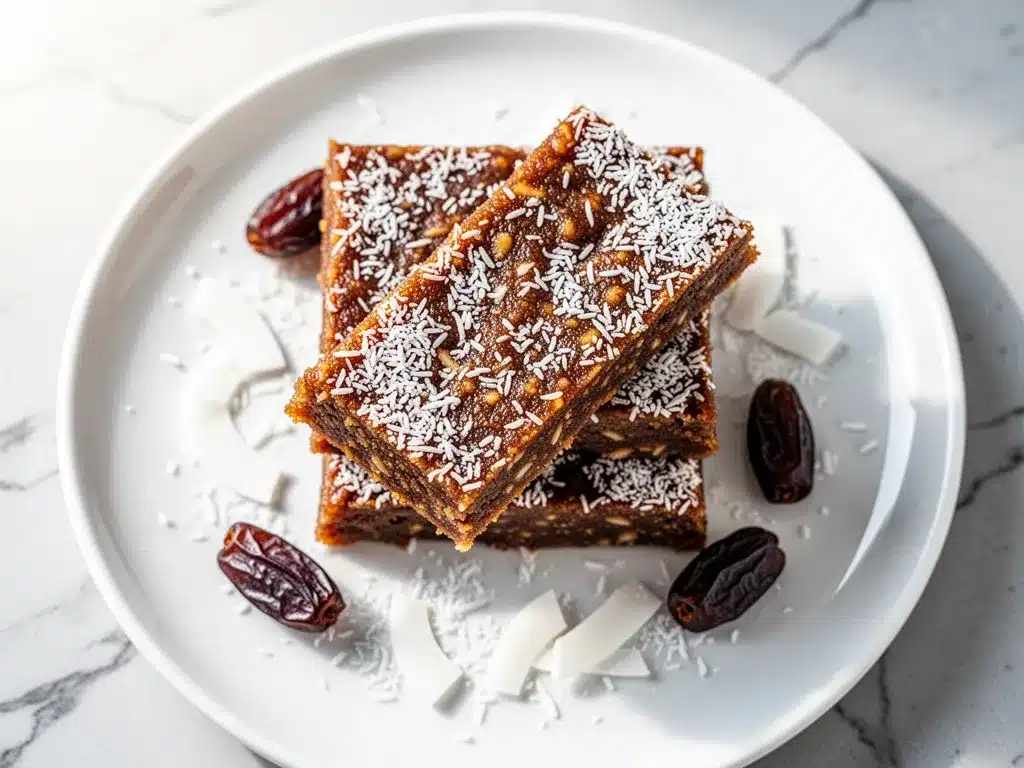
Nut Butter (Almond or Cashew) (½ cup / 120g) — This binds everything together. I prefer almond butter because it’s less sweet and has a stronger flavor that balances the dates. Cashew butter works too, but it’s milder and sweeter. Make sure you use natural nut butter where the oil separates. Stir it well before measuring. If you use a processed nut butter with hydrogenated oils, the texture will be weird and waxy. Natural is non-negotiable here.
Vanilla Extract (1 teaspoon) — This is optional but highly recommended. It adds that warm, bakery-like aroma. If you’re out of vanilla, you can skip it, but I don’t recommend it. It makes a huge difference in the flavor profile.
The Optional Boosters
Sea Salt (¼ teaspoon) — I always add a pinch. Salt makes the sweetness pop. It’s a trick I learned from making paleo garlic herb roasted chicken—a little salt brings out all the other flavors. Without it, the bars taste one-dimensional.
Chopped Almonds or Walnuts (¼ cup) — If you want a crunch, add some chopped nuts. I love the contrast of the chewy dates with the crunchy nuts. It makes the bars feel more substantial and like a proper snack rather than just a sweet bite.
Mini Dark Chocolate Chips (Whole30 compliant) (¼ cup) — For the chocolate lovers. Just make sure they’re sugar-free and compliant with your specific Whole30 rules. I use Lily’s or Hu chocolate chips. It turns these into almost a blondie vibe.
Equipment Needed
You don’t need a fancy kitchen for this. Here’s what I actually use, and what you can swap if you don’t have it.
Food Processor — This is the key tool. You need something powerful enough to chop dates into a sticky paste. A blender might work, but it’s harder to get the right texture. I use my Cuisinart 14-cup processor. It’s big enough to handle the batch without overcrowding.
8×8 Inch Baking Pan — Any square pan will do. Line it with parchment paper. This is non-negotiable. These bars are sticky. If you don’t line the pan, you will struggle to get them out later. I use a pan that’s exactly 8×8, but 9×9 works if you want thinner bars.
Parchment Paper — As mentioned, use it. It makes cleanup instant and helps you lift the bars out once they’re set. I keep rolls of it in every cupboard.
Spatula — For pressing the mixture into the pan. A silicone spatula works well because it’s flexible and can get into the corners. You could use the back of a spoon, but a spatula is easier.
Knife — For slicing the bars. A sharp chef’s knife works best. If you don’t have one, a serrated bread knife can work too, but be gentle.
How to Make It: Step-by-Step
Alright, let’s make these! I’m walking you through exactly how I do it. It’s fast, so keep your ingredients prepped before you hit the processor.
Step 1: Prep Your Dates
If you’re using Medjool dates, remove the pits. Slice them in half lengthwise to make pitting easier. If your dates are dry or hard, soak them in warm water for 10 minutes, then drain and pat them dry. Wet dates will throw off the texture, so make sure they’re dry before processing. I know it’s a pain, but it’s worth it for the best texture.
Step 2: Process the Dates
Place the pitted dates in your food processor. Pulse until they break down into a sticky, coarse paste. You might need to scrape down the sides a few times. This usually takes about 30-60 seconds. The goal is a uniform, sticky mass. If it’s too dry and not sticking together, add a teaspoon of water or almond milk and pulse again.
Step 3: Add the Nut Butter and Vanilla
Add the nut butter and vanilla extract to the food processor. Pulse until fully combined. The mixture should look like a thick, creamy dough. If it’s too runny, you added too much nut butter. If it’s too crumbly, add more dates or a splash of water. Scrape down the sides again.
Step 4: Mix in the Coconut
Add the shredded coconut and salt (if using). Pulse just until combined. Do not over-process here! You want to see the coconut flakes. If you blend too long, it’ll turn into coconut butter and the bars will be dense. Pulse 10-15 times should do it. The mixture should be sticky enough to hold together when you pinch it with your fingers.
Step 5: Press Into the Pan
Line your 8×8 pan with parchment paper. Dump the mixture into the pan. Use your hands or a spatula to press it down firmly. This is the most important step for good bars. Press it down evenly and tightly. If it’s loose, the bars will crumble. I use the bottom of a measuring cup to pack it down tight. It takes about 2 minutes of pressing.
Step 6: Chill and Slice
Place the pan in the refrigerator for at least 30 minutes, or the freezer for 15 minutes. This firms up the nut butter and makes slicing easy. Once firm, lift the parchment paper out of the pan. Slice into squares or bars. I cut mine into 12 bars. If they’re sticking to the knife, wipe the blade clean between cuts.
Total Time: About 15 minutes active, plus 30 minutes chilling.
Troubleshooting Your Texture
Mixture too crumbly? You need more binder. Add another tablespoon of nut butter or a teaspoon of honey (if not strict Whole30). Pulse to combine.
Mixture too wet? Add more coconut or a few more dates. Process again briefly.
Bars are too soft? You didn’t press them down enough, or they didn’t chill long enough. Chill them longer. The cold is what sets the nut butter.
Expert Tips & Tricks
Here’s everything I’ve learned from making these dozens of times. These tips will save you from my mistakes.
Use Medjool Dates
They are softer and sweeter. If you use dry dates, the bars will be tough and hard to chew. Soft dates = chewy bars. It’s that simple.
Don’t Skip the Chill Time
I know you want to eat them now. But if you skip the chill, they’ll be a sticky mess in your hands. The chill sets the fats. 30 minutes in the fridge is the sweet spot.
Store Properly
These bars are perishable because of the nut butter and dates. Keep them in an airtight container in the fridge. They last up to two weeks. For longer storage, freeze them. They thaw quickly at room temperature.
Customize the Crunch
I love adding chopped almonds or walnuts. It adds a nice textural contrast to the chewy dates. It also makes the bars feel more like a meal than a snack. Try it once, you’ll see.
Make a Double Batch
These freeze beautifully. I often make two batches when I’m in the mood. One batch for the fridge, one for the freezer. It’s the best way to stay on track during a busy week.
Variations & Substitutions
Once you’ve nailed the basic version, here’s how you can mix it up. I’ve tried all of these, and they all work.
Chocolate Chip Version
Fold in ¼ cup of Whole30-compliant mini chocolate chips after processing. It’s like a blondie bar. My kids love this version best.
Chai Spice
Add 1 teaspoon of chai spice blend to the food processor. It adds a warm, cozy flavor that’s perfect for fall. It’s like a dessert in snack form.
Trail Mix Style
Add ¼ cup of raisins and ¼ cup of chopped almonds. It’s like a trail mix bar. Great for hiking or camping.
Dairy-Free Note
This recipe is naturally dairy-free. Just make sure your nut butter doesn’t have added milk solids. Most natural nut butters are fine.
Gluten-Free Note
This recipe is naturally gluten-free. Just ensure your nut butter and coconut are processed in a gluten-free facility if you have celiac disease.
Serving & Storage
How to Serve:
I usually eat these straight out of the fridge. They are cold, firm, and satisfying. But you can also eat them at room temperature if you prefer a softer texture. I pair them with a cup of coffee or vegan iced golden turmeric latte for a complete afternoon pick-me-up.
Side Dishes:
These are snacks, so they don’t really need sides. But if you’re packing a lunch, pair them with some fresh fruit or a handful of almonds.
Storage Instructions:
Store in an airtight container in the fridge for up to 2 weeks. They will firm up in the cold. If you freeze them, they last up to 3 months. Thaw at room temperature for 10 minutes before eating.
Freezing:
Yes, freeze them! Place them in a single layer on a baking sheet, freeze until hard, then transfer to a freezer bag. This prevents them from sticking together. They thaw quickly.
Nutrition Information
I’m not a nutritionist, but here’s the breakdown if you’re tracking. These numbers are approximate and based on 12 bars.
Per Bar (approximate):
– Calories: 150
– Protein: 3g
– Carbs: 18g
– Fiber: 2g
– Sugar: 14g (natural from dates)
– Fat: 8g
– Saturated Fat: 4g
– Sodium: 30mg
What’s Good:
– High in fiber from dates and coconut
– Good source of healthy fats from nut butter
– No refined sugars
– Whole food ingredients
What to Know:
– Higher in sugar due to dates, but it’s natural sugar
– Calorie-dense, so portion control matters if you’re watching weight
– Contains tree nuts (almonds/coconut)
My Take:
Look, this is a snack. It’s not a meal replacement, though it’s more filling than most snacks. It’s energy-dense, which is good for active people. When I’m doing Whole30, I use these to curb my sweet tooth without derailing my progress. Enjoy them in moderation.
Final Thoughts
So that’s my go-to Whole30 No-Bake Coconut Date Energy Bars! I’ve probably talked your ear off at this point, but when you make a recipe this often, you have a lot to say about it. These bars have saved me from vending machine traps more times than I can count. They are my answer to “what’s for a snack” when I’m tired, hungry, and need something clean.
Make them yours! Try different nut butters, add chocolate chips, or throw in some nuts. The best recipes are the ones you adapt to your tastes. If you make these, drop a comment and let me know what you think! I love hearing how recipes turn out in your kitchen. And if something doesn’t work, tell me that too—I’m here to help troubleshoot.
Happy snacking! And I hope your kitchen smells as good as mine does right now (it smells like dates and coconut).
Frequently Asked Questions
Can I use peanut butter instead of almond butter?
You can, but the flavor will be different. Peanut butter is stronger and sweeter. It works, but I prefer almond butter for its neutral, nutty flavor. If you use peanut butter, make sure it’s natural and not too oily. The bars might be softer.
Why are my bars crumbling?
This usually means you didn’t use enough binder. Add more nut butter or a teaspoon of water. Also, make sure you’re pressing the mixture down firmly in the pan. If it’s loose, it will crumble. Process the dates until they are a sticky paste.
Can I make these ahead for a party?
Absolutely! Make them a day or two ahead and store them in the fridge. They actually get better after a day as the flavors meld. Just keep them covered so they don’t dry out. They are perfect for potlucks because they are easy to grab and eat.
Do I have to use Medjool dates?
Medjool dates are best because they are soft and sweet. If you use Deglet Noor dates, soak them in warm water for 10 minutes first. They are smaller and harder, so they need help to blend smoothly. Soft dates = easy blending.
How long do these bars last?
In the fridge, they last up to 2 weeks. In the freezer, they last up to 3 months. They are best when stored in an airtight container. If you leave them out at room temperature, they will get soft and sticky, especially in warm weather.
Can I use a blender instead of a food processor?
You can, but it’s harder. A blender might not chop the dates evenly. You’ll need to stop and scrape down the sides frequently. A food processor is ideal because it has a wider blade and chops more evenly. If you only have a blender, go slow and be patient.
Are these bars keto-friendly?
No, they are not. Dates are high in sugar and carbs. If you are on keto, you’ll need to substitute the dates with something lower carb, like almond flour and a keto sweetener. But for Whole30 or Paleo, these are perfect.
Pin This Recipe!
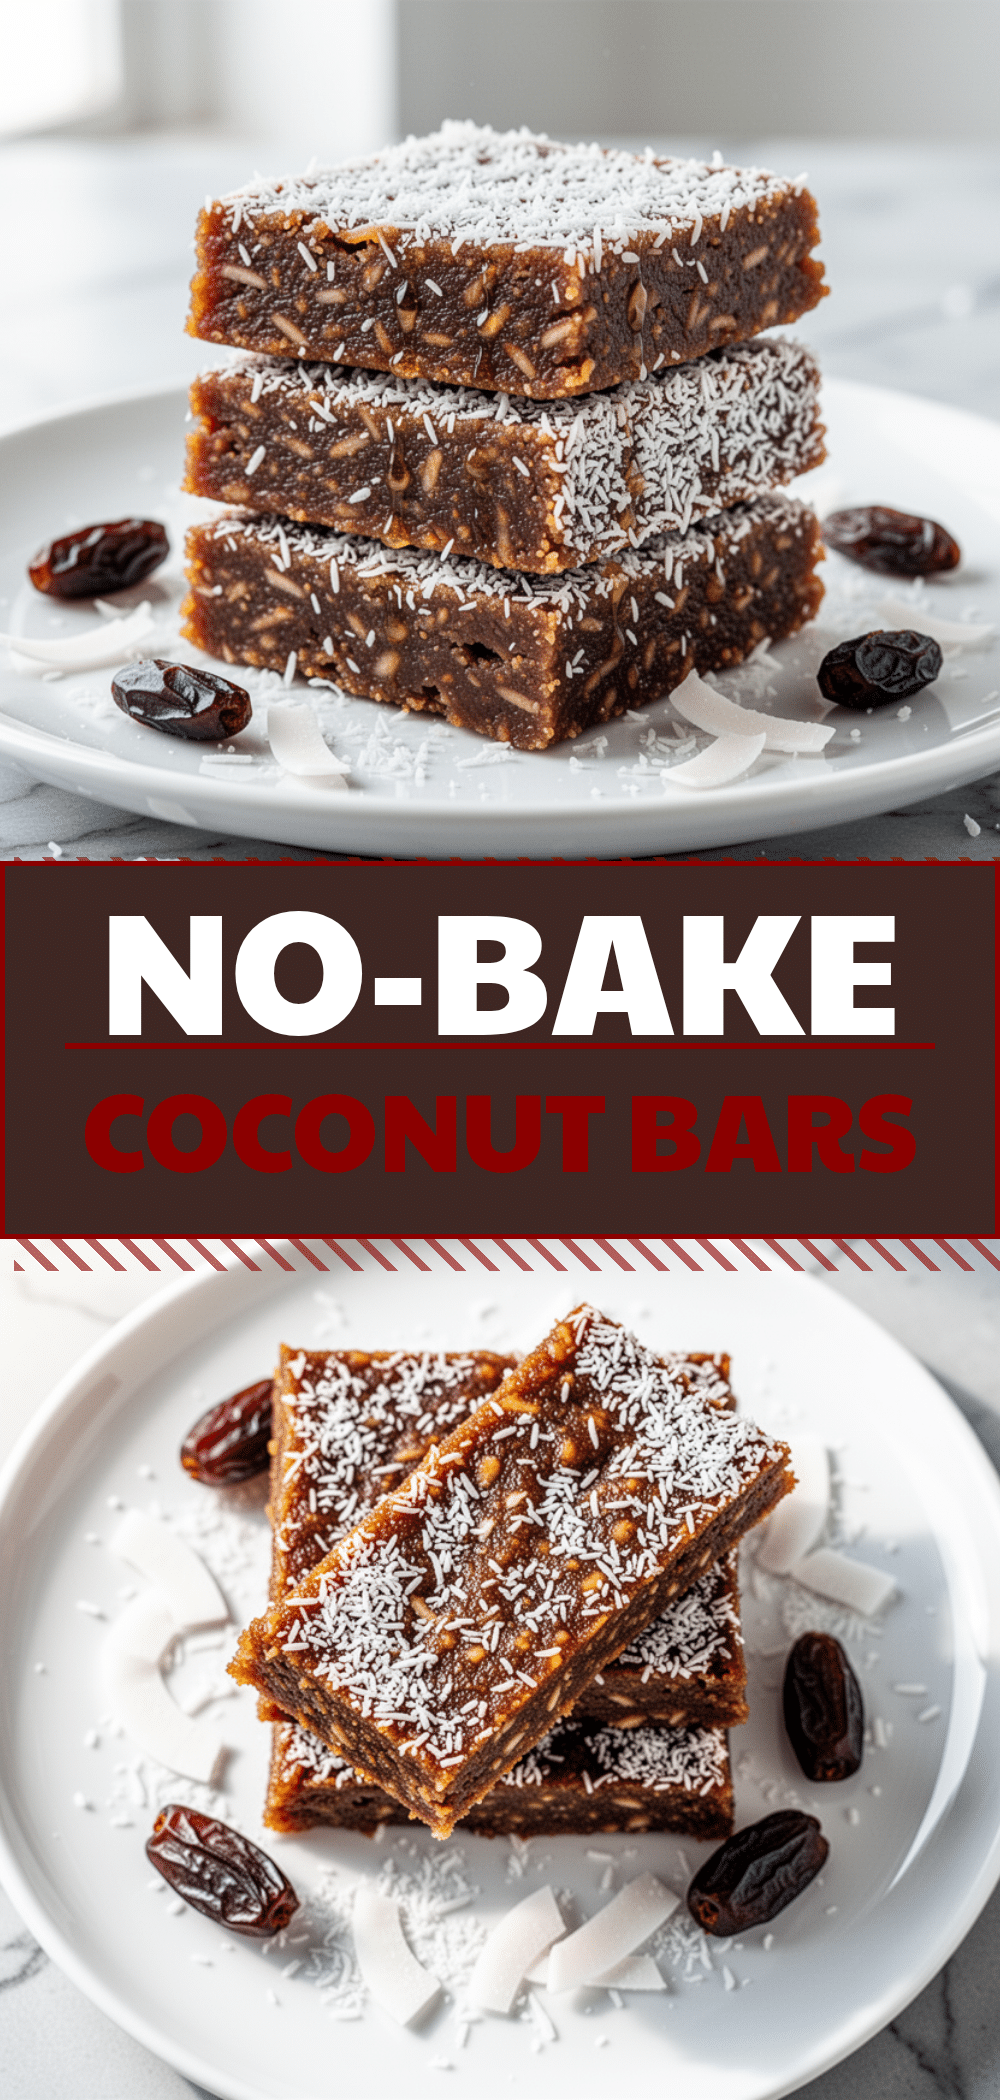

Whole30 No-Bake Coconut Date Energy Bars
- Total Time: 45 minutes
- Yield: 12 servings 1x
Description
A simple, 4-ingredient no-bake energy bar recipe that is Whole30, Paleo, gluten-free, and dairy-free. These bars provide clean energy with a chewy texture and natural sweetness from dates.
Ingredients
- 1 cup pitted Medjool dates (about 150g)
- 1 cup unsweetened shredded coconut (70g)
- ½ cup natural almond butter or cashew butter (120g)
- 1 teaspoon vanilla extract
- ¼ teaspoon sea salt
- Optional: ¼ cup chopped almonds or walnuts
- Optional: ¼ cup Whole30-compliant mini dark chocolate chips
Instructions
- Prep the dates by removing pits. If dates are dry, soak in warm water for 10 minutes, then drain and pat dry.
- Place pitted dates in a food processor and pulse until they form a sticky, coarse paste (30-60 seconds). Scrape down sides as needed.
- Add nut butter and vanilla extract to the processor. Pulse until fully combined into a thick, creamy dough.
- Add shredded coconut and salt. Pulse 10-15 times just until combined, ensuring coconut flakes remain visible.
- Line an 8×8 inch baking pan with parchment paper. Press the mixture firmly and evenly into the pan using a spatula or the bottom of a measuring cup.
- Chill in the refrigerator for at least 30 minutes or in the freezer for 15 minutes until firm.
- Lift the bars out using the parchment paper and slice into 12 bars or squares.
Notes
Use Medjool dates for best texture. Ensure nut butter is natural without hydrogenated oils. Press mixture firmly to prevent crumbling. Bars can be stored in the fridge for 2 weeks or frozen for 3 months.
- Prep Time: 15 minutes
- Cook Time: 0 minutes
- Category: Snack
- Cuisine: American
Nutrition
- Serving Size: 1 bar
- Calories: 150
- Sugar: 14
- Sodium: 30
- Fat: 8
- Saturated Fat: 4
- Carbohydrates: 18
- Fiber: 2
- Protein: 3
Keywords: Whole30, Paleo, no-bake, energy bars, healthy snacks, gluten-free, dairy-free, coconut date bars, meal prep



