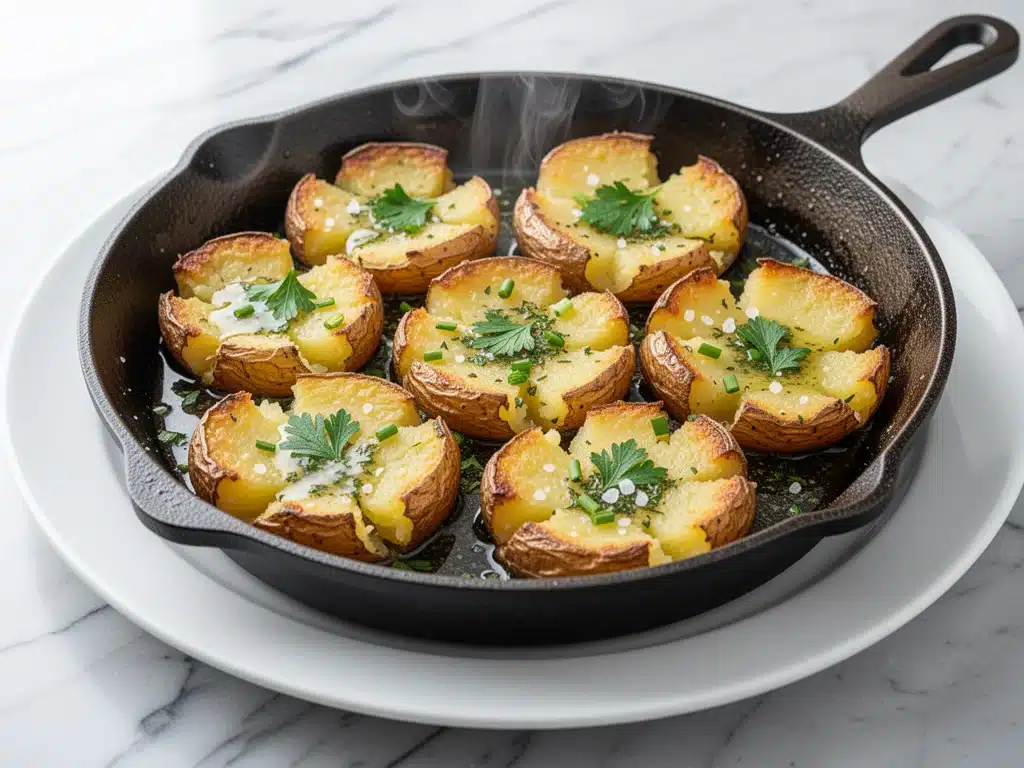
Last Sunday, I was running late. I had a brunch planned for noon, my oven was already hot, and I realized I’d forgotten to buy anything substantial for the side dishes. I was staring into the fridge, seeing nothing but a sad bag of russet potatoes and a stick of butter that had been sitting out too long. I didn’t have time to roast them whole. I didn’t have time to make a complicated gratin. So, in a moment of panic-induced creativity, I boiled them, threw them on a baking sheet, and just… squished them. Flat. Messy. Hopeful.
I popped them in the oven, grabbed a shower, and came back to the most incredible smell. Not just roasted potato, but crispy, golden, garlic-kissed heaven. I took one bite and stopped breathing for a second. These weren’t just potatoes; they were little crisps with a fluffy center, loaded with herb butter that soaked into every nook and cranny. I immediately texted my friend: “Cancel the caterer. I’m bringing smashed potatoes.”
That was three years ago. Since then, I’ve made this recipe for every holiday, every potluck, and every random Tuesday night when I want to feel fancy without trying. Crispy Smashed Potatoes with Garlic Herb Butter has officially replaced my takeout order. It’s better than the fries at any diner, easier than a gratin, and honestly? It’s the only potato dish I care about making anymore. I’ve tested this method dozens of times, tweaking the herb blend and the smash technique, until I landed on the perfect balance of crunch and creaminess. It’s foolproof, it’s cheap, and it makes everyone in your kitchen stop talking and start eating.
Why You’ll Love This Recipe
There are a lot of potato recipes out there. But this one? This one is special. It’s not just a side dish; it’s a mood. Here’s why Crispy Smashed Potatoes with Garlic Herb Butter has earned a permanent spot in my weekly rotation:
- Maximum Crisp, Minimum Effort — The smashing technique doubles the surface area that touches the pan. More surface area means more crispy bits. I’ve tried regular roasted potatoes, and they just can’t compete with the crunch factor here. It’s like getting the best part of a french fry without the deep fryer.
- Garlic Butter is Non-Negotiable — We’re not talking about a light drizzle. We’re talking about a rich, herbed garlic butter that pools in the crevices of the smashed potato. It’s savory, aromatic, and addictive. I usually make extra butter just so I can dip crusty bread in it later.
- Pantry Staples Only — You probably have everything you need right now. Potatoes, butter, garlic, salt, pepper, and maybe some parsley or rosemary if you’re feeling fancy. No exotic ingredients, no special trips to the store. Just good, honest food.
- Feeds a Crowd (or Just You) — This recipe scales beautifully. I make a huge batch for dinner parties, but I also make a small batch for myself on lazy nights. It’s comforting, filling, and satisfying in a way that salad just isn’t.
- Better Than Takeout — Seriously. I’ve ordered smashed potatoes from places that charge $14 for a small portion. They’re often soggy or under-seasoned. My version is crispy, hot, and loaded with flavor for a fraction of the cost. Plus, you control the salt and the garlic intensity.
Real talk? This is my go-to when I need to impress people but don’t want to spend hours in the kitchen. It looks rustic and homemade, tastes like it came from a high-end bistro, and costs pennies per serving. My family fights over the crispy edges. My kids love dipping them in ketchup (don’t judge). And I just love the smell of garlic butter filling the house.
Ingredients You’ll Need
Here’s the best part: this recipe is incredibly forgiving. You don’t need fancy equipment or expensive ingredients. But there are a few key components that make the difference between “meh” and “wow.” Here’s what you’ll need:
For the Potatoes
Russet Potatoes (2 pounds, about 4-5 medium) — Russets are my absolute favorite for this. They have a high starch content, which gives you that fluffy, cloud-like interior. Yukon Golds work too, but they’re waxier and won’t get quite as crispy. Baby red potatoes are cute, but they’re dense and don’t smash as well. Stick with russets for the best texture.
Vegetable Oil (3 tablespoons) — I use a neutral oil like vegetable or canola. Olive oil has a lower smoke point and can burn in the hot oven, leaving a bitter taste. You want the oil to help conduct heat and create that golden crust, not add its own strong flavor.
Salt (1 teaspoon, plus more for the water) — You need salt in the boiling water to season the potato from the inside out. And you need more on the outside for that crispy shell. Don’t skimp on the salt; it’s the most important flavor enhancer in cooking.
For the Garlic Herb Butter
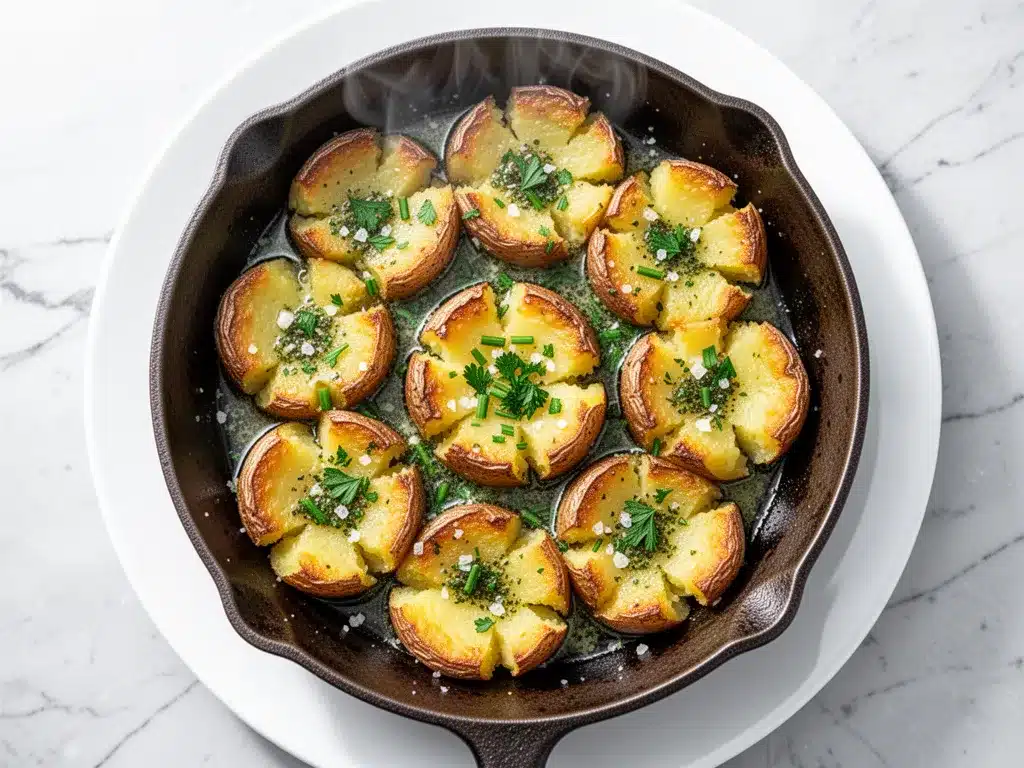
Unsalted Butter (4 tablespoons, softened) — Softened is key. You don’t want cold butter that’s hard to mix. Softened butter blends easily with the garlic and herbs, creating a smooth, spreadable paste. I usually take the butter out of the fridge 20 minutes before I start. If I forget, I microwave it for 5 seconds—just enough to soften, not melt.
Garlic (4 cloves, minced) — Fresh garlic only. Please, for the love of all things holy, do not use jarred garlic. It has a metallic, sour taste that really shines through in butter. Fresh garlic is sweet, pungent, and aromatic. Mince it finely so it distributes evenly. I use a microplane for the garlic—it turns it into a paste that melts into the butter instantly.
Fresh Rosemary (1 tablespoon, finely chopped) — Rosemary adds an earthy, piney note that cuts through the richness of the butter. It’s classic with potatoes. If you don’t have fresh, you can use 1 teaspoon dried, but fresh is way better. The aroma when it hits the hot oven is unreal.
Fresh Parsley (1 tablespoon, chopped) — Parsley adds a fresh, bright contrast to the heavy garlic and rosemary. It’s not just for garnish; it adds flavor. Flat-leaf parsley is better than curly because it has a stronger taste and holds up better in the butter.
Black Pepper (½ teaspoon, freshly cracked) — Adds a little heat and depth. Pre-ground pepper is dusty and weak. Crack it yourself for the best flavor.
Optional: Parmesan Cheese (¼ cup, grated) — I love sprinkling a little parmesan on top for the last 5 minutes of baking. It adds a salty, umami kick and helps the crust get even crispier. It’s not traditional, but it’s delicious.
Equipment Needed
You don’t need anything fancy. Here’s what I actually use:
Baking Sheet — I use a standard half-sheet pan. Make sure it’s large enough to hold the potatoes in a single layer. If they’re crowded, they’ll steam instead of roast. I prefer dark metal pans because they conduct heat better, but light-colored ones work too—just keep an eye on them.
Large Pot — For boiling the potatoes. It needs to be big enough to hold the potatoes submerged in water with room to bubble.
Pastry Brush or Spoon — For applying the garlic butter. A pastry brush gives you more control, but a spoon works fine if you’re lazy. I usually use a spoon because it’s easier to scoop the butter paste off.
Plate or Towel — To pat the potatoes dry after boiling. Moisture is the enemy of crispiness, so drying them thoroughly is crucial.
How to Make It: Step-by-Step
Alright, let’s make this! I’m walking you through exactly how I do it, including the little tricks I’ve picked up over the years.
Step 1: Prep Your Potatoes (10 minutes)
Start by washing the potatoes thoroughly. You don’t need to peel them—the skin adds texture and nutrients. Cut them in half. If they’re large, cut them into quarters so they’re roughly the same size. This ensures they cook evenly. I like to keep them rustic; uneven sizes add character and more crispy edges.
Step 2: Boil Until Tender (15-20 minutes)
Fill your large pot with cold water and add 1 tablespoon of salt. Bring it to a boil. Add the potato halves. Cook for 15-20 minutes, or until a fork slides in and out with zero resistance. They should be tender all the way through. Don’t overcook them to mush—you want them sturdy enough to handle the smash. Drain them well and let them sit in the colander for a minute to steam off excess moisture.
Step 3: Dry Them Thoroughly (5 minutes)
This is the step most people skip, but it’s vital. Spread the boiled potatoes on a clean kitchen towel or paper towels. Pat them dry. You want them as dry as possible. Any remaining water will turn to steam in the oven and prevent crisping. I usually pat them dry twice to be sure.
Step 4: Smash Them (5 minutes)
Preheat your oven to 425°F (220°C). Line your baking sheet with parchment paper or foil for easy cleanup. Place the dried potatoes on the sheet, cut-side up. Take a glass or a potato masher and gently press down on each potato. You want them flat, about ½ inch thick. Don’t press too hard, or they’ll break apart. You want a rustic, uneven shape—that’s where the magic happens. Leave a little space between them so air can circulate.
Step 5: Make the Garlic Herb Butter (5 minutes)
While the oven preheats and potatoes cool slightly, mix your garlic butter. In a small bowl, combine the softened butter, minced garlic, chopped rosemary, chopped parsley, black pepper, and a pinch of salt. Mix until well combined. The mixture should be fragrant and green-speckled. If it’s too stiff, microwave for 5 more seconds. It should be spreadable.
Step 6: Brush and Bake (20-25 minutes)
Generously brush the garlic herb butter over the top of each smashed potato. Make sure to get it into the crevices. Drizzle a little of the remaining butter over the tops. Bake for 20-25 minutes, or until the edges are deep golden brown and crispy. I rotate the pan halfway through for even browning. The potatoes should look golden and hear a slight sizzle when you take them out.
Step 7: Serve Immediately
Take them out of the oven and let them cool for 2 minutes. The butter will have soaked in, and the crust will be set. Serve warm with extra herbs on top. They’re best eaten straight from the pan.
Total Time: About 45 minutes (15 prep, 30 cook)
Expert Tips & Tricks
Here’s everything I’ve learned from making this dozens of times. These tips will save you from my mistakes.
Don’t Skip the Drying Step
I cannot stress this enough. Wet potatoes = steamed potatoes = sad, soggy potatoes. Dry them like your crispiness depends on it. Because it does.
Use a Heavy Glass for Smashing
A heavy-bottomed glass gives you more control than a masher. It’s easier to get a flat, even smash. If you don’t have a glass, the bottom of a heavy pot works too. Just be gentle.
Softened Butter is Key
If your butter is cold, it won’t spread evenly. It’ll clump up in garlic bits. Soften it properly, or your potatoes will have pockets of raw garlic and dry spots of potato.
High Heat for Crispiness
425°F is the sweet spot. Lower temps will dry them out before they crisp. Higher temps might burn the garlic. Stick to this temperature for the best results.
Save the Leftover Butter
If you have extra garlic herb butter, freeze it in ice cube trays. Use it later to melt over steak, fish, or more potatoes. It’s liquid gold.
Variations & Substitutions
Once you’ve nailed the basic version, here’s how you can mix it up. I’ve tried all of these.
Cheesy Version
Sprinkle shredded cheddar or parmesan on top for the last 5 minutes of baking. The cheese melts and crisps up nicely. My kids love this version.
Spicy Version
Add ½ teaspoon of cayenne pepper or red pepper flakes to the garlic butter. It adds a nice kick that balances the richness.
Herb-Free Version
If you’re not a fan of rosemary or parsley, just use garlic butter. It’s still delicious. Or try thyme, which is milder and more subtle.
Gluten-Free
This recipe is naturally gluten-free. Just make sure your butter and oil are certified gluten-free if you’re strictly avoiding it.
Vegan Option
Use vegan butter and skip the cheese. The garlic and herbs still provide plenty of flavor. It’s not the same richness, but it’s still good.
Serving & Storage
How to Serve:
I serve these straight from the baking sheet, hot out of the oven. They’re perfect with grilled chicken, roasted salmon, or even a simple salad. I also love them with a dollop of sour cream or Greek yogurt on the side.
Storage:
Store leftovers in an airtight container in the fridge for up to 3 days. They’ll lose some crispiness, but they’re still good.
Reheating:
To reheat, pop them in the oven at 400°F for 10 minutes. This restores the crispiness. The microwave will make them soft and chewy, so avoid it if you want the best texture.
Freezing:
You can freeze smashed potatoes, but the texture changes. They’ll be softer when thawed. I usually freeze them before baking, then bake straight from frozen. It’s a good meal-prep hack.
Nutrition Information
I’m not a nutritionist, but here’s the breakdown if you’re tracking. Per serving (based on 4 servings):
- Calories: 280
- Protein: 4g
- Carbs: 35g
- Fiber: 3g
- Sugar: 2g
- Fat: 14g
- Saturated Fat: 7g
- Cholesterol: 28mg
- Sodium: 320mg
Look, this is comfort food with butter. It’s not a diet recipe. But it’s way better than takeout, costs less, and I know exactly what’s in it. When I want to make it lighter, I reduce the butter by half and use olive oil. But usually? I just eat a reasonable portion and enjoy it.
Final Thoughts
So that’s my go-to Crispy Smashed Potatoes with Garlic Herb Butter! I’ve probably talked your ear off at this point, but when you make a recipe this often, you have a lot to say about it. This has saved weeknight dinners more times than I can count. It’s my answer to “what’s for dinner” when I’m tired, don’t want takeout, and still want something that tastes really good. My kids are happy, my husband’s happy, and I’m happy because I’m not stressed about cooking.
Make it yours! Try different herbs, add cheese, or make it spicy. The best recipes are the ones you adapt to your family’s tastes. If you make this, drop a comment and let me know what you think! I love hearing how recipes turn out in your kitchen. And if something doesn’t work, tell me that too—I’m here to help troubleshoot.
Happy cooking! And I hope your kitchen smells half as good as mine does right now.
Frequently Asked Questions
Can I use Yukon Gold potatoes instead of Russets?
Yes, but the texture will be different. Yukon Golds are waxier and creamier, so they won’t get as crispy on the edges. They’ll still be delicious, but if you want that shatteringly crisp exterior, stick with Russets. If you use Yukon Golds, make sure to dry them extra well.
Why did my smashed potatoes stick to the pan?
This usually happens if the pan wasn’t lined properly or if the oil didn’t coat the potatoes enough. Always use parchment paper or foil. Also, make sure you’re brushing the oil/butter generously. If they stick, soak the pan in hot water for 10 minutes to loosen them up.
Can I make these ahead of time?
You can prep them up to the smashing step, then cover and refrigerate for a few hours. When you’re ready to bake, let them come to room temperature for 15 minutes, then proceed with the garlic butter and baking. They’ll bake in about the same time.
Is there a way to make them less oily?
If you’re worried about oil, you can spray the potatoes with cooking spray after smashing them, then bake. But the garlic herb butter is the star of the show. You can reduce the butter by half if you want, but you’ll lose some of that rich flavor. I recommend using a light hand with the oil and focusing on the butter for flavor.
Can I freeze raw smashed potatoes?
Yes! After smashing them, place them on a baking sheet and freeze until solid. Then transfer to a freezer bag. When you’re ready to cook, bake them straight from frozen, adding 5-10 minutes to the cooking time. This is a great meal-prep strategy.
Pin This Recipe!
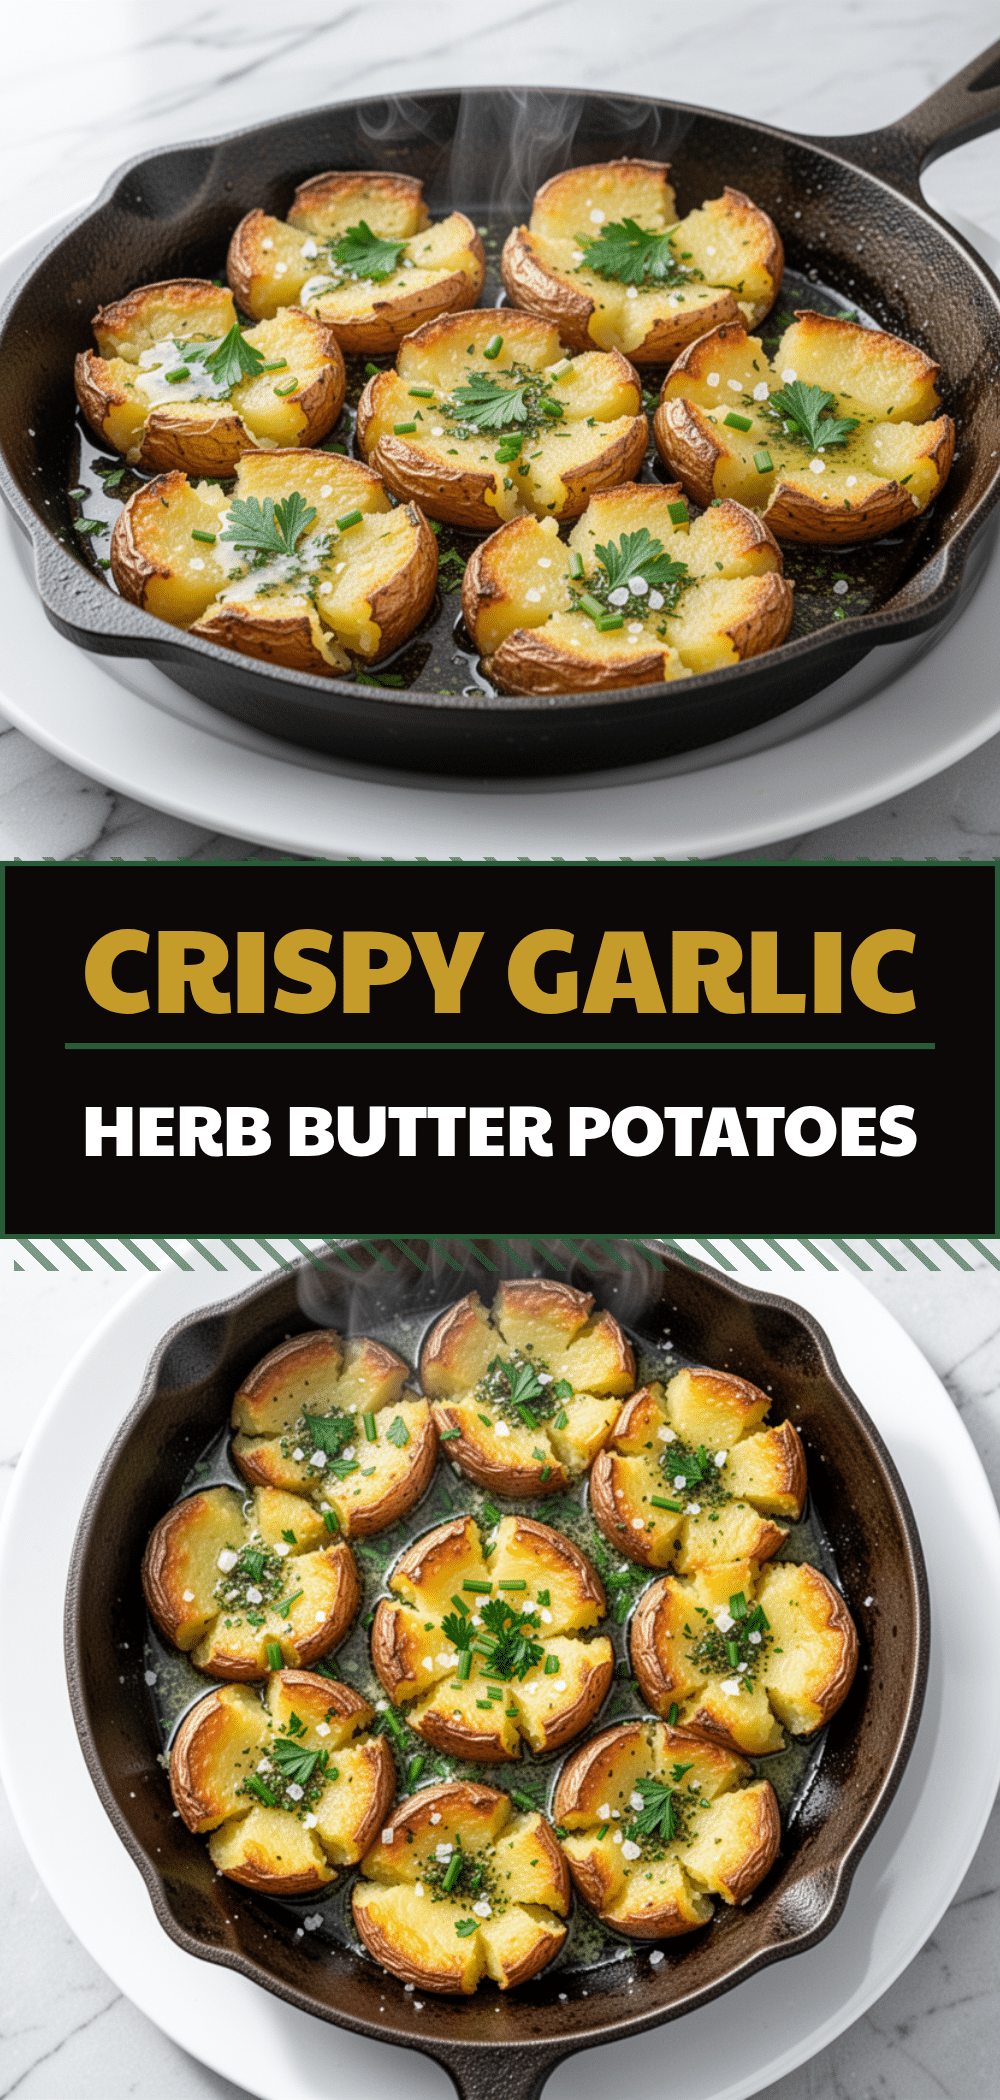
Crispy Smashed Potatoes with Garlic Herb Butter
- Total Time: 45 minutes
- Yield: 4 servings 1x
Description
These crispy smashed potatoes are the ultimate side dish, featuring a fluffy interior and a golden, crunchy exterior coated in rich garlic herb butter. They are easy to make, use pantry staples, and taste better than takeout.
Ingredients
- 2 pounds Russet potatoes (about 4–5 medium)
- 3 tablespoons vegetable oil (or neutral oil like canola)
- 1 teaspoon salt (plus more for boiling water)
- 4 tablespoons unsalted butter (softened)
- 4 cloves garlic (minced)
- 1 tablespoon fresh rosemary (finely chopped)
- 1 tablespoon fresh parsley (chopped)
- ½ teaspoon black pepper (freshly cracked)
- ¼ cup Parmesan cheese (optional, grated)
Instructions
- Preheat oven to 425°F (220°C). Line a large baking sheet with parchment paper or foil.
- Wash potatoes thoroughly (do not peel). Cut into halves or quarters to ensure even sizing.
- Fill a large pot with cold water, add 1 tablespoon of salt, and bring to a boil.
- Add potatoes to the boiling water and cook for 15-20 minutes until tender (fork slides in easily).
- Drain potatoes and let them sit in a colander for a minute to steam off excess moisture.
- Spread potatoes on a clean kitchen towel or paper towels and pat them completely dry.
- Place dried potatoes cut-side up on the prepared baking sheet.
- Using a heavy glass or potato masher, gently press each potato flat to about ½ inch thick. Leave space between them.
- In a small bowl, mix softened butter, minced garlic, chopped rosemary, chopped parsley, black pepper, and a pinch of salt until combined.
- Brush the garlic herb butter generously over the top of each smashed potato, getting into crevices.
- Drizzle remaining butter over the tops.
- Bake for 20-25 minutes, rotating the pan halfway through, until edges are deep golden brown and crispy.
- If using Parmesan, sprinkle on top for the last 5 minutes of baking.
- Let cool for 2 minutes before serving immediately.
Notes
Do not skip the drying step; wet potatoes will steam instead of crisp. Use softened butter for even spreading. For meal prep, you can freeze raw smashed potatoes on a baking sheet before baking. Reheat in the oven at 400°F to restore crispiness.
- Prep Time: 15 minutes
- Cook Time: 30 minutes
- Category: Side Dish
- Cuisine: American
Nutrition
- Serving Size: 1-2 smashed potatoes
- Calories: 280
- Sugar: 2
- Sodium: 320
- Fat: 14
- Saturated Fat: 7
- Carbohydrates: 35
- Fiber: 3
- Protein: 4
Keywords: smashed potatoes, crispy potatoes, garlic butter, side dish, russet potatoes, easy recipe, holiday sides, vegetarian



