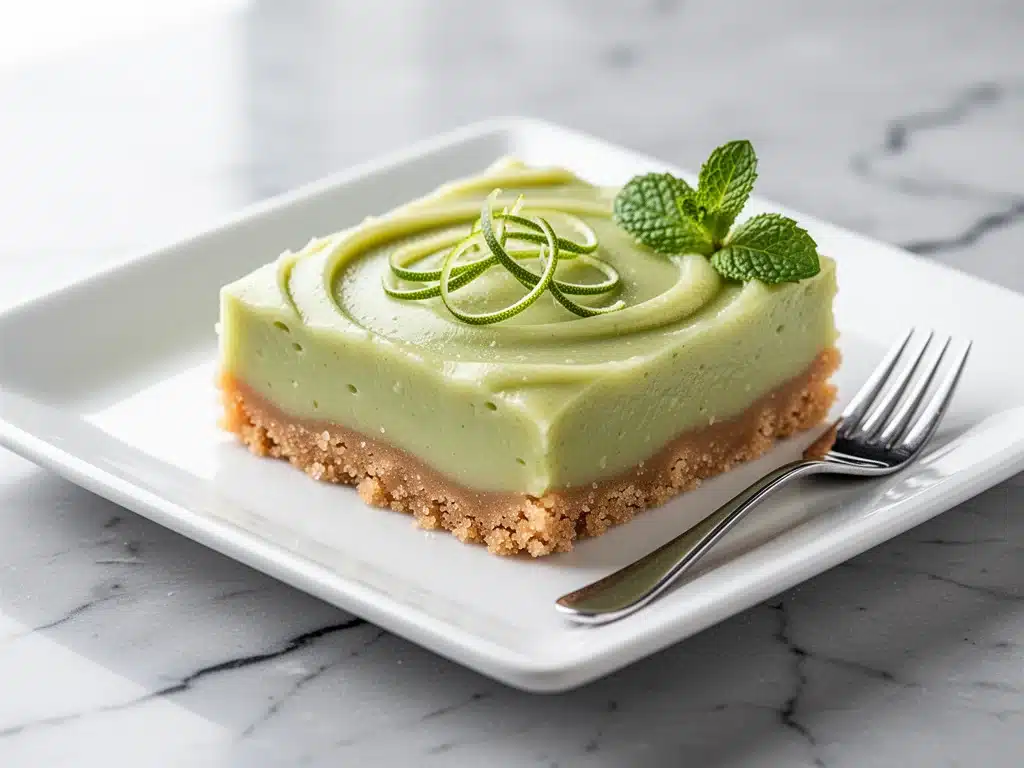
I have a confession to make. For years, I was a purist. If you wanted key lime pie, you got a round pie in a fluted dish with a meringue peak that looked like a snowy mountain range. I bought the little bottles of key lime juice at the grocery store, I toasted the graham crackers by hand, and I endured the inevitable soggy bottom that plagued half my attempts. I thought that was just the price of admission for that bright, tangy flavor.
Then came the summer of the bars.
I was visiting my cousin in Florida—actual Florida, not the version in my head—and she pulled a rectangular tin out of the oven. It wasn’t a pie. It was a dense, creamy slab of citrus goodness sitting on a crumbly, buttery crust. She cut it into squares, handed me a piece on a paper plate, and I immediately forgot about my precious pie dish. It was easier to eat, easier to share, and honestly? The flavor was more concentrated. More intense. More everything.
That single square changed my life. Or at least, it changed my dessert game. Since then, I’ve spent the last six months tweaking this recipe for easy creamy key lime pie bars. I’ve tested graham cracker brands (honest truth: Nabisco is the gold standard), I’ve argued with myself about whether to add zest or just juice, and I’ve learned exactly how long to bake them so they stay jiggly but firm. The result? Bars that are tart enough to make your eyes water, sweet enough to calm you down, and creamy enough to melt on your tongue.
These aren’t just “pie in a bar form.” They are a completely different beast. They’re portable, they’re stable (no sliding off a plate), and they look stunning on a dessert table. If you’re tired of the hassle of pie crusts and want that authentic key lime punch without the fuss, you need to make these. I promise you, once you try them, you’ll never go back to traditional pie. Or if you do, you’ll just eat the crust scraps from the pie tin while staring longingly at the bar recipe.
Why You’ll Love This Recipe
There are a lot of dessert recipes out there, but this easy creamy key lime pie bars recipe hits a specific sweet spot that keeps me coming back. It’s not just about convenience, though that’s a huge part of it. It’s about the balance of flavors and textures.
- Zero Pie Crust Stress — You know how hard it is to get a flaky, sturdy pie crust? It’s frustrating. With these bars, you just press crumbs into a pan. It’s foolproof. I’ve made this for people who can’t boil water, and they nailed it. No rolling pins, no blind baking, no anxiety.
- Concentrated Flavor — Because the filling is thicker and the crust is denser, every bite packs more punch. You’re not getting watery filling; you’re getting rich, tangy custard. The ratio of lime to cream is perfect.
- Make-Ahead Friendly — This is the ultimate party dessert. You can make these three days in advance. In fact, they taste better the next day because the flavors have had time to meld and the texture firms up. I usually make them on Sunday for a Wednesday gathering.
- Portable and Mess-Free — No slices sliding around. No forks slipping. Just pick up a square and go. They hold their shape beautifully, even in warm weather (as long as they’re chilled).
- Authentic Taste — I use actual key lime juice (or a mix) and plenty of zest. This doesn’t taste like generic “yellow lime” dessert. It tastes like the coast. It tastes like vacation.
Real talk: these bars are my secret weapon. When I need to bring something impressive to a potluck but don’t have all day to fuss, I make these. They disappear fast. People ask for the recipe. They compliment my skills. And I just smile and say, “It’s just bars.”
Ingredients You’ll Need
Here’s the good news: you probably have most of this already. It’s not a long list, and nothing is obscure. But because key lime pie relies on such specific flavors, I’m particular about a few things. Don’t skip the tips below—they make the difference between “okay” and “addictive.”
For the Graham Cracker Crust
Graham cracker crumbs (1 ½ cups / 150g) — I use standard graham crackers, crushed. You can buy pre-crushed crumbs, but I find they’re sometimes too fine. Crushing them yourself gives a better texture. I crush mine in a food processor for 10 seconds, or put them in a bag and smash them with a rolling pin.
Unsalted butter (6 tablespoons / 85g, melted) — This binds the crust. Use good quality butter. If your butter is too warm, it’ll make the crust greasy. Melt it just until liquid, not brown.
Granulated sugar (2 tablespoons / 25g) — Just a little sweetness to balance the salt in the butter and the tartness of the lime. Don’t add more, or the crust will be too sweet.
Salt (¼ teaspoon) — Essential. It wakes up the graham cracker flavor. Don’t skip it.
For the Creamy Filling
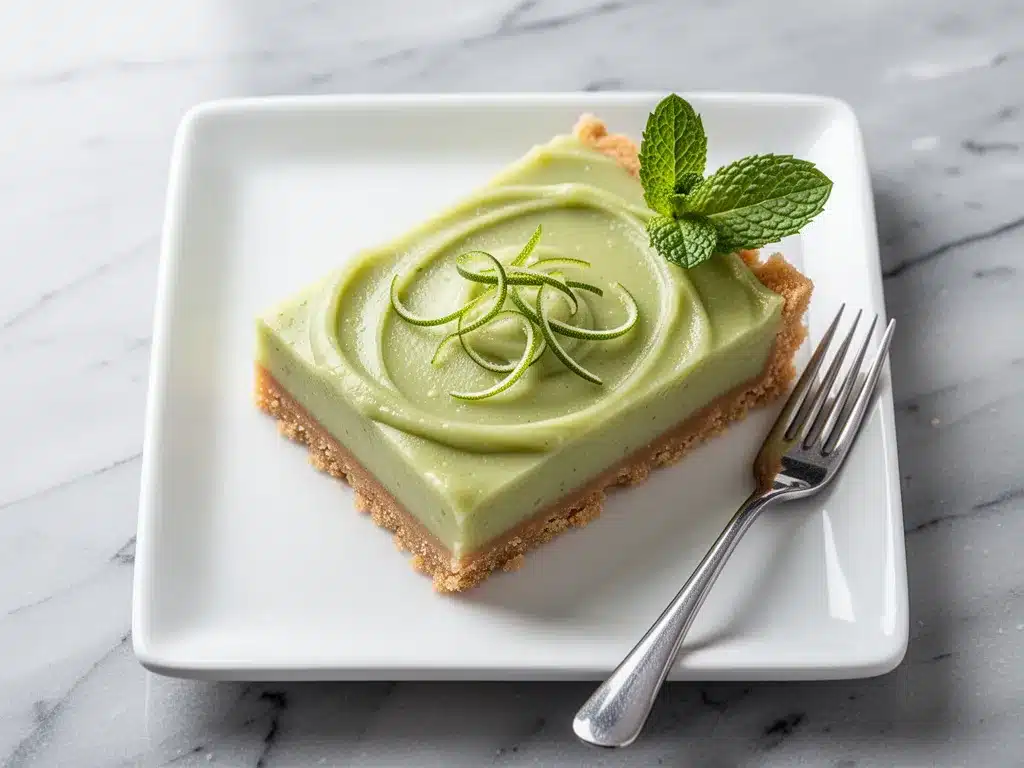
Key lime juice (½ cup / 120ml) — This is the star. Authentic key lime juice is tart and floral. I use a mix: ¼ cup fresh-squeezed (if you can find key limes, which are small and yellow-green) and ¼ cup bottled key lime juice (like Realemon Key Lime or Key West brand) for consistency. If you can’t find key limes, use regular Persian lime juice, but the flavor will be slightly different—more sharp, less floral. It still works, just not as authentic.
Lime zest (1 tablespoon) — From about 2-3 limes. Zest adds the aromatic oils that juice doesn’t have. Use a fine grater. Make sure you’re only getting the green part, not the white pith (which is bitter).
Sweetened condensed milk (1 can / 14oz / 397g) — This is non-negotiable. Do not try to substitute with evaporated milk and sugar, or heavy cream and sugar. The texture and sweetness come from the condensed milk. Keep it in the fridge until you’re ready to use it.
Heavy cream (1 cup / 240ml) — Full-fat heavy whipping cream. This gives the filling its rich, creamy body. Don’t use half-and-half; it won’t be as rich.
Eggs (3 large) — Room temperature is best. They help set the filling. If your eggs are cold, let them sit on the counter for 20 minutes.
Lemon juice (1 teaspoon) — A tiny splash. It brightens the lime flavor and adds a subtle complexity. You won’t taste lemon, I promise.
Vanilla extract (1 teaspoon) — Pure vanilla. It rounds out the sharp edges of the lime.
Equipment Needed
You don’t need a fancy kitchen for this. Here’s what I actually use:
9×13 inch baking pan — Glass or metal. Glass heats more evenly, which I prefer for bars. Grease it lightly with butter or non-stick spray.
Food processor or Ziploc bag — For crushing the graham crackers. A food processor is faster, but a bag and a rolling pin works fine if you’re old-school.
Two mixing bowls — One for the crust, one for the filling. I use a medium bowl for crumbs and a large bowl for the filling.
Hand mixer or stand mixer — For whipping the cream and mixing the filling. A whisk works, but it takes more arm strength. I use my hand mixer on medium speed.
Microplane or fine grater — For the lime zest. A microplane gets the finest zest, which melts into the filling beautifully.
Spatula — Silicone is best for scraping the bowl. You want every bit of that creamy filling.
Cooling rack — Essential for cooling the bars before slicing.
How to Make It: Step-by-Step
Alright, let’s make these easy creamy key lime pie bars! I’m walking you through exactly how I do it, including the little tricks I’ve picked up over the years.
Step 1: Prep Your Pan and Oven (5 minutes)
Preheat your oven to 350°F (175°C). Line your 9×13 inch baking pan with parchment paper, leaving an overhang on the long sides. This is a game-changer for lifting the bars out later. Grease the parchment lightly with butter.
Step 2: Make the Crust (5 minutes)
In a medium bowl, combine the graham cracker crumbs, melted butter, sugar, and salt. Stir until it looks like wet sand. Press this mixture firmly into the bottom of your prepared pan. Use the bottom of a measuring cup to pack it down tight. You want it even and compact. Bake for 8-10 minutes until it’s lightly golden. Remove from the oven and let it cool while you make the filling. Do not skip this step—pre-baking the crust prevents sogginess.
Step 3: Whip the Cream (3 minutes)
In a large bowl, whip the heavy cream until it forms soft peaks. This means when you lift the beaters, the cream should mound up but still droop slightly. Don’t over-whip it into stiff peaks, or the bars will be too dense. Set this aside.
Step 4: Mix the Filling Base (2 minutes)
In a separate large bowl, whisk together the sweetened condensed milk, key lime juice, lime zest, lemon juice, and vanilla extract. The mixture will thicken slightly and may look a bit curdled—that’s normal! The acid in the lime reacts with the milk. Keep whisking until smooth.
Step 5: Add the Eggs (1 minute)
Whisk in the eggs one at a time, mixing just until combined. Over-mixing at this stage can incorporate too much air, which might cause cracking. Stop as soon as the eggs are blended.
Step 6: Fold It All Together (2 minutes)
Gently fold the whipped cream into the lime mixture. Use a spatula and fold from the bottom up, turning the bowl. You want to keep as much air in the cream as possible. This is what makes the filling light and creamy, not heavy like a custard. Pour the filling over the cooled crust and smooth the top with a spatula.
Step 7: Bake and Cool (45-50 minutes)
Bake for 45-50 minutes. The edges should be set and slightly golden, but the center should still have a slight jiggle when you shake the pan. It will continue to set as it cools. If the center is liquidy, bake 5 more minutes. If it’s firm like a rock, you’ve overbaked it.
Let the bars cool in the pan on a wire rack for 30 minutes. Then, cover with plastic wrap and refrigerate for at least 4 hours, preferably overnight. This chilling time is crucial for the bars to set properly and for the flavors to marry.
Step 8: Slice and Serve
Use the parchment overhang to lift the bars out of the pan. Place on a cutting board. Use a sharp knife to slice into squares. Wipe the knife clean between cuts for neat edges. Dust with powdered sugar or top with whipped cream and a lime wheel if you’re feeling fancy.
Expert Tips & Tricks
Here’s everything I’ve learned from making these dozens of times. These tips will save you from my mistakes.
Don’t Skimp on the Lime Zest
The zest is where the aromatic magic happens. Juice provides the sour, but zest provides the perfume. I use both green and yellow limes sometimes for complexity, but green is best for that classic key lime scent. Be generous—1 tablespoon is the minimum.
Room Temperature Ingredients Matter
If your condensed milk is cold and your cream is cold, they won’t blend as smoothly. Let your eggs and lime juice sit out for 20 minutes before you start. It helps everything emulsify better.
Soft Peaks, Not Stiff
When whipping the cream, stop when you see soft peaks. If you whip them too stiff, the folding process will deflate them, and your bars will be dense. You want a light, airy filling.
The Jiggle Test is Real
When you take them out of the oven, the center should wobble like Jell-O, not slosh like water. If it’s still very liquidy, give it 5 more minutes. If it’s firm, take it out. It will firm up in the fridge.
Cool Completely Before Slicing
I know it’s tempting to cut into them warm. Don’t. They will fall apart. The structure sets as it cools. Patience pays off.
Sharp Knife is Key
For clean cuts, use a sharp chef’s knife. Dip it in hot water and wipe dry before each cut. This prevents the filling from sticking to the blade.
Variations & Substitutions
Once you’ve nailed the basic version, here’s how you can mix it up. I’ve tried all of these.
Coconut Key Lime Bars
Add ½ cup shredded coconut to the crust. Toast it first for extra flavor. Or fold ¼ cup coconut flakes into the filling. It adds a tropical twist.
Blueberry Swirl
Before baking, dollop ½ cup of blueberry compote on top of the filling and swirl with a knife. The tart blueberry pairs beautifully with the lime.
Chocolate Crust
Mix 2 tablespoons of cocoa powder into the graham cracker crumbs. It creates a chocolate-lime combo that sounds weird but tastes amazing.
Gluten-Free
Use gluten-free graham crackers or almond flour for the crust. Everything else is naturally gluten-free. Almond flour crust is nutty and delicious.
Dairy-Free
This is trickier because of the condensed milk and cream. Use coconut cream (the thick part from a can) for whipping, and coconut milk condensed milk (like So Delicious brand). The flavor will be more coconut-forward, but still tart and delicious.
Serving & Storage
How to Serve
I usually serve these straight from the fridge. They’re best cold. Top with a dollop of whipped cream and a thin slice of lime. A sprinkle of powdered sugar adds a nice visual contrast. They go great with coffee or tea.
Side Dishes
These bars are rich, so they don’t need much. Maybe some fresh berries on the side. Or a simple arugula salad if you’re doing a savory meal before dessert.
Storage Instructions
Store in an airtight container in the fridge for up to 5 days. They actually taste better on day 2 or 3 as the flavors deepen. Do not freeze them—the texture of the cream filling changes when thawed. It can become grainy or watery. Make them fresh or store in the fridge.
Pro Tip
If you’re taking them to a party, keep them in the pan covered with foil until you get there. Once you cut them, they’re best eaten within 24 hours for peak texture.
Nutrition Information
I’m not a nutritionist, but here’s the breakdown if you’re tracking. Keep in mind these are rich bars, so portion control is key.
Per Bar (based on 16 bars):
- Calories: 280
- Protein: 4g
- Carbs: 32g
- Fiber: 0.5g
- Sugar: 24g
- Fat: 16g
- Saturated Fat: 10g
- Cholesterol: 60mg
- Sodium: 180mg
Look, this is dessert. It’s sweet and creamy. It’s not a health food. But it’s homemade, so you know exactly what’s in it. When I want to make it lighter, I use less sugar in the crust and half-and-half instead of heavy cream, but I usually just enjoy a square and call it a day.
Final Thoughts
So that’s my go-to easy creamy key lime pie bars recipe! I’ve talked your ear off at this point, but when you make a recipe this often, you have a lot to say about it. These bars have saved my social life. They’re my answer to “what dessert should I bring?” when I’m tired, don’t want to bake a whole pie, and still want something that tastes incredible.
Make them yours! Try different toppings, swap in your favorite fruit swirls, or adjust the lime to your taste. The best recipes are the ones you adapt to your family’s preferences. If you make these, drop a comment and let me know what you think! I love hearing how recipes turn out in your kitchen. And if something doesn’t work, tell me that too—I’m here to help troubleshoot.
Happy baking! I hope your kitchen smells half as good as mine does right now.
Frequently Asked Questions
Can I use regular limes instead of key limes?
Yes, but the flavor will be different. Key limes are smaller, yellower, and more floral and tart. Regular Persian limes are greener and sharper. If you use Persian limes, add a little more zest and maybe a teaspoon of lemon juice to mimic the complexity. It still tastes great, just not as “authentic.”
Why did my bars crack on top?
Cracking usually means they were overbaked or the oven was too hot. Key lime pie fillings are sensitive. Make sure your oven is calibrated correctly. If your oven runs hot, try baking at 325°F instead. Also, don’t open the oven door too often during baking, as temperature fluctuations can cause cracking.
Can I make these ahead of time?
Absolutely. These bars are better made ahead. You can make them up to 3 days in advance. Store them in the fridge covered. In fact, I recommend making them the day before so they have time to set completely. They hold their shape perfectly for parties.
Why is my filling runny?
There are a few reasons. First, you might not have baked them long enough. The center should still jiggle, but it shouldn’t be liquid. Second, you might have under-whipped the cream, or over-folded it, deflating the air. Third, check your condensed milk—it should be thick and sweet. If it’s old or separated, it might not set properly. Chill the bars for at least 4 hours; they continue to set in the fridge.
Can I freeze these bars?
I don’t recommend freezing them. The cream filling contains dairy and eggs, which can separate or become grainy when thawed. The texture won’t be the same. It’s best to eat them fresh or store them in the fridge for up to 5 days.
How do I get clean cuts?
Use a sharp knife. Dip the knife in hot water and wipe it dry before each cut. This prevents the filling from sticking and tearing. For neat edges, clean the knife between every single cut. It takes patience, but it’s worth it for the presentation.
Pin This Recipe!
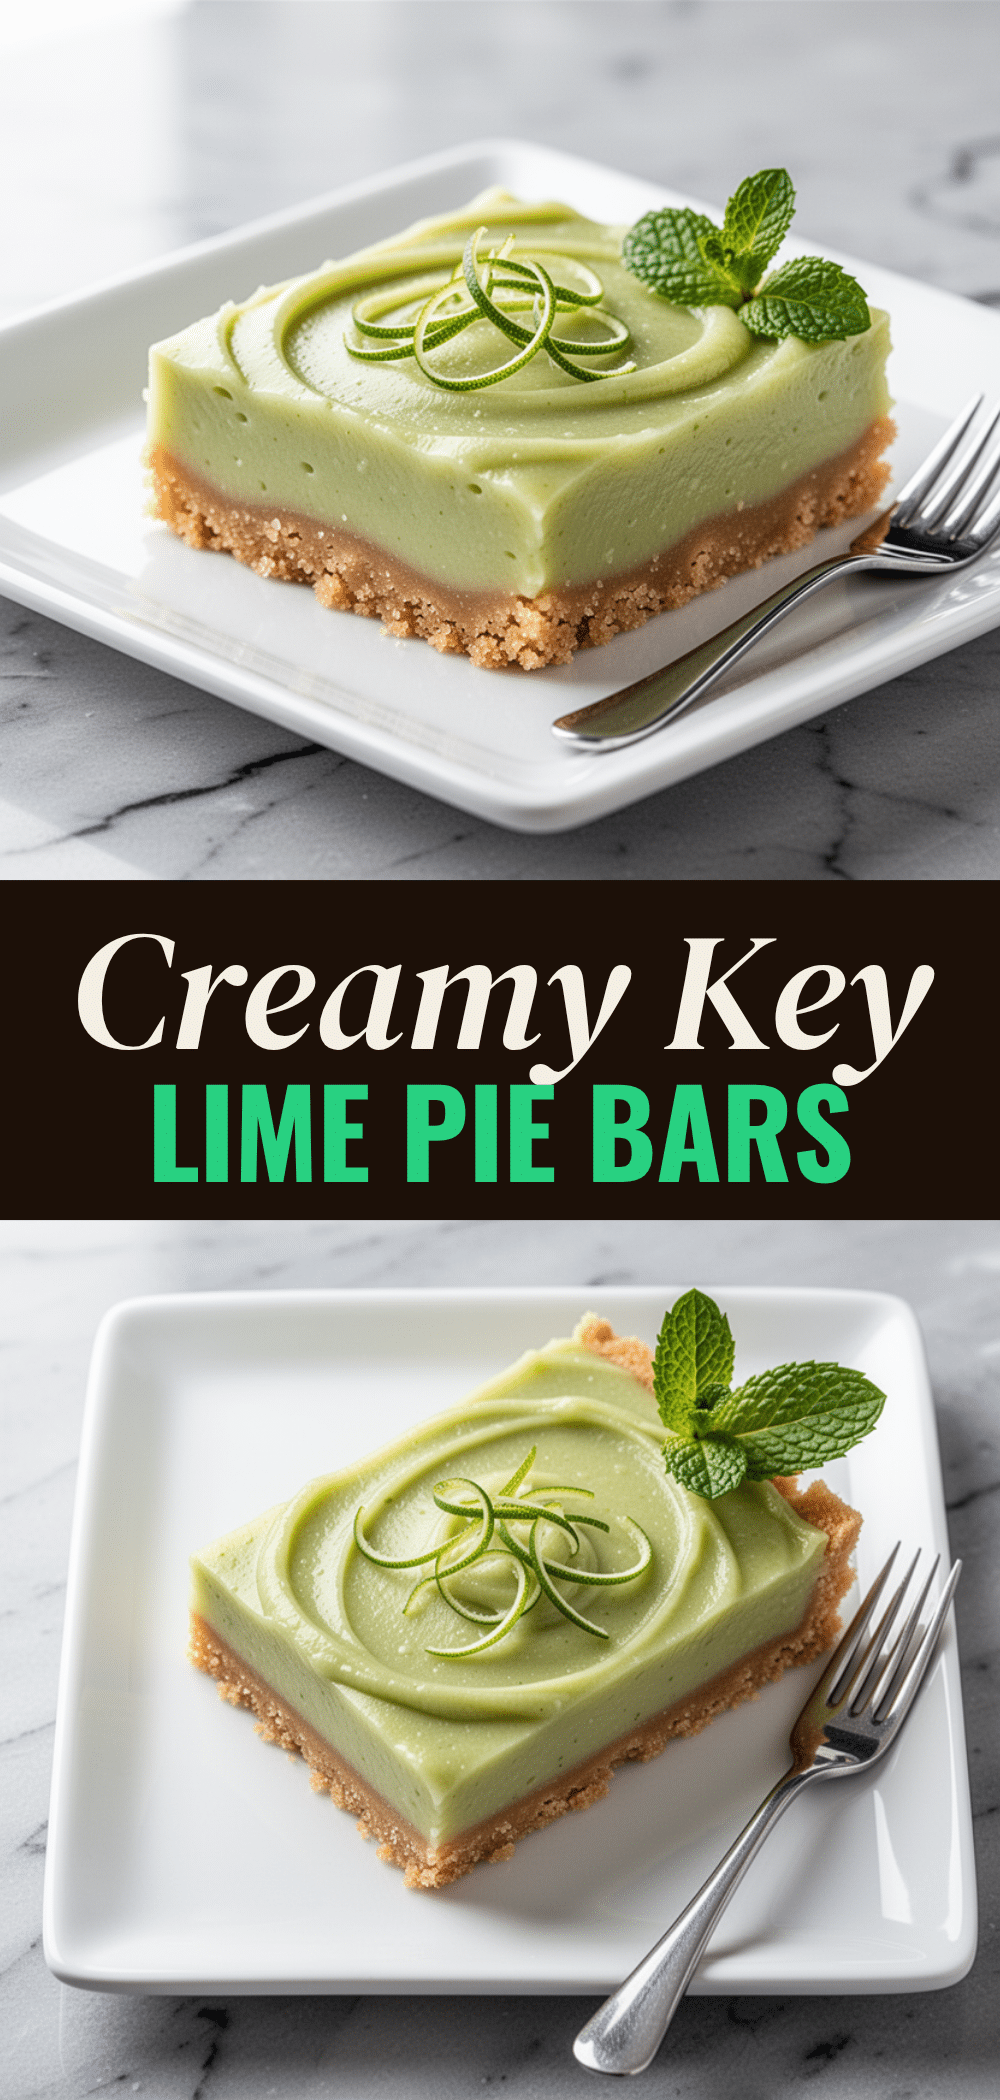
Easy Creamy Key Lime Pie Bars
- Total Time: 1 hour 10 minutes
- Yield: 16 servings 1x
Description
A portable, mess-free dessert featuring a dense, creamy citrus filling on a crumbly buttery crust. These bars offer concentrated key lime flavor without the hassle of a traditional pie crust.
Ingredients
- 1 ½ cups (150g) graham cracker crumbs
- 6 tablespoons (85g) unsalted butter, melted
- 2 tablespoons (25g) granulated sugar
- ¼ teaspoon salt
- ½ cup (120ml) key lime juice
- 1 tablespoon lime zest
- 1 can (14oz / 397g) sweetened condensed milk
- 1 cup (240ml) heavy cream
- 3 large eggs, room temperature
- 1 teaspoon lemon juice
- 1 teaspoon vanilla extract
Instructions
- Preheat oven to 350°F (175°C). Line a 9×13 inch baking pan with parchment paper, leaving an overhang on the long sides, and grease lightly.
- In a medium bowl, combine graham cracker crumbs, melted butter, sugar, and salt. Stir until it resembles wet sand.
- Press the mixture firmly into the bottom of the prepared pan. Bake for 8-10 minutes until lightly golden. Remove and let cool.
- In a large bowl, whip heavy cream until soft peaks form. Set aside.
- In a separate large bowl, whisk together sweetened condensed milk, key lime juice, lime zest, lemon juice, and vanilla extract until smooth.
- Whisk in eggs one at a time, mixing just until combined.
- Gently fold the whipped cream into the lime mixture until fully incorporated.
- Pour the filling over the cooled crust and smooth the top.
- Bake for 45-50 minutes until edges are set and the center has a slight jiggle.
- Cool in the pan on a wire rack for 30 minutes, then refrigerate for at least 4 hours or overnight before slicing.
Notes
For clean cuts, use a sharp knife dipped in hot water and wiped dry between each cut. The bars are best chilled overnight to allow flavors to meld and texture to set. Do not freeze as the cream filling may become grainy.
- Prep Time: 15 minutes
- Cook Time: 55 minutes
- Category: Dessert
- Cuisine: American
Nutrition
- Serving Size: 1 bar
- Calories: 280
- Sugar: 24
- Sodium: 180
- Fat: 16
- Saturated Fat: 10
- Carbohydrates: 32
- Fiber: 0.5
- Protein: 4
Keywords: key lime pie bars, creamy key lime dessert, easy bar recipes, make ahead dessert, citrus bars, graham cracker crust



