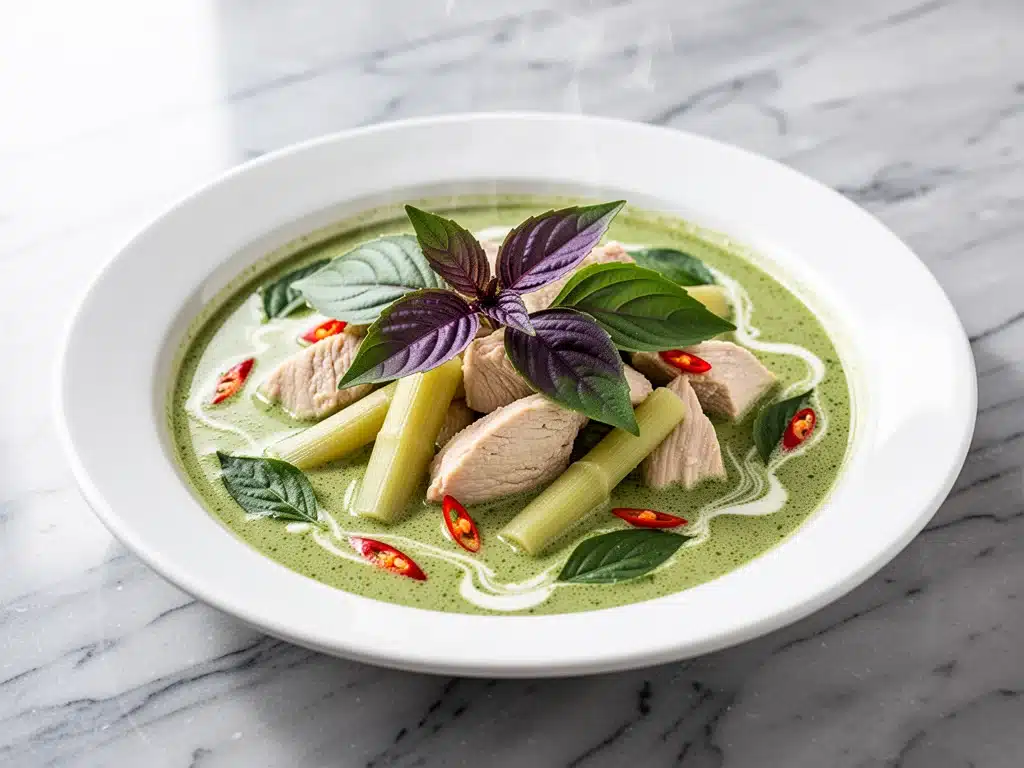
Three years ago, I was sitting on a plastic stool in a tiny, open-air stall in Chiang Mai. The air was thick with humidity and the scent of lemongrass. I ordered what I thought would be a standard green curry, expecting the usual tourist-trap version that’s more coconut milk than flavor. Instead, the woman behind the counter handed me a bowl that was electric. Bright green, fragrant, with chunks of chicken that tasted like they’d been marinated in sunshine and chili heat.
It wasn’t just good; it was complex. It tasted like something I’d never made in my own kitchen, which is saying something because I’ve spent more time in my stovetop than I care to admit. When I got home, I tried to recreate it. My first attempt was a pale, watery mess. My second was too spicy to eat. It took me about six tries and a lot of wasted coconut milk before I finally got the balance right. That’s the version I’m sharing with you today. This authentic Thai green curry with coconut and fresh basil is the one that makes people stop mid-bite and ask, “Did you order this from a restaurant?” Spoiler alert: No, you made it. And it only takes five main ingredients to get that authentic taste.
I’ve tested this recipe countless times, tweaking the ratios of paste to coconut cream until it hit that sweet spot of creamy, spicy, and savory. The secret isn’t fancy equipment or a trip to Thailand. It’s about understanding how those five ingredients interact. Once you get the hang of it, you’ll never go back to jarred, pre-made sauces again. This dish is my go-to for impressing guests who think they’re “food experts,” and it’s my comfort food on days when I just want something bold and warm.
Why You’ll Love This Thai Green Curry
There’s a reason this curry has become a staple in my weekly rotation. It’s not just about the taste, though that’s definitely the biggest factor. It’s about the experience of making it and the reaction you get when you serve it. Here’s why this recipe wins every single time:
- It’s Surprisingly Simple — Seriously, five core ingredients. I know it sounds too good to be true, but when you use high-quality paste and fresh coconut milk, you don’t need a pantry full of spices. The paste does the heavy lifting. I’ve made this on weeknights when I’m exhausted, and it still tastes like a gourmet meal.
- Customizable Heat Level — One of the best parts about making this at home is controlling the spice. Store-bought curry is often a one-size-fits-all approach. With this recipe, you decide how much heat you want. I like it spicy, but my partner likes it mild. We both love it. Just adjust the amount of chili in the paste or add a pinch of sugar to balance it out.
- Ready in 30 Minutes — From chopping to cleanup, this comes together faster than ordering takeout. The coconut milk heats up quickly, and the vegetables cook in minutes. It’s perfect for busy weeknights when you want something that feels special but doesn’t take all evening.
- Freezes Like a Charm — I often double this recipe because the leftovers are incredible the next day. The flavors deepen overnight, and the curry actually tastes better on day two. Freeze portions in airtight containers for up to three months. It’s my secret weapon for busy mornings.
- Visually Stunning — Let’s be honest, we eat with our eyes first. The vibrant green color from the basil and chilies in the paste is Instagram-worthy. It looks like you spent hours on it, but you didn’t. This visual appeal is huge for dinner parties or when you want to treat yourself to something beautiful.
This recipe has completely changed how I think about Thai food at home. It’s not complicated; it’s just about using the right ingredients and respecting the process. Once you make this, you’ll wonder why you ever settled for anything else.
Ingredients You’ll Need
Here’s the best part: you probably have most of this already, or it’s a quick trip to the store. I’m particular about a few things here, and I’ll tell you exactly why. This authentic Thai green curry with coconut and fresh basil relies on quality over quantity. You don’t need twenty ingredients, but the ones you do use need to be good.
For the Curry Base
Thai Green Curry Paste (2–3 tablespoons / 30–45g) — This is the heart of the dish. I use Maesri or Mae Ploy brands because they have a consistent, authentic flavor without too many fillers. If you can’t find these, look for a brand that lists chilies, lemongrass, galangal, and shrimp paste in the ingredients. Avoid pastes with lots of preservatives. The amount depends on your heat preference; start with two tablespoons and add more if you like it spicy.
Coconut Milk (1 can / 400ml) — Use full-fat, canned coconut milk. The kind in the carton is for drinking and won’t give you the right creamy texture. Shake the can before opening. For an even richer curry, scoop out the thick cream from the top of the can to cook first, then add the thinner liquid later. This is a pro tip that makes a huge difference in depth of flavor.
Chicken Stock or Water (½ cup / 120ml) — I prefer chicken stock because it adds savory depth, but water works if you want a lighter version. Low-sodium is best so you can control the saltiness from the curry paste and fish sauce.
Fish Sauce (1–2 tablespoons / 15–30ml) — This is non-negotiable for authentic flavor. It adds that salty, umami backbone that balances the sweetness of the coconut. If you’re vegetarian, substitute with soy sauce or tamari, but know that the flavor profile will be slightly different. I use Tiparos brand because it’s less sweet than others.
Palm Sugar (1–2 teaspoons / 5–10g) — Palm sugar has a caramel-like, complex sweetness that white sugar just can’t match. It balances the heat and saltiness perfectly. If you can’t find it, brown sugar is an acceptable substitute, but it won’t be quite as authentic.
For the Curry
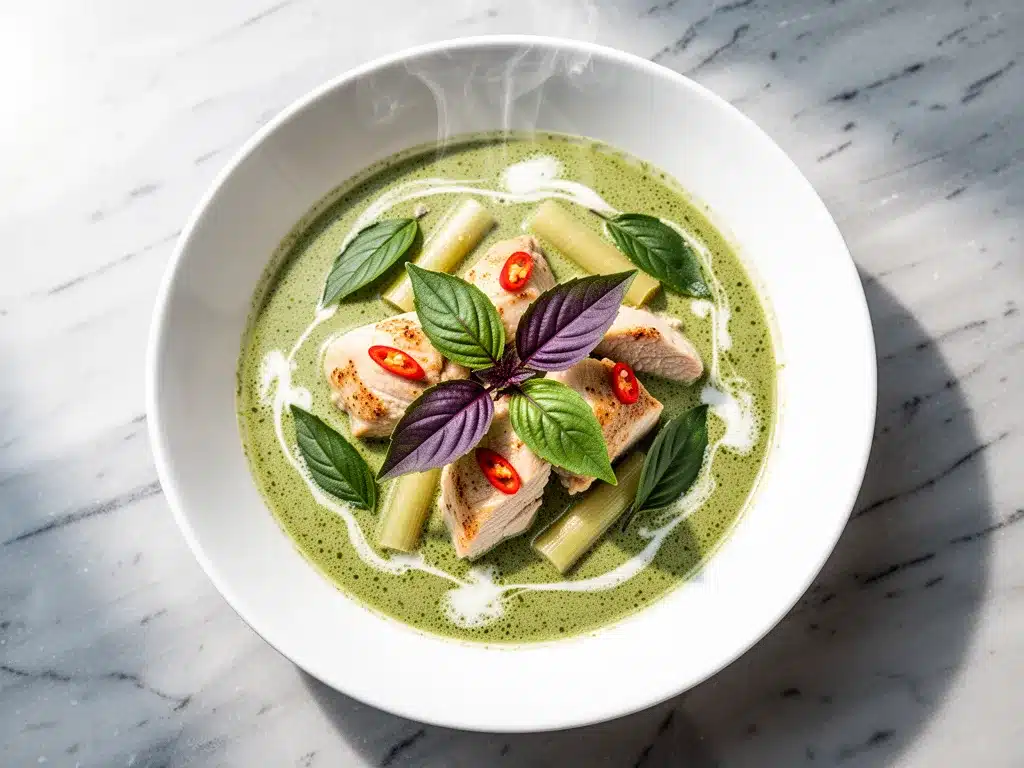
Chicken Thighs (1 pound / 450g) — Boneless, skinless thighs are my choice because they stay juicy and don’t dry out like breast meat does in the curry sauce. Cut them into bite-sized pieces. You can use shrimp, tofu, or beef if you prefer, but chicken is the classic choice for this green curry.
Thai Basil (1 cup / 30g, loosely packed) — This is the fresh basil that gives the dish its name and its distinct anise-like aroma. Regular sweet basil works in a pinch, but it lacks that peppery kick. Look for it in the produce section of Asian markets or well-stocked grocery stores. Add it at the very end so it stays fragrant.
Bamboo Shoots (½ cup / 75g, sliced) — These add a nice crunch and texture contrast to the creamy sauce. They’re usually found canned in the Asian aisle. Rinse them well before adding to remove any metallic taste. If you can’t find them, bell peppers or zucchini are good substitutes.
Red Chili (1–2, sliced) — For garnish and extra heat. I like to add a few slices on top for color and a bit of fresh spice. It’s optional but highly recommended for that authentic look.
Vegetable Oil (1 tablespoon / 15ml) — Just a little to help fry the curry paste and release its aromas before adding the coconut milk. I use coconut oil if I want extra coconut flavor, but neutral oil works fine too.
Equipment Needed
You don’t need fancy equipment for this. Here’s what I actually use:
Large Skillet or Wok — I use a 12-inch stainless steel skillet. It needs to be wide enough to let the sauce reduce properly. A wok is traditional and great for high-heat cooking, but a heavy-bottomed skillet works just as well. Avoid non-stick if you’re searing the chicken, as you want a bit of fond (browned bits) for flavor.
Sharp Knife — For slicing the chicken and vegetables. A dull knife is dangerous and makes messy cuts. I use my chef’s knife for everything here.
Wooden Spoon or Spatula — For stirring the curry. Metal spoons can scratch your pan, and wooden ones are great for scraping the bottom of the skillet.
Can Opener — For the coconut milk. Sounds obvious, but don’t forget it!
Measuring Spoons — For the fish sauce and palm sugar. Accuracy matters here for balancing flavors.
Colander — If you’re using canned bamboo shoots, you’ll need this to rinse them.
I’m obsessed with my Thai basil plant on the windowsill—it makes a difference to use fresh herbs whenever possible. But if you’re in a pinch, dried basil won’t work here; it needs to be fresh.
How to Make It: Step-by-Step
Alright, let’s make this! I’m walking you through exactly how I do it, including the little tricks I’ve picked up over the years. This authentic Thai green curry with coconut and fresh basil is easier than it looks, but there are a few key steps to get it right.
Step 1: Prep Your Ingredients (5 minutes)
Before you start cooking, cut the chicken thighs into bite-sized pieces. Slice the bamboo shoots if they’re large, and wash the Thai basil leaves. Have your fish sauce, palm sugar, and curry paste measured out. I know it seems fussy, but once you start cooking, things move fast. Having everything ready ensures you don’t burn the garlic or overcook the chicken.
Step 2: Fry the Curry Paste (2 minutes)
Heat the vegetable oil in your large skillet or wok over medium heat. Add the green curry paste and fry it for about 1–2 minutes, stirring constantly. You’ll smell the aromatics—lemongrass, galangal, chilies—start to bloom. This step is crucial. It releases the essential oils in the paste and removes the raw taste. Don’t rush this, but don’t burn it either. It should smell incredible and turn a darker, richer green.
Step 3: Add the Coconut Cream (3 minutes)
If you separated the thick coconut cream earlier, add that now. If not, add the whole can. Stir the coconut cream into the fried curry paste. Cook for 2–3 minutes until the oil starts to separate and you see little droplets of coconut oil on the surface. This is called “cracking the coconut milk,” and it’s a traditional Thai technique that adds depth and richness. The sauce will look glossy and thick.
Step 4: Cook the Chicken (5–7 minutes)
Add the chicken pieces to the skillet. Stir to coat them in the coconut curry mixture. Cook for 5–7 minutes, stirring occasionally, until the chicken is cooked through and no longer pink in the center. The chicken will absorb the flavors of the curry paste. If the mixture looks too thick, add a splash of chicken stock to loosen it up.
Step 5: Simmer the Sauce (5 minutes)
Pour in the remaining chicken stock and the rest of the coconut milk. Bring the curry to a gentle simmer. Add the fish sauce and palm sugar. Taste and adjust. Do you need more salt? Add a bit more fish sauce. Too spicy? Add a bit more palm sugar. Too sour? A pinch more sugar. This is where you make it your own. Add the bamboo shoots and let everything simmer for 5 minutes so the flavors meld together. The sauce should thicken slightly and coat the back of a spoon.
Step 6: Finish with Basil (1 minute)
Remove the skillet from the heat. Toss in the fresh Thai basil leaves. The residual heat will wilt them perfectly, releasing their aroma without cooking them to death. Stir gently. If you’re using red chili slices, add them now for garnish. Serve immediately over steamed jasmine rice.
Total time: About 30 minutes (10 minutes active, 20 minutes mostly hands-off). This authentic Thai green curry with coconut and fresh basil is ready to impress.
Expert Tips & Tricks
Here’s everything I’ve learned from making this dozens of times. These tips will save you from my mistakes.
Crack the Coconut Milk
This is the #1 tip for restaurant-quality flavor. By frying the thick coconut cream with the paste first, you concentrate the flavors and create a richer base. It sounds like an extra step, but it’s worth every second. I forgot to do this once, and the curry tasted flat. Now I never skip it.
Balance is Key
Thai cuisine is all about balancing the four flavors: sweet, salty, sour, and spicy. After adding the fish sauce and palm sugar, taste your curry. Does it need more punch? Add fish sauce. Too harsh? Add sugar. Too flat? A squeeze of lime juice adds the sour note. Don’t be afraid to adjust.
Use Fresh Basil
Regular basil just doesn’t cut it. Thai basil has a distinct anise flavor that complements the spice. If you can’t find it, try to find it at an Asian market. It’s usually in the produce section, near the other fresh herbs. It’s not an ingredient you can skip if you want authenticity.
Don’t Overcook the Chicken
Chicken thighs are forgiving, but they can still get dry if cooked too long. Once they’re no longer pink, they’re done. The residual heat will continue to cook them slightly, so pull them off the heat when they’re just barely done.
Make It Ahead
This curry tastes even better the next day. The flavors have time to meld. Make it, let it cool, and store it in the fridge. Reheat gently on the stove, adding a splash of water or coconut milk if it’s too thick.
Variations & Substitutions
Once you’ve nailed the basic version, here’s how you can mix it up. I’ve tried all of these.
Vegetarian Green Curry
Swap the chicken for firm tofu or tempeh. Use vegetable stock instead of chicken stock, and substitute the fish sauce with soy sauce or mushroom sauce. Add extra vegetables like eggplant, bell peppers, or green beans for bulk.
Shrimp Green Curry
Shrimp cooks much faster than chicken. Add it in the last 3–4 minutes of cooking. It pairs beautifully with the coconut milk and basil. I love this version for a lighter meal.
Beef Green Curry
Use flank steak or sirloin, sliced thinly. Beef takes longer to cook, so add it earlier with the chicken would go, and simmer for 10–15 minutes until tender. The rich flavor of beef stands up well to the bold curry paste.
Spice Level Adjustments
Too spicy? Add more coconut milk or a splash of cream. Not spicy enough? Add more curry paste or a pinch of red chili flakes. Remember, the heat builds as it simmers, so taste before adding too much.
No Palm Sugar?
Use brown sugar or even white sugar. It won’t be exactly the same, but it will still balance the saltiness. I’ve used brown sugar when I couldn’t find palm sugar, and it worked fine.
Serving & Storage
How to Serve:
I usually serve this straight from the skillet at the dinner table—it looks rustic and stays warm. But here are other ways I’ve enjoyed it:
Side Dishes:
- Steamed jasmine rice (obviously)
- Crispy tofu on the side for extra protein
- A simple cucumber salad with lime and chili for contrast
- Thai-style noodles instead of rice
Toppings Bar:
When I have guests, I put out: extra Thai basil, sliced red chilies, lime wedges, and fried shallots. Everyone customizes their bowl.
Storage Instructions:
Refrigerator:
Store in an airtight container for up to 4 days. The sauce will thicken in the fridge—totally normal. Just add a splash of water or coconut milk when reheating.
Reheating:
Best method: Add to a skillet with a splash of milk or cream over low heat. Stir until heated through and creamy again. Microwave method: Heat in 30-second intervals, stirring between. Add a splash of milk if it’s too thick.
Freezing:
This freezes well for up to 3 months. Thaw in the fridge overnight and reheat gently. The texture might change slightly, but the flavor remains great.
Nutrition Information
I’m not a nutritionist, but here’s the breakdown if you’re tracking. This is per serving based on 4 servings.
| Nutrient | Amount |
|---|---|
| Calories | 380 |
| Protein | 25g |
| Carbs | 12g |
| Fiber | 2g |
| Fat | 28g |
| Sodium | 650mg |
What’s Good:
- High in protein from the chicken
- Rich in healthy fats from coconut milk
- Low in carbs (if you skip the rice)
What to Know:
- Higher in calories due to coconut milk
- Contains sodium from fish sauce
- Can be made lighter by using less coconut milk or swapping chicken for tofu
My Take:
Look, this is comfort food with rich coconut milk. It’s not a diet recipe, but it’s balanced and satisfying. When I want to make it lighter, I use half coconut milk and half chicken stock, and load up on vegetables. But usually? I just eat a reasonable portion and enjoy the flavors.
Final Thoughts
So that’s my authentic Thai green curry with coconut and fresh basil! I’ve probably talked your ear off at this point, but when you make a recipe this often, you have a lot to say about it.
This has saved weeknight dinners more times than I can count. It’s my answer to “what’s for dinner” when I’m tired, don’t want takeout, and still want something that tastes really good. My kids are happy, my partner’s happy, and I’m happy because I’m not stressed about cooking.
Make it yours! Try different proteins, swap in your favorite vegetables, adjust the spice level. The best recipes are the ones you adapt to your family’s tastes.
If you make this, drop a comment and let me know what you think! I love hearing how recipes turn out in your kitchen. And if something doesn’t work, tell me that too—I’m here to help troubleshoot.
Happy cooking! And I hope your kitchen smells half as good as mine does right now.
Frequently Asked Questions
Can I use coconut cream instead of coconut milk?
Yes, but it will be much richer and thicker. If you use coconut cream, you might want to dilute it with a bit of water or chicken stock to get the right consistency. I usually use coconut milk because it’s easier to work with, but coconut cream works if you like a heavier curry.
Why did my curry turn out watery?
This usually happens if you didn’t “crack” the coconut milk enough or if you added too much stock. Simmer the curry longer to reduce the sauce. Also, make sure you’re using full-fat coconut milk, not the light version, which has more water content.
Can I make this ahead for a dinner party?
Absolutely. Make the curry up to 2 days ahead and store in the fridge. Reheat gently and add fresh basil just before serving. It actually tastes better after the flavors have melded overnight. Just don’t add the basil until the last minute so it stays vibrant.
What can I substitute for fish sauce?
If you’re vegetarian or vegan, use soy sauce, tamari, or mushroom sauce. For a similar umami flavor without soy, try oyster sauce (if you eat meat) or a combination of salt and a splash of lime juice. It won’t be exactly the same, but it will still be delicious.
How spicy is this curry?
The spice level depends on the curry paste you use and how much you add. Most store-bought green curry pastes are moderately spicy. Start with 2 tablespoons and taste. If you want it hotter, add more paste or a sliced fresh chili. If it’s too spicy, add more coconut milk or sugar to balance it.
Can I freeze this curry?
Yes, it freezes well for up to 3 months. Store it in an airtight container, leaving some space for expansion. Thaw in the fridge overnight and reheat gently. The texture might change slightly, but the flavor remains great.
Where can I find Thai basil?
Look in the produce section of Asian markets or well-stocked grocery stores. It’s usually near the other fresh herbs like cilantro and mint. If you can’t find it, sweet basil is a decent substitute, but it lacks the anise flavor. You can also try growing your own Thai basil plant—it’s easy to grow and lasts a long time.
Pin This Recipe!
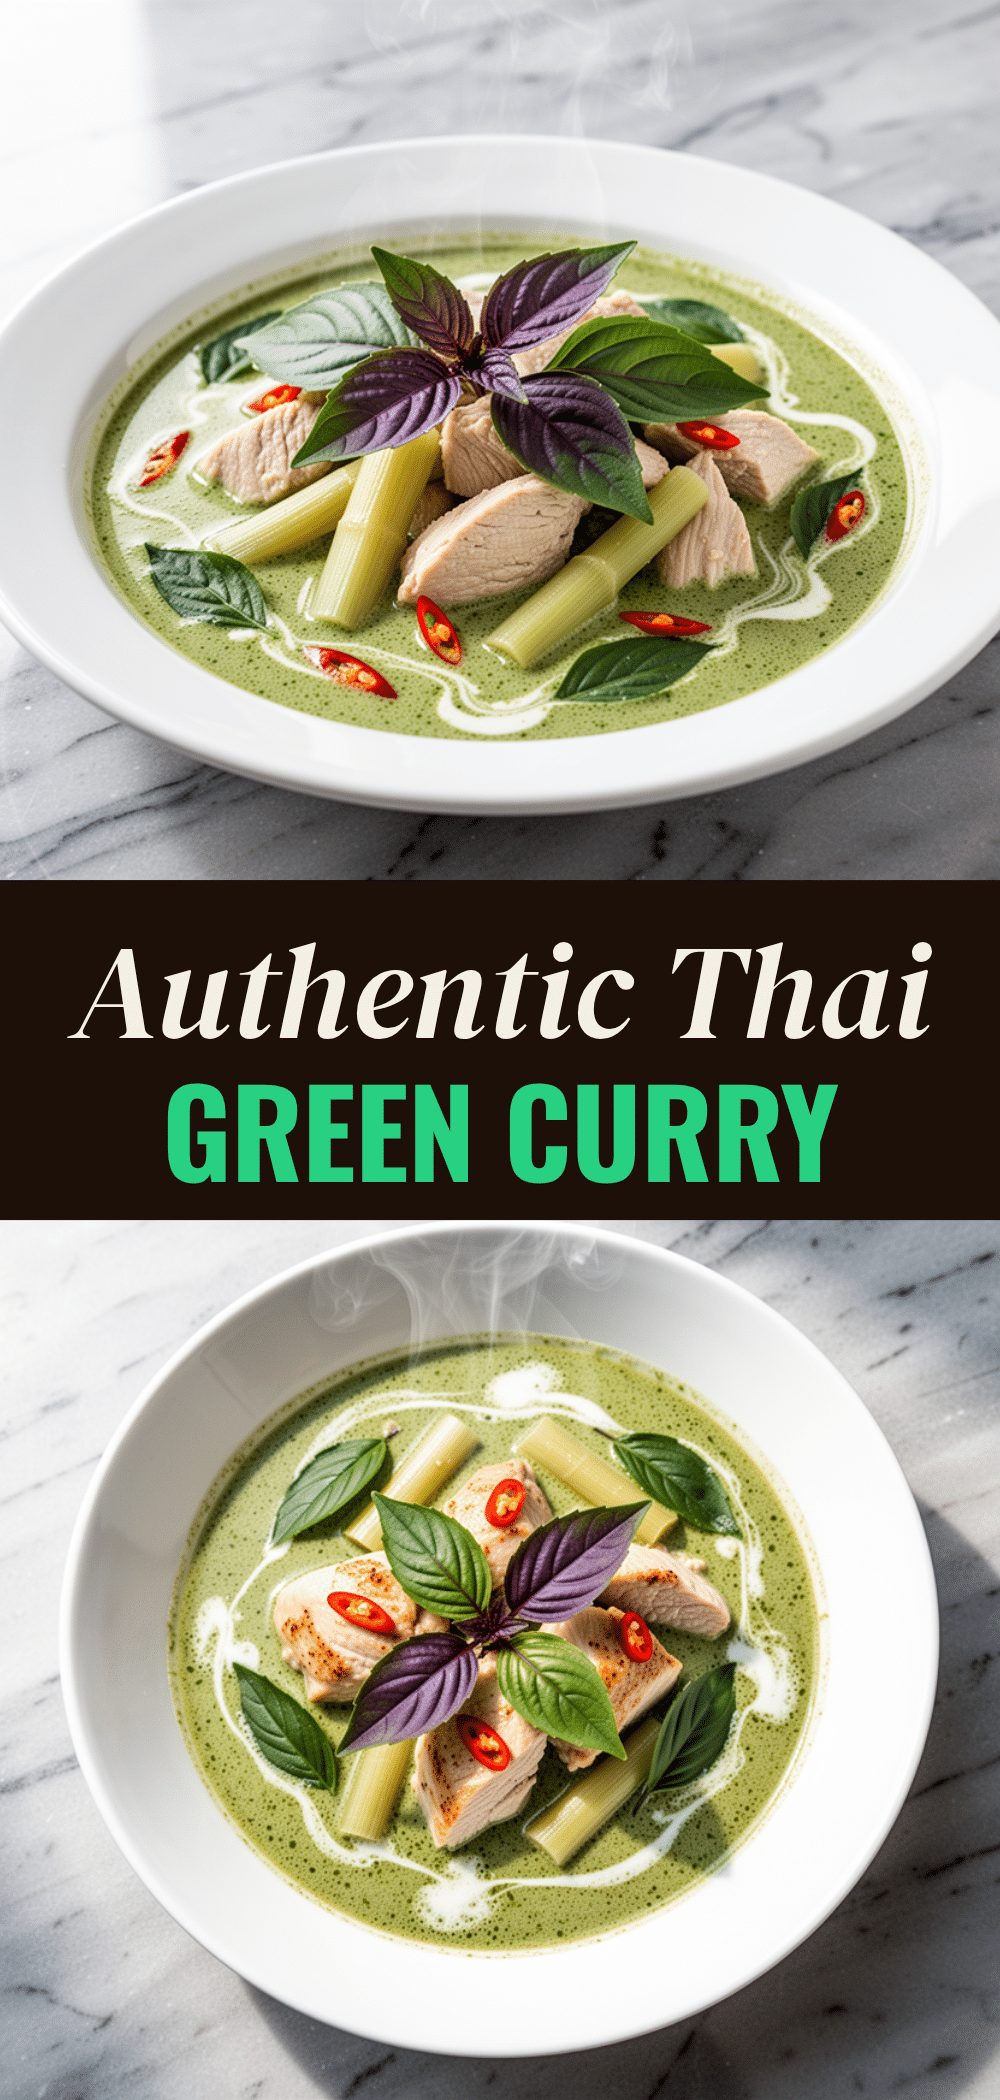
Authentic Thai Green Curry: 5 Ingredients
- Total Time: 30 minutes
- Yield: 4 servings 1x
Description
An authentic Thai green curry made with just five core ingredients: green curry paste, coconut milk, chicken, Thai basil, and bamboo shoots. This recipe balances creamy, spicy, and savory flavors in under 30 minutes.
Ingredients
- 2–3 tablespoons Thai Green Curry Paste (e.g., Maesri or Mae Ploy)
- 1 can (400ml) full-fat coconut milk
- 1 pound boneless, skinless chicken thighs, cut into bite-sized pieces
- 1 cup fresh Thai basil leaves
- 1/2 cup bamboo shoots, sliced
- 1 tablespoon vegetable oil
- 1/2 cup chicken stock or water
- 1–2 tablespoons fish sauce
- 1–2 teaspoons palm sugar
- 1–2 red chilies, sliced (for garnish)
Instructions
- Prep ingredients: Cut chicken into bite-sized pieces, slice bamboo shoots, and wash Thai basil.
- Heat vegetable oil in a large skillet or wok over medium heat. Add curry paste and fry for 1-2 minutes until fragrant and darker green.
- Add the thick coconut cream from the top of the can (or the whole can) to the paste. Cook for 2-3 minutes until oil separates (‘cracking the coconut milk’).
- Add chicken pieces to the skillet and stir to coat. Cook for 5-7 minutes until chicken is cooked through.
- Pour in chicken stock and remaining coconut milk. Bring to a gentle simmer.
- Add fish sauce and palm sugar. Taste and adjust seasoning. Add bamboo shoots and simmer for 5 minutes until sauce thickens slightly.
- Remove from heat. Toss in fresh Thai basil leaves and garnish with sliced red chilies. Serve immediately over steamed jasmine rice.
Notes
For best flavor, ‘crack’ the coconut milk by frying the thick cream with the paste first. Balance the four flavors: sweet (palm sugar), salty (fish sauce), spicy (paste/chilies), and sour (lime juice if needed). Thai basil is preferred over sweet basil for its anise flavor. The curry tastes better the next day as flavors meld.
- Prep Time: 10 minutes
- Cook Time: 20 minutes
- Category: Main Course
- Cuisine: Thai
Nutrition
- Serving Size: 1 bowl with steamed
- Calories: 380
- Sugar: 6
- Sodium: 650
- Fat: 28
- Saturated Fat: 18
- Carbohydrates: 12
- Fiber: 2
- Protein: 25
Keywords: Thai green curry, authentic Thai food, coconut curry, chicken curry, easy dinner, weeknight meals, Thai basil, bamboo shoots



