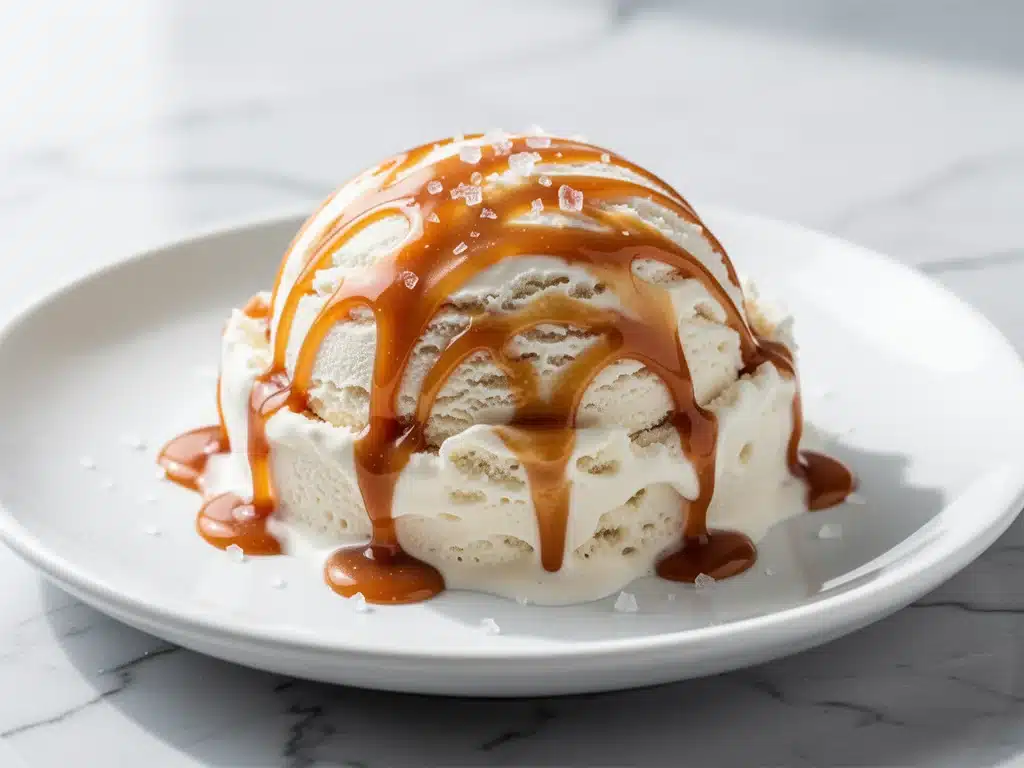
It was 9 PM on a Tuesday, the kind of night where the house is finally quiet and you’re staring into the open freezer like it holds the secrets to the universe. I had just finished a long day of work, my brain was fried, and I had a sudden, overwhelming craving for something cold, sweet, and ridiculously indulgent. But here’s the thing: I didn’t want to go out for ice cream. And I definitely didn’t want to spend four hours churning a batch in a machine that I barely have room for in my tiny kitchen.
So, I did what any desperate home cook does: I raided the pantry. I had heavy cream, sweetened condensed milk, and a jar of homemade caramel sauce that had been sitting in the fridge for three weeks, collecting dust. I figured, why not? I dumped it all together, swirled in a little extra buttery caramel for good measure, and shoved it in the freezer. I told myself it was just a quick fix. A palate pleaser for one.
What I got out of the freezer the next morning wasn’t just a quick fix. It was, hands-down, the best ice cream I have ever made. Period. It was creamy in a way that churned ice cream sometimes isn’t—silky, rich, and packed with those salty-sweet pockets that make you close your eyes and sigh. I’ve made this salted caramel no-churn ice cream at least fifteen times since that random Tuesday night. I’ve tweaked it, rushed it, ruined it (once, by using low-fat cream—don’t ask), and perfected it. And now, I’m sharing the version that actually works.
This isn’t one of those complicated dessert projects that requires a candy thermometer and a degree in chemistry. It’s the kind of recipe that feels like a cheat code. You whip up a batch in about 20 minutes, freeze it, and let time do the heavy lifting. Whether you’re hosting a summer BBQ, trying to impress a date, or just need a little joy in a mason jar at 11 PM, this salted caramel no-churn ice cream with buttery swirls is going to become your new obsession. Trust me. I’ve tested it enough times to know.
Why You’ll Love This Salted Caramel No-Churn Ice Cream
There are about a dozen reasons I keep coming back to this recipe, but let’s be real: it’s mostly because it’s stupidly easy and tastes like heaven. Here’s why this ice cream has earned a permanent spot in my freezer rotation:
- Zero Churning Required — Seriously. If you have a whisk and a mixing bowl, you can make this. No ice cream machine needed. No noisy equipment. No waiting for the compressor to kick in. Just mix, pour, and freeze. I’ve made this while watching TV, while on phone calls, and while my kids were arguing in the next room. It’s that low-maintenance.
- Creamier Than Store-Bought — I’m not saying other brands are bad, but this? This is next level. The heavy cream and sweetened condensed milk create a texture that’s incredibly smooth and dense. It doesn’t get icy or crystalline like some no-churn versions do. It stays soft and scoopable (mostly) straight from the freezer.
- The Swirl Factor — Most no-churn recipes are just one flavor. This one has those gorgeous, gooey, buttery caramel ribbons running through it. It’s not just mixed in; it’s swirled. Those pockets of intense caramel flavor hit you in the best way. It’s the difference between a plain vanilla ice cream and something from an artisanal shop.
- Customizable to Heck — Want less sweet? Add a pinch more sea salt. Want more caramel? Double the swirl. Want to add chocolate chips? Go for it. This base is incredibly forgiving. I’ve added crushed pretzels to it, I’ve added brownie bits, and I’ve even added a splash of bourbon (adults only, please). The base holds up to everything.
- Impressively Fancy — Despite taking 20 minutes to make, this looks and tastes like you spent hours crafting it. It’s elegant enough for a dinner party dessert but simple enough for a weeknight treat. My friends always assume I bought it from a fancy gelato place. The surprise on their faces when I tell them it’s from my freezer is my favorite part.
This is my go-to when I need a dessert that feels special but requires zero stress. No tempering chocolate, no custard bases, no burning your tongue on hot sugar. Just pure, creamy, salty-sweet joy.
Ingredients You’ll Need
Here’s the best part: you probably have most of these ingredients already. This isn’t a recipe that requires a special trip to three different specialty stores. It’s pantry-friendly, freezer-stable, and simple. Here’s exactly what you need and why I’m particular about each one.
For the Ice Cream Base
Heavy whipping cream (2 cups / 480ml) — This is the backbone. It must be cold. I mean, fridge-cold. If you use room temperature cream, it won’t whip up properly, and your ice cream will be dense and icy. Don’t skip this step. Full-fat only. Light cream or half-and-half will not work here. You need the fat content to create that creamy texture.
Sweetened condensed milk (1 can / 14oz / 397g) — This is what replaces the sugar and the dairy base that a traditional ice cream uses. It adds sweetness, creaminess, and prevents ice crystals from forming. Use the canned stuff, not evaporated milk. They are not interchangeable. Sweetened condensed milk is thick and syrupy; evaporated milk is thin and not sweet. If you use the wrong one, you’ll have a disaster.
Vanilla extract (1 tablespoon) — Use real vanilla, not imitation. I know it’s more expensive, but in a recipe with so few ingredients, the vanilla really shines. I use pure vanilla bean paste sometimes for those little black specks, which looks fancy and tastes amazing. But good extract works perfectly fine.
Salt (½ teaspoon) — This is crucial. Salt enhances the sweetness and balances the richness. Use fine sea salt. If you use kosher salt, you might need a bit more because the grains are bigger. Taste your base before freezing. It should taste slightly salty, not sweet.
For the Buttery Caramel Swirl
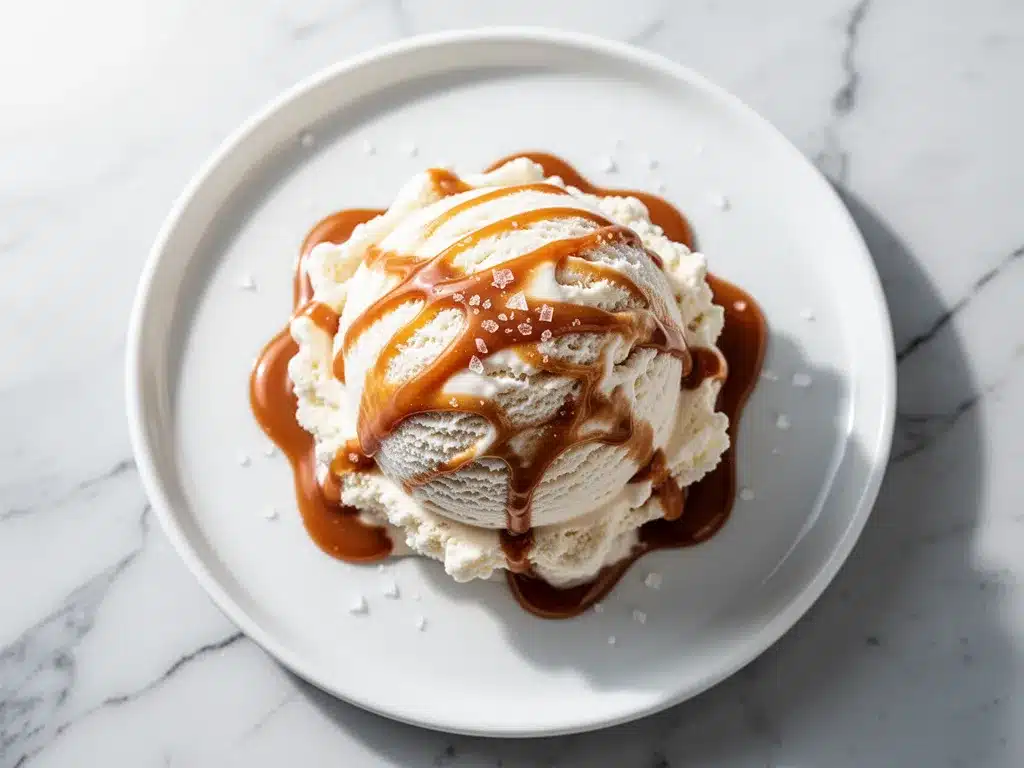
Homemade caramel sauce (1 cup / 240ml) — I make a simple one from scratch. You’ll need butter, brown sugar, heavy cream, and a pinch of salt. If you’re feeling lazy, high-quality store-bought caramel sauce works too, but homemade has a depth of flavor that’s hard to beat. Let it cool completely before using. Warm caramel will melt the whipped cream.
Unsalted butter (2 tablespoons) — Adding a little extra butter to the caramel swirl makes it richer and glossier. It gives those ribbons a luxurious mouthfeel. Melt it into the caramel sauce before swirling.
Flaky sea salt (for finishing) — Maldon salt is my favorite. Sprinkling a few flakes on top before serving adds a nice crunch and a burst of salty flavor that contrasts with the sweet ice cream. It’s the cherry on top, literally.
Substitutions & Notes
Can I use light cream? No. The fat content is essential for whipping and texture. If you’re dairy-free, you can use full-fat coconut cream, but the flavor will be different. It will taste like coconut caramel, which is good, but not the same as dairy caramel.
Where do I find sweetened condensed milk? It’s in the baking aisle, near the evaporated milk and canned pie filling. It’s not in the milk section. Don’t wander around the dairy aisle looking for it; you won’t find it.
Can I make the caramel ahead? Yes! Make the caramel sauce up to 3 days in advance. Store it in a jar in the fridge. It will thicken up when cold, so warm it slightly before using. This is actually better because it makes it easier to swirl without melting the ice cream base.
Equipment Needed
You don’t need anything fancy for this. Here’s what I actually use, and what you can swap out if you don’t have it.
Large mixing bowl — I use a 4-quart stainless steel bowl. It needs to be big enough to hold the whipped cream and the condensed milk mixture without spilling. Glass works too, but metal stays colder, which helps the cream whip better.
Electric hand mixer or stand mixer — You can whip cream by hand, but it takes forever and your arm will hate you. A hand mixer is perfect for this. A stand mixer with the whisk attachment is even better. If you’re doing it by hand, be prepared for some serious bicep work.
Whisk — For mixing the condensed milk, vanilla, and salt. A simple balloon whisk is fine. You just need to make sure there are no lumps in the condensed milk.
9×5 inch loaf pan — This is the standard size for no-churn ice cream. It freezes evenly and is easy to remove. Line it with parchment paper or plastic wrap for easy removal later. If you don’t have a loaf pan, a 8×8 square pan or a deep dish pie plate works too. Just adjust the freezing time slightly.
Parchment paper or plastic wrap — To line the pan. This is essential. Without it, you’ll be fighting to get the ice cream out of the pan later. I like to leave an overhang on the sides so I can lift the whole block out if I want to.
Spatula — A rubber spatula is best for folding. You need to gently combine the whipped cream and the milk mixture without deflating the air you just whipped in. Be gentle. Think of it like folding a blanket, not stirring a pot.
How to Make It: Step-by-Step
Alright, let’s make this! I’m walking you through exactly how I do it, including the little tricks I’ve picked up over the years. This process is straightforward, but there are a few key moments where attention to detail matters.
Step 1: Prep Your Pan and Caramel
Before you start mixing, line your 9×5 loaf pan with parchment paper or plastic wrap. Leave an overhang on the sides so you can lift the ice cream out later. Set it aside in the freezer to chill. This helps the ice cream set faster once you pour it in. Also, make sure your caramel sauce is cool. If it’s warm, it will melt the whipped cream. I usually make the caramel the night before, so it’s ready to go.
Step 2: Whip the Heavy Cream
Pour the cold heavy cream into your large mixing bowl. Using an electric mixer on medium-high speed, whip the cream until you see stiff peaks. This means when you lift the beaters, the cream stands up straight and doesn’t droop. It should look thick and glossy. Be careful not to over-whip it into butter. Watch it closely in the last minute. It goes from perfect to buttery fast.
Step 3: Mix the Sweetened Condensed Milk
In a separate medium bowl, whisk together the sweetened condensed milk, vanilla extract, and salt. The condensed milk can be thick and lumpy, so whisk it well until it’s smooth and pourable. This ensures there are no pockets of pure sweetness in your final ice cream. Taste it. It should be sweet but balanced by the salt.
Step 4: Fold the Mixtures Together
This is the most important step. Add about one-third of the whipped cream to the condensed milk mixture and gently fold it in. This lightens the dense milk. Then, pour that mixture back into the remaining whipped cream. Using your spatula, gently fold the two mixtures together. Use a figure-eight motion. Stop as soon as there are no more white streaks. Do not overmix. You want to keep all that air in the cream. If you stir too much, you’ll deflate it, and your ice cream will be dense.
Step 5: Swirl in the Caramel
Now for the fun part. Pour about half of the ice cream base into the prepared loaf pan. Smooth the top. Drizzle half of the cooled caramel sauce over the ice cream. Use a knife or skewer to gently swirl the caramel into the ice cream. Don’t over-mix it. You want ribbons, not a uniform brown color. Repeat with the remaining ice cream base and caramel. Create a beautiful, marbled pattern on top.
Step 6: Freeze
Cover the loaf pan tightly with plastic wrap or a lid. Freeze for at least 6 hours, but ideally overnight. The longer it freezes, the firmer it gets. If you try to scoop it after only 4 hours, it will be soft and messy. Patience pays off here. Let it freeze until it’s solid all the way through.
Step 7: Serve
When you’re ready to serve, lift the ice cream out of the pan using the parchment paper overhang. Let it sit at room temperature for 5-10 minutes to soften slightly. This makes scooping much easier. Scoop into bowls or cones. Sprinkle with flaky sea salt if you like. Enjoy immediately. It’s best eaten within the first week, though it will last in the freezer for up to a month.
Expert Tips & Tricks
Here’s everything I’ve learned from making this dozens of times. These tips will save you from my mistakes.
Cold Cream is Non-Negotiable
If your cream isn’t cold, it won’t whip. I keep my mixing bowl and beaters in the freezer for 15 minutes before whipping. It’s a small step that makes a huge difference. Warm cream = soup. Cold cream = peaks.
Don’t Skip the Salt
I know it’s ice cream, but the salt is what makes the caramel taste like caramel. It balances the sugar. Use fine sea salt in the base, and flaky salt on top. The contrast is what makes this recipe special.
Fold, Don’t Stir
When combining the cream and milk, be gentle. Use a spatula and a folding motion. Stirring vigorously will knock out the air you worked so hard to whip in. Air is what makes no-churn ice cream light and scoopable, not dense and icy.
Cool the Caramel Completely
This is the most common mistake. If your caramel is even slightly warm, it will melt the whipped cream base. Make the caramel ahead of time and let it cool to room temperature, or even chill it in the fridge for 20 minutes before swirling.
Use a Loaf Pan
A 9×5 loaf pan is the perfect shape. It freezes evenly and is easy to handle. Square pans work, but round pans might not freeze as uniformly. If you use a different shape, adjust your expectations for the shape of the final block.
Variations & Substitutions
Once you’ve nailed the basic version, here’s how you can mix it up. I’ve tried all of these, and they’re all winners.
Pretzel Salted Caramel
Crush some salty pretzels and fold them into the ice cream base before swirling. The crunch and saltiness pair perfectly with the caramel. It’s like a dessert version of a candy bar.
Bourbon Caramel
Add 2 tablespoons of bourbon to the caramel sauce while it’s cooking. Or add a splash to the ice cream base. It adds a warm, complex flavor that’s perfect for fall. Use good bourbon here—don’t use the cheap stuff.
Chocolate Chip
Fold in 1 cup of semi-sweet chocolate chips after you’ve combined the cream and milk. The chocolate adds texture and breaks up the sweetness. Classic combo.
Coconut Version
Use coconut cream instead of heavy cream, and coconut milk instead of sweetened condensed milk (you’ll need to add extra sugar). Use coconut caramel sauce. It’s dairy-free and tastes like a tropical vacation.
Espresso Caramel
Add 1 tablespoon of instant espresso powder to the ice cream base. The coffee flavor complements the caramel beautifully. It’s like a caramel macchiato in ice cream form.
Serving & Storage
How to Serve:
I usually serve this straight from the freezer in a mason jar or a simple bowl. It doesn’t need fancy garnishes, but a sprinkle of flaky salt and a drizzle of extra caramel on top looks gorgeous for photos. It’s perfect with warm brownies, apple pie, or just on its own.
Side Dishes:
This ice cream pairs well with warm desserts. Think apple crisp, peach cobbler, or chocolate cake. The cold, creamy texture contrasts with warm, soft baked goods. It’s also great with coffee or tea in the afternoon.
Storage Instructions:
Refrigerator: Ice cream doesn’t store well in the fridge. It will melt. Keep it in the freezer.
Freezer: Store in an airtight container or the lined loaf pan for up to 1 month. It might get a little icy after a few weeks, but it’s still good. To prevent ice crystals, press plastic wrap directly onto the surface of the ice cream before closing the lid.
Reheating: You don’t reheat ice cream. You let it sit out for 5-10 minutes to soften. If you try to microwave it, it will melt into soup. Don’t do it.
Nutrition Information
I’m not a nutritionist, but here’s the breakdown if you’re tracking. Keep in mind that this is a rich, indulgent dessert, so portion control is key.
| Nutrient | Per Serving (1/8 of loaf) |
|---|---|
| Calories | 380 |
| Fat | 24g |
| Saturated Fat | 15g |
| Cholesterol | 75mg |
| Sodium | 120mg |
| Carbohydrates | 38g |
| Sugar | 36g |
| Protein | 4g |
What’s Good:
It’s a good source of calcium from the dairy. It’s also relatively simple in ingredients, so you know exactly what you’re eating. No weird additives or preservatives.
What to Know:
It’s high in sugar and saturated fat. This is a treat, not a health food. Enjoy it in moderation. If you’re watching your sugar intake, you can reduce the condensed milk slightly, but it might affect the texture.
Final Thoughts
So that’s my go-to salted caramel no-churn ice cream! I’ve probably talked your ear off at this point, but when you make a recipe this often, you have a lot to say about it. This has saved my dessert game more times than I can count. It’s my answer to “what’s for dessert?” when I’m tired, don’t want to bake, and still want something that tastes really good.
Make it yours! Try different add-ins, swap in your favorite caramel flavor, or adjust the salt to your liking. The best recipes are the ones you adapt to your family’s tastes. If you make this, drop a comment and let me know what you think! I love hearing how recipes turn out in your kitchen. And if something doesn’t work, tell me that too—I’m here to help troubleshoot.
Happy cooking! And I hope your kitchen smells half as good as mine does right now.
Frequently Asked Questions
Can I use light cream instead of heavy cream?
You can, but the texture will be different. Light cream doesn’t whip up as stiffly, so your ice cream will be less airy and more dense. I recommend sticking with heavy cream for the best results. If you’re out of heavy cream, you can try whipping coconut cream, but it will taste like coconut.
Why did my ice cream turn out icy?
This usually happens if the cream wasn’t whipped enough, or if the ice cream wasn’t stored properly. Make sure you whip the cream to stiff peaks, and store the ice cream in an airtight container with plastic wrap pressed directly onto the surface. Also, make sure your sweetened condensed milk is smooth and well-mixed.
Can I make this ahead for a party?
Yes! This is actually better when made ahead. Make it 2-3 days before the party. It will freeze solid and develop a deeper flavor. Just let it sit out for 10 minutes before serving so it’s scoopable.
How do I fix a broken caramel swirl?
If your caramel is too runny, it might melt the ice cream. Make sure it’s cooled completely before swirling. If it’s too thick, warm it slightly in the microwave for 10 seconds. You want it to be pourable but not hot.
Can I freeze this without a loaf pan?
Yes. You can use any freezer-safe container. A square pan, a deep dish pie plate, or even individual mason jars work. Just adjust the freezing time. Smaller portions will freeze faster.
Is this recipe gluten-free?
Yes, the basic recipe is naturally gluten-free. Just make sure your caramel sauce and any add-ins (like pretzels or chocolate chips) are certified gluten-free if you have celiac disease.
Can I use store-bought caramel sauce?
Absolutely. If you’re short on time, store-bought caramel works fine. Just make sure it’s cooled before using. Homemade has more depth, but store-bought is a great shortcut.
Pin This Recipe!
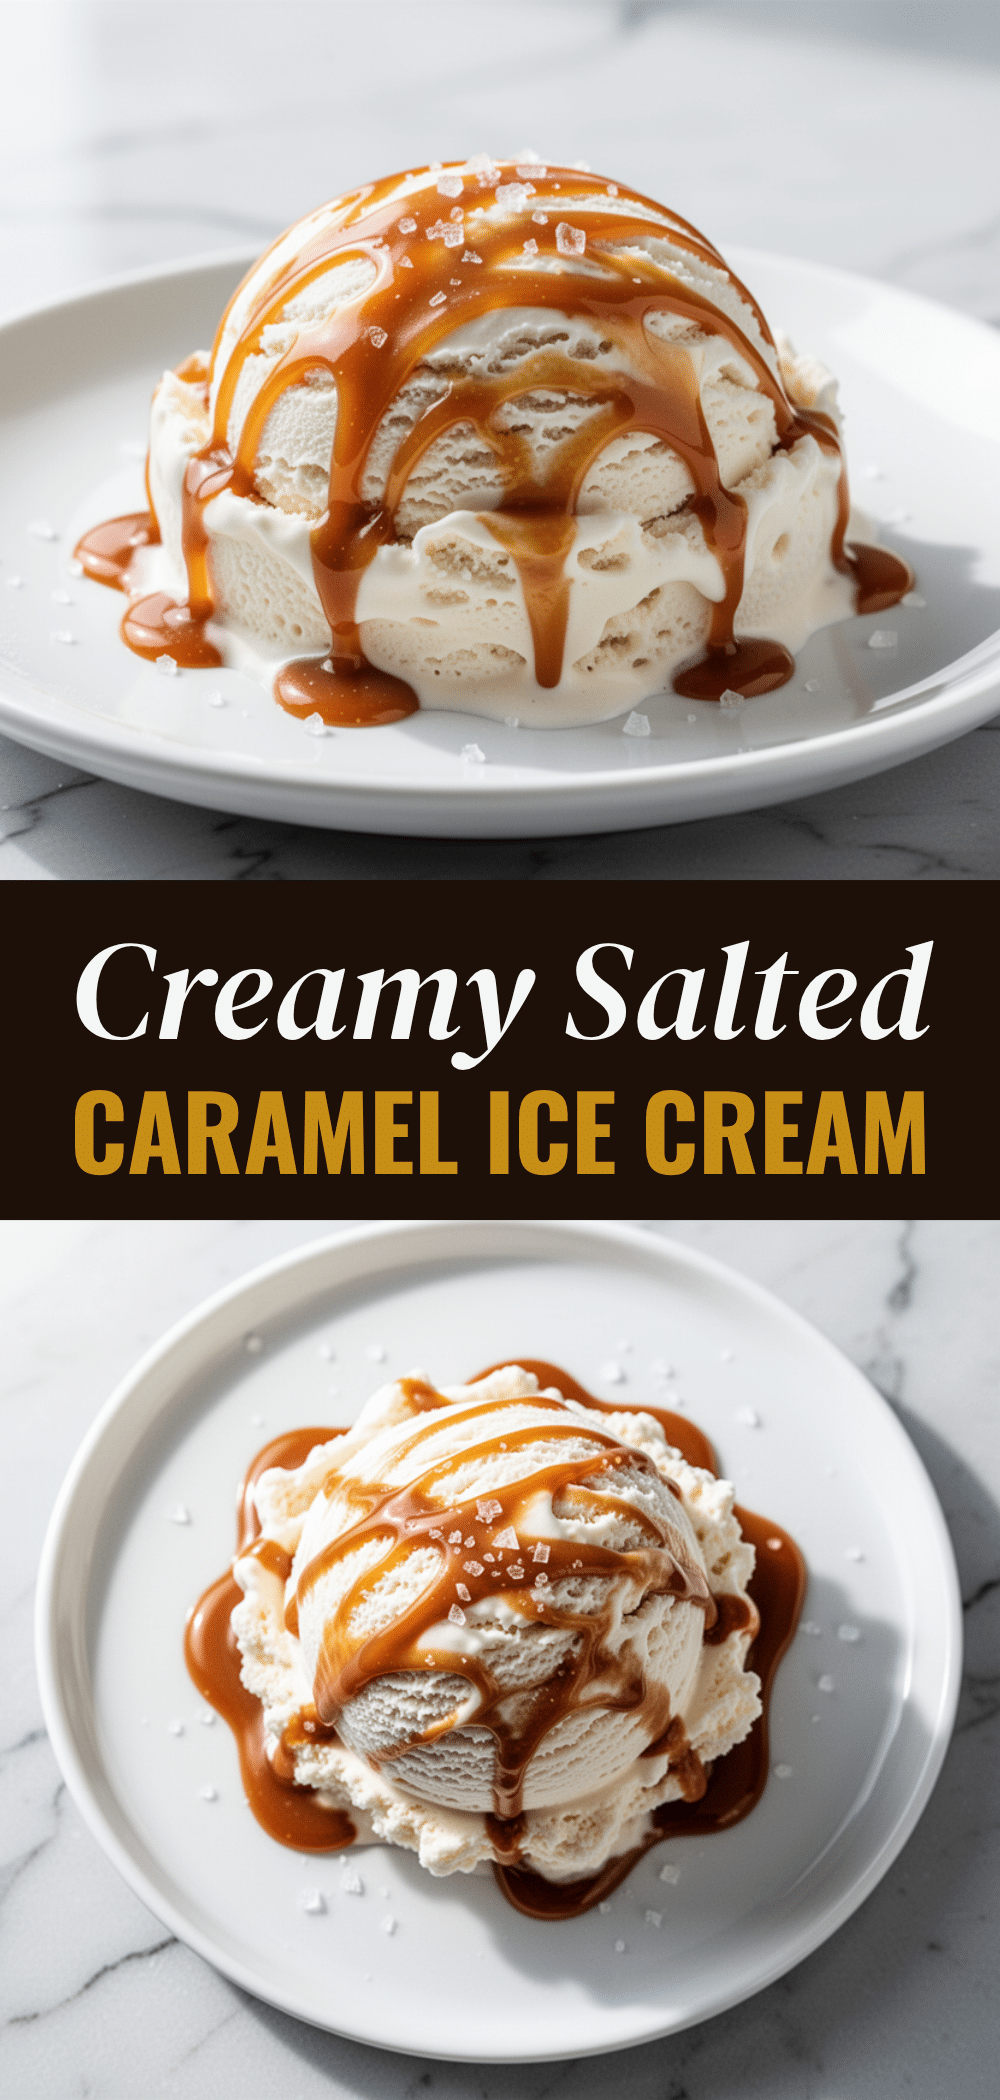
Salted Caramel No-Churn Ice Cream: Best Easy Recipe
- Total Time: 6 hours 20 minutes
- Yield: 8 servings 1x
Description
A creamy, rich, and indulgent no-churn ice cream featuring a silky vanilla base swirled with buttery homemade caramel sauce. This easy recipe requires no ice cream machine and delivers a dessert that tastes artisanal with minimal effort.
Ingredients
- 2 cups heavy whipping cream (cold)
- 1 can (14oz / 397g) sweetened condensed milk
- 1 tablespoon vanilla extract (or vanilla bean paste)
- 1/2 teaspoon fine sea salt
- 1 cup homemade caramel sauce (cooled)
- 2 tablespoons unsalted butter
- Flaky sea salt (for finishing)
Instructions
- Line a 9×5 inch loaf pan with parchment paper or plastic wrap, leaving an overhang on the sides, and place it in the freezer to chill.
- Ensure the caramel sauce is completely cool. If using homemade, melt the 2 tablespoons of unsalted butter into the caramel sauce.
- Pour the cold heavy cream into a large mixing bowl. Using an electric mixer on medium-high speed, whip until stiff peaks form. Be careful not to over-whip into butter.
- In a separate medium bowl, whisk together the sweetened condensed milk, vanilla extract, and fine sea salt until smooth and free of lumps.
- Add about one-third of the whipped cream to the condensed milk mixture and gently fold it in to lighten the mixture.
- Pour the condensed milk mixture back into the remaining whipped cream. Gently fold together using a figure-eight motion until just combined. Do not overmix.
- Pour half of the ice cream base into the prepared loaf pan and smooth the top. Drizzle half of the caramel sauce over it and swirl gently with a knife or skewer to create ribbons.
- Repeat with the remaining ice cream base and caramel sauce, creating a marbled pattern on top.
- Cover the loaf pan tightly with plastic wrap or a lid and freeze for at least 6 hours, ideally overnight, until solid.
- To serve, lift the ice cream out of the pan using the parchment overhang. Let it sit at room temperature for 5-10 minutes to soften slightly before scooping. Sprinkle with flaky sea salt if desired.
Notes
Heavy cream must be very cold to whip properly. Do not use light cream or half-and-half. Ensure caramel sauce is completely cool before swirling to prevent melting the whipped cream. For best texture, store in an airtight container with plastic wrap pressed directly onto the surface to prevent ice crystals.
- Prep Time: 20 minutes
- Cook Time: 0 minutes
- Category: Dessert
- Cuisine: American
Nutrition
- Serving Size: 1/8 of loaf
- Calories: 380
- Sugar: 36
- Sodium: 120
- Fat: 24
- Saturated Fat: 15
- Carbohydrates: 38
- Protein: 4
Keywords: no-churn ice cream, salted caramel ice cream, easy dessert, homemade ice cream, caramel swirl, summer dessert, freezer dessert



