It was one of those bitterly cold January evenings where the wind wasn’t just blowing—it was trying to break into the house. I remember standing in my kitchen, wearing three layers of sweaters, staring into the abyss of the pantry, and realizing I had nothing but a half-empty bag of cocoa powder and a jar of caramel sauce that had been sitting there since last Christmas. I was tired. I was cold. And I wanted something that felt like a warm hug in a mug.
I didn’t have the energy for complicated techniques or fancy gadgets. I just wanted warmth. So, I threw together what I thought would be a mediocre, run-of-the-mill hot cocoa. But then, I did something reckless: I added a pinch of sea salt and a splash of heavy cream directly into the pot. When I finally took that first sip, my shoulders dropped three inches. It wasn’t just hot chocolate. It was salty, sweet, rich, and impossibly smooth. It tasted like something I’d pay $8 for at a fancy café, but it cost me about $1.50 to make.
I’ve made this salted caramel hot chocolate with whipped cream swirl countless times since that night. Some weeks it’s my afternoon pick-me-up; other times, it’s the centerpiece of a rainy-day movie marathon with my partner. The beauty of it isn’t just in the taste—it’s in the ritual. It’s quick, it’s forgiving, and it turns an ordinary Tuesday into a small celebration. If you’re looking for a drink that feels indulgent but actually comes together in minutes, this is it.
What makes this recipe different from the usual cocoa mixes is the balance. Too much caramel makes it cloying. Too much salt makes it weird. But get that ratio right? You get this addictive complexity that keeps you coming back for more. I’ve tweaked the ratios so many times—once I accidentally used too much vanilla and nearly cried, but then I realized I loved it—that I’m confident in this version. It’s the one that works every single time. And trust me, once you try this, store-bought packets will never satisfy you again.
Why You’ll Love This Salted Caramel Hot Chocolate
There are about a dozen reasons I keep making this drink, but let’s be real: it’s because it hits all the right notes without requiring a culinary degree. I’ve served this to skeptical friends who claim they “don’t like hot chocolate,” and they’ve always asked for the recipe. Here’s why it’s become a staple in my home.
Stupid Simple — Seriously, if you can boil water, you can make this. There’s no tempering chocolate, no complex syrup making, no fancy equipment. It’s a one-pot wonder. I’ve made this while holding a toddler, while answering work emails, and while watching TV. It’s that easy.
Lightning Fast — From start to finish, this takes about 10 minutes. That’s less time than it takes to order delivery. I make this on weeknights when I’m craving comfort but don’t have the patience for a long process. It’s the perfect bridge between “I need coffee” and “I need wine.”
Restaurant-Quality Taste — This tastes like something you’d get at a high-end ski lodge or a boutique coffee shop. The combination of rich cocoa, sweet caramel, and flaky sea salt creates a flavor profile that’s sophisticated but familiar. My friends always assume I bought it from a fancy cafe.
Customizable to Your Craving — Love it extra sweet? Add more caramel. Want it richer? Use heavy cream instead of milk. Craving a kick? Add a pinch of cayenne or a dash of bourbon. This recipe is a canvas. I’ve made it with oat milk for my lactose-intolerant friend, and it was still delicious. It adapts to your life.
Perfect for Gifting — I often make a batch of the dry mix (if you want to skip the caramel step) or just serve this in pretty mugs with a sprig of mint. It makes a great last-minute hostess gift or a cozy treat for a housewarming. It feels thoughtful without being labor-intensive.
This is my go-to when I need something that feels special but doesn’t demand my full attention. It’s reliable, delicious, and always makes everyone happy. Whether you’re curling up with a book or hosting a winter gathering, this drink is the star of the show.
Ingredients You’ll Need
Here’s the best part: you probably have most of this already. This isn’t a recipe that requires a special trip to the grocery store for obscure ingredients. It’s built on pantry staples with just a few upgrades to make it truly special. I’m particular about three things here, and I’ll tell you exactly why.
High-Quality Cocoa Powder (2 tablespoons / 10g) — I use unsweetened Dutch-processed cocoa. It’s darker, less acidic, and has a richer, smoother flavor. Regular natural cocoa works, but it’s a bit more bitter. I swear by Ghirardelli or Valrhona if you can find them. It makes a huge difference in the depth of flavor.
Whole Milk (1 cup / 240ml) — Don’t skimp on the fat here. Whole milk gives you that creamy, luxurious texture. You can use 2% or even oat milk, but the richness will be less. If you want it extra decadent, swap half the milk for heavy cream. I do this when I’m treating myself.
Caramel Sauce (3-4 tablespoons / 45-60ml) — This is the star. I use store-bought caramel sauce because it’s consistent and easy. I prefer brands like Smucker’s or Trader Joe’s. Homemade caramel is great, but this recipe is about speed. Make sure it’s the pourable kind, not the hard candy kind. If it’s too thick, microwave it for 10 seconds.
Semi-Sweet Chocolate Chips (1 ounce / 28g) — This adds body and a glossy finish. It’s not strictly necessary, but it elevates the drink from “cocoa” to “hot chocolate.” I use Ghirardelli semi-sweet squares or chips. It melts into the milk beautifully.
Vanilla Extract (1 teaspoon / 5ml) — Pure vanilla, please. Artificial vanilla tastes chemical and cheap. It rounds out the sweetness and adds that classic bakery smell. If you have vanilla bean paste, even better.
Sea Salt (A pinch, plus flaky salt for garnish) — The salt is non-negotiable. It cuts through the sweetness of the caramel and makes the chocolate flavor pop. I use Maldon sea salt for sprinkling on top because the flakes look beautiful and dissolve slowly.
Whipped Cream (For topping) — I make my own because it’s just heavy cream and a little sugar, but canned whipped cream works in a pinch. If you’re making it from scratch, whip until soft peaks form. Don’t over-whip it into butter!
Optional Add-ins:
– Cinnamon stick — Stir it in while heating for a warm spice note.
– Bourbon or Baileys — Add 1-2 tablespoons for an adult version.
– Marshmallows — Classic, but I prefer the caramel crunch.
– Cayenne Pepper — A tiny pinch adds warmth without heat.
One quick note on the caramel: if you’re using a homemade caramel that has hardened in the jar, don’t worry. Just scoop it into the warm milk, and it’ll melt down. I’ve done it a dozen times. It works.
Equipment Needed
You don’t need fancy equipment for this. Here’s what I actually use. Most of it is stuff you already have in your kitchen drawer.
Small Saucepan — I use a 1.5-quart saucepan. It’s the perfect size for a single mug or two. Any small pot works. Just make sure it has a thick bottom so the milk doesn’t scorch. I’ve burned milk in thin pans before, and it’s a nightmare to clean.
Whisk — A small balloon whisk is ideal for breaking up cocoa clumps. I use a silicone one because it doesn’t scratch my pan. A fork works in a pinch, but a whisk is much better for getting a smooth texture.
Mug — Obviously, you need something to drink from. I love using thick ceramic mugs because they keep the drink hot longer. A wide-mouth mug is nice for seeing the layers of caramel and cream.
Measuring Spoons — Pretty standard stuff. Dollar store versions work fine for this. You don’t need to be exact, but having a rough idea helps.
Milk Frother (Optional) — If you want that café-style foam on top, a handheld frother is fun. I don’t use one every time, but it’s a nice touch for guests. It’s not necessary for the flavor, just the presentation.
Stovetop — Obviously, you need a heat source. Gas or electric both work fine. Just keep the heat medium-low. You want gentle warmth, not a rolling boil.
That’s it. No special gadgets, no expensive tools. Just a pot, a whisk, and a mug. If you can do that, you can make this.
How to Make It: Step-by-Step
Alright, let’s make this! I’m walking you through exactly how I do it, including the little tricks I’ve picked up over the years. This is the easy part.
Step 1: Warm the Milk (3-4 minutes)
Pour the whole milk into your small saucepan. Place it over medium-low heat. You don’t want to boil it—just warm it until it’s steaming and small bubbles form around the edges. This usually takes 3-4 minutes. Stir occasionally to prevent a skin from forming. If you see big bubbles, turn the heat down. Scalded milk tastes weird, and we want it smooth.
Step 2: Add Cocoa and Chocolate (2 minutes)
Once the milk is warm, whisk in the cocoa powder and semi-sweet chocolate chips. Keep whisking! The cocoa tends to clump, so whisk vigorously until it’s completely dissolved and the chocolate is melted. This should take about 2 minutes. The mixture will start to look glossy and dark. This is where the magic begins. If you see any lumps, keep whisking. You want it silky.
Step 3: Stir in Caramel and Vanilla (1 minute)
Remove the saucepan from the heat. This is crucial. Adding caramel to boiling milk can sometimes cause it to seize or separate. Off the heat, stir in the caramel sauce and vanilla extract. The residual heat will melt the caramel into the chocolate milk. Whisk until everything is fully combined and the color is a uniform, beautiful brown. It should smell incredible right now. If it’s too thick, add a splash more milk.
Step 4: Pour and Top (1 minute)
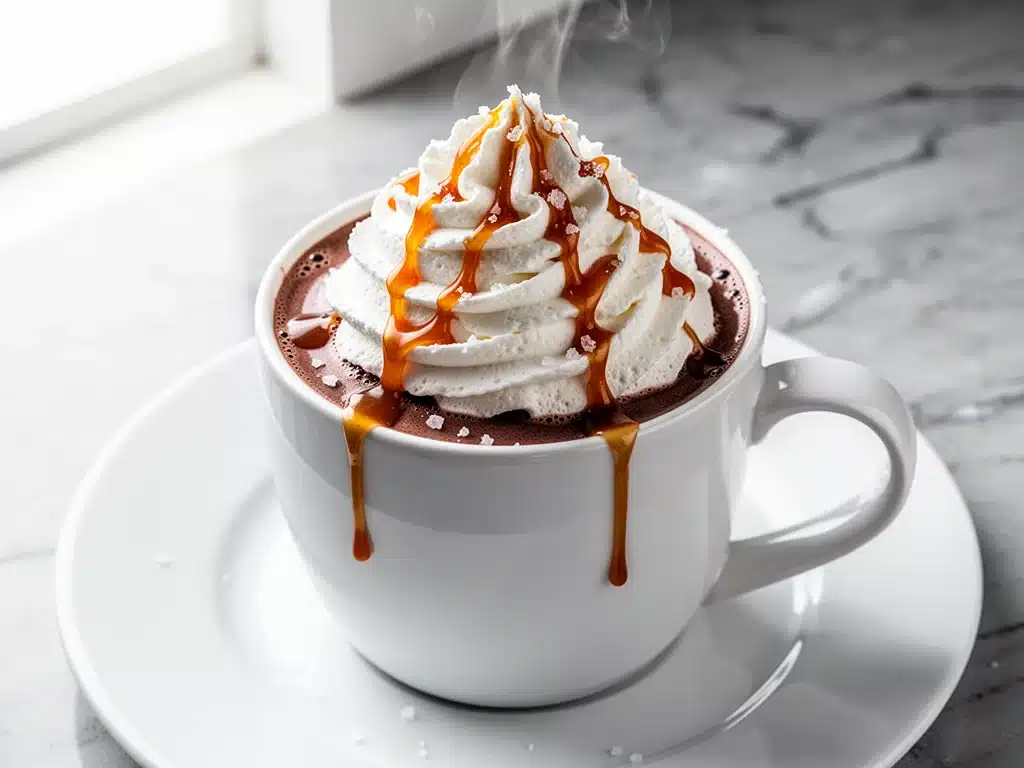
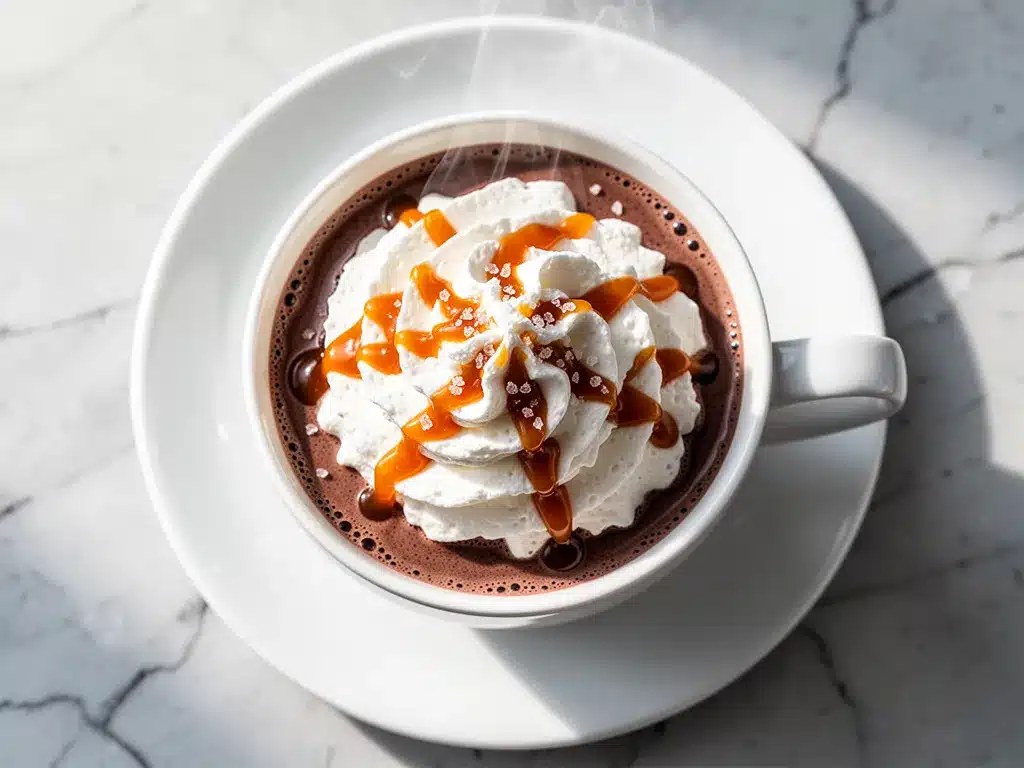
Pour the hot chocolate into your favorite mug. Now for the fun part: the swirl. Take a spoonful of caramel sauce and drizzle it over the top. Then, add a generous dollop of whipped cream. I like to make a little spiral with the caramel so it looks pretty. Sprinkle a pinch of flaky sea salt over the whipped cream. The salt will start to dissolve slightly, creating those salty-sweet pockets.
Step 5: Enjoy Immediately
Drink it while it’s hot. The whipped cream will melt into the drink, creating a creamy layer. Stir it in as you go. This salted caramel hot chocolate with whipped cream swirl is best enjoyed fresh. It doesn’t reheat as well because the texture can change, so make it when you’re ready to drink it.
Pro Tip: If you want to make it extra fancy, rim your mug with caramel and sea salt before pouring. Dip the rim in caramel, then in salt. It’s a great visual and flavor booster.
Expert Tips & Tricks
Here’s everything I’ve learned from making this dozens of times. These tips will save you from my mistakes.
Don’t Boil the Milk
I learned this the hard way. Boiling milk changes its protein structure and can make it taste scalded. It also creates a skin on top that’s annoying to deal with. Keep it warm, not boiling. Medium-low heat is your friend.
Whisk the Cocoa First
If you dump cocoa powder into hot milk, it clumps. Always mix the cocoa with a little bit of cold milk or water first to make a paste, then add the rest of the milk. Or, just whisk it in while the milk is warming up. Both methods work.
Use Flaky Salt for Garnish
Table salt dissolves too fast. Flaky sea salt (like Maldon) sits on top, giving you a burst of saltiness with every sip. It also looks stunning in photos. If you don’t have flaky salt, regular sea salt works, but crush it a bit first.
Warm Your Mug
If your mug is cold, it’ll cool down the hot chocolate instantly. Run warm water over the mug before pouring. It’s a small step that makes a big difference in temperature retention.
Adjust Sweetness to Taste
Caramel sauces vary in sweetness. Taste your mixture after adding the caramel. If it’s not sweet enough, add a teaspoon of sugar or more caramel. If it’s too sweet, add a pinch more salt or a dash of espresso powder to balance it.
Make It Ahead (Sort Of)
You can make the chocolate base ahead of time and store it in the fridge. Reheat gently on the stove, stirring often. Add the caramel and vanilla just before serving. The whipped cream should always be added fresh.
Variations & Substitutions
Once you’ve nailed the basic version, here’s how you can mix it up. I’ve tried all of these.
Decadent Double Chocolate
Add an extra ounce of chocolate chips and use dark chocolate caramel sauce. For my fellow chocolate lovers, this is the way to go. It’s intense and rich.
Mocha Version
Add 1 shot of espresso or 1 teaspoon of instant coffee granules in Step 1. The coffee enhances the chocolate flavor without making it taste like coffee. It’s a subtle kick that’s perfect for mornings.
Dairy-Free
Swap whole milk for oat milk or coconut milk. Coconut milk adds a nice tropical richness. Use dairy-free chocolate chips and caramel. It’s surprisingly creamy and delicious. My friend who is lactose intolerent loves this version.
Adult Version
Add 1-2 tablespoons of bourbon, rum, or Baileys Irish Cream after removing from heat. The alcohol pairs beautifully with caramel. Just don’t boil the alcohol in, or it’ll evaporate.
Spicy Caramel
Add a pinch of cayenne pepper or a dash of chili powder in Step 2. It adds a warm, subtle heat that contrasts with the sweet caramel. Great for cold nights.
Mini Marshmallow
Skip the whipped cream and top with mini marshmallows. They melt into little pockets of sweetness. It’s nostalgic and comforting.
Serving & Storage
How to Serve:
I usually serve this straight from the saucepan into mugs. It’s rustic and cozy. But here are other ways I’ve enjoyed it:
Side Dishes:
– Shortbread cookies (for dipping)
– Ginger snaps (for a spice kick)
– Brownies (because why not?)
– A simple green salad (if you want to balance the sweetness)
Toppings Bar:
When I have guests, I put out: extra caramel, whipped cream, sea salt, chocolate shavings, and crushed peppermint. Everyone customizes their drink.
Storage Instructions:
Refrigerator:
Store the chocolate base (without caramel or whipped cream) in an airtight container for up to 3 days. Reheat gently on the stove. Do not microwave, or it may separate.
Reheating:
Best method: Add to a saucepan over low heat, stirring constantly until warm. Add a splash of milk if it’s too thick.
Microwave method: Heat in 30-second intervals, stirring between. It’s risky but works if you’re in a hurry.
Freezing:
Honestly, this doesn’t freeze well. The dairy can separate, and the texture changes. Make it fresh or store in the fridge for up to 3 days.
Pro tip: If leftovers are drying out, stir in a teaspoon of milk and a pinch of salt when reheating. Brings back that creamy texture.
Nutrition Information
I’m not a nutritionist, but here’s the breakdown if you’re tracking. This is a treat, so don’t stress too much.
Per Serving (based on 1 mug):
– Calories: 350
– Protein: 8g
– Carbs: 45g
– Fiber: 2g
– Sugar: 35g
– Fat: 14g
– Saturated Fat: 8g
– Cholesterol: 40mg
– Sodium: 150mg
– Calcium: 200mg
What’s Good:
– Calcium from the milk and cheese (if you add chocolate)
– Antioxidants from the cocoa
– Can be made lighter with skim milk or almond milk
What to Know:
– Higher in calories from cream and caramel
– Contains dairy
– Moderate sugar (use low-sugar caramel to reduce)
My Take:
Look, this is comfort food with caramel and cream. It’s not a diet recipe. But it’s way better than takeout, costs less, and I know exactly what’s in it. When I want to make it lighter, I use oat milk and less caramel. But usually? I just enjoy a reasonable portion and treat it as a special indulgence.
Final Thoughts
So that’s my go-to salted caramel hot chocolate with whipped cream swirl! I’ve probably talked your ear off at this point, but when you make a recipe this often, you have a lot to say about it.
This has saved cozy nights more times than I can count. It’s my answer to “I need something warm and sweet” when I’m tired, don’t want to go out, and still want something that tastes really good. My kids are happy, my partner’s happy, and I’m happy because I’m not stressed about cooking.
Make it yours! Try different add-ins, swap in your favorite milk, adjust the caramel (though more is always better in my opinion). The best recipes are the ones you adapt to your family’s tastes.
If you make this, drop a comment and let me know what you think! I love hearing how recipes turn out in your kitchen. And if something doesn’t work, tell me that too—I’m here to help troubleshoot.
Happy sipping! And I hope your kitchen smells half as good as mine does right now.
Frequently Asked Questions
Can I use chocolate syrup instead of caramel sauce?
You can, but the flavor profile will be different. Chocolate syrup is sweeter and less complex. If you use it, add a pinch more salt to balance it. But caramel gives that distinct sweet-salty contrast that defines this drink. I’d stick with caramel if you can.
My hot chocolate separated—what happened?
Usually means the heat was too high, or you added the caramel to boiling milk. Always remove from heat before adding caramel. If it’s already separated, try whisking in a splash of cold milk—it can sometimes bring it back together. If not, it’s still safe to drink, just not as pretty.
Can I make this in a microwave?
Yes! Heat the milk in a microwave-safe mug for 1-2 minutes until hot. Whisk in cocoa and chocolate until melted. Stir in caramel and vanilla. Top with whipped cream. It’s less controlled, but it works. Just watch it so it doesn’t boil over.
Why did my hot chocolate taste chalky?
The cocoa powder didn’t dissolve properly. Make sure you whisk it into the warm milk, not cold. Or, mix it with a little hot water first to make a paste. This ensures a smooth texture.
Can I use almond milk?
Absolutely! Almond milk is a great dairy-free option. It’s thinner than whole milk, so the drink will be lighter. You might want to add a little more chocolate chips for richness. I’ve made this with almond milk, and it’s delicious.
How do I reheat leftovers without it getting dry?
Add a splash of milk to a saucepan, add your leftover hot chocolate base, and heat gently over low heat, stirring frequently. The extra liquid brings back the creamy texture. Microwave sort of works but tends to dry it out. If you do microwave, definitely add a splash of milk first and heat in short bursts, stirring between.
Can I double this recipe?
Yes! Double everything and use a larger saucepan. The cooking times stay roughly the same. I do this when I’m hosting guests. Just make sure your saucepan is big enough so the milk doesn’t boil over.
Pin This Recipe!
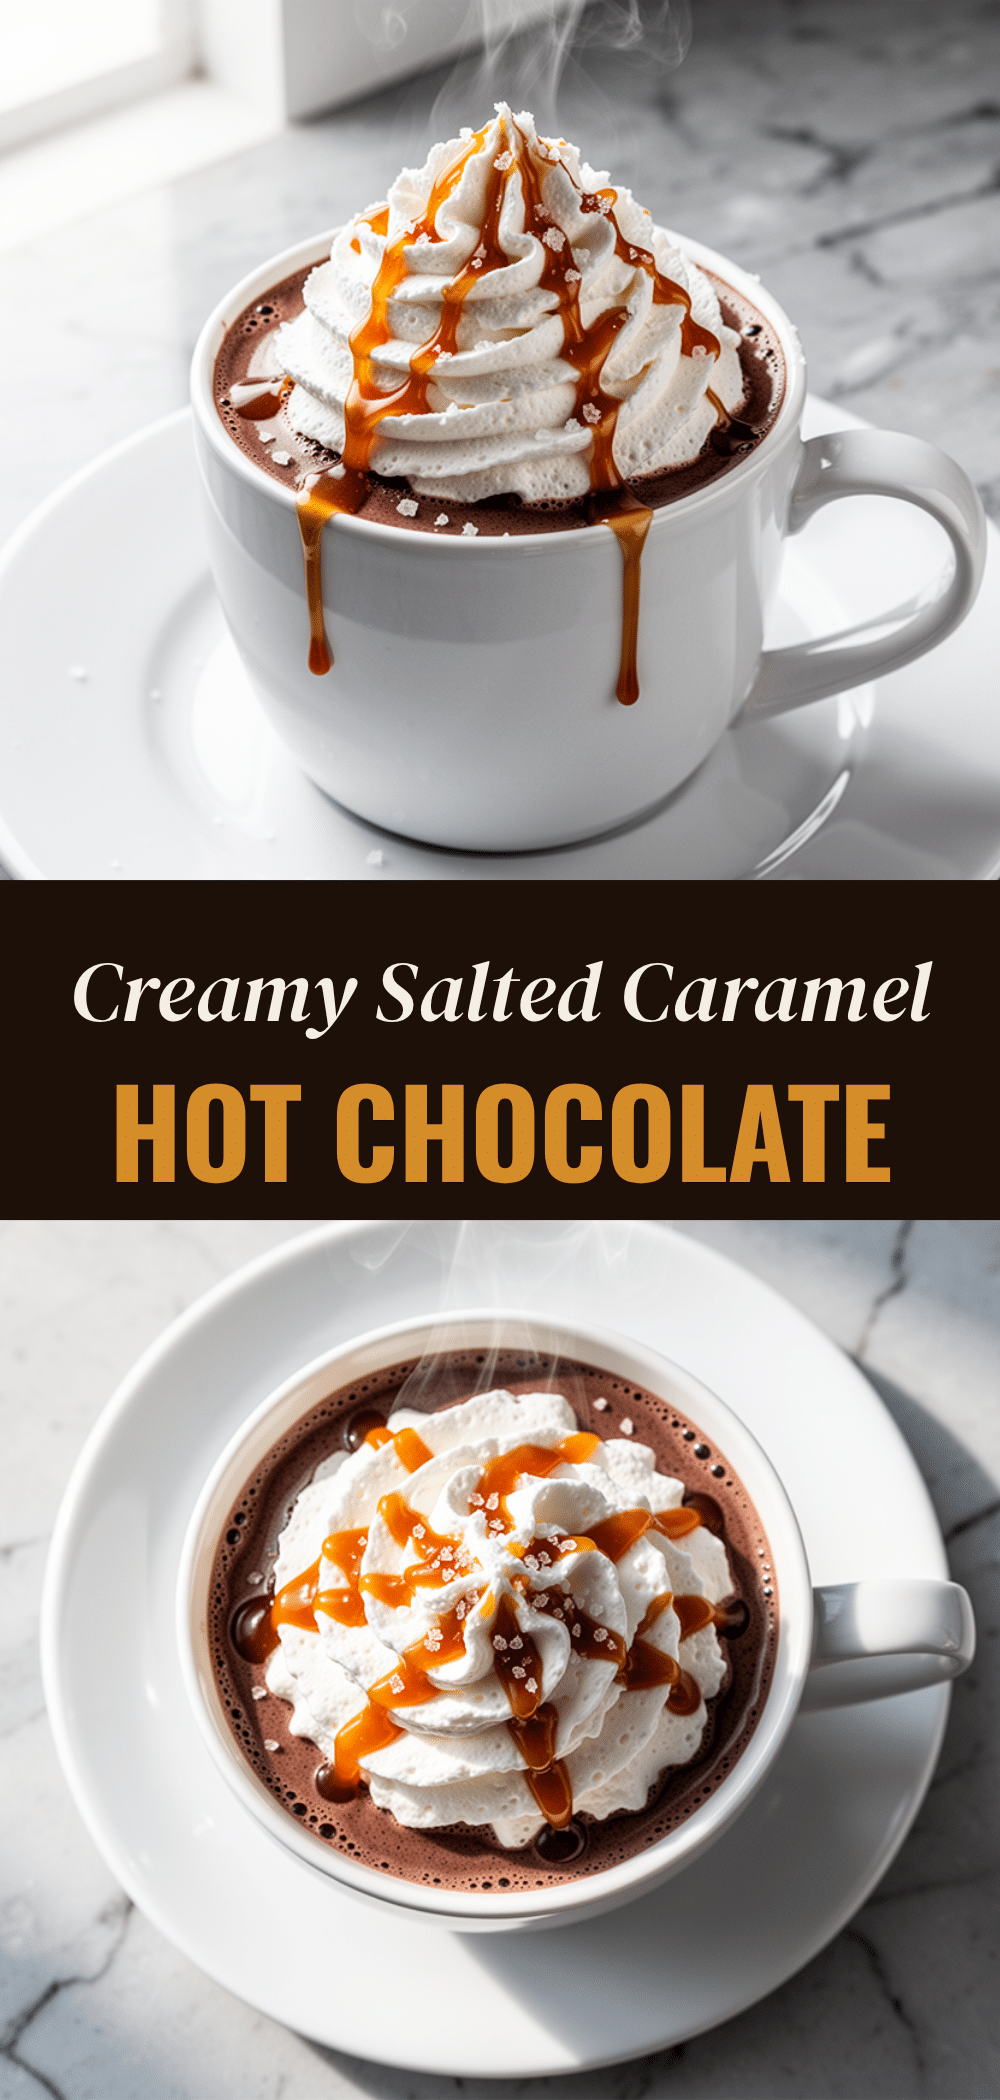

Salted Caramel Hot Chocolate: 3-Step Easy Recipe
- Total Time: 10 minutes
- Yield: 1 serving 1x
Description
A rich, indulgent hot chocolate made with cocoa powder, semi-sweet chocolate, caramel sauce, and a pinch of sea salt, topped with whipped cream. It’s quick, easy to make, and tastes like a high-end café drink.
Ingredients
- 1 cup whole milk
- 2 tablespoons unsweetened Dutch-processed cocoa powder
- 1 ounce semi-sweet chocolate chips
- 3–4 tablespoons caramel sauce
- 1 teaspoon vanilla extract
- A pinch of sea salt
- Whipped cream, for topping
- Flaky sea salt, for garnish
Instructions
- Pour the whole milk into a small saucepan and place over medium-low heat. Warm until steaming with small bubbles around the edges, stirring occasionally to prevent a skin from forming (3-4 minutes). Do not boil.
- Whisk in the cocoa powder and semi-sweet chocolate chips. Whisk vigorously until the cocoa is dissolved and the chocolate is melted, creating a glossy, smooth mixture (2 minutes).
- Remove the saucepan from the heat. Stir in the caramel sauce and vanilla extract. Whisk until fully combined and the color is uniform (1 minute).
- Pour the hot chocolate into a mug. Drizzle with additional caramel sauce and top with a generous dollop of whipped cream.
- Sprinkle with a pinch of flaky sea salt. Enjoy immediately while hot.
Notes
Do not boil the milk as it can scald and create a skin. Always remove from heat before adding caramel to prevent separation. For best results, use flaky sea salt for garnish. The drink is best enjoyed fresh and does not reheat well due to texture changes.
- Prep Time: 5 minutes
- Cook Time: 5 minutes
- Category: Beverages
- Cuisine: American
Nutrition
- Serving Size: 1 mug
- Calories: 350
- Sugar: 35
- Sodium: 150
- Fat: 14
- Saturated Fat: 8
- Carbohydrates: 45
- Fiber: 2
- Protein: 8
Keywords: salted caramel hot chocolate, easy hot chocolate recipe, winter drinks, cozy beverages, 10 minute recipes, dessert drinks



