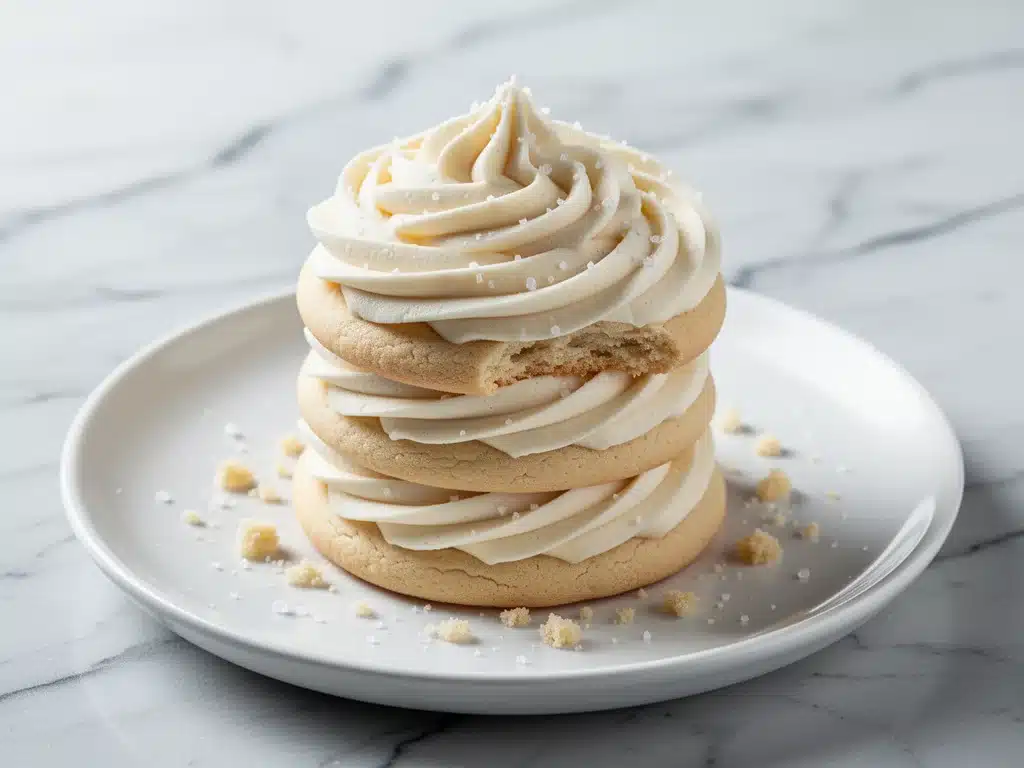
It was 2 AM. The house was silent, the kids were asleep, and I was staring at a bowl of cookie dough that looked less like “soft frosted sugar cookies” and more like a science experiment gone wrong. For the third night in a row, I’d pulled a tray of flat, dry, sad discs out of the oven. They tasted okay, sure, but they lacked that magical texture—the one where the cookie is soft and chewy in the center but has just a hint of crispness on the edges. The kind that makes you close your eyes when you take a bite.
I was ready to quit. I was ready to buy the pre-made dough from the grocery store (don’t judge, we’ve all been there) and just call it a day. But then I remembered my grandmother’s kitchen. She didn’t use fancy flours or expensive vanilla beans. She just had a trick. She’d chill the dough. Not just a quick ten-minute chill, but a proper, overnight rest in the fridge. It sounded boring. It sounded like extra work. But I decided to try it one last time.
The next morning, I rolled out that chilled dough, frosted the cookies with a generous layer of vanilla buttercream, and waited. When they cooled, I took a bite. It was perfect. Soft, buttery, and not overly sweet. My husband walked in, saw what I was doing, and quietly asked for one. Then two. Then he asked if I could make these for his office party on Saturday.
That was two years ago. Since then, I’ve made these soft frosted sugar cookies with vanilla buttercream dozens of times. For birthdays, for school bake sales, for random Tuesday cravings. They’ve become my go-to. And I’m sharing the exact method I use, the mistakes I made so you don’t have to, and why chilling the dough is the single most important step you’ll take today.
Why You’ll Love This Sugar Cookie Recipe
Look, there are a million cookie recipes out there. So why make these? Because they actually work. Every. Single. Time. I’ve tested this recipe with different flours, different butters, and even different ovens (my oven runs hot, so I know what I’m talking about). Here’s why this soft frosted sugar cookies with vanilla buttercream recipe has earned a permanent spot in my rotation:
- They’re Actually Soft — No dry, crumbly cookies here. These stay soft for days if stored properly. I’ve eaten these four days later and they still felt fresh. The secret? A specific ratio of brown sugar to white sugar, plus that crucial chill time.
- The Frosting is Dreamy — Most sugar cookie recipes use a stiff royal icing that cracks when you bite it. I use a vanilla buttercream that’s light, airy, and melts in your mouth. It’s sweet, but not cloying. It pairs perfectly with the buttery cookie.
- Great for Decorating — If you’re baking for kids or a special event, these cookies hold their shape beautifully. They don’t spread into puddles. You can pipe intricate designs, use sprinkles, or just dollop on the frosting. They look professional but are foolproof to make.
- Make-Ahead Friendly — This is my secret weapon for stress-free entertaining. You can make the dough, chill it for up to three days, and then bake whenever you need it. Or, bake and freeze the cookies, then frost them the day of the event. They freeze incredibly well.
- Simple Ingredients — You don’t need exotic flours or expensive extracts. Just butter, sugar, eggs, flour, baking powder, salt, and vanilla. If you have these in your pantry, you’re good to go.
This recipe has saved me more than once when I forgot to buy a gift for a teacher or a last-minute dessert for a dinner party. It’s reliable, it’s delicious, and it makes your kitchen smell like heaven.
Ingredients You’ll Need
Here’s the thing about baking: precision matters. But you don’t need a lab to make these. Just grab these items. I’ve noted why each ingredient matters and what I use, based on years of trial and error.
For the Cookies
- Unsalted Butter (1 cup / 226g, softened) — This is non-negotiable. Use real butter, not margarine or spreads. Softened means it should be cool to the touch but leave an indent when you press it. If it’s melted, your cookies will spread too much. If it’s too cold, you won’t get that creamy texture.
- Granulated White Sugar (1 cup / 200g) — This provides structure and crispness. Don’t substitute with brown sugar here, or they’ll be too chewy. I use Domino, but any standard brand works.
- Packed Brown Sugar (½ cup / 100g) — This is what keeps the center soft. Dark brown sugar adds a deeper molasses flavor, but light brown works too. Pack it tightly into the cup.
- Large Eggs (2 whole eggs + 1 yolk) — Yes, an extra yolk. This adds richness and tenderness. It makes the cookie more cake-like and soft. Room temperature eggs mix in better, but cold eggs are fine if you’re in a rush.
- Vanilla Extract (2 teaspoons) — Use real vanilla, not imitation. It makes a huge difference in flavor. I use Nielsen-Massey, but any pure extract works. Don’t skimp on this; it’s the backbone of the flavor.
- All-Purpose Flour (3 cups / 375g) — Do not use cake flour or bread flour. All-purpose is perfect. Spoon and level your flour. Don’t scoop directly from the bag, or you’ll pack in too much flour and get dry cookies.
- Baking Powder (1 teaspoon) — This gives them a little lift. Make sure it’s fresh. If it’s been in your pantry for years, toss it and buy new. Test it by dropping a bit in hot water—it should fizz vigorously.
- Salt (½ teaspoon) — Salt enhances flavor. Don’t skip it. It balances the sweetness.
For the Vanilla Buttercream
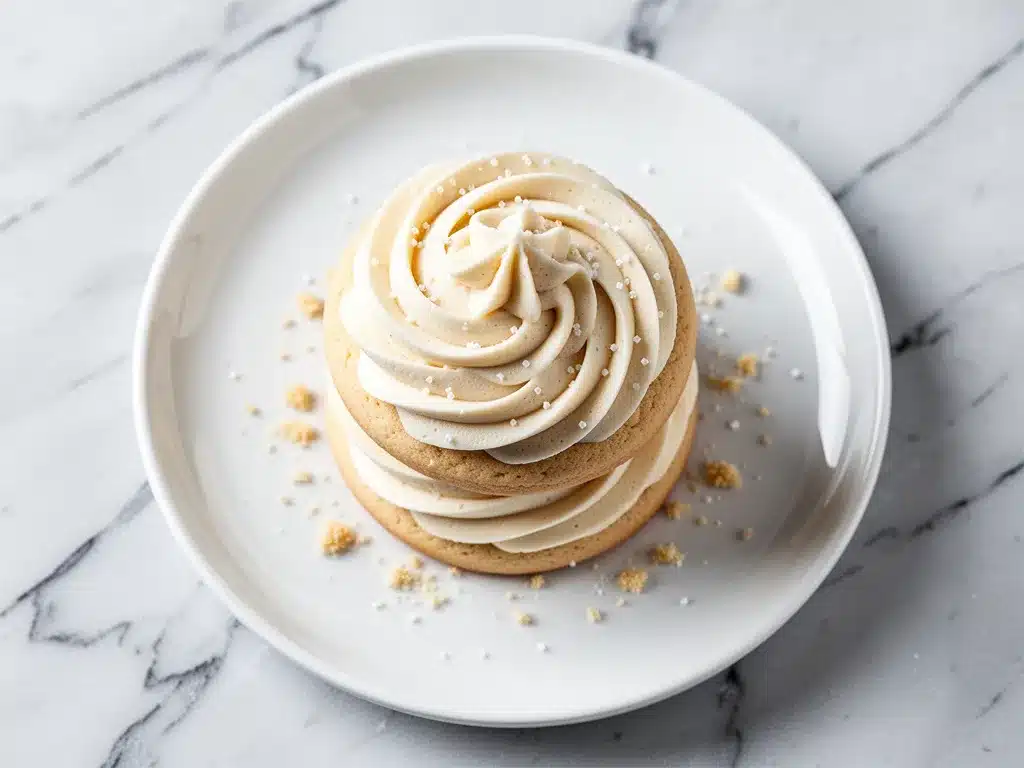
- Unsalted Butter (1 cup / 226g, softened) — Again, real butter. Softened to room temperature. If it’s too warm, the frosting will be greasy. If it’s too cold, you’ll get lumps.
- Confectioners’ Sugar (4-5 cups / 480-600g) — Sift this if it’s clumpy. It makes the frosting smoother. I usually use 4 cups for a standard sweetness, but if you like it sweeter (like my kids do), add the fifth cup.
- Heavy Cream (2-3 tablespoons) — Adjust for consistency. More cream = softer frosting. Less cream = stiffer frosting for piping.
- Vanilla Extract (1-2 teaspoons) — Use good quality here too. It’s the main flavor.
- Salt (¼ teaspoon) — Just a pinch to cut the sweetness.
Optional Toppings
- Sprinkles — Jimmies or nonpareils. Jimmies hold up better in frosting.
- Edible Glitter — For a fancy touch.
- Crushed Candies — Like peppermint or butterscotch chips.
Equipment Needed
You don’t need fancy gadgets for these soft frosted sugar cookies with vanilla buttercream. Here’s what I actually use:
- Mixer — A stand mixer is ideal, but a hand mixer works fine. I have a KitchenAid, but my old Cuisinart hand mixer does the job just as well.
- Baking Sheets — Heavy-gauge sheets are best. Thin sheets cause uneven baking. I use Nordic Ware half-sheet pans. Line them with parchment paper or silicone mats. I prefer silicone mats because they’re reusable and give even browning.
- Cooling Rack — Essential for cooling cookies completely before frosting. If you frost warm cookies, the buttercream will melt and slide off.
- Measuring Cups and Spoons — Dry measuring cups for flour and sugar. Liquid measuring cup for the cream. I have a set from OXO that I love.
- Spatula — A rubber spatula for scraping the bowl. Crucial for getting all the batter in.
- Piping Bags (Optional) — If you want to pipe the frosting, get a few disposable piping bags and tips. Wilton tips are cheap and work well.
- Offset Spatula — For spreading frosting smoothly. Makes it so much easier than a regular spatula.
That’s it. Nothing fancy. If you have these basics, you’re ready to go.
How to Make It: Step-by-Step
Alright, let’s make these! I’m walking you through exactly how I do it, including the little tricks I’ve picked up over the years.
Step 1: Cream the Butter and Sugars (3-4 minutes)
In the bowl of your stand mixer (or a large mixing bowl if using a hand mixer), beat the softened butter, granulated sugar, and brown sugar together on medium-high speed. Beat for about 3-4 minutes until the mixture is light, fluffy, and pale in color. This step is crucial. It incorporates air into the butter, which helps the cookies rise and stay soft. Don’t rush this. If you skip it, your cookies will be dense.
Step 2: Add Eggs and Vanilla (1-2 minutes)
Add the eggs one at a time, mixing well after each addition. Then add the vanilla extract. Mix until just combined. Scrape down the sides of the bowl with a spatula to make sure everything is incorporated. The mixture should look creamy and smooth.
Step 3: Mix in Dry Ingredients (1-2 minutes)
In a separate bowl, whisk together the flour, baking powder, and salt. Gradually add the dry ingredients to the wet mixture on low speed. Mix until just combined. Do not overmix! Once the flour disappears, stop. Overmixing develops gluten, which makes cookies tough. The dough should be soft and slightly sticky.
Step 4: Chill the Dough (At Least 1 Hour, Ideally Overnight)
This is the step most people skip, but it’s the most important. Cover the bowl with plastic wrap or transfer the dough to an airtight container. Refrigerate for at least 1 hour. If you can, chill it overnight. Chilling firms up the butter, which prevents the cookies from spreading too much in the oven. It also allows the flavors to meld, resulting in a deeper, richer taste. If you’re short on time, you can freeze the dough for 30 minutes, but chilling is better.
Step 5: Preheat and Prep (5 minutes)
Preheat your oven to 350°F (175°C). Line your baking sheets with parchment paper or silicone mats. This prevents sticking and makes cleanup easier. Don’t use foil unless you’re in a pinch—it can cause uneven browning.
Step 6: Scoop and Roll (10 minutes)
Take the chilled dough out of the fridge. Scoop portions of dough (about 1.5 tablespoons each) and roll them into balls between your palms. Place them on the prepared baking sheets, spacing them about 2 inches apart. They will spread, so give them room. For uniform cookies, use a cookie scoop. It’s a game-changer for consistency.
Step 7: Bake (10-12 minutes)
Bake for 10-12 minutes. The cookies should be set around the edges but still soft in the center. They will not look fully cooked when you take them out—and that’s good! They continue to cook on the hot baking sheet after you remove them from the oven. If you bake them until they look done, they’ll be dry. Look for pale golden edges. That’s your cue.
Step 8: Cool Completely (30 minutes)
Let the cookies cool on the baking sheet for 5 minutes, then transfer them to a wire rack to cool completely. This step is critical. If you try to frost warm cookies, the buttercream will melt and slide off. Be patient. Use this time to make the frosting.
Step 9: Make the Buttercream (5-7 minutes)
In a clean bowl, beat the softened butter on medium-high speed until creamy and smooth, about 2 minutes. Gradually add the confectioners’ sugar, one cup at a time, mixing on low speed to avoid a sugar cloud. Once all the sugar is added, add the vanilla, salt, and heavy cream. Beat on high speed for 3 minutes until the frosting is light, fluffy, and pale. Add more cream if it’s too stiff, or more sugar if it’s too soft.
Step 10: Frost and Decorate (10 minutes)
Once the cookies are completely cool, frost them. You can pipe the frosting using a piping bag and tip, or spread it with an offset spatula. If you’re using sprinkles, add them immediately after frosting, as the buttercream will set and they might not stick. Let the frosted cookies sit for 15 minutes to let the frosting set before serving or storing.
Expert Tips & Tricks
Here’s everything I’ve learned from making these dozens of times. These tips will save you from my mistakes.
- Don’t Skip the Chill — I know it’s tempting to bake right away, but chilling the dough is the secret to soft, thick cookies. It prevents spreading and improves flavor. If you skip it, you’ll get flat, crispy cookies instead.
- Measure Flour Correctly — Flour is the most common mistake in baking. Scooping flour packs it in, leading to dry cookies. Spoon flour into your measuring cup and level it off with a knife. This simple change makes a huge difference.
- Room Temperature Ingredients — Make sure your butter and eggs are at room temperature. Cold ingredients don’t mix well, leading to a lumpy batter. Take your butter out of the fridge 30 minutes before you start.
- Underbake Slightly — These cookies should look slightly underbaked when you take them out. They will finish cooking on the hot pan. Overbaking is the enemy of soft cookies.
- Frost Only When Cool — I cannot stress this enough. Warm cookies + frosting = disaster. Let them cool completely. If you’re in a rush, you can speed up the process by putting them in the fridge for 10 minutes, but make sure they’re not cold to the touch.
- Store Properly — Store cookies in an airtight container at room temperature for up to 5 days. Place a slice of bread in the container with the cookies. The bread will keep the cookies soft. Replace the bread slice every day or two.
Common Mistakes (and how to avoid them)
- Mistake: Cookies spread too much Fix: Your butter was too warm, or you didn’t chill the dough enough. Next time, chill the dough longer and make sure your butter is soft, not melted.
- Mistake: Cookies are dry Fix: You overbaked them or measured too much flour. Next time, bake for a shorter time and spoon your flour.
- Mistake: Frosting is too sweet Fix: You used too much sugar or not enough butter. Next time, add a pinch more salt or a splash more vanilla to balance it.
Variations & Substitutions
Once you’ve nailed the basic version, here’s how you can mix it up. I’ve tried all of these.
Flavor Variations
- Lemon Sugar Cookies — Add the zest of one lemon to the dough and substitute the vanilla extract with lemon extract. It’s bright and refreshing.
- Chocolate Chip — Fold in 1 cup of chocolate chips after mixing the dry ingredients. A classic combo.
- Red Velvet — Add 1 tablespoon of cocoa powder and 1 teaspoon of red food coloring to the dough. Top with cream cheese frosting instead of vanilla buttercream.
- Pumpkin Spice — Add 2 tablespoons of pumpkin puree and 1 teaspoon of pumpkin pie spice. Great for fall.
Dietary Modifications
- Gluten-Free — Use a 1:1 gluten-free flour blend (like Bob’s Red Mill). Add ½ teaspoon of xanthan gum if your blend doesn’t include it. The texture will be slightly more crumbly but still delicious.
- Dairy-Free — Use dairy-free butter (like Miyoko’s or Earth Balance) and dairy-free milk or cream in the frosting. The frosting might be slightly softer, so chill it before frosting.
- Egg-Free — Replace the eggs with flax eggs (1 tablespoon ground flaxseed + 3 tablespoons water per egg). The cookies will be denser but still edible.
Frosting Variations
- Cream Cheese Frosting — Replace half the butter with cream cheese. Tangy and delicious.
- <Meringue Frosting — For a lighter, less sweet option, use Swiss meringue buttercream. It’s more advanced but very elegant.
Serving & Storage
How to serve and keep your soft frosted sugar cookies with vanilla buttercream fresh.
How to Serve
I usually serve these at room temperature. They’re perfect for parties, bake sales, or just a snack with coffee. If you’re decorating for a holiday, use themed sprinkles or food coloring in the frosting.
Storage Instructions
- Room Temperature: Store in an airtight container for up to 5 days. Add a slice of bread to keep them soft.
- Refrigerator: Not recommended. Frosting can sweat and cookies can dry out. Only refrigerate if your house is very hot and humid.
- Freezer: You can freeze unfrosted cookies for up to 3 months. Freeze frosted cookies for up to 2 months (though the frosting may change texture slightly). Thaw at room temperature before serving.
Reheating
If you have leftover unfrosted cookies, you can warm them in the microwave for 10-15 seconds. They’ll be soft and fresh-tasting. Don’t microwave frosted cookies—the frosting will melt.
Nutrition Information
I’m not a nutritionist, but here’s the breakdown if you’re tracking. This is per cookie (based on 24 cookies).
- Calories: 180
- Fat: 8g
- Carbs: 26g
- Sugar: 18g
- Protein: 2g
Look, these are sugar cookies with buttercream. They’re not a health food. But they’re made with real ingredients, and a little goes a long way. Enjoy them in moderation and share them with friends!
Final Thoughts
So that’s my go-to soft frosted sugar cookies with vanilla buttercream! I’ve talked your ear off at this point, but when you make a recipe this often, you have a lot to say about it.
This recipe has saved me more than once. It’s my answer to “what do I bring to the party?” or “what’s a good gift for a neighbor?” It’s reliable, delicious, and makes people happy. My kids are obsessed, my husband loves them, and my friends always ask for the recipe.
Make it yours! Try different sprinkles, different frostings, different extracts. The best recipes are the ones you adapt to your tastes.
If you make this, drop a comment and let me know what you think! I love hearing how recipes turn out in your kitchen. And if something doesn’t work, tell me that too—I’m here to help troubleshoot.
Happy baking! And I hope your kitchen smells half as good as mine does right now.
Frequently Asked Questions
Can I freeze the cookie dough?
Yes! You can freeze the dough balls on a baking sheet, then transfer them to a freezer bag. Bake from frozen, adding 1-2 minutes to the baking time. Or freeze the whole block of dough and slice off portions as needed.
Why did my cookies spread too much?
This usually happens if the butter was too warm or if you didn’t chill the dough. Next time, make sure your butter is soft but not melted, and chill the dough for at least an hour. Also, check that your baking powder is fresh.
Can I use margarine instead of butter?
I don’t recommend it. Margarine has a higher water content and different fat structure, which can affect the texture. Real butter gives the best flavor and texture. If you must use dairy-free, use a high-quality vegan butter stick, not tub spread.
How do I keep the frosting from being too sweet?
Add a pinch more salt, or a splash of lemon juice. You can also reduce the sugar by ½ cup, though the frosting might be softer. Using real vanilla extract also helps balance the sweetness.
Can I make these gluten-free?
Yes, use a 1:1 gluten-free flour blend. The texture will be slightly more crumbly, but they’ll still be delicious. Make sure to chill the dough well, as GF dough can be stickier.
How long do these cookies last?
Unfrosted cookies last up to 5 days at room temperature. Frosted cookies last 3-4 days. If you live in a humid climate, store them in the fridge, but let them come to room temperature before serving.
Can I double the recipe?
Yes, just double all ingredients. You’ll need more baking sheets, so bake in batches. Don’t overcrowd the pans, or the cookies will spread too much.
Pin This Recipe!
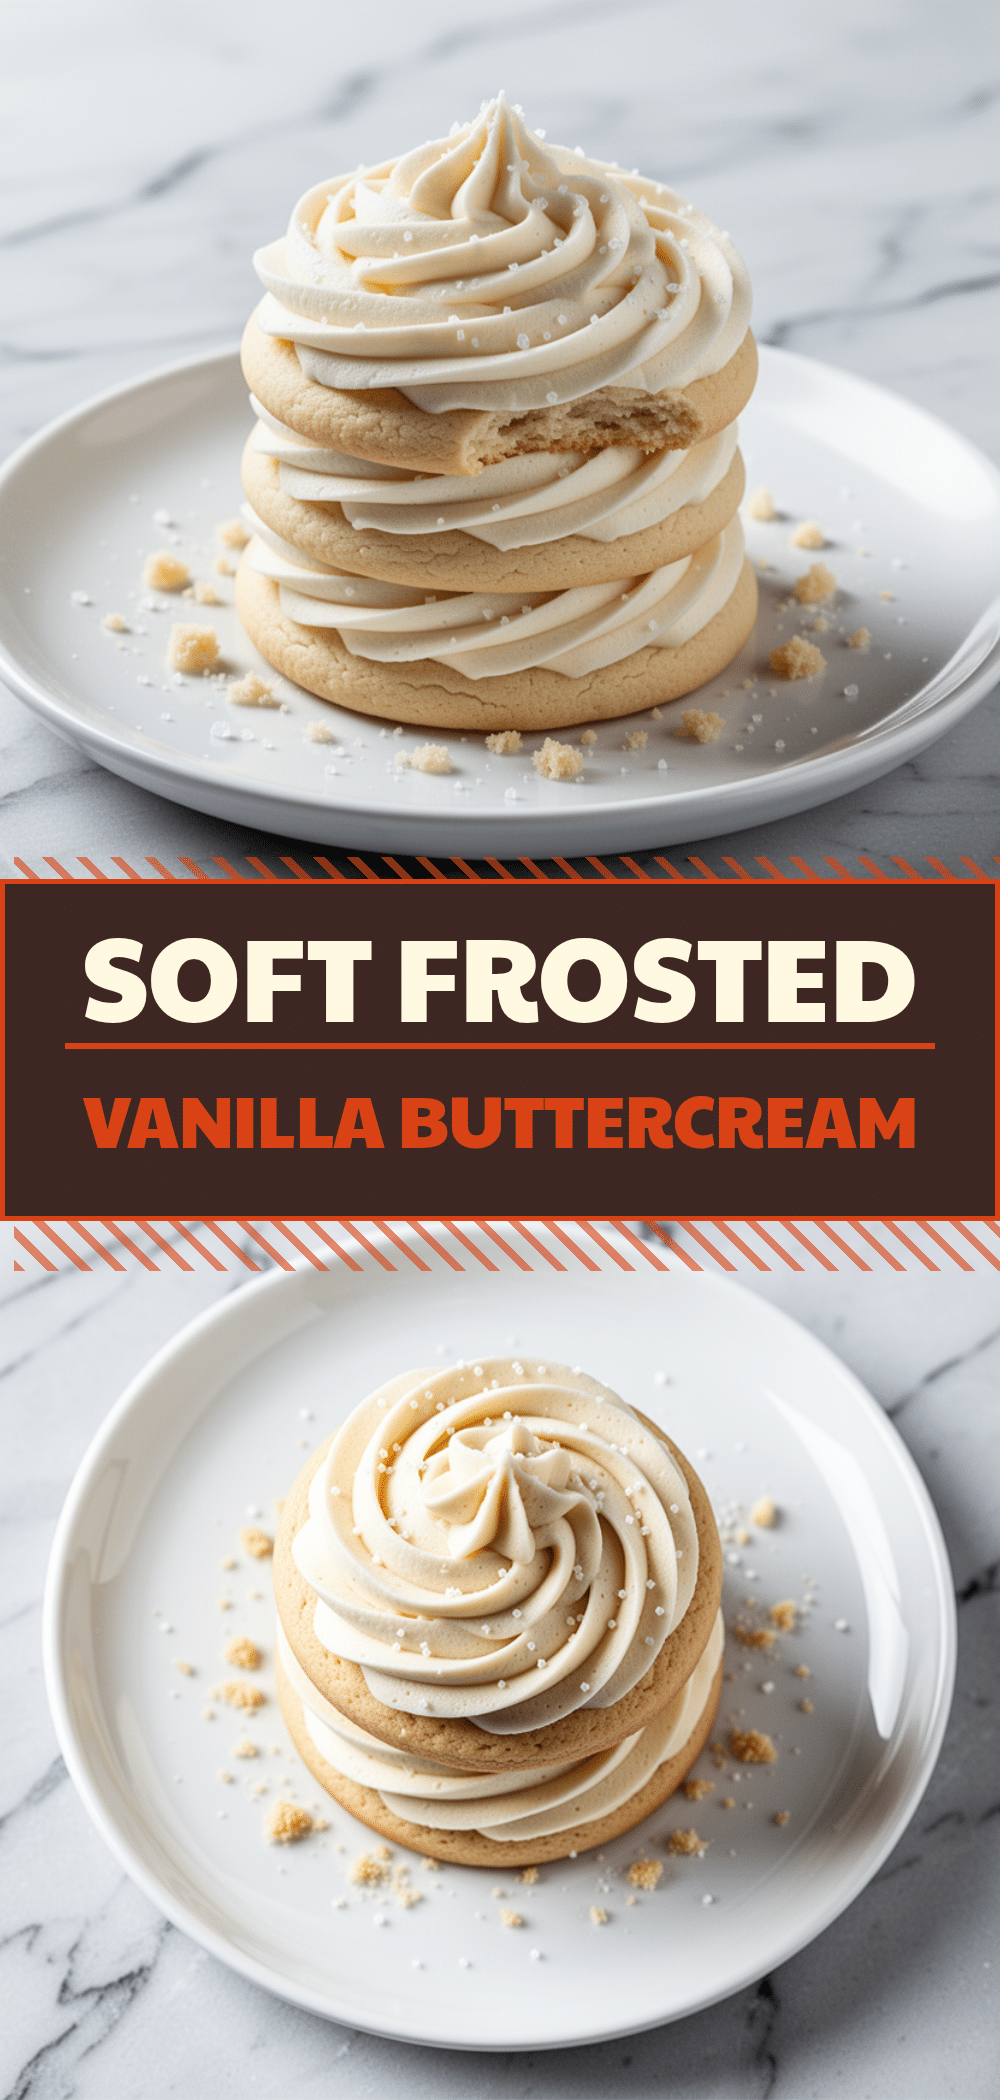

Soft Frosted Sugar Cookies with Vanilla Buttercream
- Total Time: 45 minutes
- Yield: 24 cookies 1x
Description
Soft, chewy sugar cookies with a hint of crispness on the edges, topped with a light and airy vanilla buttercream. Chilling the dough is the key to perfect texture.
Ingredients
- 1 cup (226g) unsalted butter, softened
- 1 cup (200g) granulated white sugar
- 1/2 cup (100g) packed brown sugar
- 2 large eggs + 1 egg yolk
- 2 teaspoons vanilla extract
- 3 cups (375g) all-purpose flour
- 1 teaspoon baking powder
- 1/2 teaspoon salt
- 1 cup (226g) unsalted butter, softened (for frosting)
- 4–5 cups (480-600g) confectioners’ sugar
- 2–3 tablespoons heavy cream
- 1–2 teaspoons vanilla extract (for frosting)
- 1/4 teaspoon salt (for frosting)
- Sprinkles or edible glitter (optional)
Instructions
- Cream the softened butter, granulated sugar, and brown sugar together on medium-high speed for 3-4 minutes until light, fluffy, and pale.
- Add eggs one at a time, mixing well after each addition, then add vanilla extract. Mix until just combined and scrape down the sides of the bowl.
- Whisk together flour, baking powder, and salt in a separate bowl. Gradually add dry ingredients to the wet mixture on low speed until just combined. Do not overmix.
- Cover the dough and refrigerate for at least 1 hour, ideally overnight, to prevent spreading and improve flavor.
- Preheat oven to 350°F (175°C). Line baking sheets with parchment paper or silicone mats.
- Scoop dough (about 1.5 tablespoons) and roll into balls. Place on baking sheets 2 inches apart.
- Bake for 10-12 minutes until edges are set but centers are still soft. Cookies will continue to cook on the hot sheet.
- Let cookies cool on the baking sheet for 5 minutes, then transfer to a wire rack to cool completely.
- Beat softened butter for frosting until creamy. Gradually add confectioners’ sugar, then add vanilla, salt, and heavy cream. Beat on high speed for 3 minutes until fluffy.
- Frost completely cooled cookies using a piping bag or offset spatula. Add toppings immediately if desired. Let frosting set for 15 minutes before serving.
Notes
Chilling the dough is crucial for preventing spreading and ensuring soft texture. Measure flour by spooning it into the cup and leveling it off to avoid dry cookies. Store in an airtight container with a slice of bread to maintain softness for up to 5 days.
- Prep Time: 30 minutes
- Cook Time: 10-12 minutes
- Category: Dessert
- Cuisine: American
Nutrition
- Serving Size: 1 cookie
- Calories: 180
- Sugar: 18
- Sodium: 120
- Fat: 8
- Saturated Fat: 5
- Carbohydrates: 26
- Protein: 2
Keywords: sugar cookies, vanilla buttercream, soft cookies, holiday baking, make-ahead dessert, cookie recipe



