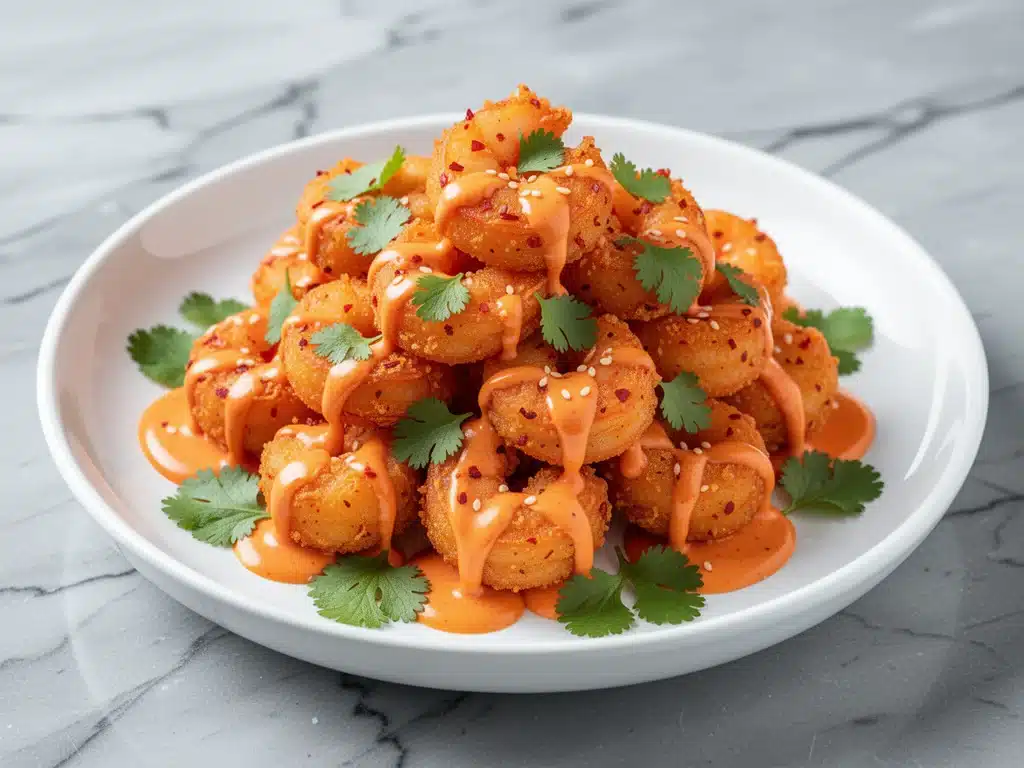
Let’s be real for a second. I have a love-hate relationship with seafood at home. On one hand, I crave that sweet, spicy, crunchy kick of restaurant-style Bang Bang shrimp. On the other hand, I absolutely dread the mess. I’m talking about hot oil splattering on my counter, the smell of deep-fried food lingering in the curtains for three days, and the guilt of eating half a pound of battered shrimp that feels like it weighs five pounds after dinner.
But here’s the thing: I’ve made this Crispy Air Fryer Bang Bang Shrimp recipe at least a dozen times in the last two months. It’s become my secret weapon for Tuesday nights when I’m exhausted, the kids are hungry, and I don’t want to order takeout but also don’t want to spend an hour cleaning up.
The first time I tried this, I was skeptical. Air frying shrimp? Would it be dry? Would it be rubbery? Would it even get crispy without drowning in oil? The answer to all of those questions is a resounding no. In fact, it’s better than the deep-fried version. The air fryer circulates hot air in a way that crisps the coating evenly while keeping the shrimp tender and juicy inside. Plus, the cleanup? A single sheet of parchment paper and a quick wipe-down of the basket. Done.
This isn’t just a “diet” recipe. It’s a flavor explosion. The sauce is creamy, tangy, and just spicy enough to make your taste buds sit up and take notice. The shrimp are coated in a light, crispy batter that holds up perfectly to the sauce without getting soggy (if you follow my tips, which I will share). It’s fast—like, 15 minutes fast. It’s healthy-ish. And it tastes like something you’d pay $24 for at a trendy bistro.
I’ve tweaked this recipe until it was perfect, adjusting the spice level, the batter thickness, and the sauce consistency. I’ve tested it with different shrimp sizes and found the sweet spot. And I’ve even figured out how to make it work for my picky eater son, who usually turns his nose up at anything that isn’t chicken nuggets. Spoiler: He loved it.
If you’re tired of complicated recipes that require ingredients you can’t pronounce, or if you’re just looking for a quick, delicious dinner that doesn’t leave your kitchen smelling like a fryer, this is it. This Crispy Air Fryer Bang Bang Shrimp is the answer to your weeknight prayers.
Why You’ll Love This Recipe
There are a lot of shrimp recipes out there, but this one has earned a permanent spot in my weekly rotation. Here’s why it’s different—and why you’re going to want to make it again and again.
Stupid Simple — Seriously, if you can mix a bowl of batter and toss shrimp in it, you can make this. I’ve walked my teenage son through it over FaceTime while he was at college. He made it successfully (mostly). The sauce is just three ingredients mixed together in a jar. That’s it. No cooking the sauce, no complicated techniques.
Lightning Fast — 15 minutes from start to finish. That’s right. 15 minutes. I make this on weeknights when I get home at 7pm, the kids are starving, and I’m running on caffeine and hope. Prep takes about 5 minutes, air frying takes 8-10, and mixing the sauce takes 2. It’s the fastest protein dinner I know.
Crispy Without the Grease — This is the big one. Traditional Bang Bang shrimp is deep-fried, which means it’s heavy and greasy. This version uses a light cornstarch coating and hot air to get that restaurant-style crunch without the oil slick. It’s lighter, but it still has that addictive crunch. I’ve had friends over for dinner and asked if I ordered takeout because the texture was so spot-on.
Sauce That Actually Sticks — One of the biggest problems with homemade Bang Bang shrimp is that the sauce slides right off the shrimp. I’ve solved that. By tossing the shrimp in a little extra cornstarch before saucing, and by heating the sauce slightly before tossing, it clings to every piece. No dry shrimp, no pool of sauce at the bottom of the bowl.
Family-Approved Spice Level — The sauce is spicy, but it’s creamy, so it’s approachable. I can make it mild for the kids (just use less sriracha) and spicy for my husband (double the sriracha). It’s customizable in a way that few weeknight dinners are. Even my mom, who thinks “spicy” means “a little black pepper,” loves this.
Budget-Smart — Shrimp can be expensive, but this recipe uses about 1.5 pounds for the whole family, which costs around $15-20 depending on where you shop. That’s still cheaper than delivery, and you’re getting way more quality. Plus, you can buy frozen raw shrimp to save even more, as long as you thaw them properly.
This is my go-to when I need dinner to just work. No stress, no mess, just delicious, crispy, spicy shrimp that makes everyone happy. And honestly? It’s the kind of meal that makes you feel like a rockstar cook, even if you’re wearing sweatpants and eating directly from the skillet.
Ingredients You’ll Need
Here’s the best part: you probably have most of this already. The ingredients list is short, simple, and focused on flavor. I’m particular about a few of these, so pay attention to the notes.
For the Shrimp:
Large shrimp (1.5 pounds / 680g) — Peel and deveined. I buy wild-caught pink or tiger shrimp because they’re sweeter and firmer. Look for shrimp that are labeled “U-10” or “U-15” (that’s the count per pound, meaning larger shrimp). You want them big enough to bite into, not tiny. If you buy frozen, make sure to thaw them completely and pat them dry. Wet shrimp = soggy coating.
Buttermilk (½ cup / 120ml) — This tenderizes the shrimp and helps the coating stick. If you don’t have buttermilk, make a quick substitute: add 1 tablespoon of lemon juice or vinegar to ½ cup of milk and let it sit for 5 minutes. It works fine, though buttermilk is better.
Cornstarch (½ cup / 60g) — This is the secret to the crispiness. Cornstarch creates a light, crunchy shell that doesn’t get heavy like flour would. Don’t swap this for all-purpose flour unless you want a doughy coating. I use the standard store brand; no fancy stuff needed.
Garlic powder (1 teaspoon) — Adds a subtle savory depth. Fresh garlic doesn’t work as well in the coating because it burns. Powder is your friend here.
Onion powder (½ teaspoon) — Complements the garlic. Again, powder, not fresh.
Smoked paprika (½ teaspoon) — This gives a hint of smokiness that mimics deep-fried flavor. It’s optional, but I highly recommend it. If you don’t have it, regular paprika works, but it won’t have that same depth.
Salt and black pepper (to taste) — I use about ½ teaspoon of each. Don’t skimp on seasoning the shrimp directly.
For the Bang Bang Sauce:
Mayonnaise (½ cup / 120g) — Full-fat mayo is essential. Light mayo makes the sauce watery and less creamy. I use Hellmann’s or Duke’s. Quality matters here because it’s the base of the sauce.
Sriracha sauce (3 tablespoons / 45ml) — This is the heat source. Adjust based on your spice tolerance. I use 3 tablespoons for a medium heat. If you want it mild, start with 1 tablespoon. If you want it fiery, go up to 5 tablespoons. I keep a bottle in the fridge at all times.
Honey (2 tablespoons / 30ml) — Balances the heat and adds sweetness. Use real honey, not corn syrup. If you’re out of honey, maple syrup works in a pinch, but it changes the flavor slightly.
Lime juice (1 tablespoon / 15ml) — Freshly squeezed is best. Bottled lime juice tastes metallic and flat. It cuts through the richness of the mayo and brightens the whole sauce.
Soy sauce (1 teaspoon) — This is the secret umami bomb. It adds savory depth that makes the sauce taste complex, not just sweet and spicy. Don’t skip it. I use regular soy sauce, not low-sodium, because I want that flavor punch.
For Garnish (Optional but Recommended):
Green onions (2 stalks, sliced) — Adds freshness and color. I always have these on hand.
Sesame seeds (1 teaspoon) — Adds a nice nutty crunch and looks pretty. Toasted sesame seeds are better, but regular works too.
Cilantro (small handful, chopped) — For a fresh, herbal note. Not everyone likes cilantro, so skip if you’re in the “cilantro tastes like soap” camp.
Pro Tip: I buy pre-peeled and deveined shrimp when I’m in a rush, but buying raw and peeling them myself saves money and ensures freshness. If you buy pre-peeled, just make sure they’re raw, not cooked. I’ve made the mistake of buying “pre-cooked” shrimp by accident before. Big mistake.
Equipment Needed
You don’t need fancy equipment for this. Here’s what I actually use.
Air Fryer — Obviously. I use a 5.8-quart basket style. If you have a smaller one, you might need to cook in two batches. Don’t overcrowd the basket, or the shrimp will steam instead of crisp. My Ninja Foodi works great for this.
Medium Bowls — You’ll need two bowls: one for the buttermilk soak and one for the cornstarch coating. I use standard mixing bowls. No need for fancy ones.
Tongs — For tossing the shrimp in the coating and turning them in the air fryer. Tongs are better than a spoon because they don’t break the coating as easily. I have a set of silicone-tipped tongs that are perfect for this.
Parchment Paper — I line the air fryer basket with parchment paper (with holes cut for airflow) to make cleanup a breeze. It prevents sticking and keeps the basket clean. Just make sure the parchment doesn’t block the air vents.
Small Jar or Bowl — For mixing the sauce. A small mason jar with a lid is perfect for shaking it up. Or just use a small bowl and whisk.
Whisk or Fork — For mixing the sauce. A small whisk is nice, but a fork works fine.
Cutting Board and Knife — For slicing green onions and cilantro. Any sharp knife works.
Optional: Paper Towels — To pat the shrimp dry before coating. This step is crucial for crispiness. I always keep a roll nearby.
Tool Tip: If you don’t have an air fryer, you can bake these in the oven at 400°F on a wire rack, but the air fryer is faster and crispier. I’ve tried both, and the air fryer wins every time.
How to Make It: Step-by-Step
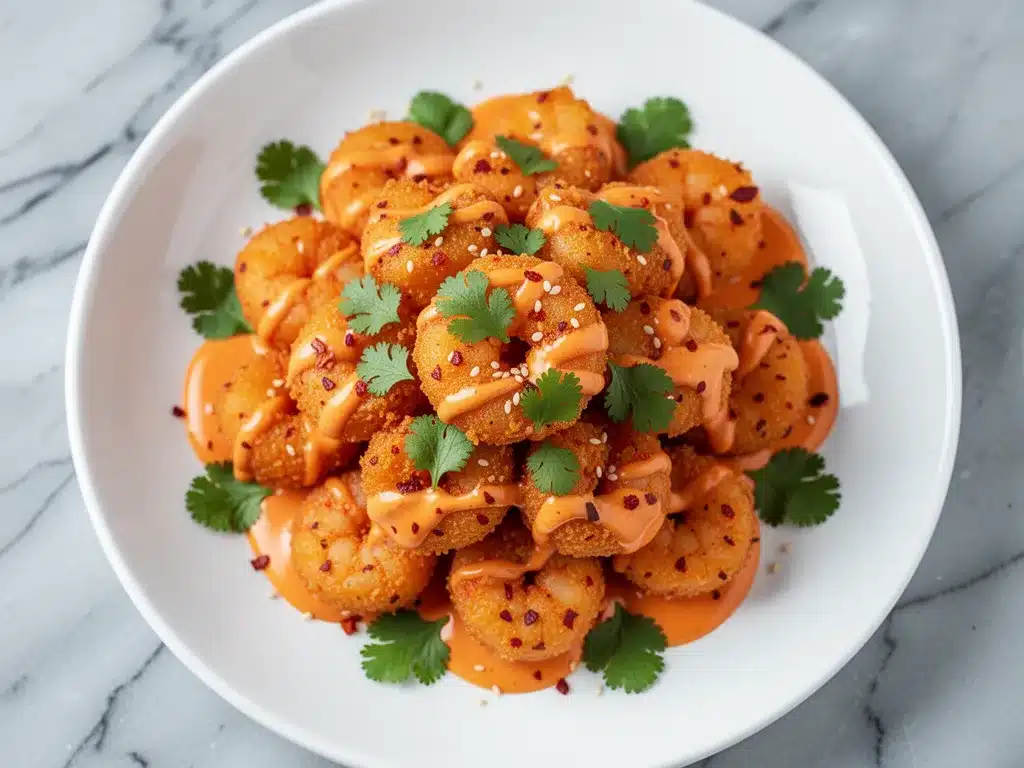
Alright, let’s make this! I’m walking you through exactly how I do it, including the little tricks I’ve picked up over time. It’s straightforward, but there are a few key moments that make the difference between good and great.
Step 1: Prep the Shrimp (5 minutes)
If you bought raw shrimp, peel and devein them. Rinse them under cold water and pat them completely dry with paper towels. This is non-negotiable. Wet shrimp will not crisp up. Place the dried shrimp in a medium bowl and pour the buttermilk over them. Toss to coat, then set aside to soak for 10-15 minutes. The buttermilk tenderizes the shrimp and adds flavor.
Step 2: Mix the Coating (2 minutes)
In a shallow dish or another bowl, mix the cornstarch, garlic powder, onion powder, smoked paprika, salt, and black pepper. I like to whisk these dry ingredients together first to ensure even distribution. You want every piece of shrimp to get an even coating of spices.
Step 3: Coat the Shrimp (3 minutes)
Take the shrimp out of the buttermilk, letting the excess drip off, then toss them in the cornstarch mixture. Press the coating onto the shrimp gently to make sure it sticks. You want a light, even layer—not a thick clump. If the coating is too thick, it’ll taste doughy. If it’s too thin, it won’t be crispy. Aim for a delicate, sandy texture. Place the coated shrimp on a plate while you prep the air fryer.
Step 4: Preheat the Air Fryer (3 minutes)
Preheat your air fryer to 400°F (200°C) for 3-5 minutes. This ensures the shrimp start cooking immediately and get that initial crisp. Line the air fryer basket with parchment paper (optional, but recommended for easy cleanup). Spray the parchment lightly with cooking spray to help the coating adhere.
Step 5: Air Fry the Shrimp (8-10 minutes)
Place the coated shrimp in the air fryer basket in a single layer. Do not overcrowd! Cook in batches if necessary. I usually fit about 12-15 shrimp per batch in my 5.8-quart basket. Cook at 400°F for 8-10 minutes, flipping halfway through. The shrimp are done when they are pink, opaque, and crispy. They should curl into a “C” shape. If they curl into an “O”, they’re overcooked.
Step 6: Make the Sauce (2 minutes)
While the shrimp cook, mix the mayonnaise, sriracha, honey, lime juice, and soy sauce in a small jar or bowl. Shake or whisk until smooth. Taste and adjust: more sriracha for heat, more honey for sweetness, more lime for tang. It should be creamy, spicy, and slightly sweet. Set aside.
Step 7: Toss and Serve (2 minutes)
Once the shrimp are done, remove them from the air fryer. While they’re still hot, toss them in the Bang Bang sauce. The heat helps the sauce adhere. Serve immediately, garnished with sliced green onions, sesame seeds, and cilantro if desired. I usually serve this over a bed of steamed rice or with crispy wonton strips for dipping.
Total Time: About 15-18 minutes (depending on how fast you prep).
Troubleshooting: If the shrimp aren’t crispy enough, cook for an extra 1-2 minutes. If they’re burning, lower the temperature to 390°F. If the sauce is too thick, add a teaspoon of water or lime juice. If it’s too thin, add a teaspoon of mayo.
Expert Tips & Tricks
Here’s everything I’ve learned from making this dozens of times. These tips will save you from my mistakes and guarantee success.
Pat the Shrimp Dry! I can’t stress this enough. Moisture is the enemy of crispiness. After rinsing, use paper towels to pat the shrimp until they’re almost bone dry. Then, after the buttermilk soak, pat them dry again before coating. It’s two extra steps, but it makes a huge difference.
Don’t Skip the Cornstarch Cornstarch is what creates that light, crispy shell. Flour makes it heavy. Breadcrumbs make it crunchy but not the same kind of crispy. Cornstarch is the gold standard for air-fried seafood. If you’re out of cornstarch, arrowroot powder works as a substitute.
Single Layer is Key Overcrowding the air fryer basket causes steaming, not frying. The hot air needs to circulate around each shrimp. If you stack them, the bottom ones won’t crisp. Cook in batches. It’s worth the extra 5 minutes.
Flip Halfway Even with an air fryer, flipping ensures even cooking and browning. I set a timer for 4 minutes to remind me to flip. It’s a small step that makes a big difference.
Toss While Hot The sauce sticks better to hot shrimp. If you let the shrimp cool before saucing, the sauce will slide off. Toss them immediately after they come out of the air fryer.
Adjust the Spice Sriracha varies in heat depending on the brand. I use Huy Fong (the rooster sauce), which is medium-hot. If you use a different brand, taste the sauce before tossing. You can always add more, but you can’t take it away.
Make Ahead Sauce The sauce can be made up to 3 days ahead and stored in the fridge. It actually tastes better after the flavors meld. Just bring it to room temperature before using.
Don’t Overcook Shrimp cook fast. Overcooked shrimp are rubbery and tough. They’re done when they turn pink and opaque. They continue to cook slightly after removal, so take them out when they’re just barely done.
Variations & Substitutions
Once you’ve nailed the basic version, here’s how you can mix it up. I’ve tried all of these, and they all work.
Mild Version — Reduce sriracha to 1 tablespoon and add an extra tablespoon of mayo or honey. Perfect for kids or anyone who doesn’t like heat. I make this version for my son.
Spicy Version — Double the sriracha and add a dash of cayenne pepper or chili flakes. For the truly brave, mix in a teaspoon of gochujang (Korean chili paste) for a deeper, fermented heat.
Coconut Shrimp Twist — Add ½ cup of shredded coconut to the cornstarch coating. It adds a tropical flair that pairs beautifully with the sweet and spicy sauce. It’s like a fusion of Bang Bang and coconut shrimp. Delicious.
Garlic Lover’s — Add 1 teaspoon of minced fresh garlic to the cornstarch coating. It adds a punch of fresh garlic flavor that complements the sauce. Just make sure the garlic is finely minced so it doesn’t burn.
Lemon Pepper — Swap the smoked paprika for lemon pepper seasoning. It adds a bright, citrusy note that’s great for summer. Serve with lemon wedges on the side.
Gluten-Free — This recipe is naturally gluten-free if you use gluten-free soy sauce (like tamari). The cornstarch coating is gluten-free, so no changes needed there. Just double-check your sriracha and mayo labels to ensure no gluten additives.
Dairy-Free — Swap the mayonnaise for a dairy-free mayo (like Vegan Mayo or Just Mayo). The rest of the ingredients are naturally dairy-free. The sauce will be slightly less creamy but still delicious.
Vegan — This is trickier because shrimp are seafood. But you can use vegan shrimp alternatives (like konjac-based shrimp) and follow the same coating and sauce method. It’s not the same texture, but it works if you’re plant-based.
Other Proteins — You can use this method for chicken strips, tofu cubes, or cauliflower florets. The coating and sauce work with almost anything. I’ve made this with chicken, and it’s great. Just adjust cooking time accordingly.
Serving & Storage
How you serve this matters as much as how you make it. Here’s how I enjoy it.
How to Serve: I usually serve this over a bed of jasmine rice or steamed broccoli. The rice soaks up the sauce, which is amazing. You can also serve it with crispy wonton strips on the side for dipping. It’s like an appetizer but in dinner form. I also love it in lettuce wraps for a low-carb option.
Side Dishes: Steamed rice, fried rice, cucumber salad, or a simple green salad with sesame dressing. I keep it simple so the shrimp can shine. Garlic bread is also a great option if you’re in the mood for carbs.
Wine Pairing: Not a wine expert, but a crisp Sauvignon Blanc or a light Pinot Grigio works well. The acidity cuts through the richness of the sauce. For beer, a lager or pilsner is perfect.
Storage: Store leftovers in an airtight container in the fridge for up to 2 days. The shrimp will lose some crispiness, but they’re still good cold or reheated.
Reheating: Reheat in the air fryer at 375°F for 3-4 minutes to restore crispiness. Do not microwave, or they’ll get rubbery. If you must microwave, do it in short bursts and let them rest.
Freezing: I don’t recommend freezing Bang Bang shrimp. The sauce separates when thawed, and the shrimp texture suffers. Make it fresh for the best results.
Pro Tip: If you’re meal prepping, make the sauce ahead and store it separately. Cook the shrimp fresh each night. It takes 10 minutes and tastes way better than reheated shrimp.
Nutrition Information
I’m not a nutritionist, but here’s the breakdown if you’re tracking. This is per serving (based on 4 servings).
Calories: 320
Protein: 22g
Carbs: 18g
Fiber: 1g
Sugar: 8g
Fat: 16g
Saturated Fat: 2g
Cholesterol: 180mg
Sodium: 580mg
What’s Good: High in protein, relatively low in carbs, and contains healthy fats from the mayo (if you use full-fat). The shrimp are a great source of omega-3s.
What to Know: Higher in sodium due to the soy sauce and mayo. If you’re watching sodium, use low-sodium soy sauce and reduce the mayo slightly. It’s not a diet food, but it’s not a cheat meal either. It’s balanced.
My Take: Look, this is indulgent. It’s creamy, spicy, and crispy. It’s not a salad. But it’s way better than takeout, costs less, and I know exactly what’s in it. When I want to make it lighter, I use less mayo and more Greek yogurt. But usually? I just eat a reasonable portion and enjoy it.
Final Thoughts
So that’s my Crispy Air Fryer Bang Bang Shrimp! I’ve probably talked your ear off at this point, but when you make a recipe this often, you have a lot to say about it.
This has saved weeknight dinners more times than I can count. It’s my answer to “what’s for dinner” when I’m tired, don’t want takeout, and still want something that tastes really good. My kids are happy, my husband’s happy, and I’m happy because I’m not stressed about cooking.
Make it yours! Try different add-ins, swap in your favorite vegetables, adjust the garlic (though more is always better in my opinion). The best recipes are the ones you adapt to your family’s tastes.
If you make this, drop a comment and let me know what you think! I love hearing how recipes turn out in your kitchen. And if something doesn’t work, tell me that too—I’m here to help troubleshoot.
Happy cooking! And I hope your kitchen smells half as good as mine does right now.
Frequently Asked Questions
Can I use frozen shrimp?
Yes, but you must thaw them completely and pat them dry. Frozen shrimp release a lot of water, which can prevent the coating from sticking. I thaw mine in a bowl of cold water for 20 minutes, then pat them dry with paper towels. If you skip this step, your shrimp will be soggy.
Why did my shrimp not get crispy?
Usually, this happens because the shrimp were too wet, the basket was overcrowded, or the air fryer wasn’t preheated. Make sure you pat the shrimp dry, cook in a single layer, and preheat your air fryer for 3-5 minutes before adding the shrimp.
Can I make the sauce ahead?
Absolutely. The sauce can be made up to 3 days in advance and stored in the fridge. It actually tastes better after the flavors meld. Just give it a good stir before using.
Is this recipe gluten-free?
Yes, if you use gluten-free soy sauce (like tamari). The cornstarch coating is naturally gluten-free, and the other ingredients are typically gluten-free. Just double-check your sriracha and mayo labels to ensure no hidden gluten.
Can I use this sauce for other proteins?
Yes! The Bang Bang sauce works great with chicken, tofu, cauliflower, and even salmon. You can use the same coating method for chicken strips, but adjust the cooking time (usually 10-12 minutes at 400°F). For tofu, press it first and use the same coating.
How spicy is this recipe?
It’s medium-spicy. With 3 tablespoons of sriracha, it has a noticeable heat but is balanced by the creamy mayo and sweet honey. If you want it milder, reduce the sriracha to 1 tablespoon. If you want it hotter, add more sriracha or a dash of cayenne.
Can I double this recipe?
Yes, but you’ll need to cook in batches. Do not overcrowd the air fryer basket. Double the sauce ingredients as well. The cooking time per batch remains the same.
Pin This Recipe!
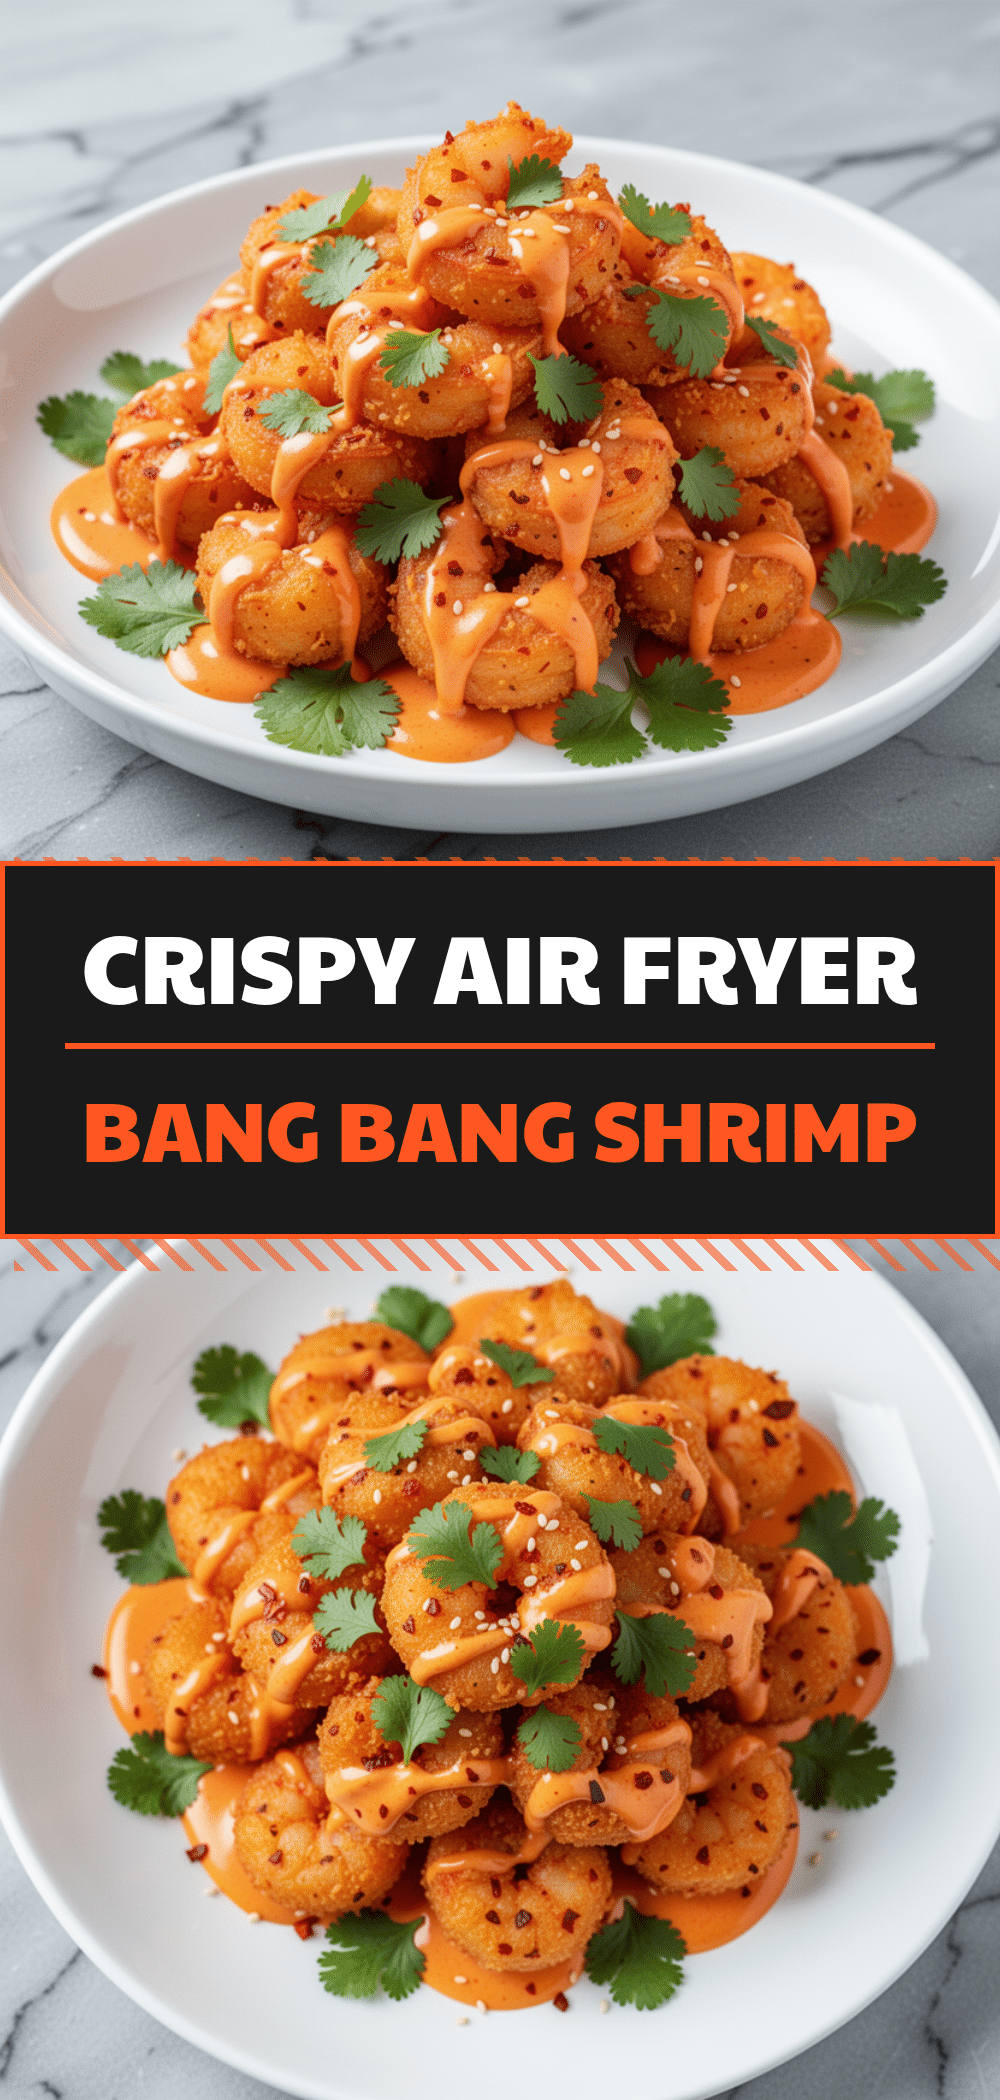
Crispy Air Fryer Bang Bang Shrimp
- Total Time: 15 minutes
- Yield: 4 servings 1x
Description
A quick and easy 15-minute dinner featuring crispy, air-fried shrimp tossed in a creamy, spicy, and sweet Bang Bang sauce. This recipe offers restaurant-style flavor without the grease or mess of deep frying.
Ingredients
- 1.5 pounds large shrimp, peeled and deveined
- 1/2 cup buttermilk
- 1/2 cup cornstarch
- 1 teaspoon garlic powder
- 1/2 teaspoon onion powder
- 1/2 teaspoon smoked paprika
- 1/2 teaspoon salt
- 1/2 teaspoon black pepper
- 1/2 cup mayonnaise (full-fat)
- 3 tablespoons sriracha sauce
- 2 tablespoons honey
- 1 tablespoon lime juice (freshly squeezed)
- 1 teaspoon soy sauce
- 2 stalks green onions, sliced (for garnish)
- 1 teaspoon sesame seeds (for garnish)
- Small handful cilantro, chopped (for garnish)
Instructions
- Pat the shrimp completely dry with paper towels. Place them in a bowl with buttermilk and toss to coat. Let soak for 10-15 minutes.
- In a shallow dish, whisk together cornstarch, garlic powder, onion powder, smoked paprika, salt, and black pepper.
- Remove shrimp from buttermilk, letting excess drip off, then toss in the cornstarch mixture. Press gently to ensure an even, light coating. Place coated shrimp on a plate.
- Preheat air fryer to 400°F (200°C) for 3-5 minutes. Line the basket with parchment paper (with holes for airflow) and lightly spray with cooking spray.
- Arrange shrimp in a single layer in the air fryer basket. Do not overcrowd; cook in batches if necessary.
- Air fry at 400°F for 8-10 minutes, flipping halfway through, until shrimp are pink, opaque, and crispy.
- While shrimp cook, whisk together mayonnaise, sriracha, honey, lime juice, and soy sauce in a jar or bowl until smooth.
- Remove shrimp from air fryer while hot and toss immediately in the Bang Bang sauce to help it adhere.
- Serve immediately, garnished with green onions, sesame seeds, and cilantro.
Notes
Ensure shrimp are completely dry before coating to achieve maximum crispiness. Do not overcrowd the air fryer basket, as this causes steaming instead of crisping. Flip shrimp halfway through cooking for even browning. The sauce can be made up to 3 days in advance. Reheat leftovers in the air fryer at 375°F for 3-4 minutes; do not microwave.
- Prep Time: 5 minutes
- Cook Time: 10 minutes
- Category: Main Course
- Cuisine: Asian Fusion
Nutrition
- Serving Size: Approximately 12-15
- Calories: 320
- Sugar: 8
- Sodium: 580
- Fat: 16
- Saturated Fat: 2
- Carbohydrates: 18
- Fiber: 1
- Protein: 22
Keywords: air fryer shrimp, bang bang shrimp, quick dinner, spicy shrimp, healthy seafood, weeknight meals, crispy shrimp



