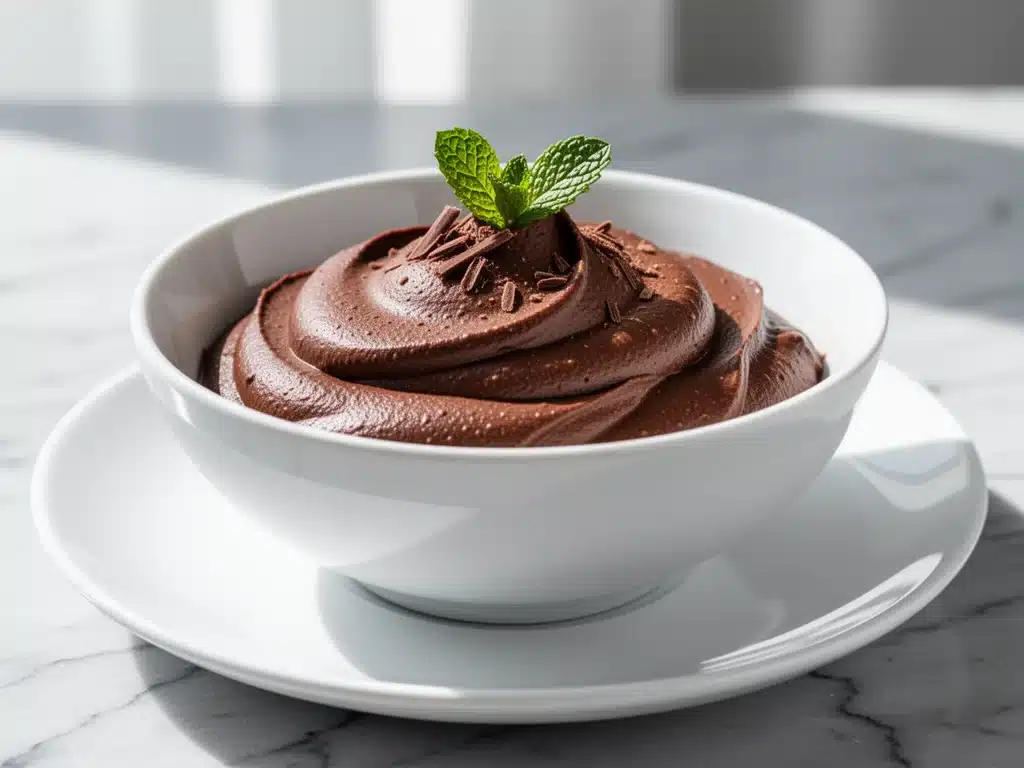
It was 11 PM on a Tuesday. I was tired, the kids were finally asleep, and I had a sudden, intense craving for something rich and chocolatey. But I also had just finished a big dinner, so I didn’t want to feel heavy and sluggish. I opened the fridge, stared into the abyss, and found a bag of avocados that were on the verge of being too ripe for guacamole. Next to them sat a jar of cocoa powder and a can of coconut milk.
I’m not usually a dessert person after 8 PM. I usually just eat cheese or drink water. But that craving was specific. It was for something creamy, cool, and decadent without the sugar crash. So I threw the avocado, cocoa, a splash of coconut milk, and a drizzle of maple syrup into the blender. I hit pulse. I tasted. I couldn’t believe it.
It tasted like chocolate mousse from a fancy Parisian café, but lighter. There was no weird aftertaste. No grit. Just pure, silky chocolate. I ate the whole bowl. Then I made it again the next day. And the next. This vegan creamy chocolate avocado mousse has become my secret weapon for satisfying sweet tooth cravings without guilt. It’s the kind of recipe that feels like a cheat code—healthy ingredients, zero cooking, and results that fool everyone, including your kids.
I’ve tested this at least a dozen times, tweaking the ratios until I found the perfect balance. Some people are skeptical about putting avocado in dessert. They worry about the texture or the taste. Let me assure you: when you blend it right, you won’t taste avocado. Not even a little. You’ll just taste rich, velvety chocolate. This vegan creamy chocolate avocado mousse is now a staple in our house. It’s the first thing I make when friends ask for a quick dessert, and it’s the only thing I make when I need a late-night treat.
Why You’ll Love This Vegan Creamy Chocolate Avocado Mousse
There are about ten reasons I keep making this, but here are the big ones that will win you over.
It’s Actually Healthy — I know, “healthy” and “chocolate mousse” don’t usually go in the same sentence. But this is packed with healthy fats from the avocado, fiber, and antioxidants from the cocoa. It’s a dessert that actually fuels your body instead of draining it. I feel great after eating this, unlike the heavy sugar crash from regular mousse.
Zero Cooking Required — Seriously, if you can press a button on a blender, you can make this. No stovetop, no oven, no tempering chocolate. I’ve made this while the kids were fighting in the other room. It takes about 5 minutes of active time.
Texture is Insane — The biggest fear people have with avocado desserts is that it’ll be chunky or grassy. It’s not. The high-speed blender (or food processor) breaks down the avocado completely, creating a texture that is indistinguishable from traditional dairy mousse. It’s smooth, cool, and rich.
Kid-Approved — My kids think this is “magic chocolate pudding.” They don’t know it’s vegetables. I serve it in little glasses with a sprinkle of sea salt, and they ask for seconds. It’s the perfect way to sneak nutrition into a sweet treat.
Gluten-Free and Dairy-Free — This is naturally free from all the common allergens. No gluten, no dairy, no nuts (unless you add them as a topping). It’s inclusive dessert for everyone at the table.
This is my go-to when I need dinner to just work, but for dessert. No complicated techniques, no weird ingredients you can’t pronounce, just reliable, delicious food that makes everyone happy.
Ingredients You’ll Need for Vegan Creamy Chocolate Avocado Mousse
Here’s the best part: you probably have most of this already. I’m particular about three ingredients here, and I’ll tell you exactly why.
The Base
Ripe Avocados (2 large / about 400g flesh) — This is the star. They must be ripe. Look for Hass avocados that yield slightly to gentle pressure. If they’re hard, the mousse will be gritty. If they’re mushy brown inside, toss them. You want creamy, green flesh. I buy them a few days before I plan to make this so they ripen in time.
Unsweetened Cocoa Powder (1/2 cup / 50g) — Use good quality here. I prefer Dutch-processed cocoa because it’s darker and less acidic, giving a deeper chocolate flavor. Natural cocoa powder works too, but the flavor will be slightly brighter and less rich. Avoid “processed cocoa” or sweetened mixes.
Coconut Milk (1/2 cup / 120ml) — I use full-fat, canned coconut milk. It adds the necessary fat and creaminess that makes this mousse rich. Light coconut milk will make it too thin. Almond milk or oat milk can work in a pinch, but the texture won’t be as luxurious. Shake the can well before opening.
The Sweeteners & Flavor
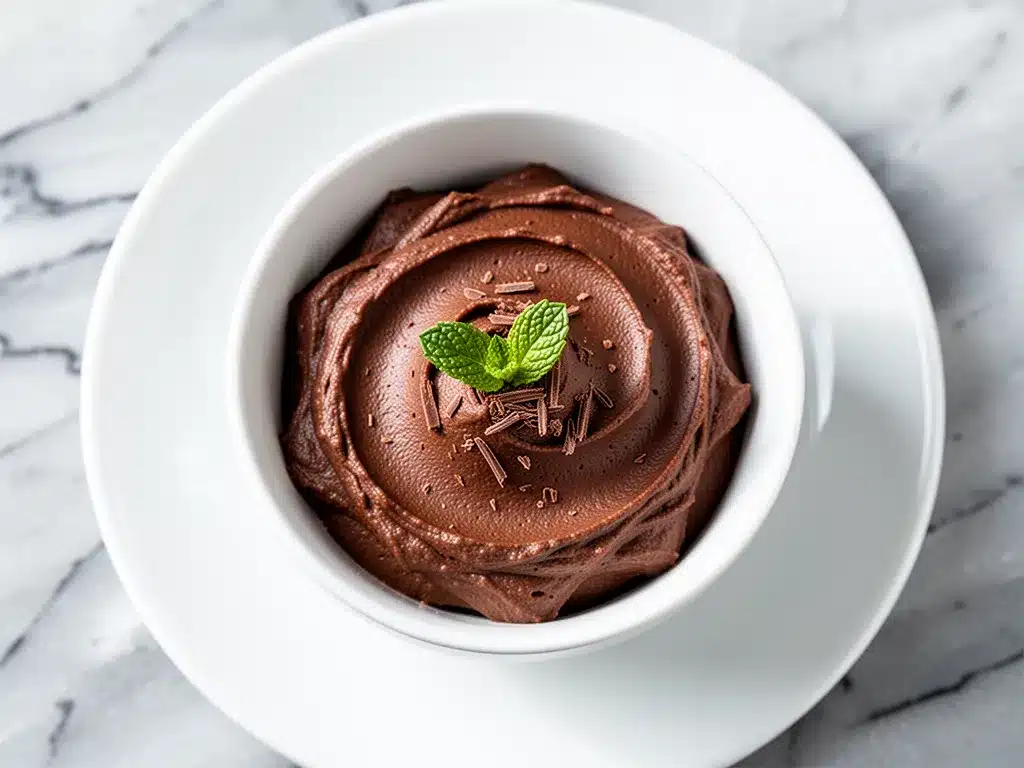
Maple Syrup (3-4 tablespoons / 45-60ml) — I use pure maple syrup because it has a nice depth of flavor that complements the chocolate. Agave nectar works too if you prefer a neutral sweetness. Honey isn’t vegan, so skip that. Start with 3 tablespoons, taste, and add more if you like it sweeter.
Vanilla Extract (1 teaspoon / 5ml) — Pure vanilla is key. It rounds out the chocolate flavor and adds that classic mousse aroma. Don’t use imitation vanilla; it tastes artificial and clashes with the cocoa.
Sea Salt (1/4 teaspoon) — This is non-negotiable. Salt enhances the chocolate flavor and balances the sweetness. It makes the chocolate taste more like chocolate. Use flaky sea salt if you have it, but regular kosher salt works fine.
Optional Add-ins:
Espresso Powder (1 teaspoon) — I add this sometimes. It doesn’t make it taste like coffee; it just deepens the chocolate flavor. If you’re a coffee drinker, this is a game-changer.
Peanut Butter (2 tablespoons) — For a chocolate-pb version. Swirl it in at the end or blend it in for a uniform flavor. My kids love this variation.
Equipment Needed
You don’t need fancy equipment for this. Here’s what I actually use.
High-Speed Blender — I use a Vitamix, and it makes the texture perfectly smooth. A regular blender works too, but you might need to blend longer and scrape down the sides more. If you don’t have a powerful blender, a food processor is actually better for this recipe because the blades are closer to the ingredients.
Measuring Cups and Spoons — Pretty standard stuff. Dollar store versions work fine for this, since you’re not baking a cake where precision is critical. But measuring the cocoa accurately helps keep the texture right.
Spatula — A silicone spatula is great for scraping the sides of the blender or bowl to ensure everything is mixed evenly.
Serving Glasses — I love serving this in small glass bowls or ramekins. It looks elegant and shows off the dark color. But a regular bowl works too if you’re just eating it straight from the blender jar (no judgment here).
Optional but nice:
Microplane — For grating chocolate shavings on top. It adds a nice visual touch and extra crunch.
How to Make It: Step-by-Step
Alright, let’s make this! I’m walking you through exactly how I do it, including the little tricks I’ve picked up.
Step 1: Prep Your Avocados (2 minutes)
Cut the avocados in half, remove the pit, and scoop out the flesh into your blender. Use a spoon to get every bit. If there are any brown spots, just scoop those out and discard them. You want only the creamy green flesh. I usually cut the avocados first to make sure they’re ripe enough.
Step 2: Add the Wet Ingredients (1 minute)
Pour in the coconut milk, maple syrup, and vanilla extract. Add the sea salt. If you’re using espresso powder, add that now too. The mixture will look a bit strange—green and lumpy. Don’t worry, that’s normal.
Step 3: Blend Until Smooth (2-3 minutes)
Pulse the blender a few times to break up the avocado. Then blend on high speed. This is the crucial step. You need to blend until the mixture is completely smooth and creamy. There should be no visible chunks of avocado. This might take 2-3 minutes depending on your blender. Stop and scrape down the sides if needed. If using a food processor, it might take a bit longer, but the result is the same.
Step 4: Add the Cocoa (1 minute)
Once the avocado mixture is smooth, add the cocoa powder. Blend again on high until fully incorporated. The mixture will turn a deep, dark brown. Taste it now. If you want it sweeter, add a bit more maple syrup. If you want more chocolate, add a bit more cocoa. Adjust to your preference.
Step 5: Chill (Optional but Recommended)
Transfer the mousse to serving glasses or a large bowl. Cover with plastic wrap or a lid. Chill in the refrigerator for at least 30 minutes. This step is optional, but it really helps the flavors meld and gives the mousse a firmer, more mousse-like texture. I usually make it in the morning or afternoon to have it ready for dessert.
Step 6: Serve
Serve chilled. Top with whipped coconut cream, fresh berries, crushed nuts, or a sprinkle of sea salt. I love the contrast of salty sea salt on sweet chocolate. It elevates the flavor profile significantly.
Total Time: About 5-10 minutes active time, plus chilling time.
Expert Tips & Tricks
Here’s everything I’ve learned from making this dozens of times. These tips will save you from my mistakes.
Use Ripe Avocados
This is the #1 tip. If your avocados aren’t ripe, the mousse will be gritty and fibrous. I’ve made this mistake once, and the texture was awful. Now, I buy avocados a few days before I plan to make this. If you’re in a hurry, you can speed up ripening by putting them in a paper bag with a banana for 24 hours.
Don’t Skimp on Salt
Salt is essential for bringing out the chocolate flavor. Without it, the mousse tastes flat and overly sweet. I use 1/4 teaspoon for this batch, but taste and adjust. A pinch of flaky sea salt on top also adds a nice crunch.
Chill Before Serving
While you can eat it right away, chilling it for 30 minutes or more makes a huge difference. The cold temperature firms up the coconut fat and avocado, creating that classic mousse texture. It also makes the flavors more intense.
High-Speed Blending
If you don’t have a high-speed blender, use a food processor. The blades are closer to the bottom, which helps break down the avocado fibers better. Blend for longer if needed. You want it completely smooth.
Common Mistakes (and how to avoid them):
Mistake: Mousse is too thin
Fix: Add more cocoa powder or a bit more avocado. Or chill it longer. The coconut milk can vary in thickness depending on the brand, so adjust as needed.
Mistake: Mousse is too bitter
Fix: Add more maple syrup or a pinch of salt. Different cocoa powders have different bitterness levels. Taste as you go.
Pro Tricks I’ve Learned:
For Extra Richness
Add a tablespoon of coconut oil or cacao butter. It adds a glossy sheen and extra richness. I do this when I’m making it for guests.
For Flavor Variations
Add a pinch of cinnamon or cardamom for a spiced chocolate flavor. It’s surprisingly good and adds warmth.
Variations & Substitutions
Once you’ve nailed the basic version, here’s how you can mix it up. I’ve tried all of these.
Chocolate Peanut Butter Mousse
Add 2 tablespoons of natural peanut butter to the blender. Blend until smooth. This adds protein and makes it even richer. My kids love this version.
Mint Chocolate Mousse
Add 1/2 teaspoon of peppermint extract. It tastes like a mint chocolate chip ice cream. Top with crushed peppermint candies for a festive touch.
Berry Swirl
Blend 1/2 cup of frozen berries (raspberries or strawberries) with a little maple syrup. Swirl it into the chocolate mousse before chilling. It adds a tart contrast to the sweet chocolate.
Lighter Version
Use light coconut milk and reduce the maple syrup. It’s still good, but less rich. I make this when I’m trying to be “healthy,” but honestly, the full-fat version is worth it.
Dietary Modifications:
Sugar-Free: Use monk fruit sweetener or stevia instead of maple syrup. Adjust to taste, as these are much sweeter.
Nut-Free: This recipe is naturally nut-free. Perfect for school lunches or nut-free environments.
Soy-Free: Use coconut milk instead of soy milk. This recipe is already soy-free if you use coconut milk.
Serving & Storage
How to Serve:
I usually serve this straight from the fridge in small glass bowls. It looks elegant and personal. But here are other ways I’ve enjoyed it:
Side Dishes:
– Fresh berries (strawberries, raspberries, blueberries)
– Whipped coconut cream
– Crushed nuts (pecans, almonds, walnuts)
– Chocolate shavings
– Sea salt flakes
Toppings Bar:
When I have guests, I put out: whipped coconut cream, fresh berries, crushed nuts, chocolate shavings, sea salt. Everyone customizes their bowl.
Storage Instructions:
Refrigerator:
Store in an airtight container for up to 3 days. The mousse will thicken in the fridge—totally normal. Stir it before serving if it’s too thick.
Freezing:
Yes, this freezes well! Portion it into individual containers or freeze in an ice cube tray for quick snacks. Thaw in the fridge overnight and stir before serving. It might lose a bit of texture, but it’s still delicious.
Pro tip:
If leftovers are drying out, stir in a splash of coconut milk when reheating or serving. Brings back that creamy texture.
Nutrition Information
I’m not a nutritionist, but here’s the breakdown if you’re tracking.
Per Serving (based on 4 servings):
- Calories: 280
- Protein: 5g
- Carbs: 28g
- Fiber: 8g
- Sugar: 18g (natural from maple syrup)
- Fat: 18g (healthy fats)
- Saturated Fat: 12g
- Cholesterol: 0mg
- Sodium: 150mg
- Calcium: 60mg
What’s Good:
- High in fiber from avocado and cocoa
- Healthy fats from avocado and coconut
- Antioxidants from cocoa
- Low in processed sugar
What to Know:
- Higher in calories due to fats, but they’re healthy
- Naturally dairy-free and gluten-free
- Can adjust sweetness by reducing maple syrup
My Take:
Look, this is a dessert with healthy fats and cocoa. It’s not a diet recipe, but it’s way better than takeout, costs less, and I know exactly what’s in it. When I want to make it lighter, I use less maple syrup and more berries. But usually? I just eat a reasonable portion and enjoy it.
Final Thoughts
So that’s my go-to vegan creamy chocolate avocado mousse! I’ve probably talked your ear off at this point, but when you make a recipe this often, you have a lot to say about it.
This has saved late-night cravings more times than I can count. It’s my answer to “what’s for dessert” when I want something rich but healthy. My kids are happy, my husband’s happy, and I’m happy because I’m not stressed about cooking and still get my chocolate fix.
Make it yours! Try different toppings, swap in your favorite sweeteners, adjust the chocolate intensity. The best recipes are the ones you adapt to your family’s tastes.
If you make this, drop a comment and let me know what you think! I love hearing how recipes turn out in your kitchen. And if something doesn’t work, tell me that too—I’m here to help troubleshoot.
Happy cooking! And I hope your kitchen smells half as good as mine does right now.
Frequently Asked Questions
Can I use frozen avocados?
Yes, but they need to be thawed completely first. Frozen avocado can change the texture slightly, making it a bit more icy. Thaw it in the fridge overnight and use a spoon to scoop out the flesh. It works, but fresh is better for the smoothest texture.
My mousse came out watery—what happened?
Usually means you used light coconut milk or your avocados were very watery. Use full-fat canned coconut milk and ripe, firm avocados. If it’s already watery, chill it longer or add more cocoa powder to thicken it.
Can I make this ahead for a dinner party?
Absolutely! Make it up to 2 days ahead and store in the fridge. It actually tastes better after the flavors have melded. Just stir it before serving and add fresh toppings right before.
Why did my mousse get grainy?
The avocados weren’t ripe enough or you didn’t blend it long enough. Use very ripe avocados and blend for a full 2-3 minutes until completely smooth. If you don’t have a high-speed blender, use a food processor.
Can I use almond milk instead of coconut milk?
You can, but the mousse will be less rich and creamy. Coconut milk adds necessary fat for that mousse texture. If you must use almond milk, add a tablespoon of coconut oil or cashew butter to compensate for the lost fat.
How do I reheat leftovers?
You don’t need to reheat this. It’s best served cold. If it’s too thick from the fridge, stir in a splash of coconut milk or almond milk to loosen it up.
Can I double this recipe?
Yes! Double everything and use a larger blender or bowl. The cooking times stay the same. I do this when I’m meal-prepping or feeding a crowd.
Pin This Recipe!
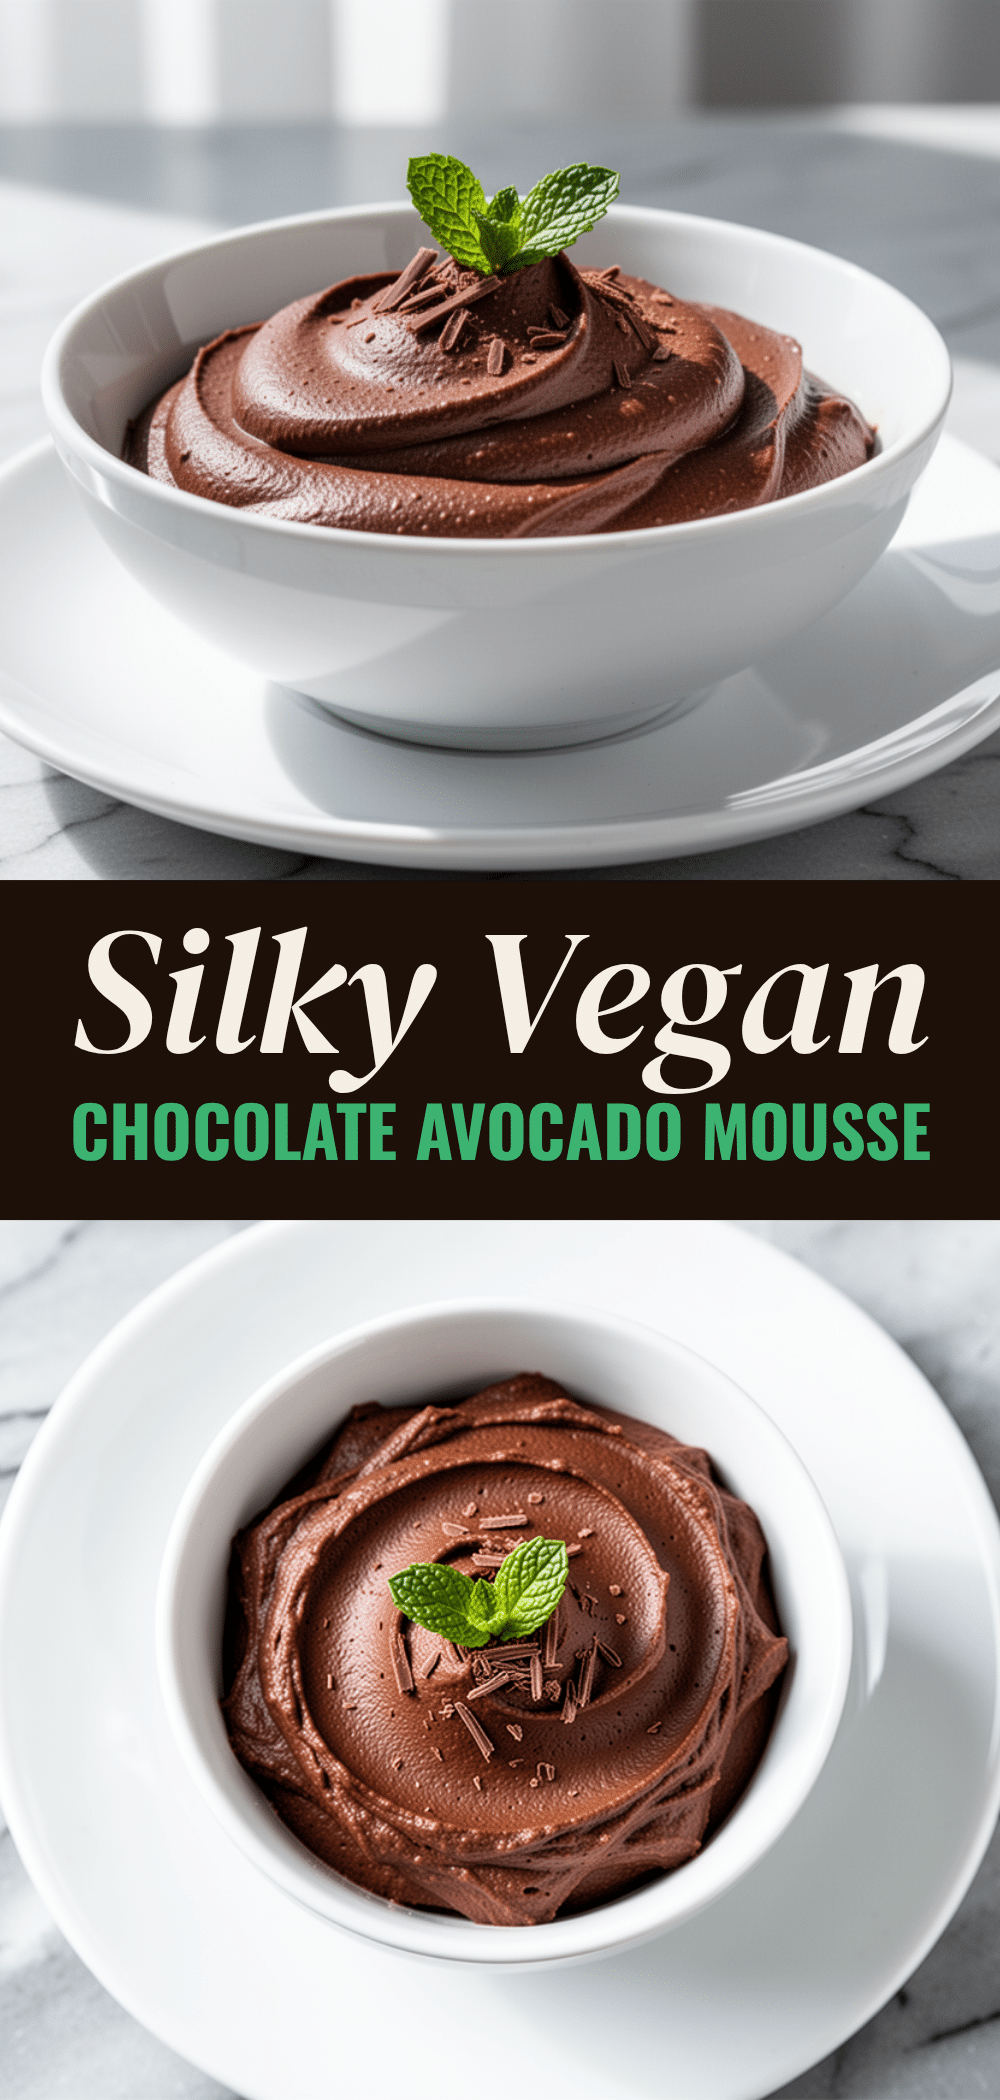
Vegan Creamy Chocolate Avocado Mousse
- Total Time: 35 minutes
- Yield: 4 servings 1x
Description
A rich, silky, and decadent chocolate mousse made with ripe avocados, cocoa powder, and coconut milk. This healthy, gluten-free, and dairy-free dessert requires zero cooking and is ready in just 5 minutes.
Ingredients
- 2 large ripe avocados (about 400g flesh)
- 1/2 cup (50g) unsweetened cocoa powder (Dutch-processed preferred)
- 1/2 cup (120ml) full-fat canned coconut milk
- 3–4 tablespoons (45-60ml) pure maple syrup
- 1 teaspoon pure vanilla extract
- 1/4 teaspoon sea salt
- 1 teaspoon espresso powder (optional)
- 2 tablespoons peanut butter (optional, for variation)
Instructions
- Cut the avocados in half, remove the pits, and scoop the creamy green flesh into a high-speed blender or food processor.
- Add the coconut milk, maple syrup, vanilla extract, sea salt, and espresso powder (if using) to the blender.
- Pulse briefly to break up the avocado, then blend on high speed for 2-3 minutes until the mixture is completely smooth and creamy with no visible chunks.
- Add the cocoa powder and blend again on high until fully incorporated and the mixture turns a deep dark brown.
- Taste and adjust sweetness or chocolate intensity by adding more maple syrup or cocoa powder if desired.
- Transfer the mousse to serving glasses or a bowl. Cover and chill in the refrigerator for at least 30 minutes to firm up and meld flavors.
- Serve chilled, topped with whipped coconut cream, fresh berries, crushed nuts, chocolate shavings, or a sprinkle of sea salt.
Notes
Ensure avocados are very ripe for a smooth texture; hard avocados will result in a gritty mousse. Chill the mousse for at least 30 minutes to achieve the classic mousse consistency. Store in an airtight container in the refrigerator for up to 3 days or freeze for later use.
- Prep Time: 5 minutes
- Cook Time: 0 minutes
- Category: Dessert
- Cuisine: American
Nutrition
- Serving Size: 1/4 of the recipe
- Calories: 280
- Sugar: 18
- Sodium: 150
- Fat: 18
- Saturated Fat: 12
- Carbohydrates: 28
- Fiber: 8
- Protein: 5
Keywords: vegan, chocolate mousse, avocado dessert, healthy dessert, gluten-free, dairy-free, no-bake, 5-minute dessert, raw dessert



