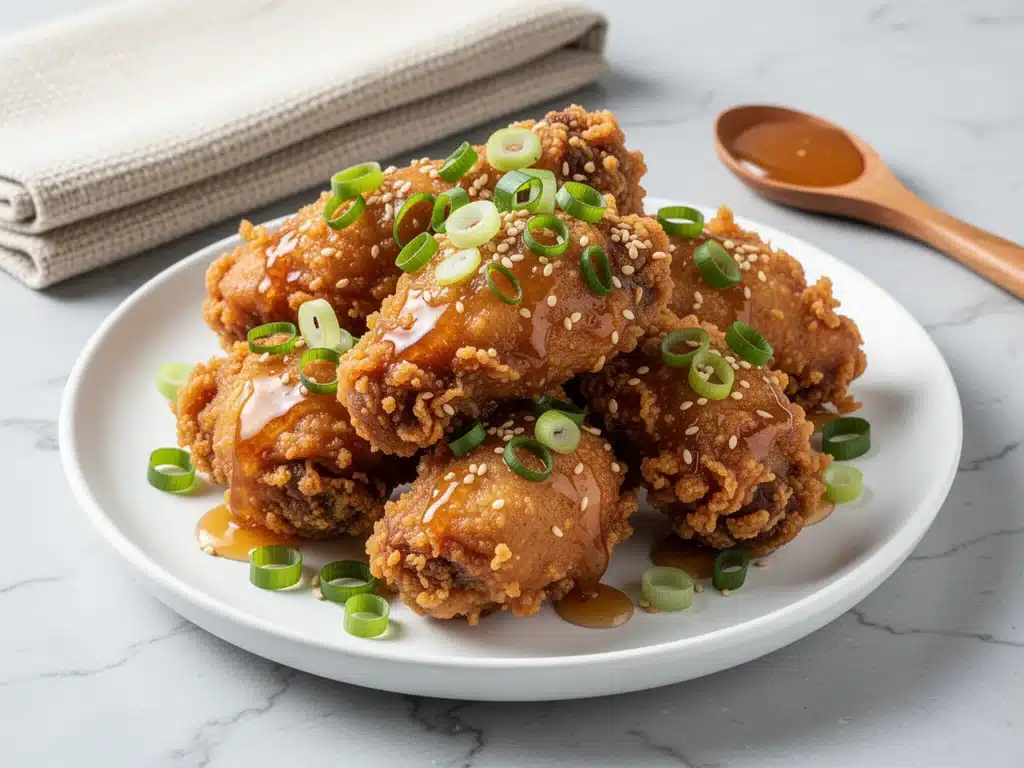
Last Tuesday, I came home from work completely drained. You know that feeling where your brain is just… off. The kind of exhaustion where even thinking about chopping an onion feels like climbing Everest. I opened the fridge, stared at a half-empty carton of eggs, some sad-looking green onions, and a package of chicken thighs that had been thawing since Sunday. I didn’t want takeout. I really didn’t. But I also didn’t have the energy to do anything complicated.
So I did what I always do when I’m tired: I threw stuff together. I wanted something with flavor, something that felt like a treat but didn’t require three hours of prep. That night, I whipped up a batch of what I now call my “Lazy but Legendary” Crispy Korean Fried Chicken. It wasn’t supposed to be good. It was supposed to be edible. But when I bit into that first piece—crispy on the outside, juicy on the inside, coated in that sticky, sweet, spicy glaze—I actually stopped scrolling on my phone. My husband walked in, sniffed the air, and asked, “Did you order from that place on 4th Street?”
I didn’t. I made it in 30 minutes. And since then, I’ve made this Crispy Korean Fried Chicken recipe at least a dozen times. It’s become my go-to for those nights when I need dinner to just work. It’s not just easy; it’s genuinely delicious. The trick isn’t fancy techniques or hard-to-find ingredients. It’s about timing, a bit of cornstarch magic, and not being afraid of a little oil. If you’ve been intimidated by making Korean fried chicken at home, let me convince you otherwise. This version is approachable, forgiving, and tastes like you spent all day in the kitchen (even though you didn’t).
Why You’ll Love This 30-Minute Dinner
There are a few reasons I keep coming back to this recipe, but honestly, it’s mostly because it solves the biggest problem of weeknight cooking: the gap between “I want something good” and “I don’t have time to make it.” Here’s why this Crispy Korean Fried Chicken has earned a permanent spot in my weekly rotation:
It’s Actually Fast — Seriously, 30 minutes from start to finish. I know, right? Fried chicken in half an hour? Yes. The chicken cooks quickly because we’re using bite-sized pieces, and the sauce comes together in the same pan while the chicken rests. I’ve timed this on nights when I’m rushing to get homework done, and it still comes out on time.
Double-Frying for Super Crunch — This is the game-changer. Most home recipes skip the second fry, and that’s why their chicken gets soggy. I double-fry these pieces, which creates this insane, glass-like crunch that stays crispy even when you toss them in sauce. It’s a simple step, but it makes all the difference between “okay chicken” and “addictive chicken.”
Pantry-Friendly Sauce — You probably have everything for the glaze already. Go, check your pantry. Ketchup, brown sugar, soy sauce, garlic, ginger, gochujang (or chili flakes if you can’t find it). It’s not a trek to the store; it’s a trip to your cupboards.
Perfect for Meal Prep — I make extra because leftovers taste amazing. The chicken stays crispy for a day if stored properly, and reheating it in an air fryer brings back that crunch instantly. It’s my go-to lunch for three days straight.
Crowd-Pleaser — My kids love it. My picky eater brother loves it. Even my friend who claims she “only eats steamed vegetables” asked for the recipe after trying one piece. It’s universally loved, and that’s rare.
This recipe has saved me more times than I can count. It’s my answer to “what’s for dinner” when I’m tired, don’t want takeout, and still want something that tastes really good. My family is happy, and I’m happy because I’m not stressed about cooking.
Ingredients You’ll Need
Here’s the best part: you probably have most of this already. I’m particular about a few things here, and I’ll tell you exactly why, but this list is mostly straightforward.
For the Chicken
Chicken thighs (2 pounds / 900g) — Boneless, skinless. I use thighs because they stay juicy. Breast meat dries out too fast when you double-fry it. If you must use breast, cut them into smaller pieces so they don’t overcook.
Coarse salt (1 teaspoon) — For seasoning the chicken before dredging. Don’t skip this; it seasons the meat itself.
Black pepper (½ teaspoon) — Freshly cracked is best. Pre-ground pepper loses its punch.
All-purpose flour (½ cup / 60g) — This is the base of the coating. It helps create that initial crust.
Cornstarch (½ cup / 60g) — This is the secret weapon. Cornstarch creates that shatteringly crisp texture. You can’t substitute this with potato starch if you want the authentic crunch, though potato starch works if you’re out of cornstarch.
Neutral oil (for frying) — About 2-3 cups. I use vegetable or canola oil. Peanut oil is great if you have it, but it’s expensive. Don’t use olive oil; it smokes too much.
For the Glaze
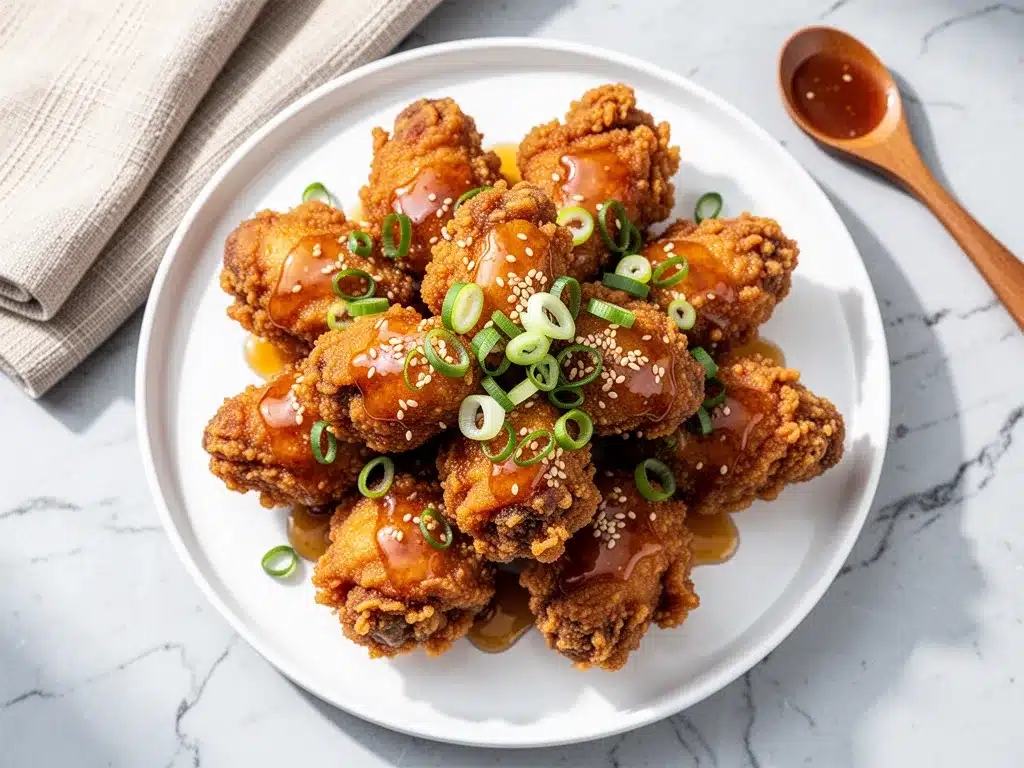
Ketchup (¼ cup / 60ml) — Yes, ketchup. It adds sweetness, acidity, and body. Don’t roll your eyes; it works.
Brown sugar (3 tablespoons / 45g) — Light or dark, doesn’t matter much. It balances the heat and helps the sauce stick.
Soy sauce (2 tablespoons / 30ml) — Low-sodium is better so you can control the saltiness. Regular works if you taste as you go.
Gojujiang (2 tablespoons / 30g) — This is the Korean chili paste. It’s essential for that deep, fermented heat. If you can’t find it, mix 1 tablespoon chili flakes with 1 tablespoon miso paste or extra ketchup. It won’t be authentic, but it’ll work.
Garlic (4 cloves, minced) — Fresh only. No jarred garlic. I know it’s more work, but jarred garlic has a weird metallic taste that ruins the sauce.
Ginger (1 teaspoon, grated) — Fresh ginger is key. Grate it on a microplane for the smoothest texture.
Sesame oil (1 teaspoon) — Just a little bit for that nutty aroma. Don’t use it for cooking; just stir it in at the end.
Water (2-3 tablespoons) — To thin the sauce to the right consistency. It should coat the back of a spoon, not be runny.
For Garnish
Sesame seeds (1 tablespoon) — Toasted is best. Adds texture and looks pretty.
Green onions (2, sliced thinly) — For color and a fresh bite. Don’t skip these; they cut through the richness.
Equipment Needed
You don’t need fancy equipment for this. Here’s what I actually use:
Large skillet or wok — I use a 12-inch cast iron skillet. It holds heat well, which is crucial for frying. A wok works too if you’re comfortable with high heat.
Deep-fry thermometer — This is non-negotiable. I’ve fried chicken without one, and it’s a guessing game that leads to greasy or burnt chicken. Get a clip-on thermometer for $10. It’s worth every penny.
Wire rack and baking sheet — For resting the fried chicken. This keeps it crispy. Paper towels make it soggy. Trust me on this.
Small saucepan — For making the glaze. Any small pan works.
Tongs — For flipping and removing chicken. Metal tongs are best.
Whisk — For mixing the sauce.
Colander — For shaking off excess flour before frying.
Small bowl — For the flour/cornstarch mix.
Large pot or Dutch oven — If you don’t have a deep skillet, a Dutch oven is great for frying. Just make sure it’s heavy-bottomed.
Optional but nice: Air fryer — If you’re trying to be healthier, you can air-fry the chicken, but it won’t get as crispy. I usually do one batch in the oven and one in the air fryer to compare, and the fried version wins every time.
How to Make It: Step-by-Step
Alright, let’s make this! I’m walking you through exactly how I do it, including the little tricks I’ve picked up over the years.
Step 1: Prep the Chicken (5 minutes)
Cut the chicken thighs into bite-sized pieces, about 1.5-inch chunks. Pat them completely dry with paper towels. This is crucial. Wet chicken = steam, not fry. Season with salt and pepper. In a small bowl, whisk together the flour and cornstarch. I use a 50/50 ratio because it gives the best texture. Set this aside.
Step 2: Coat the Chicken (5 minutes)
Toss the chicken pieces in the flour mixture. Make sure they’re well-coated, but shake off any excess. You want a thin, even layer, not a thick batter. If you have time, let the coated chicken sit on a rack for 10 minutes. This helps the coating adhere better and prevents it from falling off in the oil. I don’t always do this, but if I’m not in a rush, I do. It makes a difference.
Step 3: First Fry (10 minutes)
Heat the oil in your skillet or pot to 325°F (160°C). Fry the chicken in batches. Don’t crowd the pan! If you crowd it, the temperature drops, and the chicken absorbs oil instead of crisping up. Fry for about 5-6 minutes until they are pale golden and cooked through. Remove with tongs and place on a wire rack. Let them rest for 5-10 minutes. This step cooks the chicken and sets the crust.
Step 4: Second Fry (5 minutes)
Turn up the heat to 375°F (190°C). Once the oil is hot, fry the chicken again for 2-3 minutes until they are deep golden brown and super crispy. This second fry is what makes them crackle. Remove and drain on the wire rack. You should hear them sizzling as they rest.
Step 5: Make the Glaze (5 minutes)
In a small saucepan, combine ketchup, brown sugar, soy sauce, gochujang, minced garlic, and grated ginger. Add 2 tablespoons of water. Whisk over medium heat until the sugar dissolves and the sauce thickens slightly, about 3-4 minutes. If it’s too thick, add a little more water. Stir in the sesame oil at the very end. Remove from heat.
Step 6: Toss and Serve (2 minutes)
Immediately toss the hot, crispy chicken in the glaze. Use tongs to coat every piece evenly. The heat from the chicken will help the sauce stick. Transfer to a serving platter. Garnish with toasted sesame seeds and sliced green onions. Serve immediately while the chicken is still hot and crispy.
Total Time: About 30 minutes (10 minutes prep, 20 minutes cooking)
Expert Tips & Tricks
Here’s everything I’ve learned from making this dozens of times. These tips will save you from my mistakes.
Double-Fry is Non-Negotiable
I tried skipping the second fry once, and the chicken was soggy within 10 minutes. The second fry at higher heat creates that glass-like crunch. It’s worth the extra 5 minutes.
Don’t Crowd the Pan
Frying in batches might seem tedious, but it’s essential. Overcrowding drops the oil temperature, leading to greasy chicken. If you’re frying for a crowd, keep the finished pieces warm in a 200°F oven on a wire rack.
Pat the Chicken Dry
Wet chicken steams. Dry chicken fries. I can’t stress this enough. Use paper towels, and then use more paper towels. Get it as dry as possible before coating.
Use a Thermometer
Guessing oil temperature is risky. 325°F for the first fry, 375°F for the second. A thermometer takes the guesswork out and ensures consistent results.
Toast Your Sesame Seeds
Dry toast them in a small pan for 2 minutes until fragrant. It adds so much more flavor than raw seeds.
Adjust the Heat
Gochujang varies in heat. Start with 1 tablespoon if you’re sensitive to spice, and add more to taste. You can always add more heat, but you can’t take it away.
Glaze Timing
Toss the chicken in the sauce right before serving. If you toss it too early, the sauce softens the crust. We want that contrast of crispy and saucy.
Variations & Substitutions
Once you’ve nailed the basic version, here’s how you can mix it up. I’ve tried all of these.
Baking Soda Method
Some recipes call for marinating the chicken in baking soda for 20 minutes before coating. This changes the pH and creates a more porous, crispy crust. I’ve tried it, and it’s good, but the double-fry method is simpler and just as effective.
Spicy Version
Add 1 tablespoon of gochugaru (Korean chili flakes) to the glaze for extra heat. Or serve with a side of spicy mayo for dipping.
Honey Garlic
Swap the gochujang for extra honey and add more garlic. It’s sweeter and milder, perfect for kids.
Soy Garlic
Reduce the ketchup and brown sugar, and increase the soy sauce and garlic. It’s more savory and less sweet.
Vegetarian Option
Use cauliflower florets or king oyster mushrooms. The double-fry method works great for mushrooms, giving them a meaty, crispy texture. Toss in the same glaze.
Dairy-Free
This recipe is naturally dairy-free, so you’re good to go!
Gluten-Free
Swap the all-purpose flour for a 1:1 gluten-free flour blend. The cornstarch stays the same. It crisps up just as well.
Serving & Storage
How to Serve:
I usually serve this straight from the skillet at the dinner table. It looks rustic and stays warm. But here are other ways I’ve enjoyed it:
Side Dishes:
– Steamed jasmine rice (essential for soaking up the sauce)
– Kimchi (the acidity cuts the richness)
– Cucumber salad with vinegar and sesame oil
– Simple green salad with sesame dressing
Toppings Bar:
When I have guests, I put out: extra gochujang, sliced jalapeños, toasted sesame seeds, and green onions. Everyone customizes their bowl.
Wine Pairing:
Not a wine expert, but my wine-snob friend says a crisp Riesling or a light Pinot Noir works great with this. The sweetness of the wine balances the spice.
Storage Instructions:
Refrigerator:
Store in an airtight container for up to 3 days. The chicken will lose some crispness in the fridge, which is normal.
Reheating:
Best method: Air fryer at 375°F for 3-4 minutes. This brings back the crunch better than anything else.
Oven method: Bake on a wire rack at 400°F for 5-7 minutes.
Microwave method: Avoid this if you can. It makes the chicken chewy. If you must, use a low power setting and heat in short bursts.
Freezing:
You can freeze the fried chicken (without sauce) for up to 1 month. Thaw in the fridge and reheat in the air fryer or oven. Do not freeze the sauced chicken; it gets mushy.
Meal Prep:
Make the chicken and sauce separately. Store in the fridge for up to 3 days. Reheat chicken and toss in warm sauce right before eating. This keeps the texture best.
Nutrition Information
I’m not a nutritionist, but here’s the breakdown if you’re tracking.
Per Serving (based on 4 servings):
- Calories: 520
- Protein: 28g
- Carbs: 42g
- Fiber: 1g
- Sugar: 22g
- Fat: 26g
- Saturated Fat: 4g
- Cholesterol: 110mg
- Sodium: 680mg
What’s Good:
– High protein from the chicken
– Can add vegetables to boost nutrition
– More filling than it looks
What to Know:
– Higher in calories from frying and sugar
– Contains gluten (unless modified)
– Moderate sodium (use low-sodium soy sauce to reduce)
My Take:
Look, this is indulgent food. It’s fried chicken with a sweet glaze. It’s not a diet recipe. But it’s way better than takeout, costs less, and I know exactly what’s in it. When I want to make it lighter, I bake the chicken instead of frying and reduce the sugar in the sauce. But usually? I just eat a reasonable portion and enjoy it.
Final Thoughts
So that’s my Crispy Korean Fried Chicken! I’ve probably talked your ear off at this point, but when you make a recipe this often, you have a lot to say about it.
This has saved weeknight dinners more times than I can count. It’s my answer to “what’s for dinner” when I’m tired, don’t want takeout, and still want something that tastes really good. My kids are happy, my husband’s happy, and I’m happy because I’m not stressed about cooking.
Make it yours! Try different add-ins, swap in your favorite vegetables, adjust the garlic (though more is always better in my opinion). The best recipes are the ones you adapt to your family’s tastes.
If you make this, drop a comment and let me know what you think! I love hearing how recipes turn out in your kitchen. And if something doesn’t work, tell me that too—I’m here to help troubleshoot.
Happy cooking! And I hope your kitchen smells half as good as mine does right now.
Frequently Asked Questions
Can I use chicken breast instead of thighs?
You can, but thighs are juicier and more forgiving. If you use breast, cut the pieces smaller so they cook quickly and don’t dry out. I recommend brining them for 30 minutes if you use breast, but it’s not necessary for thighs.
Why did my chicken get soggy?
Usually means you didn’t double-fry, or you tossed it in the sauce too early. The second fry is crucial for crunch. Also, make sure you’re using a wire rack to rest the chicken, not paper towels, which trap steam.
Can I make the sauce ahead?
Yes! The sauce can be made up to 3 days ahead and stored in the fridge. Reheat it gently before tossing with the chicken. It actually tastes better after the flavors have melded.
What is gochujang?
It’s a Korean chili paste made from chili powder, fermented soybeans, rice, and sugar. It’s spicy, sweet, and savory. You can find it in most Asian grocery stores or the international aisle of larger supermarkets. If you can’t find it, mix chili flakes with a bit of miso or soy sauce.
How do I reheat leftovers without it getting dry?
Use an air fryer at 375°F for 3-4 minutes. This restores the crispiness better than an oven. If you don’t have an air fryer, bake on a wire rack at 400°F for 5-7 minutes. Avoid the microwave if you want to preserve texture.
Can I bake this instead of frying?
You can, but it won’t be as crispy. To bake, coat the chicken in the flour/cornstarch mix, spray with oil, and bake at 400°F for 20-25 minutes, flipping halfway. For extra crispiness, broil for the last 2 minutes. It’s healthier, but the fried version is superior in texture.
Is this recipe gluten-free?
The standard recipe uses all-purpose flour, so it’s not gluten-free. To make it gluten-free, use a 1:1 gluten-free flour blend. The cornstarch and other ingredients are naturally gluten-free.
Pin This Recipe!
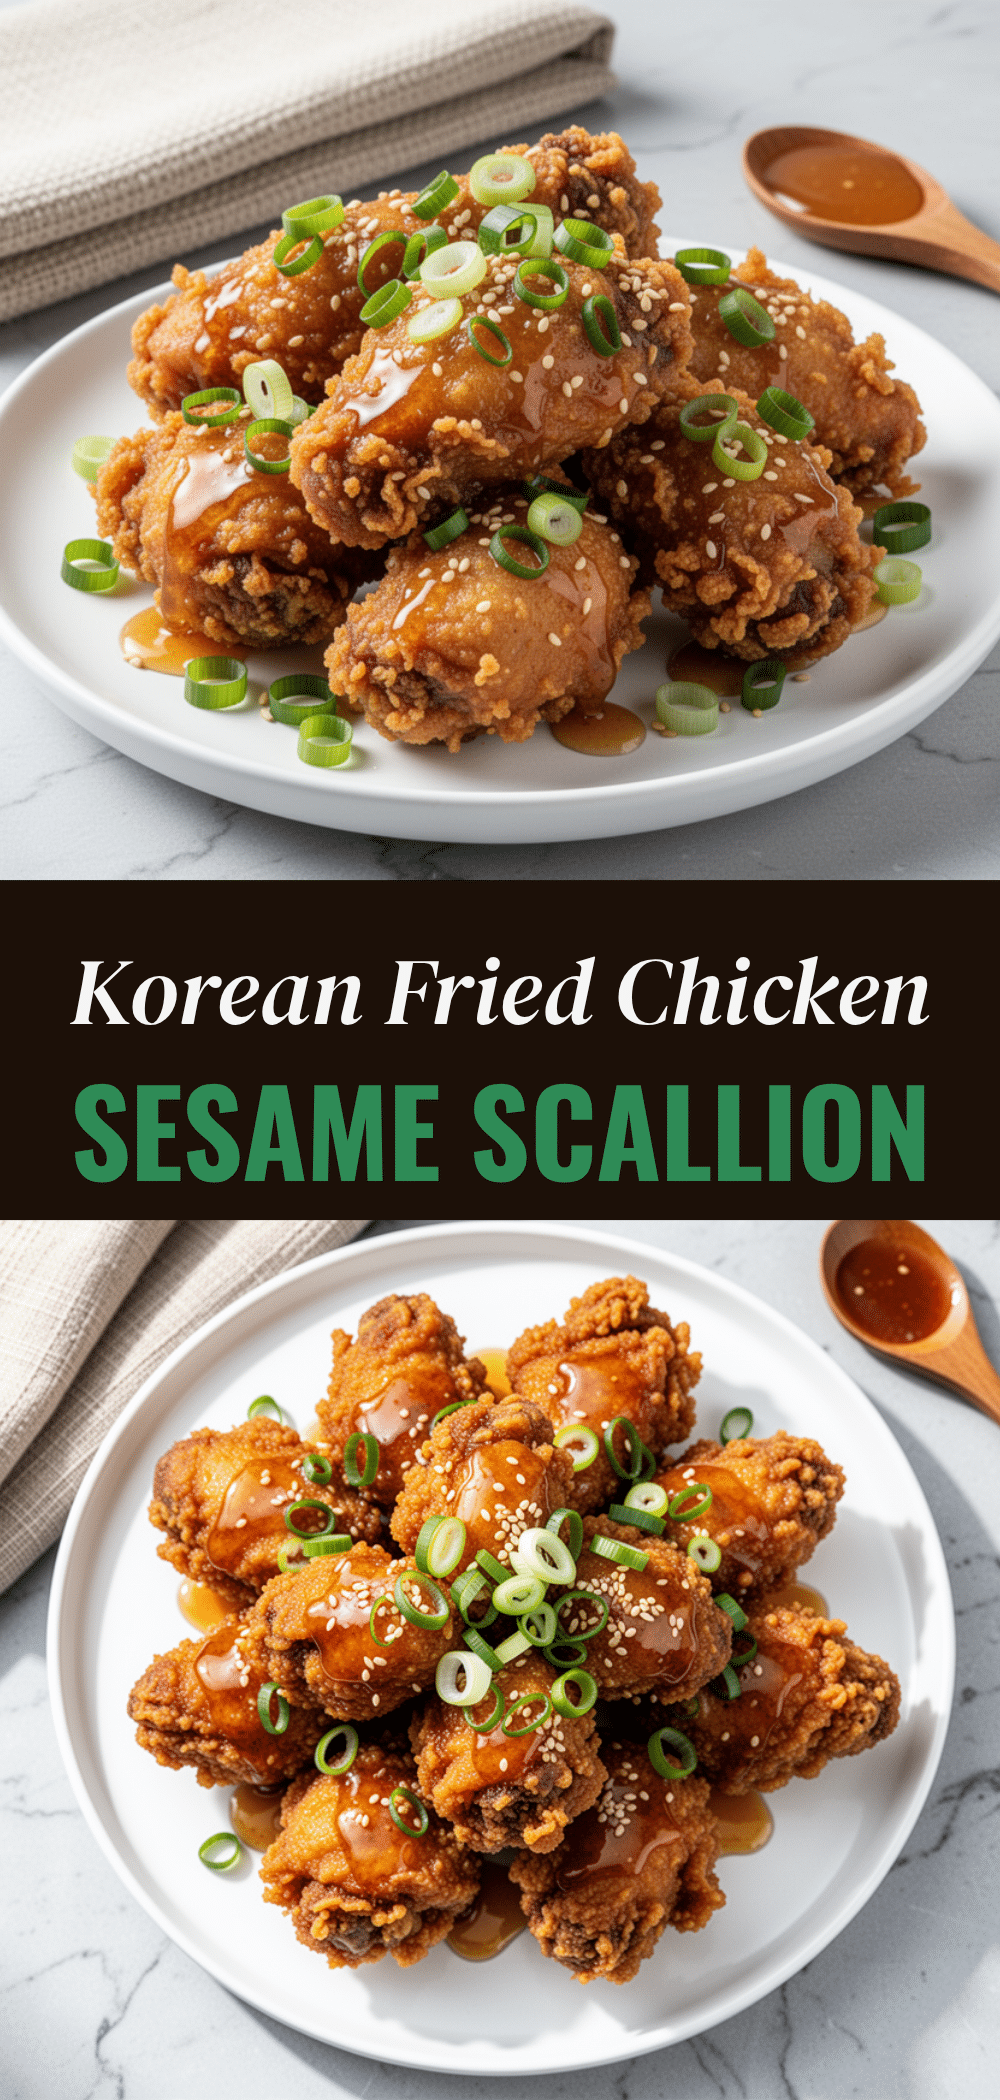
Crispy Korean Fried Chicken: 30-Minute Easy Dinner
- Total Time: 30 minutes
- Yield: 4 servings 1x
Description
A fast, double-fried Korean fried chicken recipe with a sticky, sweet, and spicy glaze that stays crispy. Perfect for weeknight dinners when you want takeout quality without the wait.
Ingredients
- 2 pounds boneless, skinless chicken thighs
- 1 teaspoon coarse salt
- ½ teaspoon black pepper
- ½ cup all-purpose flour
- ½ cup cornstarch
- 2–3 cups neutral oil (vegetable, canola, or peanut)
- ¼ cup ketchup
- 3 tablespoons brown sugar
- 2 tablespoons soy sauce
- 2 tablespoons gochujang (Korean chili paste)
- 4 cloves garlic, minced
- 1 teaspoon fresh ginger, grated
- 1 teaspoon sesame oil
- 2–3 tablespoons water
- 1 tablespoon toasted sesame seeds
- 2 green onions, sliced thinly
Instructions
- Cut chicken thighs into 1.5-inch bite-sized pieces and pat completely dry with paper towels.
- Season chicken with salt and pepper.
- In a small bowl, whisk together flour and cornstarch.
- Toss chicken pieces in the flour mixture to coat evenly, shaking off excess. Let sit on a rack for 10 minutes if time permits.
- Heat oil in a large skillet or wok to 325°F (160°C).
- Fry chicken in batches for 5-6 minutes until pale golden and cooked through. Remove to a wire rack and rest for 5-10 minutes.
- Increase oil temperature to 375°F (190°C).
- Fry chicken again for 2-3 minutes until deep golden brown and crispy. Remove to wire rack.
- In a small saucepan, combine ketchup, brown sugar, soy sauce, gochujang, garlic, ginger, and 2 tablespoons water.
- Whisk over medium heat until sugar dissolves and sauce thickens slightly (3-4 minutes). Stir in sesame oil at the end.
- Toss hot fried chicken in the glaze immediately before serving.
- Garnish with toasted sesame seeds and sliced green onions. Serve immediately.
Notes
Double-frying is essential for achieving a crispy texture that holds up to the sauce. Do not crowd the pan during frying to maintain oil temperature. Use a wire rack instead of paper towels to rest chicken to prevent sogginess. For a gluten-free version, substitute all-purpose flour with a 1:1 gluten-free flour blend. Gochujang can be substituted with chili flakes and miso paste if unavailable.
- Prep Time: 10 minutes
- Cook Time: 20 minutes
- Category: Main Course
- Cuisine: Korean
Nutrition
- Serving Size: 1 serving (approx. 1
- Calories: 520
- Sugar: 22
- Sodium: 680
- Fat: 26
- Saturated Fat: 4
- Carbohydrates: 42
- Fiber: 1
- Protein: 28
Keywords: Korean fried chicken, crispy chicken, weeknight dinner, easy recipe, double fry, gochujang, spicy chicken, 30 minute meals



