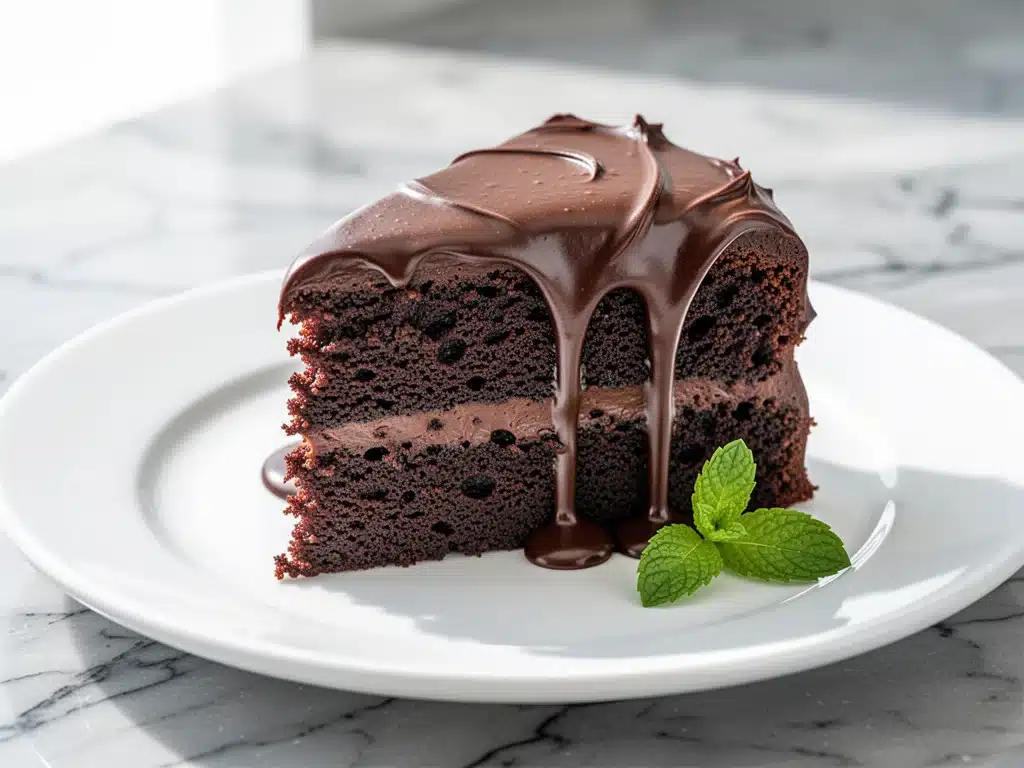
Last Thursday, I was staring at the clock at 6:15 PM with a sinking feeling in my stomach. My husband was heading home from work, my teenage daughter had mentioned something about “dinner” earlier that morning (which I had completely ignored in favor of watching a documentary about deep-sea squids), and I had exactly zero energy to cook. The fridge was mostly empty—some sad spinach, a block of cheese, and a jar of pickles. But the pantry? The pantry was full of hope.
Specifically, it was full of cocoa powder, flour, sugar, and eggs. So, I did what I always do when I’m too tired to think but desperate to feed my family: I threw together a double chocolate cake. Not because it was her birthday. Not because we were celebrating anything. Just because I wanted something sweet to end the day, and I didn’t want to order takeout or eat cereal over the sink.
I mixed the batter in a single bowl. I used boiling water to bloom the cocoa (which sounds fancy, but it’s just hot water). I baked it while I folded laundry. And when that cake came out of the oven, smelling like pure comfort and chocolate heaven, I realized something important. This ultra-moist double chocolate cake isn’t just a dessert. It’s a rescue mission.
I’ve made this cake at least twenty times in the last six months. Sometimes it’s for a dinner party where I want to look like I spent hours in the kitchen (spoiler: I didn’t). Sometimes it’s just because my kids walked in and asked, “Is that cake? Can we have cake for dinner?” And honestly? I say yes. Because life is too short for dry, complicated desserts that require three separate bowls and a whisk attachment you haven’t used since Christmas 2019.
This recipe is different. It’s dense, fudgy, and impossibly moist. It uses buttermilk and oil instead of butter, which keeps it tender for days. It’s the kind of cake that tastes like you bought it from a fancy bakery but cost you less than $5 to make. If you’re a busy parent, a working professional, or just someone who loves chocolate more than breathing, this is your new best friend. Let’s get into why this cake works so well, what you need, and how to make it without losing your mind.
Why You’ll Love This Ultra-Moist Double Chocolate Cake
Look, there are a thousand chocolate cake recipes out there. I’ve tried them. I’ve failed at them. I’ve made cakes so dry they could double as dog treats. But this ultra-moist double chocolate cake? It’s the real deal. Here’s why it keeps ending up on my counter:
- One Bowl Magic — Seriously. One bowl. One whisk. No electric mixer required. I’ve made this cake while holding my baby on one hip. If you can whisk, you can make this. No fancy equipment, no mess, no stress.
- Stays Moist for Days — Most cakes dry out by day two. This one? It gets better. The oil and buttermilk create a texture that stays soft and fudgy for up to four days in the fridge. I often make it on Sunday and eat slices all week long. It tastes just as good on Wednesday as it did on Sunday.
- Uses Basic Pantry Staples — You probably have most of these ingredients right now. Flour, sugar, cocoa, eggs, oil, buttermilk. If you don’t have buttermilk, I’ll show you a 30-second hack. No weird ingredients you need to hunt down at a specialty store.
- Rich, Not Overwhelming — It’s chocolatey, yes. But it’s not cloying. The boiling water blooms the cocoa, making it taste intense and sophisticated without being bitter. It’s the kind of cake you can eat a huge slice of and feel satisfied, not guilty.
- Zero Fuss — No tempering chocolate. No separating eggs. No waiting for butter to soften. You mix, you pour, you bake. Done. It’s the easiest dessert you’ll ever make that still tastes incredible.
This cake has saved me more times than I can count. It’s my answer to “what’s for dessert?” when I’m tired, broke, or just don’t care. It’s reliable, delicious, and makes my kitchen smell like a high-end bakery. That’s worth something.
Ingredients You’ll Need
Here’s the best part: you likely have 90% of these ingredients already. This isn’t a recipe that requires a trip to three different stores. It’s built for real life. Here’s what you need and why each part matters.
For the Cake Batter
All-purpose flour (2 cups / 250g) — The base. Don’t use cake flour unless you want a lighter crumb. We want dense and fudgy here. Spoon it into the cup and level it off; don’t scoop directly from the bag or you’ll pack it too tight.
Granulated sugar (2 cups / 400g) — Yes, two full cups. Don’t reduce the sugar. Sugar isn’t just for sweetness; it keeps the cake moist. If you cut it down, you’ll get a dry cake. Trust me. I’ve tried.
Dutch-process cocoa powder (3/4 cup / 75g) — This is the star. Dutch-process is treated with an alkali, making it darker and less bitter. It gives that deep, rich chocolate flavor. Regular unsweetened cocoa works, but Dutch-process tastes more like “real” chocolate. I use Hershey’s Special Dark or Guittard.
Baking soda (2 teaspoons) — This reacts with the acidic buttermilk to create lift. Don’t use baking powder; it won’t give you the same texture.
Salt (1 teaspoon) — Crucial. Salt makes chocolate taste like chocolate. Without it, the cake tastes flat and one-dimensional.
Large eggs (2) — Room temperature is best. They help bind everything together and add richness. If they’re cold, just drop them in warm water for 5 minutes.
Buttermilk (1 cup / 240ml) — This is the secret weapon. The acidity tenderizes the gluten, keeping the cake soft. If you don’t have buttermilk, mix 1 cup of whole milk with 1 tablespoon of white vinegar or lemon juice. Let it sit for 5 minutes. It’ll curdle slightly. That’s what you want.
Vegetable oil (1/2 cup / 120ml) — Oil keeps cakes moister than butter because it’s 100% fat and doesn’t solidify when cold. This is why the cake stays soft in the fridge. Use a neutral oil like canola, vegetable, or light olive oil. Don’t use extra virgin olive oil unless you want it to taste like salad.
Vanilla extract (2 teaspoons) — Pure vanilla, not imitation. It rounds out the chocolate flavor.
For the Glaze
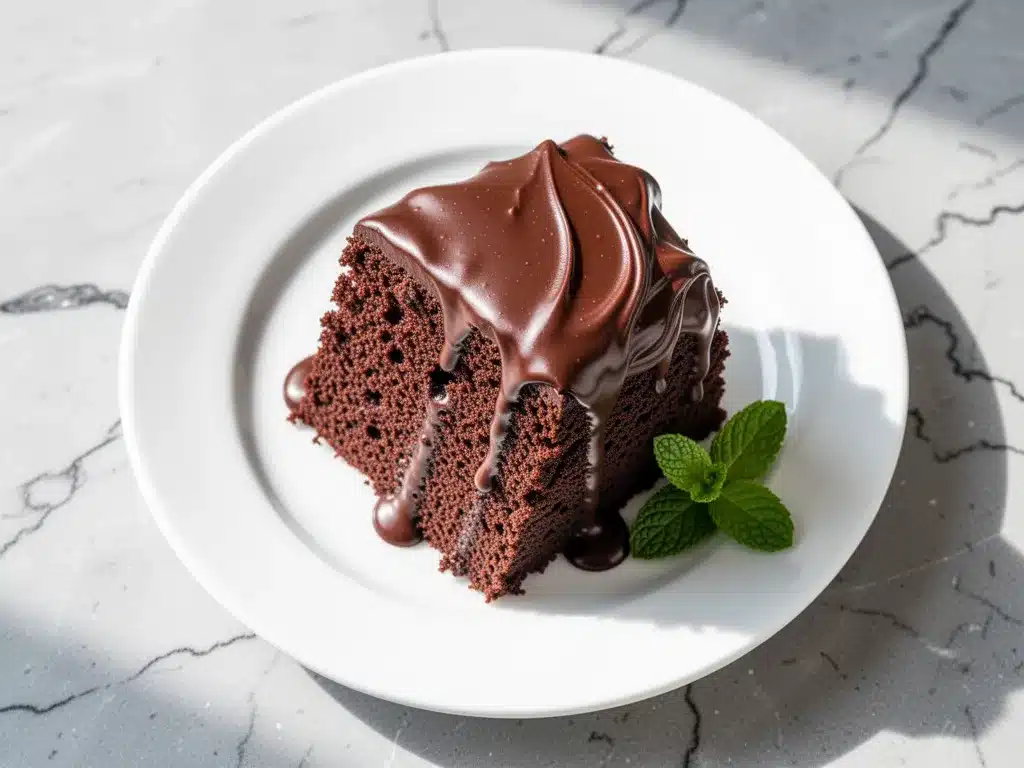
Heavy cream (1/2 cup / 120ml) — Full fat only. Half-and-half will be too thin. This creates the glossy, pourable glaze.
Chocolate chips (1 cup / 170g) — Semi-sweet or bittersweet. I use Ghirardelli 60% cacao. They melt smoothly into the cream.
Butter (2 tablespoons) — Adds shine and richness to the glaze. Unsalted is fine.
Pinch of salt — Again, enhances the chocolate.
Equipment Needed
You don’t need fancy gadgets. Here’s what I actually use:
Large mixing bowl — Something big enough to hold all the dry ingredients without spilling. I use a 5-quart glass bowl.
Whisk — A standard balloon whisk works perfectly. No mixer needed.
9-inch round cake pans — Two of them. Grease and flour them, or line the bottoms with parchment paper. I love parchment because it guarantees the cake won’t stick.
Measuring cups and spoons — Standard stuff. Level off your dry ingredients.
Small saucepan — For heating the cream and melting the chocolate chips for the glaze. Or use a microwave-safe bowl if you’re lazy (which I often am).
Wire cooling rack — Essential for letting the cake cool evenly so it doesn’t get soggy.
How to Make It: Step-by-Step
Alright, let’s make this. It’s going to be fast, easy, and delicious. I’m walking you through exactly how I do it, including the little tricks I’ve picked up over the years.
Step 1: Prep Your Pan and Oven (5 minutes)
Preheat your oven to 350°F (175°C). Grease two 9-inch round cake pans with butter or non-stick spray. Line the bottoms with parchment paper circles. This is non-negotiable if you want clean slices later. Dust with a little flour, tapping out the excess.
Step 2: Mix the Dry Ingredients (3 minutes)
In your large bowl, whisk together the flour, sugar, cocoa powder, baking soda, and salt. Make sure there are no lumps of cocoa. Sifting isn’t strictly necessary if you whisk well, but if you have a sifter, use it. It makes the batter smoother.
Step 3: Add the Wet Ingredients (2 minutes)
Make a well in the center of the dry mix. Pour in the eggs, buttermilk, oil, and vanilla. Using your whisk, mix until just combined. Don’t overmix. A few lumps are okay. You want a smooth, dark batter. It will look thin—that’s normal.
Step 4: The Boiling Water Trick (2 minutes)
This is the game-changer. Carefully stir in 1 cup of boiling water. The batter will become very thin, almost like soup. Do not panic. This is exactly what you want. The hot water “blooms” the cocoa powder, releasing its full flavor and keeping the cake incredibly moist. Pour it into the prepared pans.
Step 5: Bake (30-35 minutes)
Place the pans in the center of the oven. Bake for 30-35 minutes. Insert a toothpick into the center of each cake. If it comes out clean or with just a few moist crumbs, they’re done. If it’s wet batter, give them 2-3 more minutes. Don’t overbake, or they’ll be dry.
Step 6: Cool Completely (1 hour)
Let the cakes cool in the pans for 10 minutes, then turn them out onto a wire rack. Let them cool completely before glazing. If you glaze a warm cake, the glaze will melt and slide right off. Patience pays off.
Step 6: Make the Glaze (5 minutes)
While the cakes cool, make the glaze. In a small saucepan, heat the heavy cream over medium heat until it just starts to simmer (small bubbles around the edges). Remove from heat. Add the chocolate chips, butter, and pinch of salt. Let it sit for 2 minutes, then whisk until smooth and glossy. It should look like liquid silk.
Step 7: Assemble
Place one cake layer on a plate or cake stand. Pour half the glaze over it, letting it drip down the sides. Top with the second layer. Pour the remaining glaze over the top. Let it set for 15 minutes before slicing. The glaze will firm up slightly, creating a beautiful crust.
Expert Tips & Tricks
Here’s everything I’ve learned from making this dozens of times. These tips will save you from my mistakes.
Don’t Skimp on the Boiling Water
I know it seems weird to add boiling water to cake batter. But it’s essential. It doesn’t cook the cake; it just blooms the cocoa. Without it, the chocolate flavor is muted and the cake is drier. Embrace the hot water.
Room Temperature Ingredients Matter
If your eggs or buttermilk are ice cold, they can shock the batter. Bring them to room temperature for 30 minutes before starting. It helps everything emulsify better.
Check Your Oven Temperature
Ovens lie. My oven runs hot, so I always use an oven thermometer. If your oven is too hot, the cake will dome and crack. If it’s too cool, it won’t rise. Know your oven.
Let It Cool Completely
I know you want to dive in. I know the smell is driving you crazy. But if you cut into a warm cake, it will crumble. The structure needs to set. Wait the hour. It’s worth it.
Glaze Consistency
If the glaze is too thick, add a teaspoon of warm cream. If it’s too thin, let it cool a bit longer before pouring. It should coat the back of a spoon but still pour easily.
Variations & Substitutions
Once you’ve nailed the basic version, here’s how you can mix it up. I’ve tried all of these.
Gluten-Free Version
Use a 1:1 gluten-free flour blend (like Bob’s Red Mill or King Arthur). It works perfectly. No texture change.
Dairy-Free Version
Swap the buttermilk for almond milk + vinegar. Use coconut oil instead of vegetable oil (it’ll taste slightly coconutty). Use dairy-free chocolate chips and coconut cream for the glaze. It’s surprisingly good.
Coffee-Enhanced
Replace the boiling water with boiling strong coffee. It doesn’t make it taste like coffee; it just makes the chocolate taste more intense. A pro move.
Mini Cupcakes
Divide the batter into a muffin tin lined with cups. Bake for 18-20 minutes. Makes perfect party-sized portions.
Red Velvet Twist
Add 1 tablespoon of red food coloring to the batter. It’s still chocolatey, but pretty.
Serving & Storage
How to Serve:
I serve this cake plain, with just the glaze. But if you want to get fancy, add a dollop of whipped cream and a few raspberries. The tartness cuts through the richness. Or sprinkle sea salt on top before the glaze sets. It’s amazing.
Storage:
Store leftovers in an airtight container at room temperature for up to 3 days. The fridge will dry it out, but if you live in a hot climate, refrigerate it. Let it come to room temperature before eating for the best texture.
Freezing:
You can freeze the unfrosted cake layers. Wrap them tightly in plastic wrap, then foil. Freeze for up to 3 months. Thaw overnight in the fridge before glazing.
Nutrition Information
I’m not a nutritionist, but here’s the breakdown if you’re tracking. Keep in mind, this is a rich dessert, so portion control is key.
Per Serving (based on 12 slices):
- Calories: 520
- Protein: 6g
- Carbs: 72g
- Fiber: 3g
- Sugar: 54g
- Fat: 22g
- Saturated Fat: 12g
Look, this is cake. It’s sugar and flour and chocolate. It’s not a health food. But it’s better than store-bought cake, which is full of preservatives and weird chemicals. This is real food. Enjoy it in moderation, and enjoy every bite.
Final Thoughts
So that’s my ultra-moist double chocolate cake. It’s simple, it’s delicious, and it’s the easiest dessert I know. I’ve made it for birthdays, for weeknights, for when I’m sad, and for when I’m happy. It works in every situation.
Next time you’re staring at the clock, tired and hungry, and you don’t want to cook a big meal but you want something special, make this cake. It’ll take you 30 minutes of active time, and the rest is just waiting. And when that chocolate smell fills your kitchen, you’ll wonder why you ever bought boxed mix or ordered expensive bakery cakes.
Make it yours. Add sprinkles. Add nuts. Add a layer of peanut butter. The best recipes are the ones you adapt to your taste. And if you make this, drop a comment and let me know how it turned out. I love hearing from you.
Frequently Asked Questions
Can I use regular cocoa powder instead of Dutch-process?
Yes, you can. But Dutch-process is darker and less acidic, which gives a richer flavor. If you use regular cocoa, the cake might be slightly lighter in color and taste a bit more bitter. I recommend Dutch-process if you can find it, but regular works in a pinch.
Why did my cake sink in the middle?
Usually, this means it was underbaked or the oven temperature was too high. Make sure you do the toothpick test. Also, don’t open the oven door during the first 20 minutes of baking. The sudden drop in temperature can cause the cake to collapse.
Can I make this cake ahead of time?
Absolutely. Bake the cakes a day ahead. Let them cool completely, wrap them tightly in plastic wrap, and store at room temperature. Make the glaze the next day and assemble. It actually tastes better after sitting overnight because the flavors meld together.
Can I use milk instead of buttermilk?
Yes, but you need to make it acidic. Add 1 tablespoon of white vinegar or lemon juice to 1 cup of milk. Let it sit for 5-10 minutes until it curdles slightly. This mimics the acidity of buttermilk, which is essential for the chemical reaction with the baking soda.
Is this cake too sweet?
It’s sweet, yes. But the cocoa and the glaze balance it out. If you prefer less sweet, reduce the sugar in the batter to 1 1/2 cups. The glaze will still be sweet, so you might want to use bittersweet chocolate chips (70% cacao) to counteract it.
Can I double this recipe?
You can, but you’ll need larger pans or more pans. This recipe makes two 9-inch layers. If you double it, you’ll have four layers, which is great for a tall cake. Just make sure your oven has room for all the pans, or bake in batches.
Pin This Recipe!
Ultra-Moist Double Chocolate Cake: Easy Weeknight Dessert
- Total Time: 1 hour 50 minutes
- Yield: 12 servings 1x
Description
A dense, fudgy, and impossibly moist double chocolate cake that uses basic pantry staples and requires only one bowl. It stays soft for days and is perfect for busy weeknights.
Ingredients
- 2 cups (250g) all-purpose flour
- 2 cups (400g) granulated sugar
- 3/4 cup (75g) Dutch-process cocoa powder
- 2 teaspoons baking soda
- 1 teaspoon salt
- 2 large eggs, room temperature
- 1 cup (240ml) buttermilk
- 1/2 cup (120ml) vegetable oil
- 2 teaspoons vanilla extract
- 1 cup boiling water
- 1/2 cup (120ml) heavy cream
- 1 cup (170g) semi-sweet or bittersweet chocolate chips
- 2 tablespoons butter
- Pinch of salt
Instructions
- Preheat oven to 350°F (175°C). Grease two 9-inch round cake pans, line bottoms with parchment paper, and dust with flour.
- In a large bowl, whisk together flour, sugar, cocoa powder, baking soda, and 1 teaspoon salt until no lumps remain.
- Make a well in the center and add eggs, buttermilk, oil, and vanilla. Whisk until just combined; do not overmix.
- Carefully stir in 1 cup of boiling water. The batter will become thin. Pour into prepared pans.
- Bake for 30-35 minutes or until a toothpick inserted in the center comes out clean or with moist crumbs.
- Cool cakes in pans for 10 minutes, then turn out onto a wire rack to cool completely.
- For the glaze, heat heavy cream in a small saucepan until it just simmers. Remove from heat.
- Add chocolate chips, butter, and a pinch of salt to the cream. Let sit for 2 minutes, then whisk until smooth.
- Place one cake layer on a stand, pour half the glaze over it, top with the second layer, and pour remaining glaze over the top.
- Let glaze set for 15 minutes before slicing.
Notes
If you don’t have buttermilk, mix 1 cup of whole milk with 1 tablespoon of white vinegar or lemon juice and let sit for 5 minutes. Do not skimp on the boiling water as it blooms the cocoa. Ensure cakes are completely cool before glazing to prevent the glaze from sliding off.
- Prep Time: 15 minutes
- Cook Time: 30-35 minutes
- Category: Dessert
- Cuisine: American
Nutrition
- Serving Size: 1 slice
- Calories: 520
- Sugar: 54
- Fat: 22
- Saturated Fat: 12
- Carbohydrates: 72
- Fiber: 3
- Protein: 6
Keywords: chocolate cake, double chocolate, moist cake, easy dessert, one bowl cake, weeknight baking, gluten-free option, dairy-free option



