It was 6:15 AM on a Tuesday in September. The kind of Tuesday that feels like it’s been waiting for you all summer, just to trip you up. My kids were still in pajamas, the dog was howling for breakfast, and I was staring into an empty fridge that contained nothing but a sad lemon, half a jar of pickles, and three eggs that might have been good if I cooked them that second.
Normally, I’d be ordering takeout or feeding them cereal out of the box. But I had promised myself—and my exhausted self—that this school year would be different. No more frantic grocery runs. No more “what’s for breakfast?” meltdowns at the door. I needed a solution that was fast, healthy-ish, and didn’t involve me becoming a short-order cook before 7 AM.
So I did what any desperate parent does: I raided the pantry. I found a bag of oats that was slightly past its prime, a bottle of honey that had crystallized into a rock, and a bag of dried cranberries that looked suspiciously dusty. I threw them together with some peanut butter and a splash of vanilla. I didn’t have a recipe. I just had hunger and a deadline.
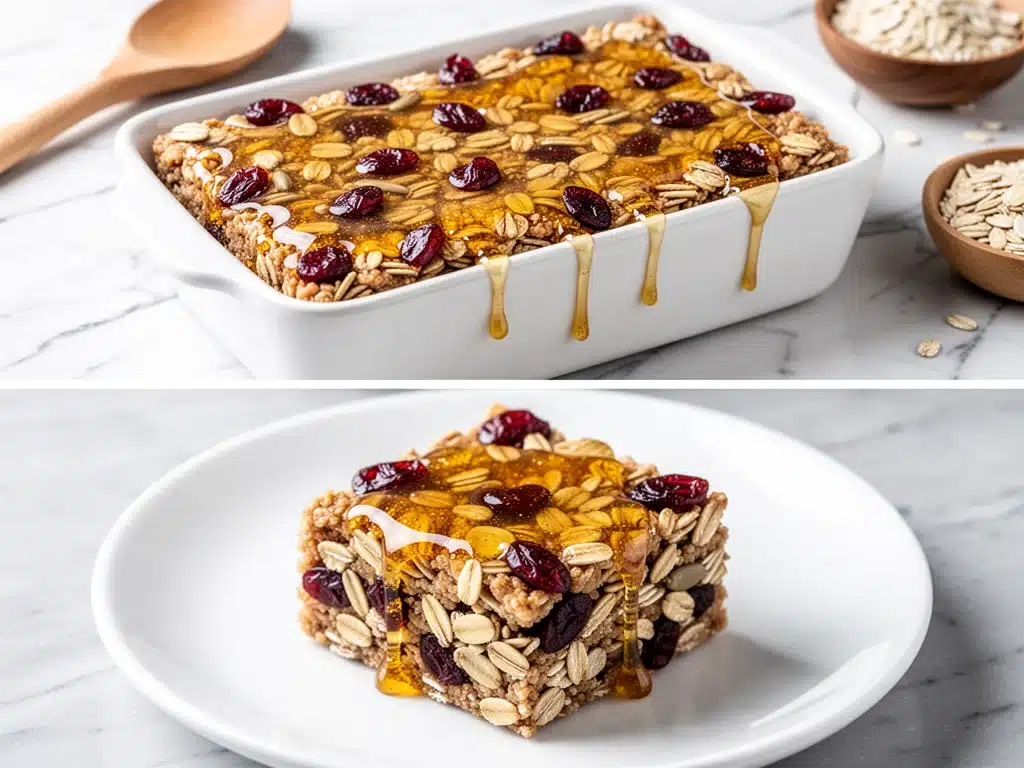
Twenty minutes later, I pulled a tray of golden, chewy, fragrant bars from the oven. They weren’t perfect. Some were a little thin, some a little thick. But when I handed one to my oldest, who was already reaching for his backpack, he took a bite, stopped talking, and nodded. That nod was everything.
That accidental breakfast became the backbone of our entire school year. I’ve made these Back-to-School Chewy Granola Breakfast Bars probably fifty times since then. Fifty times. They’re the reason I don’t stress about mornings anymore. They’re sticky, sweet, packed with fiber, and they keep in the fridge for two weeks. Basically, they’re a parenting hack disguised as a snack.
If you’re dreading the morning rush, or if you just want a grab-and-go breakfast that doesn’t taste like cardboard, you need to make these. They’re stupid simple, they use five ingredients (maybe six if you count the salt), and they taste like you spent hours in the kitchen. Spoiler alert: you won’t.
Why These Chewy Granola Bars Are Your New Best Friend
Look, I’ve tried a lot of “healthy” breakfast bars. Some are like eating a brick. Some are so sweet they give me a headache. Some fall apart in my bag before I even get to the car. These Back-to-School Chewy Granola Breakfast Bars are different. They hit that sweet spot between a granola bar and a soft-baked cookie, but they’re actually good for you.
Here’s why I keep making them week after week:
They Actually Stay Chewy — Most granola bars go hard as a rock after a day in the fridge. Not these. The secret is the ratio of wet to dry ingredients. I’ve tested this dozens of times, and this specific mix keeps them soft and chewy for days. They’re almost better on day two.
Five Ingredients. That’s It. — I’m serious. Oats, nut butter, honey, dried fruit, and vanilla. That’s it. You don’t need flaxseed meal, chia seeds, protein powder, almond flour, and a dozen other things you’ll buy once and never use again. This is pantry cooking at its finest.
Zero Morning Stress — I make a batch on Sunday night. By Monday, they’re cut into squares and sitting in a container on the counter. My kids grab them while they’re still warm. If they miss breakfast, they grab one for the bus. No packing, no reheating, no mess.
They Taste Like Dessert (But Are Breakfast) — Because they’re sweetened with honey and loaded with dried fruit, they satisfy that sweet tooth without the crash of a sugary donut. My kids think they’re getting away with something. I know they’re getting fiber and protein. Win-win.
Budget-Friendly — Oats and peanut butter are cheap. Dried fruit can be pricey, but you only need a cup. This batch costs about $8 to make and yields 12 bars. That’s less than $1 per bar. Compare that to the $3.50 granola bar at the gas station, and you’re saving money and eating better.
This recipe has saved our mornings. It’s saved me from buying expensive, processed bars at the store. And honestly? It’s saved my sanity. If you’re looking for a reliable, delicious, no-fuss breakfast, these are it.
What You’ll Need for 5-Ingredient Granola Bars
Here’s the best part: you probably have 90% of this already. I’m not asking you to go to three different stores for obscure ingredients. This is real, everyday cooking.
Old-Fashioned Rolled Oats (3 cups / 270g) — Don’t use instant oats. They’ll turn into mush. Don’t use steel-cut oats. They won’t bind. Old-fashioned rolled oats are the gold standard. They hold their shape and give that classic chewy texture. I buy the large canisters from the bulk bin—it’s cheaper and lasts forever.
Peanut Butter (1 cup / 250g) — This is your binder. Use creamy, natural peanut butter. If it’s separated, stir it well before measuring. Almond butter works too, but peanut butter gives that classic granola bar flavor that kids love. Just make sure it’s not the kind with added hydrogenated oils—it won’t bind as well.
Honey (½ cup / 150g) — Honey is the sweetener and the glue. It’s sticky, it’s natural, and it helps the bars hold together. Maple syrup works in a pinch, but the bars will be softer and stickier. I prefer honey for that crispier edge. Warm it up slightly if it’s crystallized—it makes mixing way easier.
Dried Cranberries (1 cup / 100g) — I use dried cranberries because they’re tart, which cuts through the sweetness of the honey and peanut butter. Raisins work too, but they’re sweeter and can get chewy in a weird way. Apricots or cherries are good if you want to mix it up, but cranberries are my go-to for that tangy contrast.
Vanilla Extract (1 teaspoon) — This sounds small, but it’s crucial. It adds that warm, bakery-like aroma. Don’t skip it. If you don’t have vanilla, use a pinch of cinnamon, but vanilla is classic.
Salt (½ teaspoon) — Yes, it’s a sixth ingredient, but you probably have salt. It balances the sweetness. Without salt, these bars will taste flat. Trust me.
Optional Add-Ins — I sometimes add a handful of dark chocolate chips or a sprinkle of chia seeds, but the base recipe is perfect on its own. Keep it simple.
Simple Tools You’ll Need
You don’t need fancy equipment. I’m not using a stand mixer or a food processor. Here’s what you actually need:
9×9 Inch Baking Pan — This is the standard size. If you don’t have one, a square cake pan works. Just make sure it’s 9×9. If you use a larger pan, the bars will be thin and dry. If you use a smaller pan, they’ll be too thick and gummy.
Large Mixing Bowl — Something big enough to hold 3 cups of oats plus the wet ingredients. A 4-quart bowl is perfect.
Saucepan or Microwave-Safe Bowl — You need to warm the honey and peanut butter so they mix easily. A small saucepan on the stove works great. Or, if you’re lazy like me, a microwave-safe bowl for 30 seconds.
Parchment Paper — This is non-negotiable. Line your pan with parchment. It makes cleanup a breeze and helps you lift the bars out later. Grease the parchment lightly too, just in case.
Sharp Knife — For cutting the bars. A serrated knife works best because it saws through the chewy texture without squishing them.
How to Make Chewy Granola Breakfast Bars
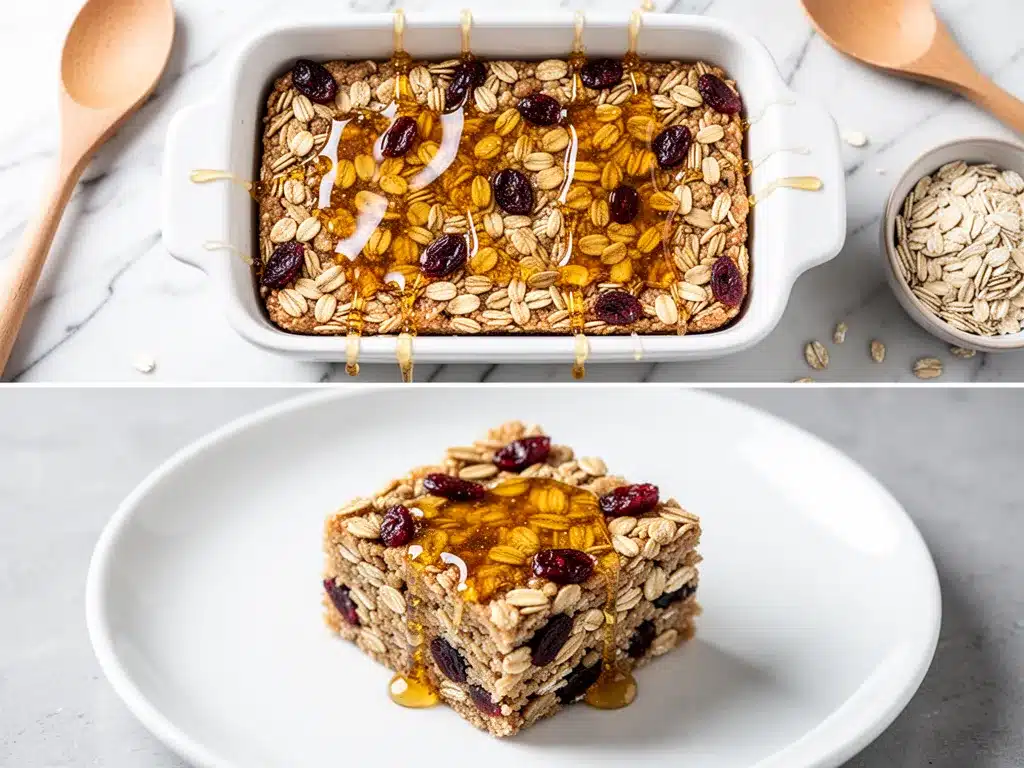
Alright, let’s make these! It’s going to take about 15 minutes of active time, and then you wait. I’ll walk you through exactly how I do it, including the little tricks that make the difference between a crumbly mess and a perfect bar.
Step 1: Prep Your Pan and Oven
Preheat your oven to 350°F (175°C). Line your 9×9 inch baking pan with parchment paper, leaving an overhang on the sides. This overhang is your handle for lifting the bars out later. Lightly grease the parchment with cooking spray or a little butter. This prevents sticking.
Step 2: Warm the Wet Ingredients
In a small saucepan over low heat (or in a microwave-safe bowl), combine the peanut butter and honey. Warm them gently, stirring constantly, until they are smooth and pourable. This usually takes about 2 minutes on the stove or 30 seconds in the microwave. Don’t let it boil! You just want it liquid. Stir in the vanilla extract and salt. Set aside.
Step 3: Mix the Dry Ingredients
In your large mixing bowl, add the rolled oats and dried cranberries. Toss them together so the fruit is distributed. If you’re adding any optional extras like chocolate chips or chia seeds, add them now.
Step 4: Combine Everything
Pour the warm peanut butter-honey mixture over the oats. Stir vigorously. It will look dry at first. Keep stirring. The heat from the honey and peanut butter will help it bind. You want every oat to be coated. This takes about 2-3 minutes of elbow grease.
Step 5: Press Into Pan
Transfer the mixture to your prepared pan. Use a spatula or the back of a greased spoon to press it down firmly. This is the most important step for chewy bars. Press hard! Pack it down so there are no air pockets. If it’s loose, the bars will crumble. You want a tight, even layer.
Step 6: Bake
Bake for 15-18 minutes. The edges should turn golden brown, and the center should look set but still slightly soft. Don’t overbake! They will firm up as they cool. If you bake them until they’re hard in the oven, they’ll be rock hard when cool.
Step 7: Cool Completely
Let the bars cool in the pan for at least 30 minutes. I know this is hard, but if you cut them while they’re hot, they’ll fall apart. Patience pays off. Once cool, lift them out using the parchment overhang and cut into squares.
Expert Tips for Perfect Bars
Here’s everything I’ve learned from making these dozens of times. These tips will save you from my mistakes.
Press It Down Firmly — I can’t stress this enough. If you don’t press the mixture down tightly, the bars will be crumbly. Use the bottom of a glass or a measuring cup to pack it down even more. This creates that dense, chewy texture.
Don’t Skip the Cooling Time — I’ve cut into hot bars before. It’s a disaster. They fall apart and stick to the knife. Let them cool completely. If you’re in a rush, at least let them cool for 20 minutes. But 30 is better.
Use Natural Peanut Butter — If your peanut butter has added sugar or oils, it might affect the binding. Natural peanut butter (just peanuts and salt) works best because it’s stickier. Just make sure it’s well-stirred.
Warm the Honey — Cold honey is thick and hard to mix. Warming it up makes it flow into the oats evenly. This ensures every oat is coated, which helps the bars hold together.
Store Properly — Keep them in an airtight container at room temperature for up to 5 days. In the fridge, they last 2 weeks. In the freezer, they last 3 months. I usually keep a batch in the fridge and one in the freezer.
Variations and Substitutions
Once you’ve nailed the basic version, here’s how you can mix it up. I’ve tried all of these.
Almond Butter Version — Swap peanut butter for almond butter. It’s a bit more expensive but tastes fancy. Great for nut-free schools? No, almond is still a tree nut. Use sunflower seed butter for nut-free.
Chocolate Chip — Add ½ cup dark chocolate chips. It’s like a blondie. My kids go crazy for this version.
Cherry Almond — Swap cranberries for dried cherries and use almond butter. Add a teaspoon of almond extract. It’s like a bakery bar.
Seed-Packed — Add 2 tablespoons of chia seeds and 2 tablespoons of flaxseed. Boosts the nutrition without changing the taste much.
Nut-Free — Use sunflower seed butter or soy nut butter. Everything else is naturally nut-free. Just check your oats and dried fruit for cross-contamination if you have severe allergies.
Serving and Storage
How to Serve: I serve these straight from the container. They’re perfect for packing in lunchboxes or grabbing on the way out the door. They don’t need refrigeration, but they’re nicer cold. I sometimes pair them with a piece of fruit or a yogurt tube for a complete breakfast.
Storage: Store in an airtight container at room temperature for up to 5 days. In the fridge, they last 2 weeks. In the freezer, they last 3 months. I wrap them in plastic wrap if freezing to prevent freezer burn.
Reheating: You don’t need to reheat them. But if you like them warm, microwave for 15 seconds. They’ll be soft and gooey.
Nutrition Information
I’m not a nutritionist, but here’s the breakdown if you’re tracking. This is per bar (makes 12 bars).
- Calories: 220
- Protein: 6g
- Carbs: 32g
- Fiber: 3g
- Sugar: 18g
- Fat: 9g
- Saturated Fat: 1.5g
- Cholesterol: 0mg
- Sodium: 50mg
What’s Good: High in fiber from oats. Good source of healthy fats from peanut butter. No refined sugar. What to Know: Higher in sugar from honey and dried fruit. Contains nuts. Moderate calories.
My Take: This is a snack, not a meal replacement for everyone. But for a quick breakfast on the go, it’s solid. I pair it with a glass of milk or a yogurt to boost protein.
Final Thoughts
So that’s my Back-to-School Chewy Granola Breakfast Bars! I’ve probably talked your ear off, but when you make a recipe this often, you have a lot to say about it. These bars have saved our mornings. They’re my answer to “what’s for breakfast” when I’m tired, don’t want takeout, and still want something that tastes really good. My kids are happy, I’m happy because I’m not stressed, and we’re all happy because we’re not eating cereal out of the box.
Make it yours! Try different dried fruits, swap the nut butter, add some chocolate chips. The best recipes are the ones you adapt to your family’s tastes. If you make this, drop a comment and let me know what you think! I love hearing how recipes turn out in your kitchen. And if something doesn’t work, tell me that too—I’m here to help troubleshoot.
Happy cooking! And I hope your kitchen smells half as good as mine does right now.
Frequently Asked Questions
Can I use steel-cut oats?
No. Steel-cut oats are too hard and won’t bind properly. They’ll stay chewy in a bad way. Use old-fashioned rolled oats or quick oats (but quick oats will make them softer).
Why did my bars fall apart?
You probably didn’t press them down firmly enough, or you cut them while they were still warm. Press hard and let them cool completely.
Can I make these nut-free?
Yes! Use sunflower seed butter or soy nut butter instead of peanut butter. Everything else is naturally nut-free.
How long do these last?
At room temperature, 5 days. In the fridge, 2 weeks. In the freezer, 3 months.
Can I use maple syrup instead of honey?
Yes, but the bars will be softer and stickier. Honey is better for binding. If you use maple syrup, add 2 tablespoons of flour to help thicken it.
Can I double this recipe?
Yes! Double everything and use a 9×13 inch pan. The baking time will increase to about 20-22 minutes.
Do I need to toast the oats?
No. Toasting is optional. It adds flavor, but it’s not necessary for the texture. I usually skip it to save time.
Pin This Recipe!
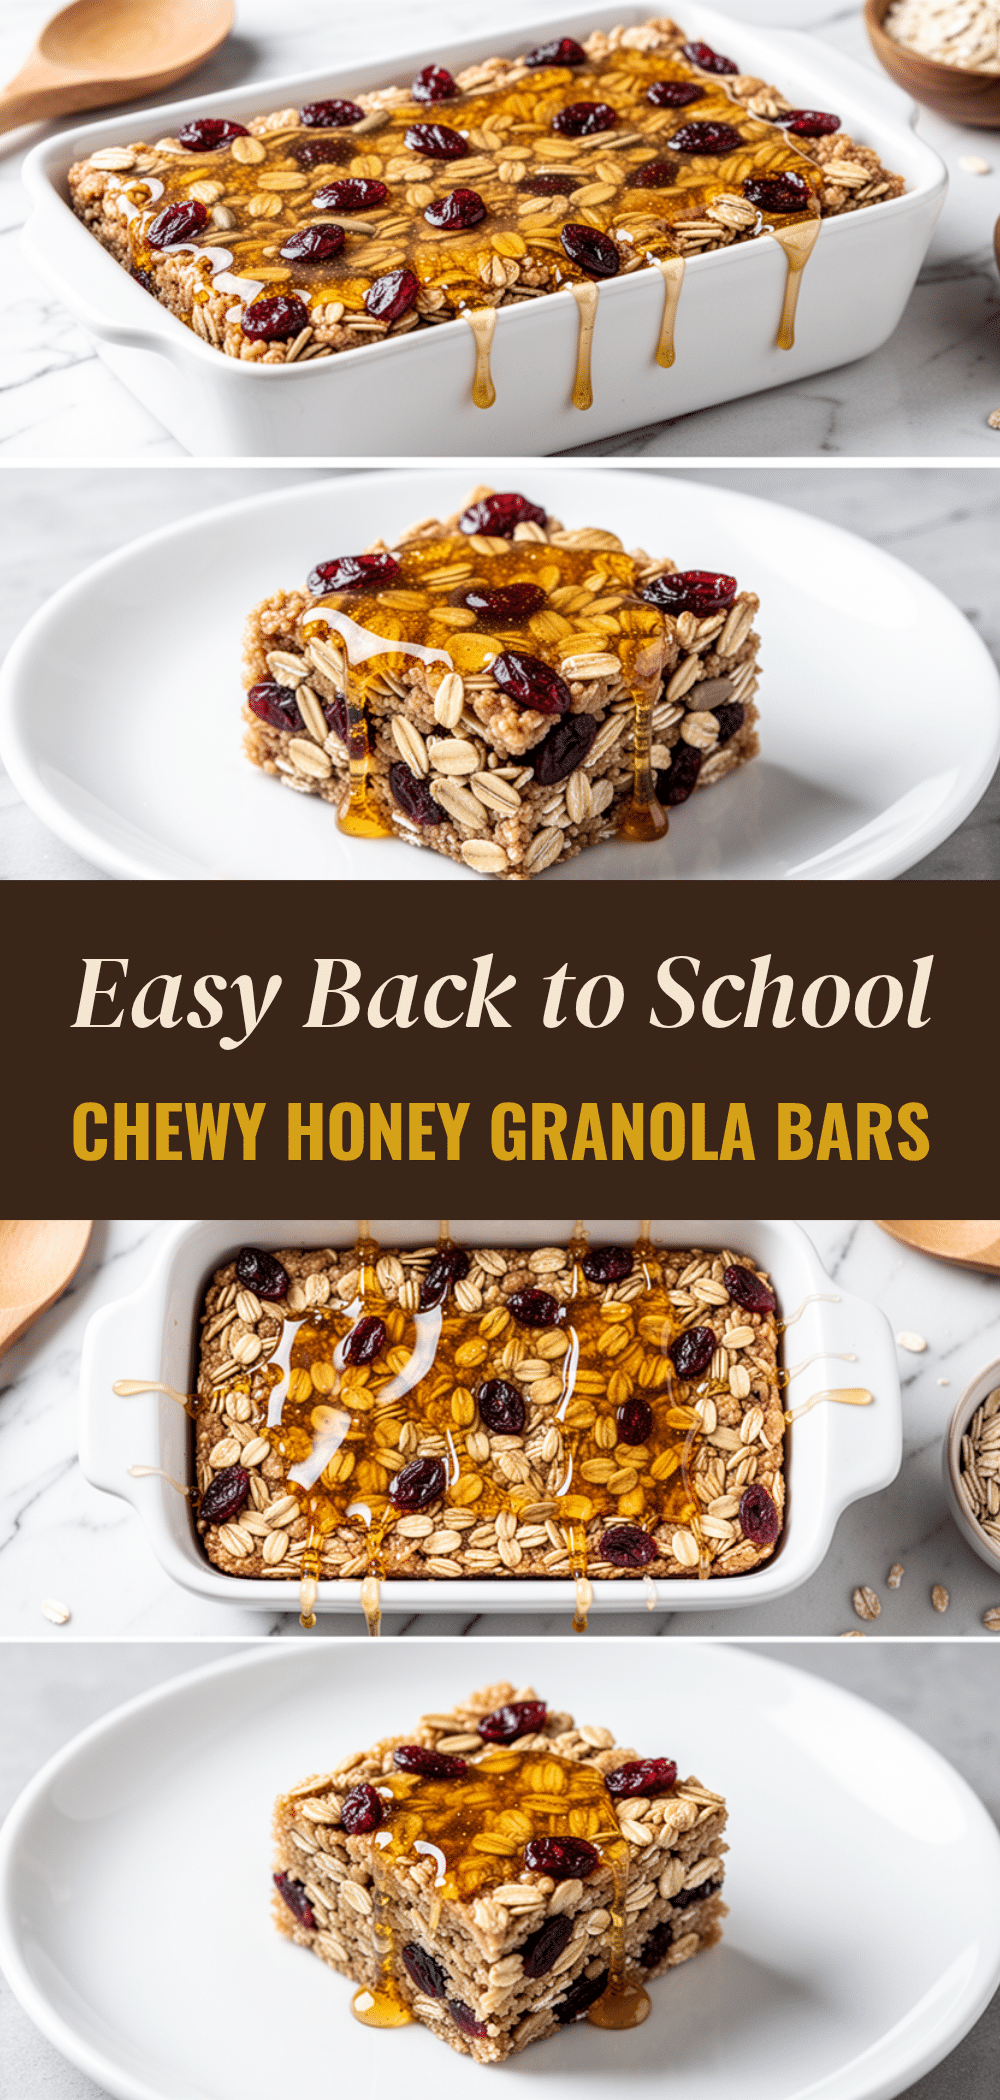
Back-to-School Chewy Granola Breakfast Bars
- Total Time: 33 minutes
- Yield: 12 servings 1x
Description
A simple, 5-ingredient chewy granola bar recipe that is perfect for busy school mornings. These bars are sticky, sweet, packed with fiber, and stay soft for days.
Ingredients
- 3 cups old-fashioned rolled oats
- 1 cup creamy natural peanut butter
- 1/2 cup honey
- 1 cup dried cranberries
- 1 teaspoon vanilla extract
- 1/2 teaspoon salt
Instructions
- Preheat oven to 350°F (175°C). Line a 9×9 inch baking pan with parchment paper, leaving an overhang on the sides, and lightly grease the parchment.
- In a small saucepan over low heat or a microwave-safe bowl, warm the peanut butter and honey until smooth and pourable. Stir in the vanilla extract and salt, then set aside.
- In a large mixing bowl, combine the rolled oats and dried cranberries. Toss to distribute the fruit evenly.
- Pour the warm peanut butter-honey mixture over the oats. Stir vigorously until every oat is coated and the mixture binds together.
- Transfer the mixture to the prepared pan. Press down firmly and tightly with a spatula or the back of a greased spoon to eliminate air pockets.
- Bake for 15-18 minutes, until the edges are golden brown and the center looks set but slightly soft.
- Let the bars cool completely in the pan for at least 30 minutes to allow them to firm up.
- Lift the bars out using the parchment overhang and cut into squares.
Notes
Press the mixture down firmly to ensure chewy texture. Do not cut while hot or they will fall apart. Store in an airtight container at room temperature for 5 days, in the fridge for 2 weeks, or in the freezer for 3 months. Use natural peanut butter for best binding. Honey can be substituted with maple syrup, but bars will be softer.
- Prep Time: 15 minutes
- Cook Time: 18 minutes
- Category: Breakfast
- Cuisine: American
Nutrition
- Serving Size: 1 bar
- Calories: 220
- Sugar: 18
- Sodium: 50
- Fat: 9
- Saturated Fat: 1.5
- Carbohydrates: 32
- Fiber: 3
- Protein: 6
Keywords: granola bars, breakfast bars, healthy breakfast, easy recipe, 5-ingredient recipe, school breakfast, chewy granola bars, oat bars



