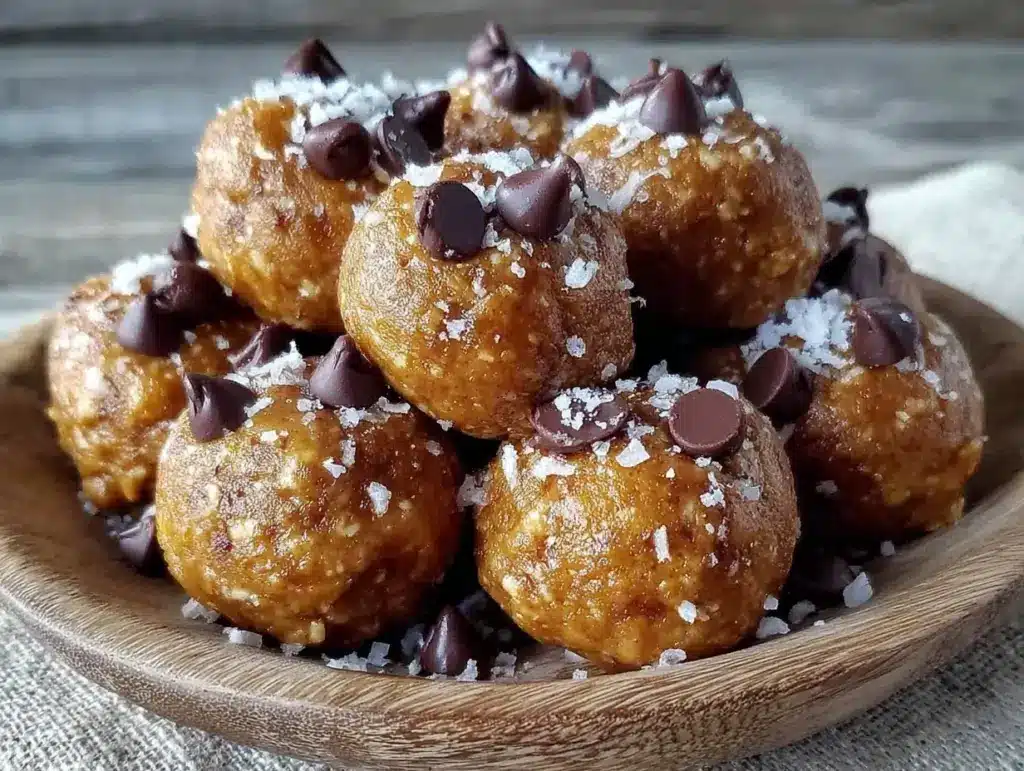
I still remember the specific smell of my grandmother’s kitchen on a rainy Sunday afternoon. It wasn’t just the smell of baking cookies or roasting chicken—it was the distinct, earthy aroma of peanut butter and oats simmering gently on the stove. She had a trick for her “energy bites,” as she called them back before that was even a trendy term. She’d stand by the counter, rolling small balls between her palms while she watched the old TV show on the radio. I’d sit on the counter, swinging my legs, waiting for the first one to be rolled in extra cocoa powder or dipped in those tiny chocolate chips she kept in a special jar.
She never measured anything. Not really. It was all “a handful of this,” “a splash of that,” and “until it feels right.” But as I got older and started paying attention, I realized her method wasn’t just intuition—it was balance. She wanted something that would keep me going through my afternoon soccer games without making me feel heavy or sluggish. She wanted something that tasted like a treat but felt like fuel. That’s what these high-protein peanut butter protein balls with mini chocolate chips are all about. They’re my modern take on her original recipe, tweaked just enough to boost the protein content so they actually work as a snack, but kept simple enough that she’d approve.
I’ve made these dozens of times over the last few years. Sometimes I’m rushing to pack lunches for school, sometimes I’m prepping for a busy work week, and sometimes I’m just craving something sweet but healthy. They’ve become my go-to because they’re forgiving. You don’t need a mixer. You don’t need an oven. You just need a bowl, a spoon, and about ten minutes of your time. If you can roll a ball, you can make these. And once you taste one, you’ll want to make them on repeat.
Why You’ll Love This Recipe
There are a lot of protein ball recipes out there. Some are too dry and taste like cardboard. Others are too sweet and feel like dessert disguised as health food. These peanut butter protein balls hit that perfect sweet spot that my grandmother always aimed for. Here’s why they’ve earned a permanent spot in my rotation:
They’re Truly No-Bake — Seriously, no oven required. I make these in the winter when I don’t want to heat up the house, and in the summer when the kitchen is already too hot. It’s just mixing and chilling. It’s as easy as stirring a pot of cozy fall roasted butternut squash soup with crispy sage, but faster.
High Protein, Real Ingredients — These aren’t just oats and sugar. I use peanut butter for healthy fats, oats for fiber, and a scoop of protein powder to keep you full. They’re substantial. I had one this morning with my coffee, and I wasn’t hungry again until lunch. That’s rare for a snack.
Sticky-Sweet and Chewy — The secret is the ratio of wet to dry ingredients. You want them to hold together but still be soft and chewy, not hard as rocks. The mini chocolate chips add little bursts of sweetness that remind me of those chocolate-dipped treats from my grandma’s kitchen.
Meal Prep Friendly — I make a batch every Sunday. They keep in the fridge for up to two weeks, or you can freeze them for longer. I throw a few in my gym bag, my work desk drawer, and my kids’ lunchboxes. They’re the ultimate grab-and-go snack.
Customizable — Love dark chocolate? Use dark chips. Allergic to peanuts? Try almond butter. Want more chocolate? Add extra chips. This recipe is a canvas, not a rigid rulebook.
I love these because they bring me back to that rainy Sunday feeling. Comforting, simple, and made with care. They’re proof that you don’t need fancy equipment or complicated techniques to make something delicious and nourishing.
Ingredients You’ll Need
One of the best things about these peanut butter protein balls is how few ingredients you need. You probably have most of them in your pantry right now. Here’s what I use and why each one matters.
For the Base
Old-Fashioned Rolled Oats (2 cups / 160g) — I use old-fashioned oats, not quick oats. Quick oats get too mushy and don’t give that nice chewy texture. If you have gluten-sensitive folks, make sure your oats are certified gluten-free. I like the chewiness of rolled oats; they hold the ball together better.
Natural Peanut Butter (1 cup / 250g) — This is non-negotiable for me. Use natural, creamy peanut butter where the oil separates. I always stir it well before measuring. Avoid the ones with added sugar and hydrogenated oils. You want pure peanuts. If your peanut butter is very runny, you might need a touch more oats. If it’s stiff, add a splash of milk.
Honey (½ cup / 150ml) — Honey is the binder that holds everything together. It adds that sticky sweetness my grandmother loved. Maple syrup works too, but it’s thinner, so you might need a bit more oats. Agave nectar is another option, though it’s less flavorful.
Vanilla Extract (1 teaspoon) — Just a teaspoon. It enhances the peanut butter flavor without making it taste like vanilla cake. Don’t skip it; it adds depth.
For the Protein and Texture
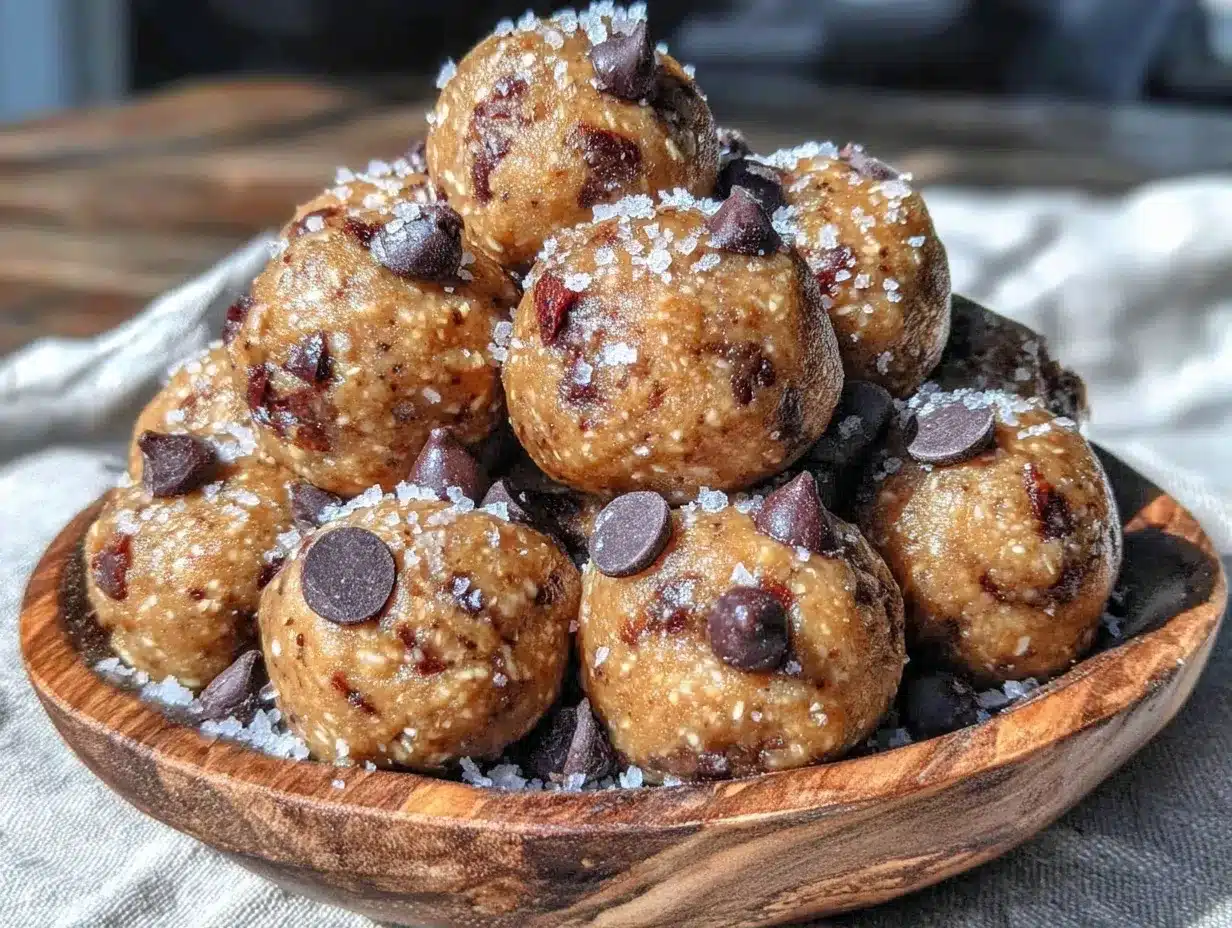
Protein Powder (1 scoop / 30g) — I use vanilla whey or plant-based vanilla protein. It adds protein and helps sweeten the balls naturally. If you don’t want to use protein powder, you can substitute with more oats and a tablespoon of honey, but the texture will be denser. I’ve tried chocolate protein powder too—it makes them taste like cookie dough, which is amazing.
Mini Chocolate Chips (½ cup / 85g) — Mini chips are crucial. They distribute evenly throughout the ball. Large chips are too big and can make the ball uneven. Semi-sweet mini chips are my favorite because they’re not too sweet. Dark chocolate chips are great if you want a richer flavor.
Optional Add-Ins
Flaxseed Meal (2 tablespoons) — I add this for extra fiber and omega-3s. It doesn’t change the taste much, just boosts the nutrition. Ground flaxseed is easier to digest than whole flaxseeds.
Sea Salt (½ teaspoon) — A pinch of salt balances the sweetness and makes the peanut butter flavor pop. Always add salt, even if the recipe says optional. Trust me.
Chopped Pecans or Walnuts (¼ cup) — For some crunch. I love the contrast of soft oats and crunchy nuts. It adds a nice texture similar to fall maple pecan sticky buns, but in bite-sized form.
Equipment Needed
You don’t need much for this. I keep it simple because I don’t want to wash a lot of dishes.
Large Mixing Bowl — I use a 4-quart bowl. It needs to be big enough to mix everything without spilling. Glass or ceramic works best.
Spatula — A sturdy silicone spatula is perfect for folding the ingredients together. You need something that can handle the thick, sticky mixture.
Measuring Cups and Spoons — I measure my oats and peanut butter, but I eyeball the honey and vanilla. If you want consistency, measure everything. I usually measure because I like to be precise with the protein powder.
Baking Sheet or Tray — I line it with parchment paper for easy cleanup. You’ll roll the balls and place them on the sheet to chill.
Airtight Container — For storing the finished balls. Glass containers work well, or plastic ones if you prefer lighter storage.
Refrigerator — Obviously. You need space to chill the balls so they firm up.
How to Make It: Step-by-Step
Alright, let’s make these peanut butter protein balls. It’s straightforward, but there are a few tricks to get the texture just right.
Step 1: Mix the Wet Ingredients (2 minutes)
In your large mixing bowl, combine the natural peanut butter, honey, and vanilla extract. Stir them together until smooth. If your peanut butter is stiff, you can microwave it for 15-20 seconds to soften it. This makes mixing much easier. The mixture should be glossy and smooth.
Step 2: Add the Dry Ingredients (3 minutes)
Add the rolled oats, protein powder, flaxseed meal (if using), and sea salt to the wet mixture. Stir gently at first, then mix more vigorously. The mixture will look dry and crumbly at first. Keep mixing until it starts to come together. It should look like thick cookie dough.
Step 3: Fold in the Chocolate Chips (1 minute)
Stir in the mini chocolate chips. If you’re adding nuts, add them now. Make sure they’re evenly distributed. If the mixture seems too dry and won’t hold together, add another tablespoon of honey or a splash of milk. If it’s too sticky, add a little more oats.
Step 4: Chill the Mixture (15-20 minutes)
This is the step I usually skip, but I regret it. Chilling the mixture makes it much easier to roll. The cold firm up the peanut butter, so the balls don’t stick to your hands. Place the bowl in the fridge for 15-20 minutes. If you’re in a hurry, you can put it in the freezer for 10 minutes, but don’t over-chill or the oats will get too hard.
Step 5: Roll the Balls (10 minutes)
Take a small amount of mixture (about 1 tablespoon) and roll it between your palms to form a ball. Try to make them all the same size for even chilling. Place them on the parchment-lined baking sheet. Don’t worry if they’re not perfect spheres; they don’t have to be. I like them rustic and homemade.
Step 6: Final Chill (2 hours)
Once all the balls are rolled, place the tray in the fridge for at least 2 hours, or overnight. This ensures they’re firm and ready to eat. You can also freeze them for longer storage. After chilling, transfer them to an airtight container.
Total Time: About 30 minutes active, plus 2 hours chilling.
Expert Tips & Tricks
Here’s everything I’ve learned from making these dozens of times. These tips will save you from my early mistakes.
Chill Your Hands — If the mixture is still sticky after chilling, wet your hands slightly with water before rolling. This prevents sticking without making the balls wet.
Use Natural Peanut Butter — Make sure you’re using natural peanut butter. The ones with stabilizers can be too stiff or too runny. Stir the natural peanut butter well before measuring. If it’s separated, the oil on top might make the mixture too oily.
Don’t Overmix — Once you add the oats, mix just until combined. Overmixing can make the balls dense and tough. You want them soft and chewy.
Size Matters — Aim for 1-inch balls. They’re the perfect size for a snack. Too big, and they’re like a meal. Too small, and they’re just bites.
Storage is Key — Store in an airtight container in the fridge for up to 2 weeks. For longer storage, freeze them in a single layer on a baking sheet, then transfer to a freezer bag. They’ll last for 3 months. Thaw in the fridge before eating.
Pro Trick: Add Texture — For extra crunch, roll the balls in crushed nuts or coconut flakes after forming them. It adds a nice finish and makes them look fancy.
Variations & Substitutions
Once you’ve mastered the basic version, here’s how you can mix it up. I’ve tried all of these.
Chocolate Protein Version — Swap vanilla protein powder for chocolate. Add extra mini chocolate chips. They taste like cookie dough bites.
Almond Butter Version — Substitute almond butter for peanut butter. It’s slightly sweeter and has a different flavor. Great for nut allergies (if you’re okay with almonds).
Trail Mix Version — Add dried cranberries, raisins, and chopped nuts. It’s like a trail mix in ball form.
Low-Sugar Version — Use sugar-free protein powder and sugar-free chocolate chips. Sweeten with stevia or monk fruit if needed. It’s less sweet but still tasty.
Gluten-Free — Use certified gluten-free oats. Everything else is naturally gluten-free.
Vegan — Use plant-based protein powder and maple syrup instead of honey. They’re just as good.
Cookie Dough Version — Add edible cookie dough bits or more chocolate chips. They’re like mini cookie dough balls.
Serving & Storage
How to Serve — I eat these straight out of the container, but they’re also great with a glass of cold milk or coffee. They’re perfect for breakfast on the go, a post-workout snack, or an afternoon pick-me-up.
Side Dishes — Pair with a piece of fruit or a handful of nuts for a complete snack. They go well with fall pumpkin spice banana bread for a cozy afternoon treat.
Storage Instructions — Refrigerator: Up to 2 weeks in an airtight container. Freezer: Up to 3 months in a freezer-safe bag. Thaw in the fridge before eating.
Pro Tip — If they get too soft in the fridge, let them sit at room temperature for 5 minutes before eating. They’ll be soft and chewy.
Nutrition Information
I’m not a nutritionist, but here’s the breakdown if you’re tracking. This is based on 20 balls.
Per Ball:
- Calories: 120
- Protein: 4g
- Carbs: 12g
- Fiber: 2g
- Sugar: 6g
- Fat: 6g
- Saturated Fat: 1g
- Cholesterol: 0mg
- Sodium: 50mg
What’s Good: High in protein and fiber, low in sugar, no gluten.
What to Know: Contains peanuts. Can be made vegan or gluten-free with substitutions.
My Take: These are a healthy snack, not a candy bar. They’re satisfying and nutritious. When I want something sweeter, I add extra chocolate chips. But usually, the natural sweetness is enough.
Final Thoughts
So that’s my take on my grandmother’s peanut butter protein balls. I’ve probably talked your ear off at this point, but when you make a recipe this often, you have a lot to say about it. These balls have saved my afternoons, my lunches, and my gym bag. They’re my answer to “what’s a healthy snack?” when I’m tired of fruit and crackers.
Make them yours! Try different nut butters, add different chips, or experiment with spices like cinnamon or cardamom. The best recipes are the ones you adapt to your tastes. And if you make these, drop a comment and let me know what you think! I love hearing how recipes turn out in your kitchen.
Happy snacking! And I hope your kitchen smells half as good as mine does right now.
Frequently Asked Questions
Can I use quick oats instead of rolled oats?
You can, but the texture will be different. Quick oats are finer and will make the balls denser and less chewy. I prefer rolled oats for that nice bite. If you must use quick oats, reduce the amount slightly so the mixture isn’t too wet.
Why are my protein balls too crumbly?
This usually means there isn’t enough binder. Add more honey or peanut butter, a tablespoon at a time, until the mixture holds together when you press it. If it’s still crumbly, your oats might be too dry. Let the mixture sit for 10 minutes to absorb the moisture.
Why are my protein balls too sticky?
Too much wet ingredient. Add more oats, a tablespoon at a time, until the mixture is manageable. Also, make sure your peanut butter is well-stirred. If the oil has separated, the mixture can be too oily.
Can I freeze these protein balls?
Yes! They freeze beautifully. Place them on a baking sheet in the freezer until solid, then transfer to a freezer bag. They’ll last for 3 months. Thaw in the fridge before eating.
Can I make these without protein powder?
Absolutely. Just add more oats and honey. The protein content will be lower, but they’ll still be tasty and filling. You can also add a tablespoon of chia seeds or flaxseed for extra nutrition.
How long do these last in the fridge?
Up to 2 weeks in an airtight container. They might get a bit softer over time, but they’ll still be good. If they get too soft, chill them before eating.
Can I use almond butter instead of peanut butter?
Yes, almond butter works great. It’s slightly sweeter and has a different flavor. You might need a touch more honey to balance the taste. It’s a great option for peanut allergies.
Pin This Recipe!
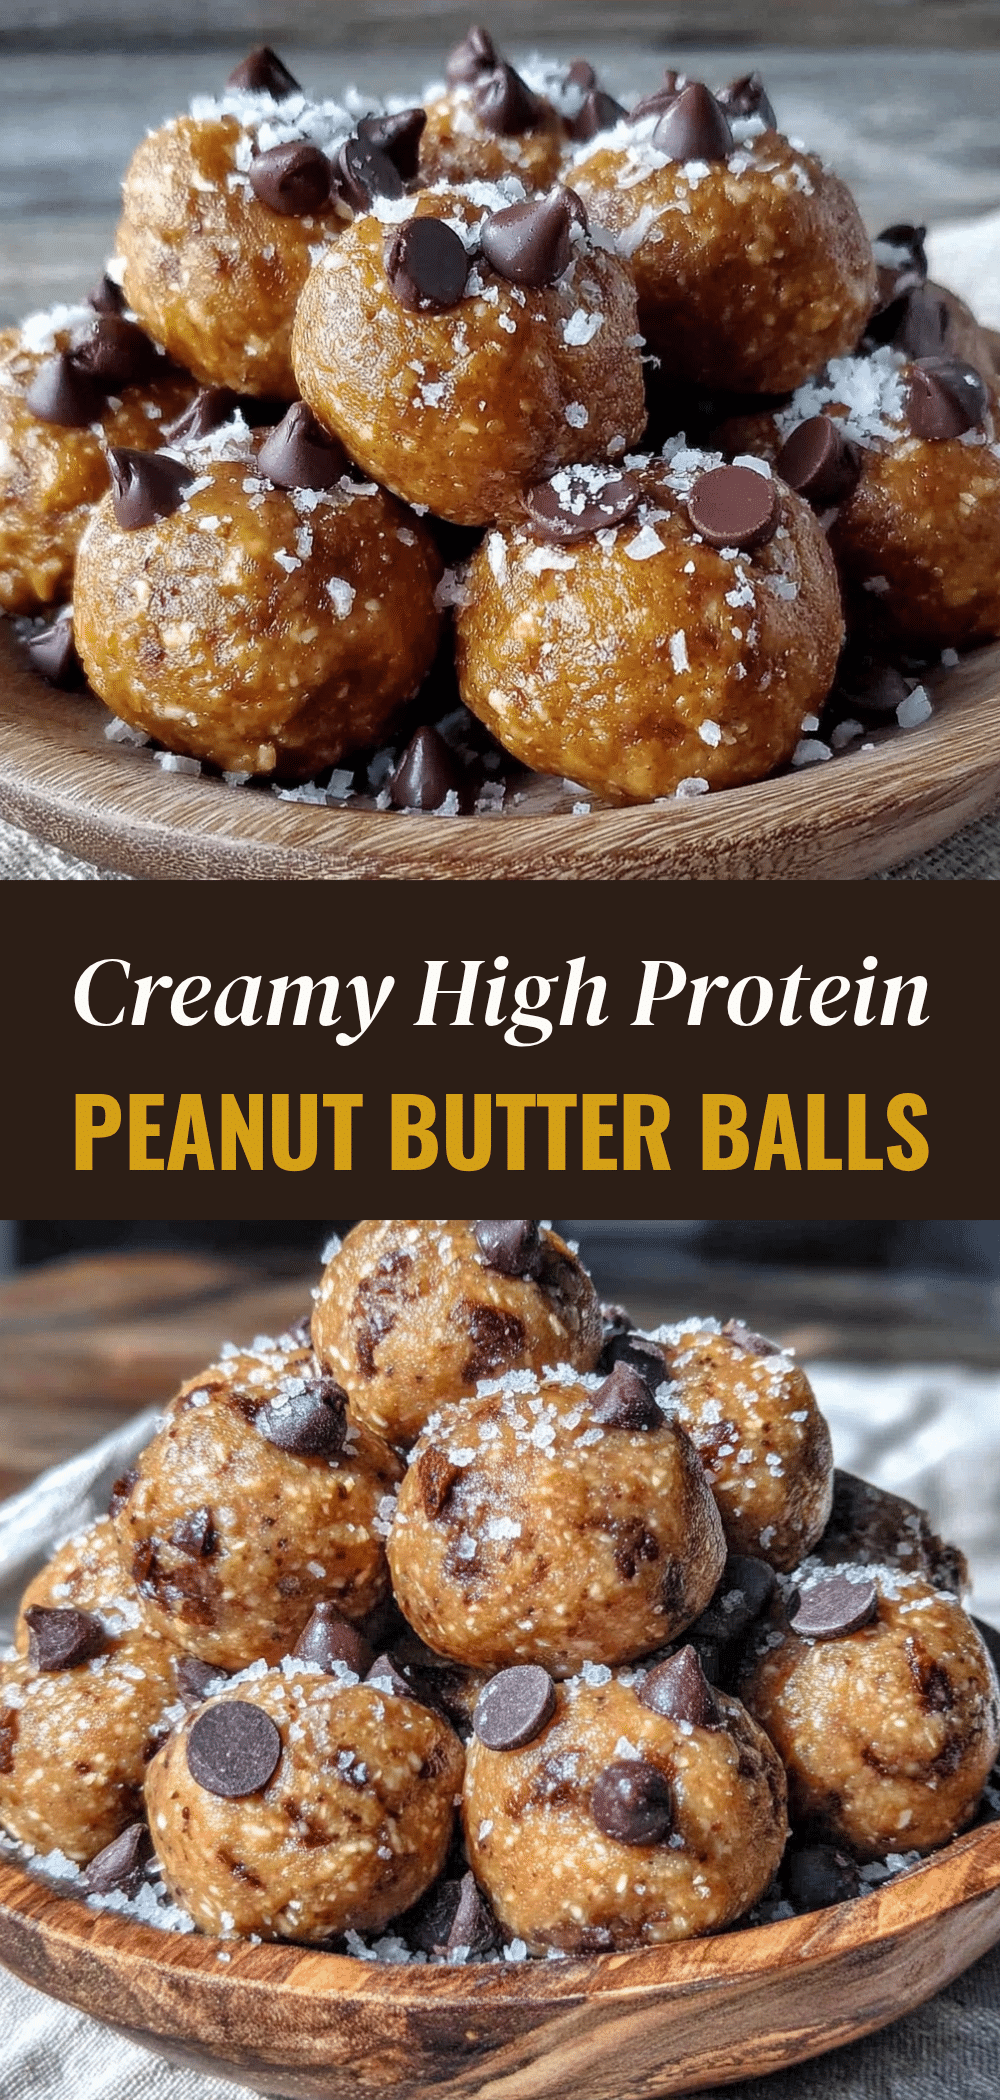

Peanut Butter Protein Balls: Grandma’s Easy No-Bake Recipe
- Total Time: 2 hours 15 minutes
- Yield: 20 servings 1x
Description
A simple, no-bake high-protein snack inspired by family tradition. These chewy peanut butter balls are made with oats, natural peanut butter, and mini chocolate chips for a sweet, fueling treat that requires no oven.
Ingredients
- 2 cups (160g) Old-Fashioned Rolled Oats
- 1 cup (250g) Natural Creamy Peanut Butter
- ½ cup (150ml) Honey
- 1 teaspoon Vanilla Extract
- 1 scoop (30g) Vanilla Protein Powder (Whey or Plant-Based)
- ½ cup (85g) Mini Chocolate Chips
- 2 tablespoons Flaxseed Meal (Optional)
- ½ teaspoon Sea Salt
- ¼ cup Chopped Pecans or Walnuts (Optional)
Instructions
- In a large mixing bowl, combine the natural peanut butter, honey, and vanilla extract. Stir until smooth. If the peanut butter is stiff, microwave for 15-20 seconds to soften.
- Add the rolled oats, protein powder, flaxseed meal (if using), and sea salt to the wet mixture. Mix vigorously until the mixture resembles thick cookie dough.
- Fold in the mini chocolate chips and chopped nuts (if using) until evenly distributed. Adjust consistency with more honey or oats if needed.
- Place the bowl in the refrigerator for 15-20 minutes to chill the mixture, making it easier to handle.
- Roll the mixture into 1-inch balls (about 1 tablespoon per ball) and place them on a parchment-lined baking sheet.
- Chill the balls in the refrigerator for at least 2 hours or overnight until firm.
- Transfer to an airtight container for storage.
Notes
Use natural peanut butter and stir well before measuring. If the mixture is too sticky, wet your hands slightly with water before rolling. For longer storage, freeze the balls for up to 3 months.
- Prep Time: 15 minutes
- Cook Time: 0 minutes
- Category: Snack
- Cuisine: American
Nutrition
- Serving Size: 1 ball
- Calories: 120
- Sugar: 6
- Sodium: 50
- Fat: 6
- Saturated Fat: 1
- Carbohydrates: 12
- Fiber: 2
- Protein: 4
Keywords: peanut butter protein balls, no bake snacks, high protein snacks, healthy snacks, meal prep, gluten free snacks, vegan snacks, grandma recipe



