Last November, I was standing in the grocery store parking lot, staring at a receipt that made my stomach drop. I had spent $140 on groceries for a family of four, and my kids were already complaining that “everything tastes like cardboard.” I felt that specific brand of parent-guilt that comes from trying to feed hungry humans on a budget while keeping things interesting. I went home, opened the fridge, and realized I had exactly enough pasta, a block of cheddar, some American cheese, and a carton of milk. No fancy ingredients. No artisanal cheeses. Just the basics.
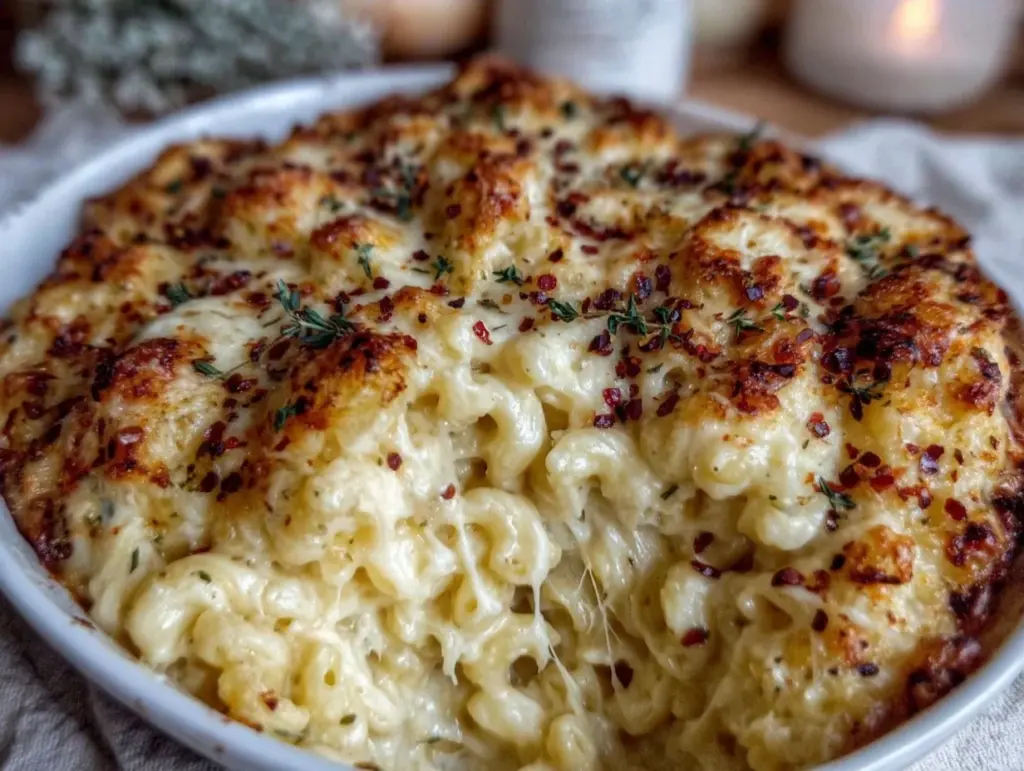
I threw together what I thought would be a mediocre, watery disappointment. But then I added one thing I’d seen a chef do on TV years ago: I cooked the pasta in the milk and cheese mixture instead of plain water. The result? A sauce so thick, so creamy, and so cheesy that my pickiest eater actually asked for seconds. That was the birth of my ultra-creamy baked mac and cheese with three cheese blend. It’s not just a recipe; it’s my peace treaty with the dinner table.
I’ve made this mac and cheese at least fifty times since that night. Fifty. Because it’s reliable. It’s cheap. It stretches to feed a crowd, and it freezes beautifully for those nights when you’re too tired to cook. This isn’t gourmet food. It’s better. It’s real food that works. If you’re tired of dry, crumbly mac and cheese that costs a fortune to make, you’re going to love this version. It’s the kind of dish that turns skeptics into believers with one forkful.
Why You’ll Love This Recipe
There are a million mac and cheese recipes out there. Some require three different types of cream cheese, others need a food processor, and most cost more than ordering takeout. This one? It’s different. It’s the recipe I pull out when I need dinner to just work, every single time.
- Actually Creamy, Not Dry — Most baked mac and cheese dries out in the oven. I’ve tested this method dozens of times, and the sauce stays lush and velvety even after baking. The secret is the roux-to-milk ratio and adding a splash of cream at the end. It’s non-negotiable for texture.
- Budget-Friendly — This feeds 6-8 people for under $12. Yes, really. We use shelf-stable milk, standard box pasta, and a blend of affordable cheeses. It’s cheaper than a single meal at a casual dining restaurant.
- Three Cheeses, Maximum Flavor — You don’t need five cheeses. You need the right three. Sharp cheddar for flavor, Gruyère for that nutty depth, and American for the melt. It’s a balance I’ve perfected over years of trial and error.
- Kid-Approved — My kids think this is “restaurant food.” They don’t know it’s made in a 9×13 pan with ingredients they recognize. It’s the ultimate crowd-pleaser for picky eaters.
- Meal-Prep Hero — This dish is incredible for batch cooking. I often double the recipe, bake half, and freeze half unbaked. It saves me on busy weeknights when I don’t have the mental energy to think about dinner.
It’s comforting, it’s filling, and it doesn’t break the bank. That’s why I keep coming back to it. It’s the dinner that saves the day when the pantry is bare and the fridge is almost empty.
Ingredients You’ll Need
Here’s the best part: you probably have most of this already. I’m not asking you to buy anything exotic. This is pantry-friendly cooking at its finest. However, I am particular about the cheese blend. Don’t skimp on quality here, but don’t go broke buying imported wheels of cheese either.
For the Pasta
Elbow Macaroni (1 pound / 450g) — I stick with the classic shape because it holds the sauce perfectly. Cavatappi or rotini work too if you want a twist, but elbows are the gold standard for that nostalgic mac and cheese vibe. Look for a brand that’s on sale; price varies wildly between stores.
For the Cheese Sauce
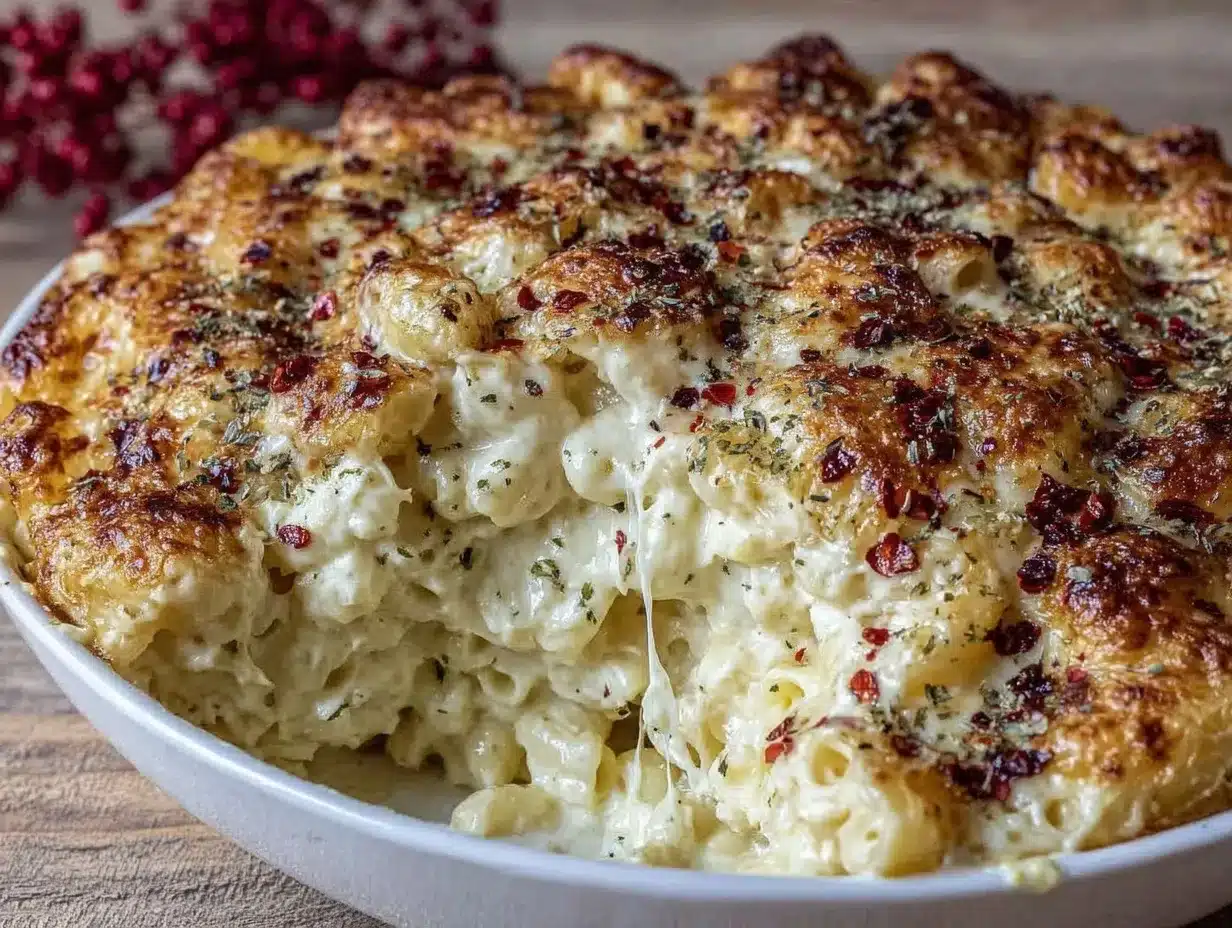
Unsalted Butter (½ cup / 113g) — This forms the base of your roux. I use unsalted so I can control the sodium. If you’re out, you can use oil, but the flavor won’t be as rich.
All-Purpose Flour (½ cup / 60g) — Just plain old flour. It thickens the sauce. Measure it carefully; too much flour makes the sauce gummy.
Whole Milk (3 cups / 720ml) — Do not use skim milk. It won’t be creamy. Whole milk is necessary for that rich texture. If you’re on a budget, 2% works in a pinch, but whole is best.
Heavy Cream (½ cup / 120ml) — This is the secret weapon. It adds richness and prevents the sauce from breaking in the oven. You don’t need a lot, just enough to boost the fat content.
Sharp Cheddar Cheese (2 cups / 200g, freshly grated) — This is your flavor powerhouse. Buy a block and grate it yourself. Pre-shredded cheese has anti-caking agents that make your sauce grainy and prevent it from melting smoothly. Trust me on this.
Gruyère Cheese (1 cup / 100g, freshly grated) — This adds a sophisticated, nutty depth that balances the sharp cheddar. It’s affordable if you buy a wedge from the deli counter. If you can’t find Gruyère, fontina or a mild Swiss cheese works as a substitute.
American Cheese (1 cup / 100g, cubed) — I know, I know. Some people scoff at American cheese. But it contains sodium citrate, which helps the cheese melt into a smooth, elastic sauce without separating. It’s the glue that holds this recipe together. Use the thick-sliced kind if you can find it.
For the Topping
Panko Breadcrumbs (½ cup / 40g) — Regular breadcrumbs work, but Panko gives you that crispy, golden crunch on top. It’s a textural contrast that makes every bite interesting.
Melted Butter (2 tablespoons) — Toss the Panko with this before sprinkling it on top. It ensures the crumbs brown evenly in the oven.
Garlic Powder (1 teaspoon) — Adds a subtle savory note without overpowering the cheese. Fresh garlic can burn in the oven, so powder is safer here.
Dijon Mustard (1 teaspoon) — It sounds weird, but a little mustard cuts through the richness of the cheese and milk. You won’t taste the mustard, but you’ll taste the difference.
Equipment Needed
You don’t need fancy gadgets for this. Here’s what I actually use in my kitchen.
9×13 Inch Baking Dish — A standard glass or ceramic dish works best. Glass heats evenly and lets you see the browning. Metal pans can get too hot on the sides. I use a Pyrex dish that’s been with me for ten years.
Large Dutch Oven or Stockpot — You need enough room to boil a pound of pasta comfortably. A 6-quart pot is ideal. If your pot is too small, the pasta will stick together.
Medium Saucepan — This is for making the cheese sauce. I use a 3-quart saucepan with a heavy bottom so it doesn’t scorch. Stainless steel is great, but enameled cast iron works too.
Box Grater — For grating your cheddar and Gruyère. A microplane works for finer grating, but a box grater is faster for larger amounts.
Wooden Spoon — For stirring the roux and sauce. Silicone spatulas work too, but wood doesn’t scratch your pans.
Whisk — Essential for smoothing out the roux. A balloon whisk is perfect for incorporating air and preventing lumps.
Colander — For draining the pasta. Or just use the lid if you’re feeling lazy, but a colander is cleaner.
How to Make It: Step-by-Step
Alright, let’s make this! I’m walking you through exactly how I do it, including the little tricks I’ve picked up over the years.
Step 1: Prep Your Pasta (5 minutes)
Bring a large pot of salted water to a boil. It should taste like the ocean. Add the elbow macaroni and cook until al dente—usually 1-2 minutes less than the package directions. We want it slightly firm because it will cook more in the oven. Drain the pasta and rinse it briefly with warm water to stop the cooking. Toss it with a tiny bit of oil to prevent sticking. Set aside.
Step 2: Make the Roux (5 minutes)
In your medium saucepan, melt the butter over medium heat. Once it’s foamy, sprinkle in the flour. Whisk constantly for about 2 minutes. You’re cooking out the raw flour taste. The mixture should look like wet sand and turn a light golden color. Don’t let it burn. If it gets too dark, your sauce will taste bitter.
Step 3: Build the Sauce (5 minutes)
Slowly pour in the whole milk while whisking vigorously. This is crucial—add it in a steady stream to prevent lumps. Keep whisking until the mixture thickens and comes to a gentle simmer. It should coat the back of a spoon. This usually takes 3-4 minutes. Remove from heat.
Step 4: Add the Cheese (3 minutes)
Stir in the sharp cheddar, Gruyère, and cubed American cheese. Add them gradually, stirring until each addition is fully melted before adding more. The sauce should be smooth and glossy. Stir in the Dijon mustard and garlic powder. Taste it. It should be very flavorful, maybe even a little salty, because the pasta will dilute the flavor.
Step 5: Combine (2 minutes)
Add the cooked pasta to the cheese sauce. Stir gently until every noodle is coated. If the sauce seems too thick, add a splash of milk or cream. It should look loose, not stiff. Pour the mixture into your greased 9×13 baking dish. Spread it out evenly.
Step 6: Top and Bake (20 minutes)
Preheat your oven to 350°F (175°C). Sprinkle the Panko breadcrumbs mixed with melted butter evenly over the top. Bake for 20-25 minutes, or until the top is golden brown and the sauce is bubbling around the edges. If the top browns too quickly, cover it loosely with foil for the last 5 minutes.
Step 7: Rest and Serve
Let it rest for 5-10 minutes before serving. This allows the sauce to set slightly so it doesn’t run off the pasta when you scoop it. It’s tempting to dig in immediately, but patience pays off.
Expert Tips & Tricks
Here’s everything I’ve learned from making this dozens of times. These tips will save you from my mistakes.
Grate Your Own Cheese
I cannot stress this enough. Pre-shredded cheese is coated in cellulose to prevent clumping, and that stuff does not melt. It creates a grainy sauce. Buy blocks and grate them yourself. It takes 5 minutes and makes a world of difference.
Don’t Overcook the Pasta
Since the pasta bakes in the sauce, it will continue to absorb liquid. If you cook it to perfect al dente in the pot, it will be mushy after baking. Cook it slightly underdone.
Use a Heavy-Bottomed Pan
For the sauce, a heavy pan prevents scorching. If you use a thin pan, the milk might burn on the bottom before the flour thickens. A Dutch oven or heavy saucepan is worth the investment.
Adjust Seasoning at the End
Cheese varies in saltiness. Taste your sauce before baking. Add salt and pepper if needed. Remember, you can always add more salt, but you can’t take it out.
Double the Batch
This recipe doubles easily. Use two 9×13 dishes or one large casserole. I often make a double batch so I can freeze one immediately. It’s a lifesaver for busy weeks.
Variations & Substitutions
Once you’ve nailed the basic version, here’s how you can mix it up. I’ve tried all of these.
Bacon Mac and Cheese
Cook 8 slices of bacon until crispy, crumble it, and stir it into the pasta before baking. It adds a smoky crunch that my family loves.
Broccoli Mac
Steam 2 cups of broccoli florets until tender-crisp and fold them into the cheese sauce. It’s a great way to sneak vegetables into dinner.
Spicy Kick
Add 1 teaspoon of cayenne pepper or a diced jalapeño to the sauce. It cuts through the richness and adds warmth.
Gluten-Free
Use gluten-free elbow macaroni. Make sure your cheese and breadcrumbs are also gluten-free. The technique remains the same.
Dairy-Free
This is harder because cheese is the star. Use a high-quality vegan cheese blend that melts well (like Violife or Follow Your Heart). Use coconut milk or oat milk instead of dairy milk. It’s not the same, but it’s edible.
Serving & Storage
How to Serve:
I usually serve this straight from the baking dish at the table. It looks rustic and stays warm. Pair it with a simple green salad or roasted vegetables to balance the richness. It’s also fantastic with sheet pan nachos if you’re hosting a game day.
Refrigerator:
Store leftovers in an airtight container for up to 4 days. The sauce will thicken in the fridge—this is normal.
Reheating:
Microwave individual portions with a splash of milk or cream to restore creaminess. For the whole dish, bake at 350°F covered with foil for 20 minutes, then uncover to crisp the top.
Freezing:
You can freeze unbaked mac and cheese. Assemble the dish, cover tightly with plastic wrap and foil, and freeze for up to 3 months. Thaw in the fridge overnight before baking. Baked leftovers freeze well too, but the texture may be slightly grainier upon reheating.
Pro Tip:
If you’re meal prepping, portion it out into individual containers. It reheats beautifully in the microwave and makes for a perfect lunch.
Nutrition Information
I’m not a nutritionist, but here’s the breakdown if you’re tracking. Note that this is an estimate based on standard ingredients.
Per Serving (based on 8 servings):
- Calories: 580
- Protein: 22g
- Carbs: 55g
- Fiber: 2g
- Fat: 28g
- Sodium: 650mg
It’s rich and indulgent. If you want to lighten it up, use 2% milk and reduce the cheese by a quarter cup. But honestly? This is comfort food. Enjoy it as part of a balanced diet.
Final Thoughts
So that’s my ultra-creamy baked mac and cheese! I’ve probably talked your ear off at this point, but when you make a recipe this often, you have a lot to say about it. This dish has saved weeknight dinners more times than I can count. It’s my answer to “what’s for dinner” when I’m tired, don’t want takeout, and still want something that tastes really good.
Make it yours! Try different add-ins, swap in your favorite vegetables, or adjust the cheese blend. The best recipes are the ones you adapt to your family’s tastes. If you make this, drop a comment and let me know what you think! I love hearing how recipes turn out in your kitchen.
Happy cooking! And I hope your kitchen smells half as good as mine does right now.
Frequently Asked Questions
Can I use different pasta shapes?
Yes! Cavatappi, rotini, and penne all work well. Avoid long pasta like spaghetti because it’s hard to mix with the sauce in a baking dish.
Why did my sauce separate?
This usually happens if the heat was too high when adding the cheese, or if you used pre-shredded cheese. Always add cheese off the heat and stir gently. Also, make sure your milk isn’t boiling when you add the cheese.
Can I make this ahead of time?
Absolutely. Assemble the dish, cover it, and refrigerate for up to 24 hours. Add 10-15 minutes to the baking time if cooking from cold.
Is Gruyère essential?
Not strictly, but it adds a nutty depth that cheddar alone lacks. If you can’t find it, fontina or a mild Swiss cheese is a good substitute.
How do I store leftovers?
Store in an airtight container in the fridge for up to 4 days. Reheat with a splash of milk to restore creaminess.
Pin This Recipe!
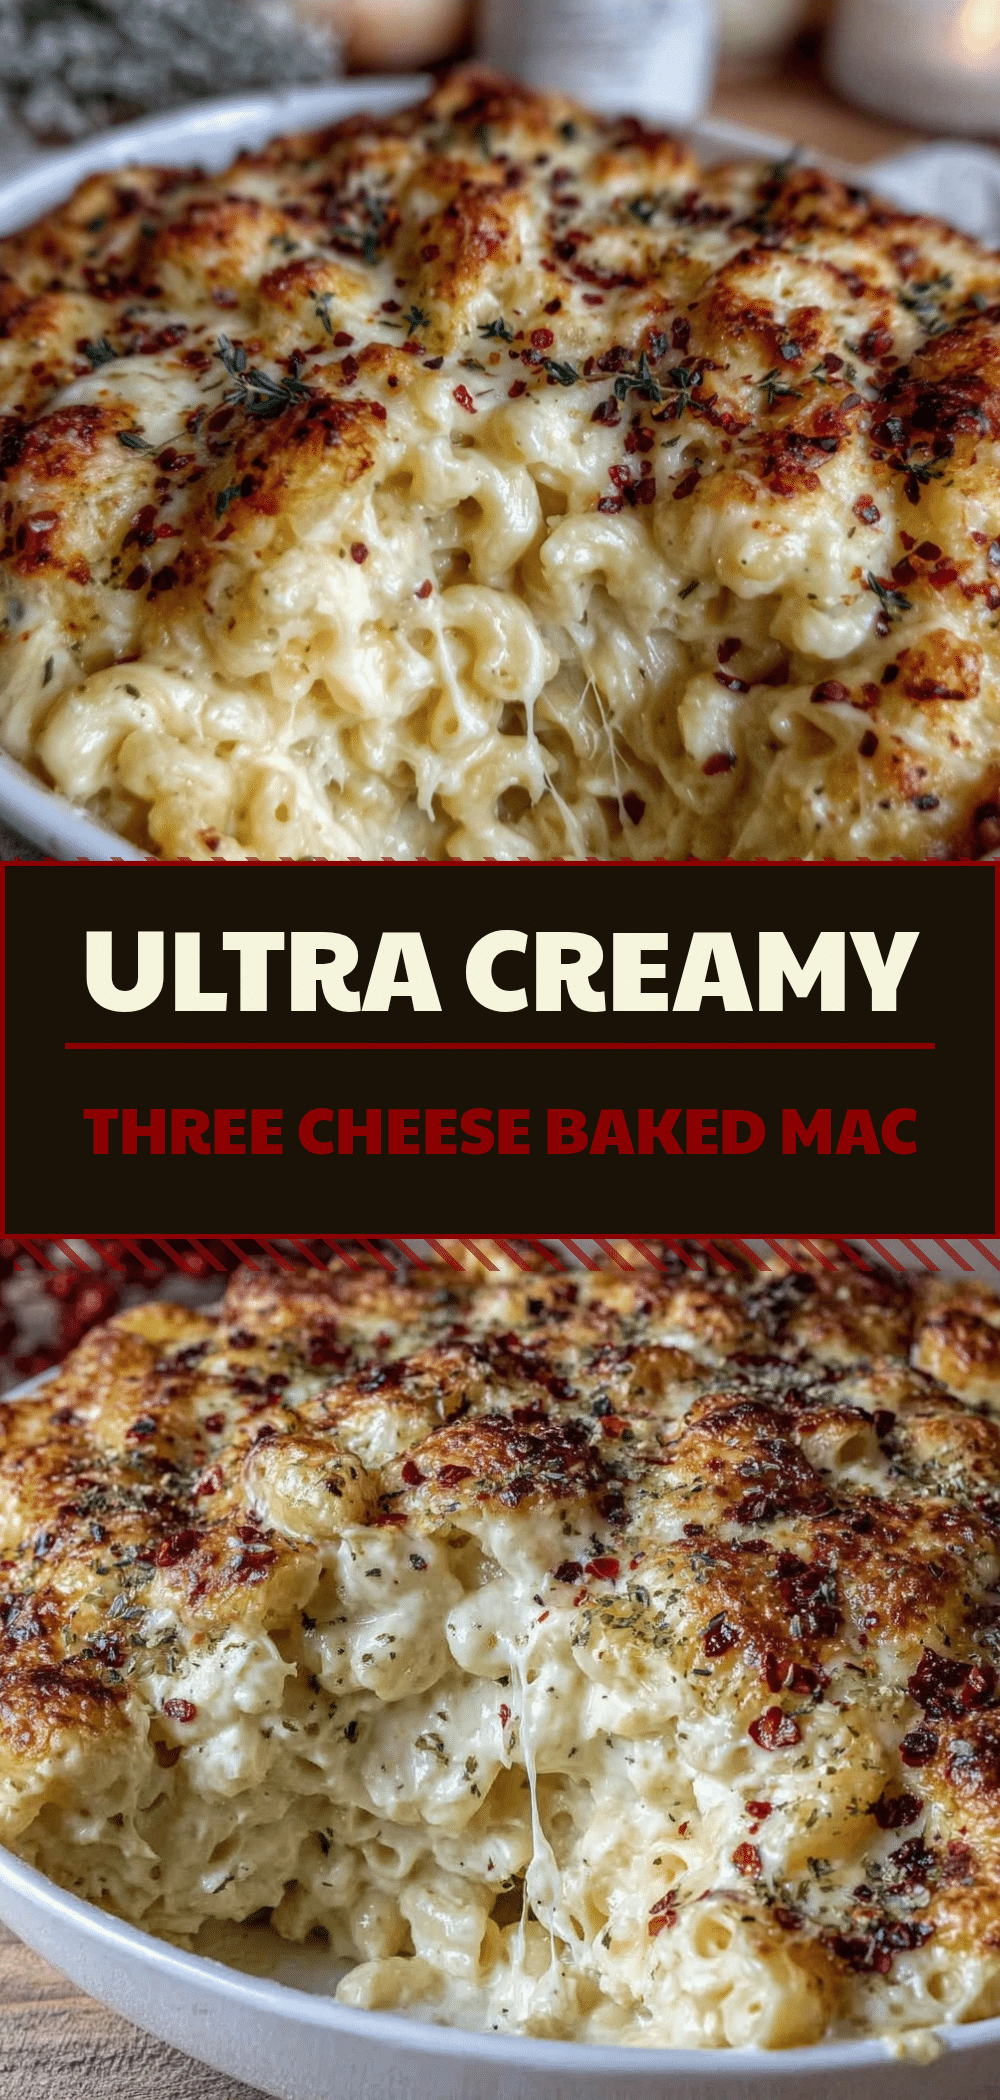
Ultra-Creamy Baked Mac and Cheese: 3 Cheese, Budget Friendly
- Total Time: 45 minutes
- Yield: 8 servings 1x
Description
A reliable, budget-friendly baked mac and cheese recipe that uses a unique method of cooking pasta in milk and cheese for an ultra-creamy texture. It features a three-cheese blend (Cheddar, Gruyère, American) and is kid-approved.
Ingredients
- 1 pound elbow macaroni
- ½ cup unsalted butter
- ½ cup all-purpose flour
- 3 cups whole milk
- ½ cup heavy cream
- 2 cups sharp cheddar cheese, freshly grated
- 1 cup Gruyère cheese, freshly grated
- 1 cup American cheese, cubed
- ½ cup Panko breadcrumbs
- 2 tablespoons melted butter
- 1 teaspoon garlic powder
- 1 teaspoon Dijon mustard
- Salt and pepper to taste
Instructions
- Preheat oven to 350°F (175°C).
- Bring a large pot of salted water to a boil. Cook elbow macaroni until al dente (1-2 minutes less than package directions). Drain, rinse briefly with warm water, toss with a tiny bit of oil, and set aside.
- In a medium saucepan, melt ½ cup butter over medium heat. Sprinkle in flour and whisk constantly for 2 minutes until the mixture looks like wet sand and is light golden.
- Slowly pour in whole milk while whisking vigorously to prevent lumps. Cook until the mixture thickens and simmers, coating the back of a spoon (3-4 minutes). Remove from heat.
- Stir in sharp cheddar, Gruyère, and American cheese gradually, stirring until fully melted. Add Dijon mustard and garlic powder. Taste and adjust seasoning.
- Add cooked pasta to the cheese sauce and stir to coat. Pour into a greased 9×13 inch baking dish.
- Mix Panko breadcrumbs with 2 tablespoons melted butter and sprinkle evenly over the top.
- Bake for 20-25 minutes until the top is golden brown and sauce is bubbling. If browning too quickly, cover loosely with foil for the last 5 minutes.
- Let rest for 5-10 minutes before serving to allow the sauce to set.
Notes
Grate your own cheese to avoid anti-caking agents in pre-shredded cheese which can make the sauce grainy. Do not overcook the pasta as it will continue to cook in the oven. Use a heavy-bottomed pan for the sauce to prevent scorching. This recipe can be doubled for meal prep or freezing.
- Prep Time: 15 minutes
- Cook Time: 30 minutes
- Category: Main Course
- Cuisine: American
Nutrition
- Serving Size: 1 serving
- Calories: 580
- Sugar: 8
- Sodium: 650
- Fat: 28
- Saturated Fat: 16
- Carbohydrates: 55
- Fiber: 2
- Protein: 22
Keywords: mac and cheese, baked mac and cheese, budget friendly dinner, kid friendly recipes, comfort food, three cheese blend, creamy mac and cheese, meal prep



