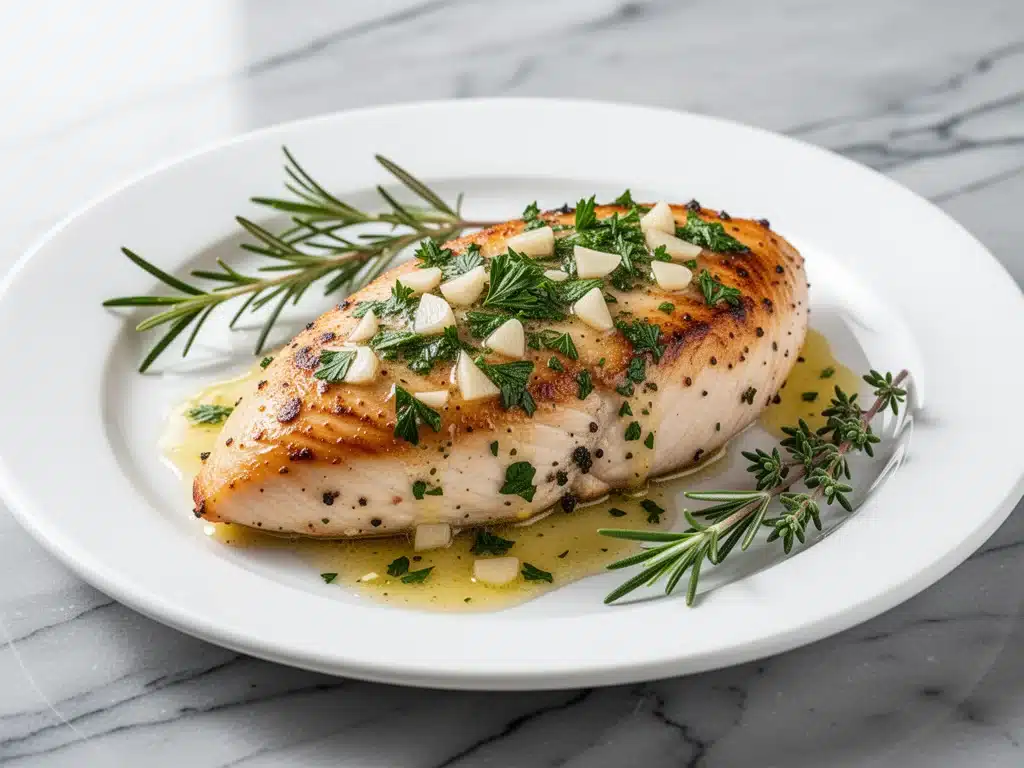
I have a confession to make. For years, I treated chicken breasts like they were made of glass. I’d pull them out of the package, look at them nervously, and put them in the oven with a prayer and a stopwatch. The result? Usually, a sad, rubbery disk that I’d have to drown in gravy just to make it edible. My husband would take one bite, look at his plate, and say nothing. That silence was louder than any complaint.
Then last month, I was feeling lazy. I didn’t want to fuss with a pan-sear method, and I definitely didn’t want to stand over the stove stirring one-pot creamy chicken alfredo because it was one of those days where I just wanted to sit down. So I threw four chicken breasts into a baking dish, slathered them with a massive amount of garlic butter, and popped them in the oven. I forgot to check the timer for twenty minutes.
I panicked. I rushed to the oven, expecting to find charcoal. Instead, I opened the door to the most incredible aroma. Garlic, herbs, and roasting chicken. I pulled the dish out, and the chicken was steaming, golden, and juicy. I cut into the thickest part, and it was perfectly cooked—165°F, but moist. My husband took a bite, paused, and asked, “Did you do something different?”
That’s when I realized: most people are overcomplicating chicken breast. You don’t need a sous-vide machine or a complicated marinade. You just need the right technique and a good garlic herb butter. This oven-baked chicken breast with garlic herb butter has become my absolute go-to. It’s the kind of dinner that makes people ask for the recipe, even though it takes less than 10 minutes of prep time. I’ve made it so many times now that I can do it in my sleep, and it still tastes restaurant-quality every single time.
Why You’ll Love This Garlic Herb Butter Chicken
There are a dozen reasons I keep coming back to this recipe, but let’s be real—you’re here because you want tender, flavorful chicken without the stress. Here’s why this method beats the rest:
- Zero Dry Chicken Guaranteed — The butter baste keeps the meat moist, and the oven method ensures even cooking. No more guessing games with internal temperatures.
- 10 Minutes of Active Work — Seriously. Mince garlic, mix butter, rub chicken, bake. You can have this in the oven before your salad is tossed.
- Impressive but Simple — It looks like something you’d order at a nice bistro, but it’s just basic pantry staples. Perfect for date nights or casual weeknights.
- Leftovers That Taste Better — Unlike some dishes that dry out overnight, this chicken stays juicy. I love slicing it cold for sandwiches or warming it up for lunch.
- Super Versatile — Serve it with roasted veggies, mash, or salad. It pairs well with almost everything, from garlic butter steak and shrimp vibes to lighter summer salads.
This is my answer to “what’s for dinner” when I need something that feels special but doesn’t require a trip to the store. It’s reliable, delicious, and makes your kitchen smell amazing.
Ingredients You’ll Need
Here’s the good news: you probably have most of this already. I’m not asking you to hunt down obscure spices. This is about maximizing flavor with simple, high-quality ingredients.
For the Chicken
Boneless, skinless chicken breasts (4 large, about 1.5 lbs / 680g) — Look for breasts that are relatively even in thickness. If you have huge ones, pound them gently to an even ¾-inch thickness. This ensures they cook at the same rate. Don’t buy the tiny, thin cutlets; they dry out faster.
Chicken broth (½ cup / 120ml) — I add a little broth to the bottom of the pan. It creates steam, keeping the chicken moist, and gives you a quick pan sauce later. Low-sodium is best so you control the salt.
Salt and black pepper — Kosher salt is my go-to. It sticks to the meat better and seasons more evenly. Freshly cracked black pepper adds a nice bite.
For the Garlic Herb Butter
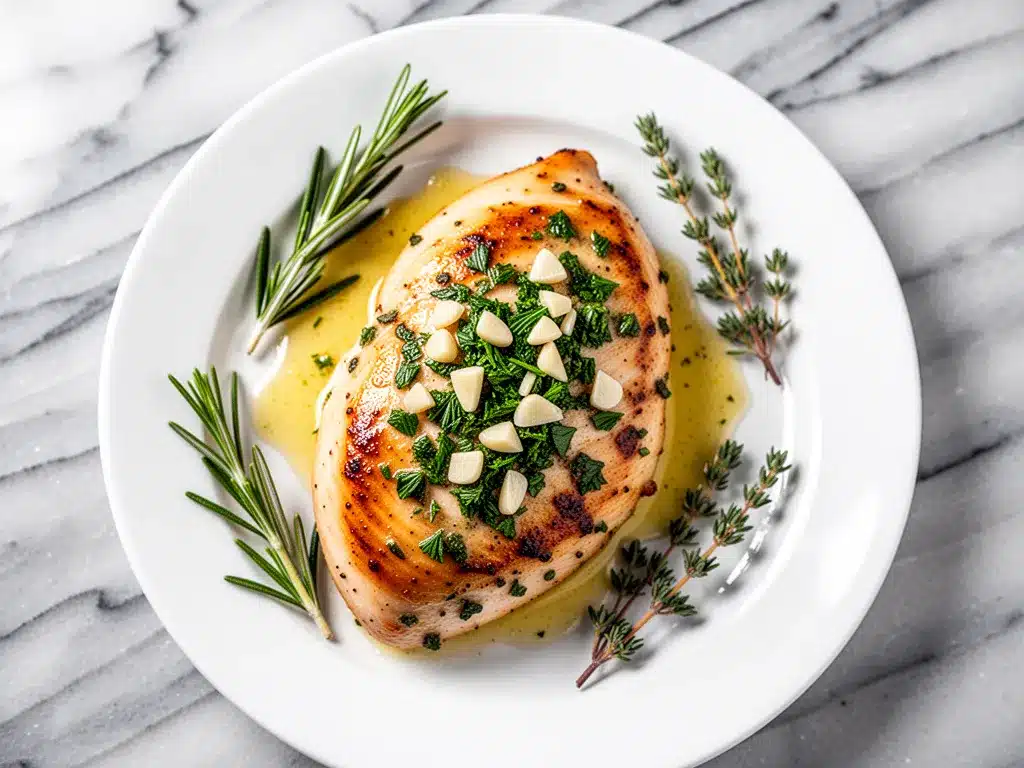
Unsalted butter (½ cup / 115g, softened) — This is the star. Softened butter mixes easily with herbs and spreads like a luxurious blanket over the chicken. Use good quality butter if you can—it makes a huge difference in flavor.
Garlic (6-8 cloves, minced) — Yes, that many. Fresh garlic is non-negotiable here. Jarred garlic has a metallic taste that clashes with the delicate herbs. Mince it finely so it melts into the butter.
Fresh parsley (¼ cup, chopped) — Flat-leaf parsley has a cleaner, fresher taste than curly parsley. It adds color and a bright herbal note that cuts through the rich butter.
Dried thyme (1 teaspoon) — Thyme pairs perfectly with garlic and chicken. If you have fresh thyme, use a tablespoon, but dried works just fine and is easier to store.
Dried oregano (½ teaspoon) — Adds a subtle earthiness. Don’t skip this; it gives the butter that classic “herb” flavor we love.
Red pepper flakes (¼ teaspoon, optional) — Just a pinch. It adds a tiny warmth that wakes up the palate without making it spicy. I always add it.
Lemon zest (1 teaspoon) — Optional but recommended. The citrus oils lift the heaviness of the butter and make the dish taste brighter.
For the Finish
Extra butter (1 tablespoon) — For basting halfway through if you want extra gloss.
Equipment Needed
You don’t need fancy gear for this. Here’s what I actually use:
9×13 inch baking dish — A ceramic or glass dish works best. It holds the chicken and the juices nicely. I use my trusty Pyrex dish that’s seen better days.
Small mixing bowl — For mashing the garlic butter. A ramekin or small cereal bowl is perfect.
Pastry brush — For spreading the butter mixture evenly. Silicone brushes are easier to clean than bristle ones.
Cutting board and knife — For prepping the garlic and herbs.
Instant-read thermometer — This is my most important tool. Chicken breast is tricky because it goes from perfect to dry in seconds. A thermometer takes the guesswork out. I have a cheap one from Amazon that works perfectly.
Fork — For shredding or slicing the chicken later.
How to Make It: Step-by-Step
Alright, let’s make this! I’m walking you through exactly how I do it, including the little tricks I’ve picked up over the years.
Step 1: Prep the Chicken (5 minutes)
Pat the chicken breasts dry with paper towels. This seems minor, but drying the surface helps the butter adhere better and promotes browning. If the breasts are unevenly thick, place them between two sheets of plastic wrap and gently pound the thicker ends with a rolling pin or meat mallet until they’re about ¾-inch thick all around. Season both sides generously with salt and pepper.
Step 2: Make the Garlic Herb Butter (3 minutes)
In a small bowl, combine the softened butter, minced garlic, chopped parsley, thyme, oregano, red pepper flakes, and lemon zest. Use a fork to mash everything together until it’s a uniform green-gold paste. If the butter is too cold, microwave it for 10 seconds to soften it up. The goal is a spreadable consistency.
Step 3: Assemble the Dish
Preheat your oven to 400°F (200°C). Pour the chicken broth into the bottom of your 9×13 baking dish. Place the chicken breasts in the dish. Take your garlic herb butter mixture and spread a generous layer over the top of each chicken breast. Make sure you cover the edges too, as those are prone to drying out. Use all the butter; don’t be shy.
Step 4: Bake
Place the dish in the preheated oven. Bake for 20-25 minutes. At the 10-minute mark, open the oven and check the chicken. If it’s browning too quickly, you can loosely tent it with foil. If you want extra juicy results, baste the chicken with the pan juices and remaining butter halfway through.
Step 5: Check Temperature
This is crucial. Insert your instant-read thermometer into the thickest part of the chicken. You want to pull it out at 160°F (71°C). The residual heat will carry it to the safe 165°F (74°C) while it rests. If it’s still at 150°F, give it another 5 minutes. Don’t overcook it!
Step 6: Rest and Serve
Remove the chicken from the oven and let it rest for 5-10 minutes. This allows the juices to redistribute throughout the meat. If you cut into it immediately, all that flavor runs out onto the plate. After resting, spoon the pan juices over the chicken before serving. The juices are liquid gold—don’t waste them.
Expert Tips & Tricks
Here’s everything I’ve learned from making this dozens of times. These tips will save you from my mistakes.
Don’t Skip the Rest
I know it’s hard to wait, but resting is non-negotiable. It makes the difference between dry and juicy. Five minutes is all it takes.
Pound the Chicken
Uneven thickness is the enemy of even cooking. If you don’t pound the thick ends, the thin ends will be dry by the time the thick part is cooked. A quick pound ensures uniformity.
Use Softened Butter
Cold butter won’t spread well and will clump up. Softened butter melts into the chicken as it bakes, infusing flavor deep into the meat.
Don’t Crowd the Pan
If you’re making a large batch, use two pans. Overcrowding steams the chicken instead of baking it, and the butter won’t caramelize nicely.
Save the Pan Juices
After removing the chicken, you can mix the pan juices with a little extra butter or a splash of cream for a quick sauce. It’s free flavor.
Variations & Substitutions
Once you’ve nailed the basic version, here’s how you can mix it up. I’ve tried all of these.
Lemon Herb Variation
Add extra lemon zest and a squeeze of lemon juice to the butter. Top with lemon slices before baking. Bright and tangy.
Spicy Garlic Variation
Double the red pepper flakes and add a pinch of cayenne. For a kick, mix in some chopped jalapeño. Great with cornbread.
Herb-Only Variation
Skip the garlic if you’re sensitive to it. Use more parsley and thyme, and add a touch of rosemary. Very aromatic.
Dairy-Free Option
Replace butter with olive oil or dairy-free butter. The flavor profile changes slightly, but it’s still delicious. Use olive oil and mix with herbs, then brush over the chicken.
Gluten-Free
This recipe is naturally gluten-free. Just ensure your broth and spices are certified gluten-free if you’re sensitive.
Serving Ideas
Pair with crispy baked zucchini fries for a low-carb meal, or serve over mashed potatoes for comfort food. It’s also great in salads or wraps.
Serving & Storage
How to Serve
I usually serve this straight from the baking dish. It looks rustic and stays warm. Top with extra fresh parsley. Pair with roasted asparagus, green beans, or a simple arugula salad.
Storage
Store leftovers in an airtight container in the fridge for up to 4 days. The chicken stays moist if kept in the pan juices.
Reheating
Reheat gently in a skillet over low heat with a splash of broth or water. Microwave in short bursts, covered, to prevent drying out. Avoid high heat.
Freezing
You can freeze cooked chicken breast for up to 3 months. Thaw in the fridge overnight and reheat gently. The texture may be slightly different, but it’s still good for soups or salads.
Nutrition Information
I’m not a nutritionist, but here’s the breakdown if you’re tracking. Per serving (based on 4 servings):
- Calories: 320
- Protein: 35g
- Carbs: 2g
- Fat: 18g
- Saturated Fat: 10g
- Cholesterol: 110mg
- Sodium: 350mg
This is a high-protein, low-carb meal. The fat comes from the butter, so adjust if you’re watching calories. It’s nutrient-dense and satisfying.
Final Thoughts
So that’s my go-to oven-baked chicken breast with garlic herb butter! I’ve probably talked your ear off at this point, but when you make a recipe this often, you have a lot to say about it. This has saved weeknight dinners more times than I can count. It’s my answer to “what’s for dinner” when I’m tired, don’t want takeout, and still want something that tastes really good. My family is happy, and I’m happy because I’m not stressed about cooking.
Make it yours! Try different herbs, add more garlic, or serve it with your favorite sides. The best recipes are the ones you adapt to your family’s tastes. If you make this, drop a comment and let me know what you think! I love hearing how recipes turn out in your kitchen. And if something doesn’t work, tell me that too—I’m here to help troubleshoot.
Happy cooking! And I hope your kitchen smells half as good as mine does right now.
Frequently Asked Questions
Can I use frozen chicken breasts?
It’s best to thaw them first. Cooking frozen chicken can lead to uneven cooking. If you must cook from frozen, add 5-10 minutes to the cooking time and check the temperature carefully.
Why is my chicken dry?
Overcooking is the main culprit. Use a thermometer and pull it at 160°F. Also, ensure you’re using the butter mixture; it helps retain moisture.
Can I marinate the chicken first?
Yes! You can marinate in olive oil, lemon juice, and herbs for 30 minutes before adding the butter. This adds extra flavor.
What sides go well with this?
Roasted vegetables, mashed potatoes, rice, or a green salad. It pairs well with honey garlic meatloaf flavors if you want a similar taste profile.
Can I make this in an air fryer?
Yes! Cook at 375°F for 12-15 minutes, flipping halfway. The butter might drip, so line the basket. Check temperature early.
How do I store the garlic herb butter?
You can make extra butter and store it in the fridge for a week or freeze it in ice cube trays for later use on steaks or veggies.
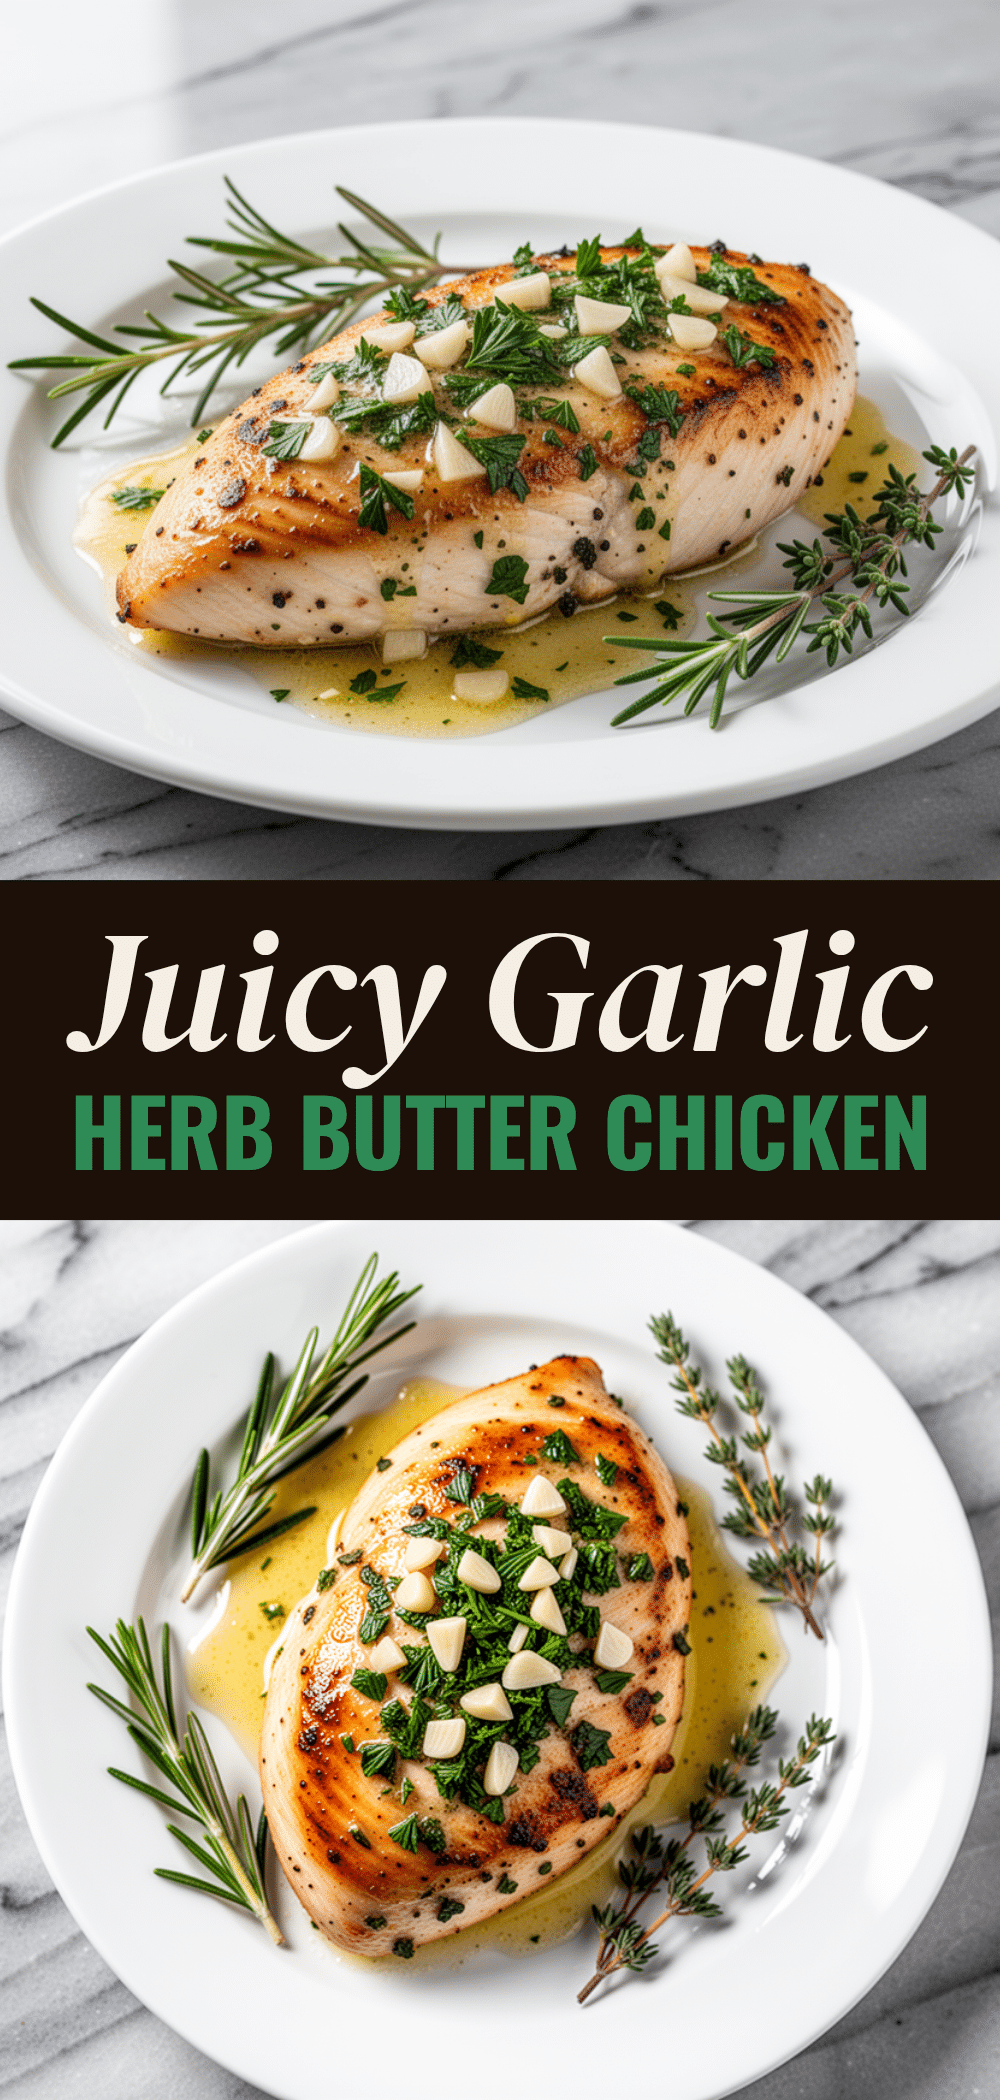
Pin This Recipe!
Oven-Baked Chicken Breast with Garlic Herb Butter
- Total Time: 35 minutes
- Yield: 4 servings 1x
Description
Juicy, tender oven-baked chicken breasts coated in a rich garlic herb butter. This easy weeknight dinner requires only 10 minutes of prep and guarantees moist results every time.
Ingredients
- 4 large boneless, skinless chicken breasts (about 1.5 lbs / 680g)
- 1/2 cup chicken broth (low-sodium)
- Kosher salt
- Freshly cracked black pepper
- 1/2 cup unsalted butter (softened)
- 6–8 cloves garlic (minced)
- 1/4 cup fresh parsley (chopped)
- 1 teaspoon dried thyme
- 1/2 teaspoon dried oregano
- 1/4 teaspoon red pepper flakes (optional)
- 1 teaspoon lemon zest (optional)
- 1 tablespoon extra butter (for basting, optional)
Instructions
- Preheat oven to 400°F (200°C).
- Pat chicken breasts dry with paper towels. If uneven, pound to 3/4-inch thickness. Season both sides generously with salt and pepper.
- In a small bowl, mash softened butter, minced garlic, parsley, thyme, oregano, red pepper flakes, and lemon zest into a uniform paste.
- Pour chicken broth into the bottom of a 9×13 inch baking dish.
- Place chicken breasts in the dish and spread the garlic herb butter mixture generously over the top of each breast, covering edges.
- Bake for 20-25 minutes. At the 10-minute mark, check for browning; tent with foil if needed. Baste with pan juices halfway through if desired.
- Insert an instant-read thermometer into the thickest part of the chicken. Remove from oven when internal temperature reaches 160°F (71°C).
- Let chicken rest for 5-10 minutes before serving. Spoon pan juices over the chicken before serving.
Notes
Do not skip the resting period; it ensures the juices redistribute. Pound chicken to even thickness for uniform cooking. Use softened butter for better spreading. This recipe is naturally gluten-free.
- Prep Time: 10 minutes
- Cook Time: 25 minutes
- Category: Main Course
- Cuisine: American
Nutrition
- Serving Size: 1 chicken breast wit
- Calories: 320
- Sodium: 350
- Fat: 18
- Saturated Fat: 10
- Carbohydrates: 2
- Protein: 35
Keywords: chicken breast, garlic butter, oven baked chicken, easy dinner, weeknight meal, gluten-free, high protein



