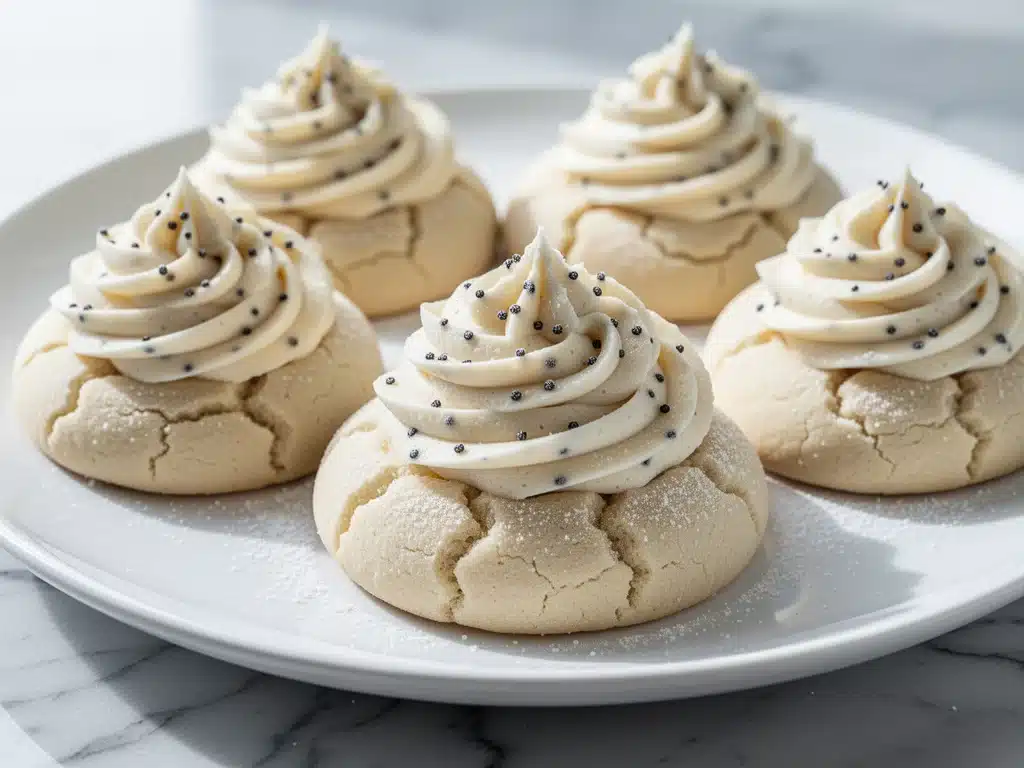
I have a confession to make. For years, I was the person who bought the box mix. You know the one—the one with the little plastic bag of frosting that tastes like sweet, chemical regret. I’d bake the cookies, frost them, and put them on a plate, hoping no one would notice the slightly gummy center or the overly sweet, artificial vanilla flavor. I thought that’s just what sugar cookies were.
Then, last Christmas, my niece asked for “the good ones.” Not the store-bought ones, not the box mix ones, but the ones from that bakery downtown that cost four dollars each. I panicked. I didn’t know how to make bakery-quality cookies at home. I spent three days testing recipes, burning my fingertips, and dealing with cookies that spread into flat, crispy pancakes or stayed so raw in the middle they looked like dough balls.
But on the fourth day, something clicked. I realized I’d been doing two things wrong: I was overmixing the dough (which develops gluten and makes them tough) and I wasn’t chilling it long enough (which causes them to spread). Once I fixed those two things, the cookies transformed. They became soft, pillowy clouds with a delicate snap on the outside and a melt-in-your-mouth center. Paired with a buttercream that actually tastes like real vanilla beans instead of synthetic essence, these soft frosted sugar cookies are the real deal.
It’s been six months, and I’ve made these cookies at least a dozen times. They’re for birthdays, for school bake sales, for quiet Tuesday nights when I just need something sweet. They’ve replaced my box mix habit completely, and honestly? They’re easier than I thought they’d be. If you’ve ever been intimidated by sugar cookies, this is the recipe that will win you over. Trust me on this one.
Why You’ll Love This Soft Frosted Sugar Cookie Recipe
There are a lot of cookie recipes out there. You might be thinking, “Do I really need another one?” Here’s why these soft frosted sugar cookies are different. I’ve tested them until my kitchen smelled like vanilla 24/7, and here’s why they’ve earned a permanent spot in my rotation.
- Actually Soft, Not Crispy — Most sugar cookie recipes give you a crisp edge. These are cake-like and tender. I know people who prefer crispy cookies, and I respect that, but for a classic sugar cookie experience, this softness is what you’re chasing. They stay soft for days if stored properly.
- Real Vanilla Bean Flavor — I use real vanilla beans (or high-quality extract if you’re in a pinch), and the difference is night and day. The frosting isn’t just sweet; it’s aromatic and complex. It tastes like a bakery, not a factory.
- Perfect for Decorating (But Also Eating Plain) — Because the dough holds its shape so well, these are amazing for cut-out cookies. But let’s be real? Half the time, I just scoop them and drop them on the sheet. They’re delicious either way. No rolling pins required if you don’t want to use them.
- Make-Ahead Friendly — You can make the dough weeks in advance and freeze it. You can also make the frosting ahead of time. This is a lifesaver when you’re hosting a party and need to prep days before. It’s less stressful than baking everything the morning of.
- Family Approved — My kids, who usually turn their noses up at “fancy” desserts, love these. They’re sweet but not cloying. I’ve made these for my husband’s office party, and he came home with the empty tin box. That’s the highest compliment I can give.
This recipe is my answer to “what’s for dessert?” when I want something special but don’t want to spend hours in the kitchen. It’s reliable, it’s delicious, and it makes everyone happy.
Ingredients You’ll Need
Here’s the good news: you probably have most of these ingredients in your pantry right now. This isn’t a recipe that requires you to drive to three different specialty stores. It’s simple, accessible, and uses staples that you’ll love having on hand.
For the Cookies
Unsalted butter (1 cup / 226g) — Softened to room temperature. This is crucial. If it’s too cold, it won’t cream properly. If it’s melted, the cookies will spread too much. I take it out of the fridge about an hour before I start.
Granulated sugar (1 cup / 200g) — The standard stuff. Don’t try to substitute with brown sugar here; we want that classic sugar cookie texture, not a chewy molasses one.
Confectioners’ sugar (1 cup / 120g) — Also known as powdered sugar. This helps keep the cookies soft and tender. Don’t skip it.
Egg (1 large) — Room temperature. It helps bind everything together and adds richness.
Vanilla extract or paste (2 teaspoons) — I prefer vanilla bean paste for the specks, but good extract works fine. Avoid the cheap imitation stuff; it’ll ruin the flavor.
All-purpose flour (3 cups / 375g) — Spoon and level method! Don’t scoop directly from the bag, or you’ll pack in too much flour and get dry cookies. Spoon it into the cup and level it off with a knife.
Baking powder (1 teaspoon) — Make sure it’s fresh. Old baking powder makes cookies flat and dense.
Salt (½ teaspoon) — Even though these are sweet, salt balances the flavor. Don’t skip it.
For the Vanilla Bean Buttercream
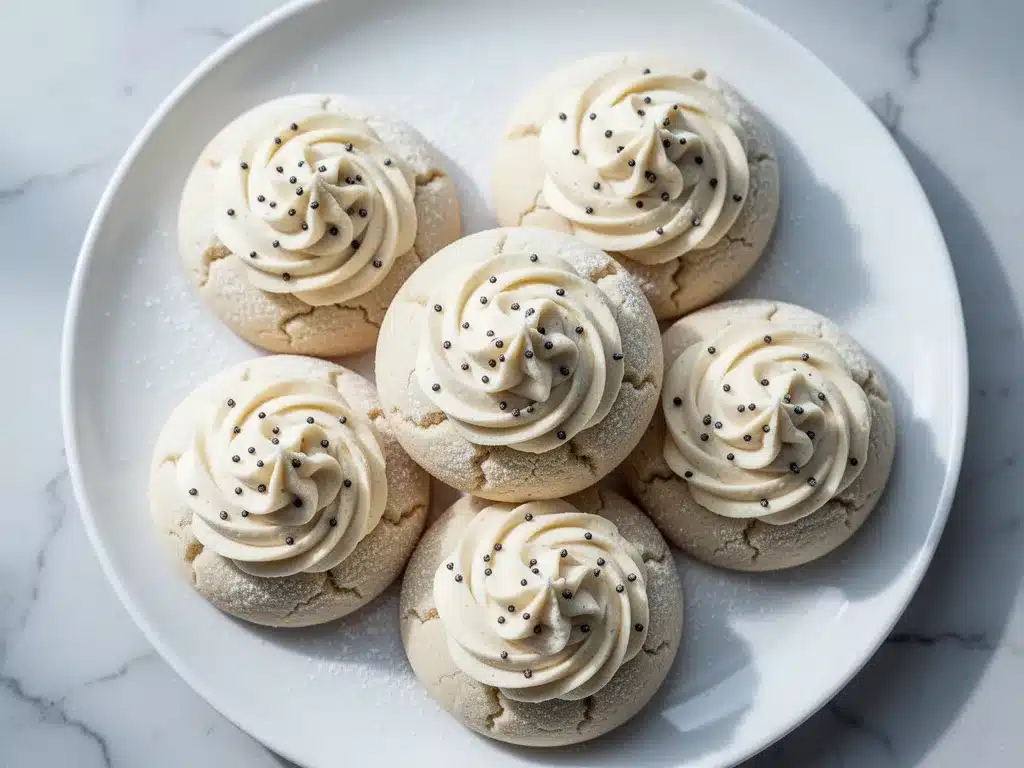
Unsalted butter (1 cup / 226g) — Softened to room temperature. Again, room temp is key for a smooth frosting.
Confectioners’ sugar (4 cups / 480g) — Sifted if it’s clumpy. We want silky frosting, not lumpy.
Heavy cream (2-3 tablespoons) — Just enough to loosen the frosting to a spreadable consistency.
Vanilla bean paste (2 teaspoons) — Or seeds from one vanilla bean. This gives you those beautiful specks and intense flavor. If you can’t find paste, use 1 tablespoon of high-quality extract.
Salt (¼ teaspoon) — To cut the sweetness.
Tip: I always buy the vanilla bean paste from a local spice shop or a well-stocked grocery store. It’s worth the extra few dollars. The flavor difference is massive.
Equipment Needed
You don’t need fancy gadgets for this. Here’s what I actually use in my kitchen.
Mixing bowls — Two large ones. One for the wet ingredients, one for the dry. I use stainless steel because they’re durable and easy to clean.
Electric mixer — A hand mixer works, but a stand mixer is easier. I have a KitchenAid, and it makes creaming the butter and sugar so much faster. But honestly, if you don’t have one, a wooden spoon and some elbow grease will do.
Parchment paper — Line your baking sheets with this. It prevents sticking and makes cleanup a breeze. I never bake cookies directly on the pan anymore. Ask me how I know—burnt cookies are not fun.
Cooling rack — Essential for cooling the cookies completely before frosting. If you frost warm cookies, the buttercream will melt and slide off. Don’t skip this step.
Spatula — A rubber spatula for scraping the bowl. You want to get every bit of that butter-sugar mixture.
Piping bags or ziplock bags — If you want to decorate, these help. But a butter knife works perfectly fine for spreading frosting if you’re keeping it simple.
Cookie scoop — I use a #40 scoop for uniform cookies. It makes them all bake at the same rate. If you don’t have one, a tablespoon works.
Optional but nice: A vanilla bean scraper (or just the back of a knife) to get the seeds out of the pod. And a sifter for the powdered sugar if it’s clumpy.
How to Make It: Step-by-Step
Alright, let’s make these cookies! I’m walking you through exactly how I do it, including the little tricks I’ve picked up over the years.
Step 1: Cream the Butter and Sugars (3-4 minutes)
In a large bowl, beat the softened butter, granulated sugar, and confectioners’ sugar together on medium-high speed. You want this to be light and fluffy, about 3-4 minutes. This step incorporates air, which helps the cookies rise slightly and stay tender. Scrape down the sides of the bowl with a spatula halfway through to make sure everything is mixed evenly.
Step 2: Add Wet Ingredients (1 minute)
Add the egg and vanilla extract (or paste). Mix on low speed until just combined. Don’t overmix here. You want it smooth and creamy. If you’re using vanilla bean paste, you’ll see those beautiful black specks starting to appear.
Step 3: Mix Dry Ingredients (1 minute)
In a separate bowl, whisk together the flour, baking powder, and salt. Then, gradually add the dry ingredients to the wet mixture on low speed. Mix until just combined. It’s okay if there are a few small streaks of flour left. Overmixing at this stage develops gluten, which makes the cookies tough instead of soft. Stop as soon as the dough comes together.
Step 4: Chill the Dough (30 minutes – 2 hours)
This is the most important step. Cover the bowl with plastic wrap and refrigerate for at least 30 minutes, or up to 2 hours. Chilling firms up the butter, which prevents the cookies from spreading too much in the oven. If you skip this, you’ll get flat, crispy cookies instead of soft, pillowy ones. I usually chill the dough while I preheat the oven.
Step 5: Scoop and Bake (10-12 minutes)
Preheat your oven to 350°F (175°C). Line two baking sheets with parchment paper. Scoop the dough into balls (about 1.5 tablespoons each) and place them on the sheets, about 2 inches apart. They’ll spread, so give them room. Bake for 10-12 minutes, or until the edges are just barely set and lightly golden. The centers should still look soft and slightly underdone. They will firm up as they cool.
Step 6: Cool Completely (1 hour)
Let the cookies cool on the baking sheet for 5 minutes, then transfer them to a wire rack to cool completely. This is crucial. If you try to frost them while they’re warm, the buttercream will melt. I’ve made this mistake before, and it’s a messy disaster. Patience pays off.
Step 7: Make the Vanilla Bean Buttercream (10 minutes)
In a clean bowl, beat the softened butter on medium-high speed until light and fluffy, about 3 minutes. Add the sifted confectioners’ sugar, vanilla bean paste (or seeds), and salt. Mix on low until combined, then increase to high and beat for 2-3 minutes until very fluffy. Add heavy cream, one tablespoon at a time, until you reach your desired consistency. It should be thick enough to hold peaks but soft enough to spread easily.
Step 8: Frost and Enjoy
Once the cookies are completely cool, frost them however you like. Use a knife for a rustic look, or a piping bag for something fancy. Sprinkle with edible glitter or sprinkles if you’re feeling festive. Then, dig in.
Expert Tips & Tricks
Here’s everything I’ve learned from making these cookies dozens of times. These tips will save you from my mistakes.
Don’t Overbake
Sugar cookies continue to cook on the hot pan after you take them out of the oven. If they look perfectly done in the pan, they’ll be overdone once cooled. Pull them when the edges are just starting to turn golden, but the center still looks soft. They’ll firm up as they cool.
Room Temperature Ingredients Matter
I know it’s a hassle, but having your butter, egg, and cream at room temperature makes a huge difference. Cold butter won’t cream properly, and cold egg can cause the mixture to curdle. I take my butter out in the morning, and my eggs get a quick warm water bath if I forget.
Spoon and Level Your Flour
This is the #1 reason cookies turn out dry. If you scoop the flour directly from the bag, you pack it down. Spoon it into the measuring cup and level it off with a knife. It’s a small step that makes a big difference.
Chill Your Dough
I can’t stress this enough. Chilling the dough is what gives you that perfect shape and texture. If you’re in a rush, freeze it for 15 minutes, but 30 minutes is better. If you have time, chill it overnight for even deeper flavor.
Frosting Consistency
If your frosting is too thick, add more cream, one teaspoon at a time. If it’s too thin, add more powdered sugar. You want it to be spreadable but not runny. It should hold its shape when you pipe it.
Variations & Substitutions
Once you’ve nailed the basic version, here’s how you can mix it up. I’ve tried all of these, and they’re all delicious.
Chocolate Chip Sugar Cookies
Fold in 1 cup of semi-sweet chocolate chips after the dough is mixed. It’s like a cross between a sugar cookie and a chocolate chip cookie. My kids love this version.
Lemon Sugar Cookies
Add the zest of one lemon to the dough, and swap the vanilla extract for lemon extract. Frost with a lemon buttercream (add lemon juice and zest to the frosting). It’s bright and refreshing.
Red Velvet Sugar Cookies
Add 1 tablespoon of cocoa powder and 1 teaspoon of red food coloring to the dough. It’s festive and tastes great with cream cheese frosting.
Gluten-Free Version
Use a 1:1 gluten-free flour blend. I’ve used Bob’s Red Mill and King Arthur, and both work well. Make sure your baking powder is gluten-free.
Dairy-Free Option
Use vegan butter instead of regular butter, and dairy-free milk in the frosting. The texture might be slightly different, but it’s still tasty. I’ve made this for a friend with a dairy allergy, and she loved them.
Serving & Storage
How to Serve:
I usually serve these plain, but for holidays, I decorate them with sprinkles or edible glitter. They’re great for potlucks, bake sales, or just a quiet night in.
Storage:
Store the cookies in an airtight container at room temperature for up to 5 days. If you’re frosting them, make sure they’re completely cool first. They’ll stay soft for days.
Freezing:
You can freeze the unfrosted cookies for up to 3 months. Let them thaw at room temperature before frosting. You can also freeze the frosting separately, but it might lose some fluffiness when thawed. I prefer to make the frosting fresh.
Meal Prep:
Make the dough ahead and freeze it in balls. When you’re ready to bake, just pop them in the oven. It’s a huge time-saver.
Nutrition Information
I’m not a nutritionist, but here’s the breakdown if you’re tracking. Keep in mind that this is a treat, so enjoy it in moderation.
Per cookie (makes about 24 cookies):
- Calories: 220
- Protein: 2g
- Carbs: 32g
- Fiber: 0g
- Sugar: 24g
- Fat: 10g
- Saturated Fat: 6g
- Cholesterol: 25mg
- Sodium: 120mg
These are rich in sugar and fat, as you’d expect from a frosted cookie. If you’re watching your intake, stick to one or two. But honestly? They’re worth it.
Final Thoughts
So that’s my go-to soft frosted sugar cookie recipe! I’ve probably talked your ear off at this point, but when you make a recipe this often, you have a lot to say about it. These cookies have saved me more times than I can count. They’re my answer to “what’s for dessert?” when I want something special but don’t want to stress.
Make it yours! Try different flavor extracts, add sprinkles, or just enjoy them plain. The best recipes are the ones you adapt to your family’s tastes. If you make these, drop a comment and let me know what you think! I love hearing how recipes turn out in your kitchen. And if something doesn’t work, tell me that too—I’m here to help troubleshoot.
Happy baking! And I hope your kitchen smells half as good as mine does right now.
Frequently Asked Questions
Why did my cookies spread too much?
This usually happens if the butter was too warm or if you didn’t chill the dough. Make sure your butter is softened, not melted, and chill the dough for at least 30 minutes. Also, check that your baking powder is fresh.
Can I use brown sugar instead of granulated?
You can, but it will change the texture. Brown sugar has molasses, which makes cookies chewier and darker. For classic soft sugar cookies, stick with granulated sugar. If you want a mix, try half and half.
How do I get those vanilla bean specks in the frosting?
Use vanilla bean paste, which has the seeds already suspended in it. Or, split a vanilla bean pod lengthwise and scrape out the seeds with a knife. Add the seeds to the frosting along with the pulp.
Can I make these ahead for a party?
Yes! Make the dough ahead and freeze it. Or, bake the cookies and store them in an airtight container. Frost them the day before the party, and they’ll stay fresh. Just keep them in the fridge if it’s hot outside.
Why is my frosting too runny?
This usually means the butter was too warm or you added too much cream. Chill the frosting in the fridge for 15 minutes, then beat it again. If it’s still too runny, add more powdered sugar.
Can I double this recipe?
Absolutely! Double everything and use two mixing bowls if needed. The cooking times stay the same. I do this when I’m feeding a crowd. Just make sure your baking sheets aren’t overcrowded.
What’s the best way to store frosted cookies?
Store them in a single layer in an airtight container at room temperature. If you need to stack them, put parchment paper between the layers. They’ll stay soft for up to 5 days.
Pin This Recipe!
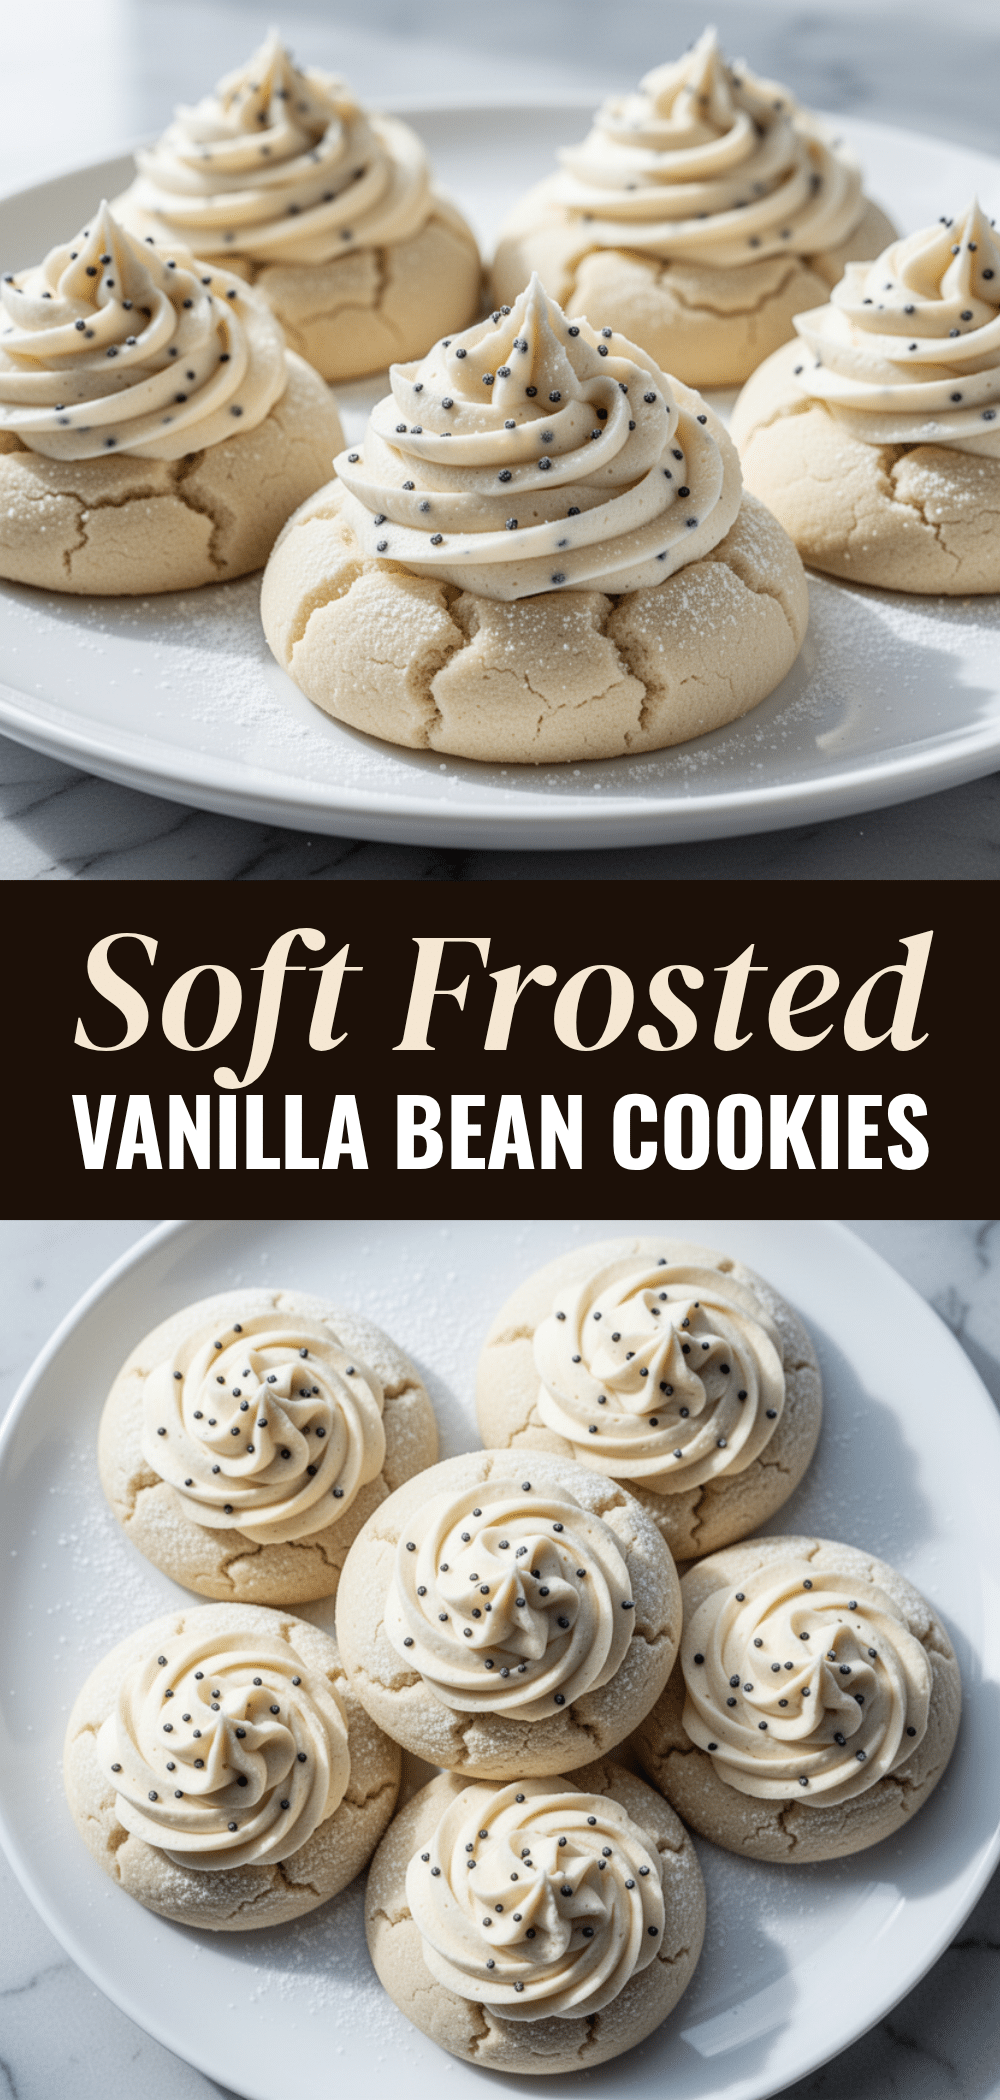

Soft Frosted Sugar Cookies: Easy Vanilla Bean Recipe
- Total Time: 45 minutes
- Yield: 24 cookies 1x
Description
Soft, pillowy sugar cookies with a delicate snap, paired with a rich vanilla bean buttercream. These bakery-quality cookies are easier to make than you think and stay soft for days.
Ingredients
- 1 cup (226g) unsalted butter, softened to room temperature
- 1 cup (200g) granulated sugar
- 1 cup (120g) confectioners’ sugar
- 1 large egg, room temperature
- 2 teaspoons vanilla extract or vanilla bean paste
- 3 cups (375g) all-purpose flour, spooned and leveled
- 1 teaspoon baking powder
- ½ teaspoon salt
- 1 cup (226g) unsalted butter, softened to room temperature (for frosting)
- 4 cups (480g) confectioners’ sugar, sifted (for frosting)
- 2–3 tablespoons heavy cream (for frosting)
- 2 teaspoons vanilla bean paste or seeds from one vanilla bean (for frosting)
- ¼ teaspoon salt (for frosting)
Instructions
- In a large bowl, beat the softened butter, granulated sugar, and confectioners’ sugar on medium-high speed for 3-4 minutes until light and fluffy. Scrape down the sides of the bowl.
- Add the egg and vanilla extract (or paste). Mix on low speed until just combined.
- In a separate bowl, whisk together the flour, baking powder, and salt. Gradually add the dry ingredients to the wet mixture on low speed, mixing until just combined. Do not overmix.
- Cover the bowl with plastic wrap and refrigerate the dough for at least 30 minutes, or up to 2 hours.
- Preheat oven to 350°F (175°C). Line baking sheets with parchment paper.
- Scoop dough into balls (about 1.5 tablespoons each) and place on sheets 2 inches apart.
- Bake for 10-12 minutes until edges are barely set and lightly golden. Centers should look soft.
- Let cookies cool on the baking sheet for 5 minutes, then transfer to a wire rack to cool completely.
- For the frosting, beat softened butter on medium-high speed until fluffy (3 minutes).
- Add sifted confectioners’ sugar, vanilla bean paste, and salt. Mix on low until combined, then beat on high for 2-3 minutes until fluffy.
- Add heavy cream one tablespoon at a time until desired spreadable consistency is reached.
- Frost completely cooled cookies with a knife or piping bag.
Notes
Ensure butter and eggs are at room temperature for best results. Spoon and level flour to avoid dry cookies. Chill dough to prevent spreading. Do not overbake; cookies firm up as they cool. Store in an airtight container at room temperature for up to 5 days.
- Prep Time: 30 minutes
- Cook Time: 10-12 minutes
- Category: Dessert
- Cuisine: American
Nutrition
- Serving Size: 1 cookie
- Calories: 220
- Sugar: 24
- Sodium: 120
- Fat: 10
- Saturated Fat: 6
- Carbohydrates: 32
- Protein: 2
Keywords: soft sugar cookies, vanilla bean frosting, bakery style cookies, easy cookie recipe, vanilla bean paste, buttercream frosting



