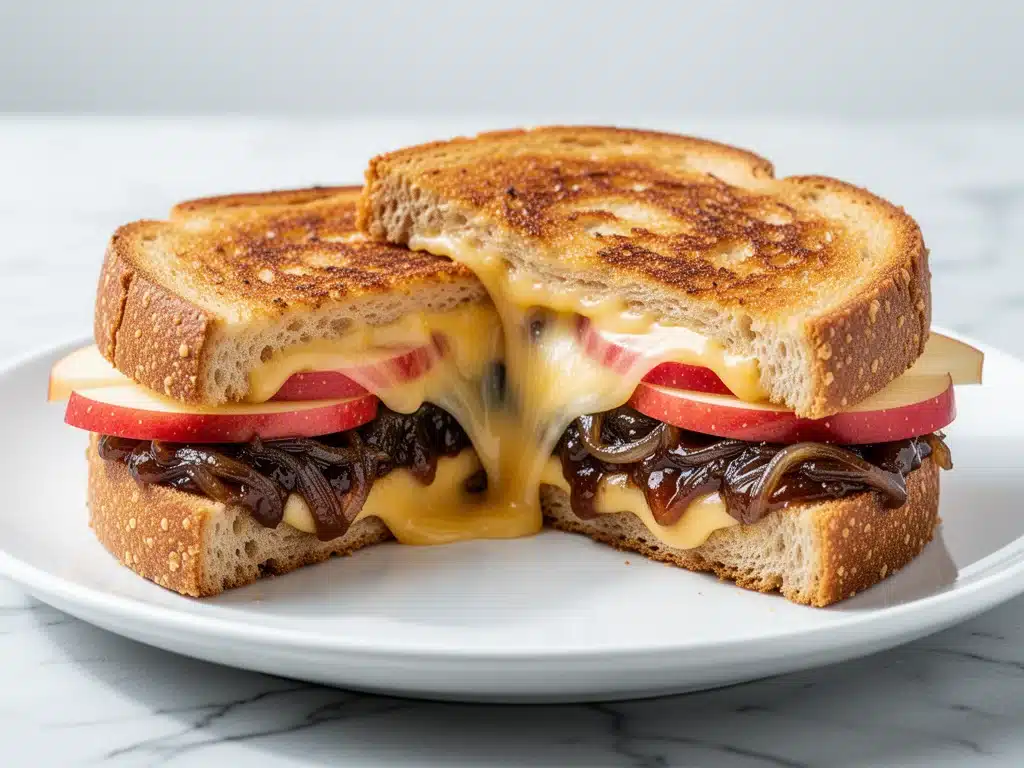
I have a confession to make. Last Tuesday, I came home from work exhausted, my brain completely fried, and I stared into my open fridge for a solid ten minutes. It was that specific kind of tired where the idea of chopping vegetables or managing three different pans felt like climbing Mount Everest. I didn’t want takeout—I was trying to save money and eat slightly healthier than delivery—but I definitely didn’t have the energy for a “real” dinner.
That’s when I remembered the apples sitting on my counter and the block of sharp cheddar I’d bought on a whim. I had a vague memory of a recipe that combined caramelized onions with a sweet fruit, and I decided to wing it. I threw together a batch of quick onion jam, grabbed some sourdough bread, and slathered it on. The result? It was actually incredible. The sweetness of the apples and onions cut through the salty, gooey cheese in a way I never expected.
I’ve made this fall apple cheddar grilled cheese with caramelized onion jam at least six times since that night. It’s become my go-to comfort food when I need dinner to just *work*. It feels fancy, sure, but it’s basically just cheese on toast with a little extra effort. And let me tell you, that extra effort is worth every second.
There’s something magical about the combination of sharp cheddar and crisp apples. It’s the same vibe as the classic pairing in a fall apple cider donut cake, but savory instead of sweet. It hits that perfect balance of salty, sweet, and crunchy that makes you close your eyes and sigh. Plus, the caramelized onion jam adds this deep, umami-rich backbone that makes a simple grilled cheese feel like a gourmet meal. If you’re looking for more easy, budget-friendly comfort food, you might also enjoy our baked buffalo chicken dip—it’s another crowd-pleaser that comes together fast.
Why You’ll Love This Grilled Cheese Recipe
Look, I’m not going to lie to you. A grilled cheese is a grilled cheese. But this version? This version has completely changed how I think about quick weeknight dinners. It’s not just about the cheese; it’s about the layers of flavor and texture that make you forget you’re eating something that takes less than 15 minutes to make.
Here’s why this fall apple cheddar grilled cheese with caramelized onion jam keeps me coming back:
- Stupid Simple — Seriously, if you can slice an apple and melt butter, you can make this. The onion jam cooks down while you’re prepping, so you’re not actually doing much work. I’ve made this while watching TV, and I haven’t burned it once.
- Perfectly Balanced — Sharp cheddar can be intense, and apples can be too sweet on their own. But together? They neutralize each other perfectly. The onion jam adds that savory depth that keeps it from tasting like dessert. It’s savory, sweet, salty, and crunchy all in one bite.
- Pantry-Friendly — You probably have all of this already. Bread, butter, cheese, onions, apples. It’s not like I’m asking you to go hunt down truffle oil or aged gouda from a specialty shop. This is accessible comfort food.
- Feels Fancy, Costs Pennies — This feels like something you’d order at a trendy cafe for $18. But it costs about $4 to make. That’s less than a single slice of pizza from a delivery app. It’s the ultimate budget hack for feeling like you’re treating yourself.
- Great Leftovers (If You Have Any) — I usually eat these immediately, but if you’re meal-prepping (or if your kids devour them before you do), they reheat surprisingly well in a toaster oven. The bread stays crispier than in a microwave, which is a win.
This is my answer to “what’s for dinner” when I’m tired, broke, or just don’t feel like cooking. It’s reliable, delicious, and makes my kitchen smell amazing without any stress.
Ingredients You’ll Need
Here’s the best part: you probably have most of this already. I’m particular about a few things here, especially the cheese and the apples, so pay attention to those tips.
For the Onion Jam
Yellow onion (1 large, thinly sliced / about 300g) — This is the star of the jam. I use yellow onions because they’re sweeter when cooked down. White onions are too sharp; red onions turn a weird purple. Yellow is the way to go.
Butter (2 tablespoons) — Use salted butter if you have it. It adds flavor, but if you’re using unsalted, you’ll want to add a pinch of salt later. I use whatever is on my counter.
Brown sugar (1 tablespoon) — Just a little bit. It helps caramelize the onions faster and adds that deep, rich color. You can skip it if you’re strictly keto, but it makes a huge difference in flavor.
Balsamic vinegar (1 tablespoon) — This is the secret weapon. It adds acidity and depth. Don’t use cheap white vinegar; get a decent balsamic. It doesn’t have to be expensive, just not the stuff in the gas station bathroom.
Salt and black pepper — To taste. I usually use about half a teaspoon of salt and a good crack of pepper.
For the Grilled Cheese
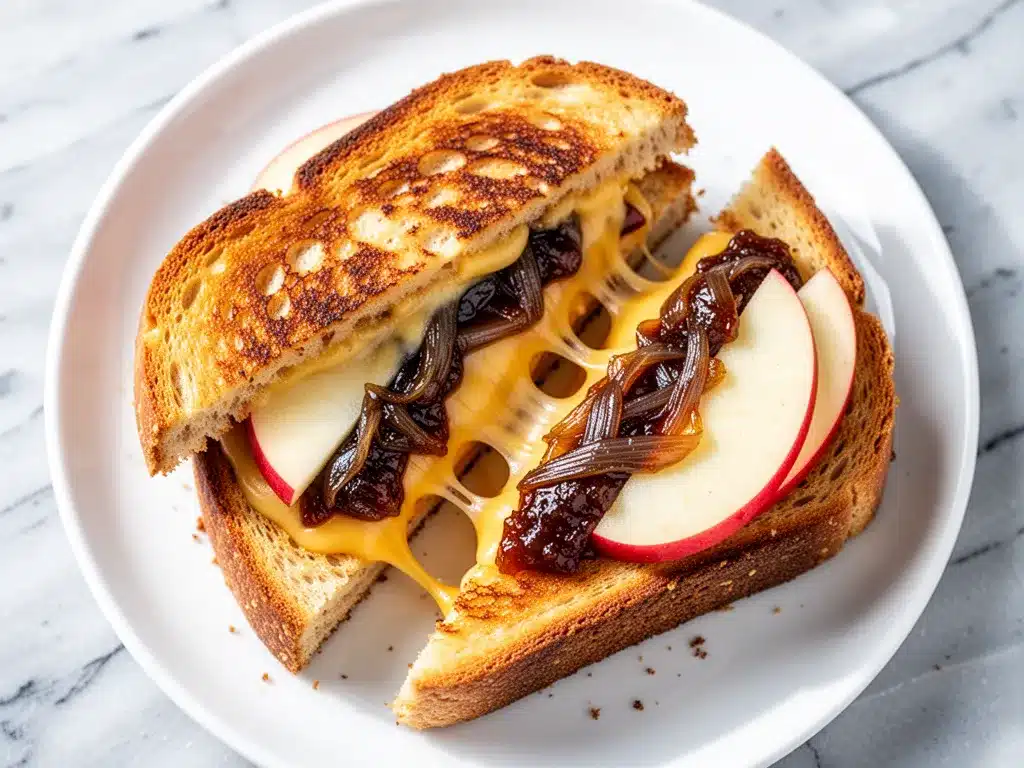
Sourdough bread (4 slices) — I love sourdough because it has a nice chew and holds up well to the moisture from the apples. Thick-cut is better. If you can’t find sourdough, a sturdy whole wheat or even a good white sandwich bread works. Avoid those super soft, squishy white loaves—they get soggy too fast.
Sharp cheddar cheese (4-5 ounces, shredded) — This is non-negotiable. I buy a block and shred it myself. Pre-shredded cheese has anti-caking agents that stop it from melting smoothly. You want that gooey, stretchy goodness. Sharp cheddar has the bite to stand up to the sweet apples.
Apples (1 medium, thinly sliced) — I use Honeycrisp or Fuji. They hold their shape when grilled and have a nice snap. Avoid Red Delicious—they’re mealy and bland. You want crisp, juicy apples.
Butter (4 tablespoons, softened) — This goes on the *outside* of the bread. I soften it in the microwave for 10 seconds or just leave it out. You want it spreadable, not melted. This creates that golden, crispy crust.
Optional: Dijon mustard (1 teaspoon) — I like a tiny smear on the inside of the bread. It adds a tangy kick that cuts through the richness. It’s not traditional, but I love it.
Shopping Tips
- Cheese: I always buy a block of Cabot Extra Sharp Cheddar. It melts beautifully and has that sharp, tangy flavor I crave. If you can’t find it, any brand of sharp cheddar works.
- Apples: Look for apples that feel heavy for their size. That means they’re juicy. If they feel light, they’re probably dry.
- Bread: Check the expiration date. Sourdough goes stale fast. If it’s a day or two old, that’s actually perfect for grilling—it absorbs the butter better.
Equipment Needed
You don’t need fancy equipment for this. Here’s what I actually use.
Large non-stick skillet or cast iron pan — I prefer a 10-inch skillet. It needs to be big enough to fit two sandwiches side-by-side. Non-stick is easiest for beginners, but cast iron gives a nicer crust if you’re careful with the heat.
Sharp knife — For slicing the apples and onions. A dull knife will crush the apples and make them mushy. I use my Japanese chef’s knife for this.
Peeler — Optional. I actually leave the skins on the apples for color and texture. If you’re using Gala or Fuji, the skin is thin and edible. If you’re using Granny Smith, you might want to peel them for a softer bite.
Grater — Box grater for the cheese. Microplane works too, but box grater gives you shreds that melt evenly.
Spatula — A thin, flexible spatula is best for flipping the sandwiches without breaking them. I use a metal one for cast iron and a silicone one for non-stick.
Cutting board — Any size works. I use a plastic one for the apples to avoid cross-contamination, though it’s not raw meat so it’s not a huge deal.
Small bowl — For mixing the onion jam ingredients.
How to Make It: Step-by-Step
Alright, let’s make this! I’m walking you through exactly how I do it, including the little tricks I’ve picked up.
Step 1: Make the Onion Jam (15-20 minutes)
Before you start the sandwiches, get the onion jam going. It takes about 15 minutes, and it’s mostly hands-off. Heat 2 tablespoons of butter in a small saucepan or skillet over medium-low heat. Add the thinly sliced onions and a pinch of salt. Stir to coat.
Cook the onions slowly, stirring every 2-3 minutes. You want them to turn a deep golden brown, not burn. This takes patience. If they’re sticking, add a splash of water. Once they’re soft and brown, add the brown sugar and balsamic vinegar. Cook for another 2 minutes, stirring constantly, until the mixture is thick and jammy. It should look like a dark, glossy paste. Set aside to cool slightly.
Step 2: Prep the Bread and Cheese (5 minutes)
While the onions cook, prep your other ingredients. Slice the apple into thin half-moons. I like them thin so they heat through quickly and don’t make the sandwich too bulky. Shred the cheddar cheese if you haven’t already.
Take your four slices of bread and spread softened butter on one side of each slice. This is the outside of the sandwich. Flip them over so the buttered side is down. If you’re using Dijon mustard, spread a thin layer on the unbuttered side of two slices.
Step 3: Assemble the Sandwiches (2 minutes)
Take two slices of bread (buttered side down). Layer half the cheese on each. Then, add a generous spoonful of the onion jam. Top with the apple slices, then the remaining cheese. The cheese on top acts as a glue to hold the apple in place.
Place the other two slices of bread on top, buttered side up. Press down gently. You want it compact so it doesn’t fall apart in the pan.
Step 4: Grill the Sandwiches (8-10 minutes)
Heat your skillet over medium-low heat. This is crucial. If the heat is too high, the bread will burn before the cheese melts. Place two sandwiches in the pan. They should sizzle gently when you put them in.
Cook for 3-4 minutes, until the bottom is golden brown and crisp. Check by lifting the edge with a spatula. Flip the sandwiches carefully. Press down lightly with the spatula to help the cheese melt.
Cook the other side for another 3-4 minutes. If the bread is browning too fast, lower the heat. The goal is a slow, even melt. The cheese should be fully melted and the apples should be slightly softened but still have a bite.
Step 5: Rest and Serve (2 minutes)
Remove the sandwiches from the pan and let them rest on a cutting board for 1-2 minutes. This lets the cheese set slightly so it doesn’t slide out when you cut. Cut diagonally (because it’s easier to dip and eat) and serve immediately.
Expert Tips & Tricks
Here’s everything I’ve learned from making this dozens of times. These tips will save you from my mistakes.
Low and Slow is Key
I can’t stress this enough. Grilled cheese is not a high-heat dish. If you crank the heat, you’ll get burnt bread and cold cheese. Keep it on medium-low. It’s better to cook it for 10 minutes than 5. Patience pays off.
Shred Your Own Cheese
I know it’s annoying, but pre-shredded cheese has cornstarch that prevents melting. You want your cheese to become a gooey blanket, not separate into oily pools. Block cheese melts better every time.
Thin Apple Slices
If your apple slices are too thick, they won’t cook through, and you’ll end up with a cold, crunchy core in the middle of your hot sandwich. Use a mandoline if you have one—it gives you perfectly even slices.
The “Double Butter” Trick
If you’re really indulgent, spread a thin layer of butter on the *inside* of the bread too, under the cheese. It adds extra richness and helps the bread crisp up from the inside out. I do this when I’m feeling fancy.
Don’t Crowd the Pan
If you’re making four sandwiches, do it in two batches. Crowding the pan lowers the temperature and steams the bread instead of grilling it. You want crispy, not soggy.
Common Mistakes
- Sauce too runny: If your onion jam is watery, cook it longer or add a teaspoon of cornstarch mixed with water.
- Bread burning: Lower the heat immediately. If it’s already burning, scrap it off with a spatula and continue cooking. It’s better to have a slightly darker crust than a black one.
- Apple falling out: Make sure you have enough cheese on top to act as glue. Also, don’t flip too aggressively.
Variations & Substitutions
Once you’ve nailed the basic version, here’s how you can mix it up. I’ve tried all of these.
Gruyère & Apple
Swap the cheddar for Gruyère. It’s nuttier and melts even better. This is a more classic French pairing. I love this version for a slightly more elegant dinner.
Bacon & Apple
Add crispy bacon bits to the sandwich. The salty, smoky bacon pairs perfectly with the sweet apples and sharp cheese. I cook the bacon first, crumble it, and sprinkle it in with the onions.
Spicy Kick
Add a slice of pepper jack cheese or a dash of cayenne pepper to the onion jam. It adds a nice heat that contrasts with the sweetness.
Vegan Version
Use vegan butter and a high-quality vegan cheddar (like Daiya or Violife). For the onion jam, use olive oil instead of butter. It’s not exactly the same, but it’s still delicious.
Gluten-Free
Use gluten-free sourdough bread. I’ve tested this with several brands, and it works well as long as it’s thick-cut. Be careful with the butter—GF bread can absorb more moisture, so keep an eye on the cooking time.
Serving & Storage
How to Serve:
I usually serve this straight from the pan with a simple side salad. The crunch of the greens balances the richness of the sandwich. A tomato soup is the classic pairing, but I also love it with a light vinaigrette salad.
Wine Pairing:
Not a wine expert, but a crisp Pinot Grigio or a dry cider works great. The acidity cuts through the cheese.
Storage:
This is best eaten fresh. Leftovers can be stored in an airtight container in the fridge for up to 2 days. Reheat in a toaster oven or skillet over low heat. Do not microwave—it will make the bread chewy and the cheese rubbery.
Freezing:
I don’t recommend freezing assembled sandwiches. The apples will get mushy when thawed. You can freeze the onion jam separately for up to 3 months, though.
Nutrition Information
I’m not a nutritionist, but here’s the breakdown if you’re tracking. This is per serving (1 sandwich).
- Calories: 450
- Protein: 18g
- Carbs: 35g
- Fiber: 4g
- Sugar: 12g
- Fat: 28g
It’s rich, obviously, because of the cheese and butter. But it’s also filling. The fiber from the apples and whole wheat bread helps keep you satisfied. If you’re watching calories, use light butter and less cheese, but don’t skip the apple—it adds bulk without many calories.
Final Thoughts
So that’s my fall apple cheddar grilled cheese with caramelized onion jam! It’s simple, it’s comforting, and it’s perfect for those nights when you want something delicious but don’t have the energy to cook a big meal. It’s become a staple in my rotation, and I hope it becomes one in yours too.
Make it yours! Try different cheeses, different apples, or add some bacon. The best recipes are the ones you adapt to your tastes. If you make this, drop a comment and let me know what you think! I love hearing how recipes turn out in your kitchen.
Happy cooking! And I hope your kitchen smells half as good as mine does right now.
Frequently Asked Questions
Can I use a different cheese?
Absolutely! While sharp cheddar is my favorite for its bite, you can use Gruyère, Fontina, or even Pepper Jack. Just make sure it melts well. Avoid hard cheeses like Parmesan unless you’re mixing them with a softer cheese.
Why did my sandwich fall apart?
This usually happens if the bread is too soft or if you didn’t use enough cheese to act as glue. Make sure your bread is sturdy, and press the apple slices into the cheese layer. Also, let the sandwich rest for a minute after cooking before cutting it.
Can I make the onion jam ahead of time?
Yes! In fact, it’s better if you do. The flavors meld together as it cools. Store it in an airtight container in the fridge for up to 5 days. You can also freeze it for up to 3 months.
What kind of apples are best?
I recommend Honeycrisp, Fuji, or Gala. They hold their shape well and have a nice balance of sweet and tart. Avoid Red Delicious or McIntosh, as they turn mushy when cooked.
Can I make this in an air fryer?
You can! Brush the outside of the bread with butter, assemble the sandwich, and cook at 350°F for 6-8 minutes, flipping halfway through. It works well, but you won’t get the same crispy crust as a skillet.
Is the onion jam sweet or savory?
It’s both! The balsamic vinegar and salt keep it savory, while the brown sugar and natural sweetness of the onions make it sweet. It’s a perfect balance that complements the salty cheese.
Pin This Recipe!
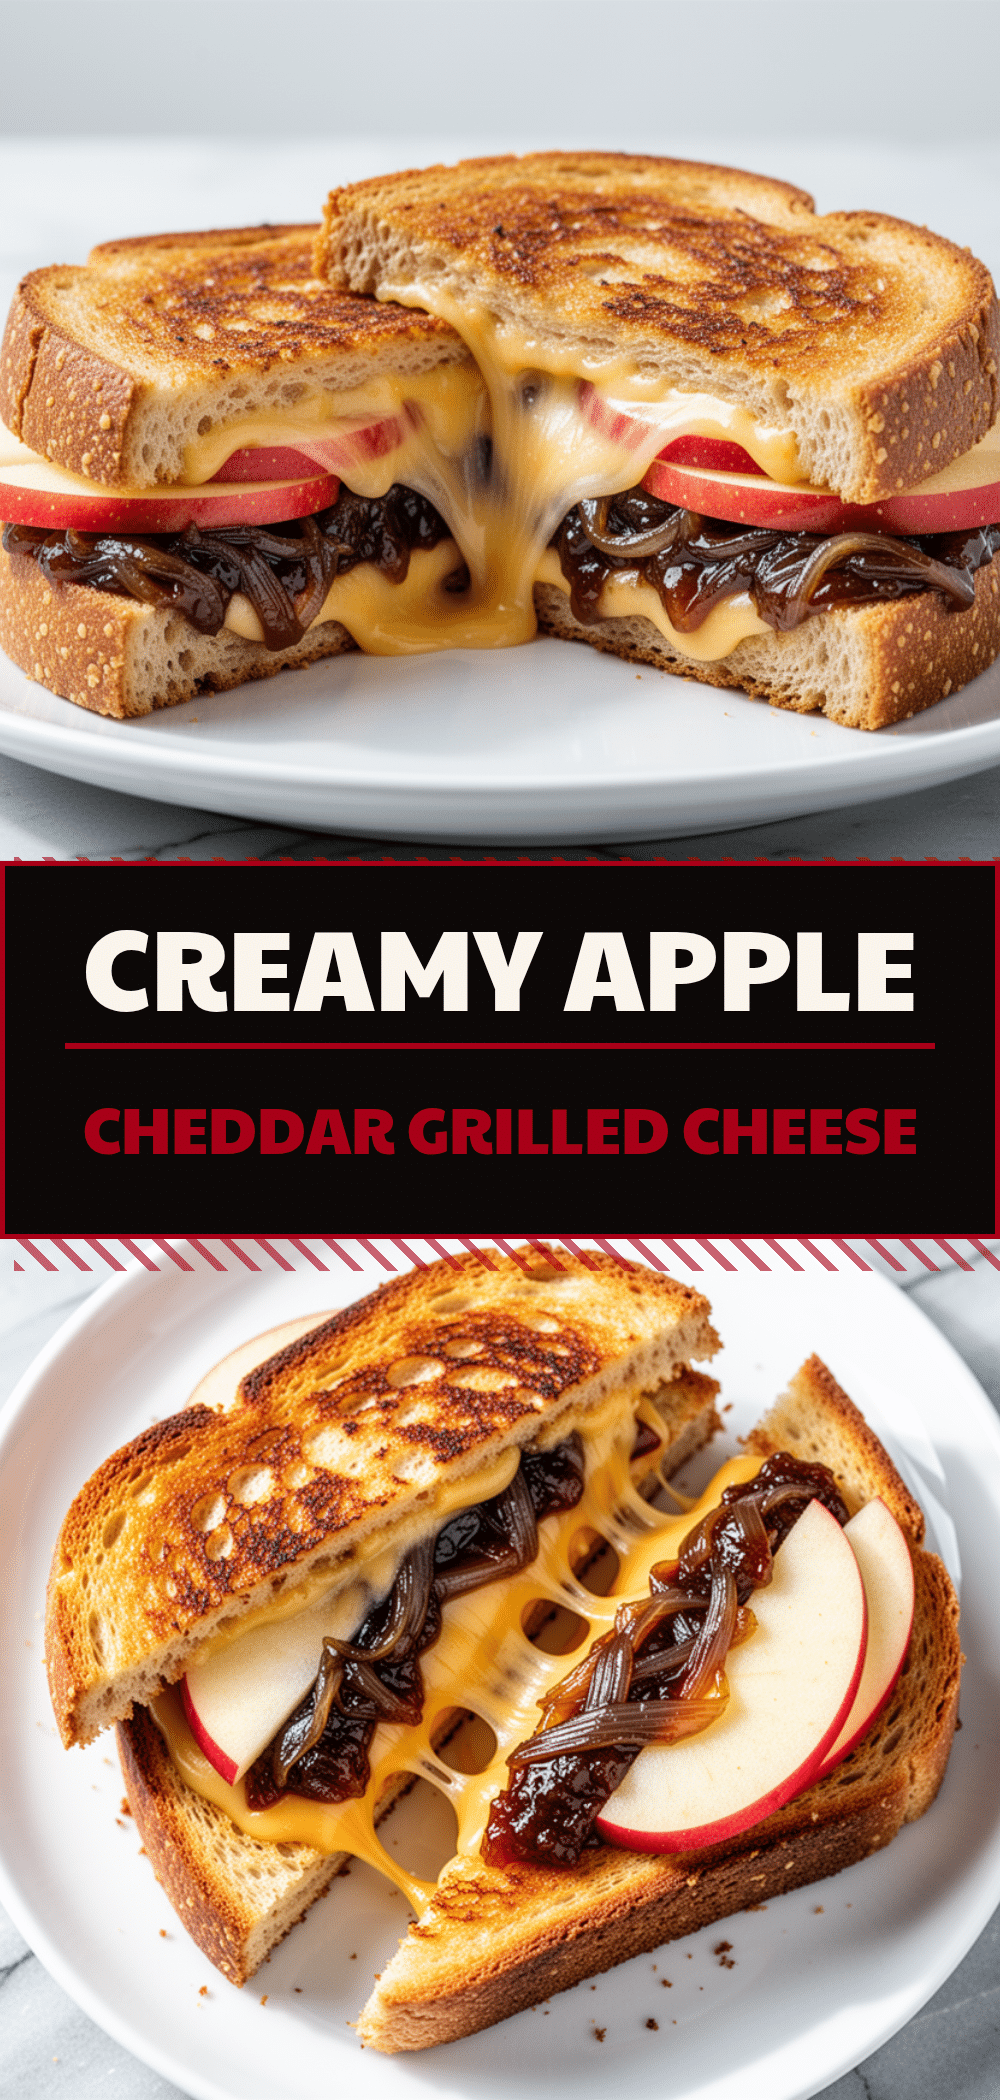
Fall Apple Cheddar Grilled Cheese with Caramelized Onion Jam
- Total Time: 30 minutes
- Yield: 2 servings 1x
Description
A quick and easy weeknight dinner featuring sharp cheddar, crisp apples, and savory caramelized onion jam on toasted sourdough bread. This budget-friendly comfort food balances sweet, salty, and crunchy flavors in under 15 minutes of active time.
Ingredients
- 1 large yellow onion, thinly sliced (about 300g)
- 2 tablespoons butter (for onion jam)
- 1 tablespoon brown sugar
- 1 tablespoon balsamic vinegar
- Salt and black pepper to taste
- 4 slices sourdough bread (thick-cut)
- 4–5 ounces sharp cheddar cheese, shredded
- 1 medium apple (Honeycrisp or Fuji), thinly sliced
- 4 tablespoons butter, softened (for bread)
- 1 teaspoon Dijon mustard (optional)
Instructions
- Heat 2 tablespoons of butter in a small saucepan or skillet over medium-low heat. Add sliced onions and a pinch of salt, stirring to coat.
- Cook onions slowly, stirring every 2-3 minutes, until they turn deep golden brown and soft. If sticking, add a splash of water.
- Add brown sugar and balsamic vinegar to the onions. Cook for another 2 minutes, stirring constantly, until the mixture is thick and jammy. Set aside to cool.
- While onions cook, slice apples into thin half-moons and shred the cheddar cheese.
- Spread softened butter on one side of each bread slice. Flip them over so the buttered side is down.
- If using, spread a thin layer of Dijon mustard on the unbuttered side of two slices.
- Place two slices of bread buttered-side down. Layer half the cheese, a generous spoonful of onion jam, apple slices, and the remaining cheese on top.
- Top with the remaining two bread slices, buttered-side up. Press down gently.
- Heat a large non-stick skillet or cast iron pan over medium-low heat. Place two sandwiches in the pan.
- Cook for 3-4 minutes until the bottom is golden brown and crisp. Flip carefully and press down lightly.
- Cook the other side for another 3-4 minutes until cheese is melted and bread is crispy. Adjust heat if browning too fast.
- Remove sandwiches from pan and let rest for 1-2 minutes before cutting diagonally and serving immediately.
Notes
Low and slow heat is crucial to prevent burning the bread before the cheese melts. Shred your own cheese for better melting. Thin apple slices ensure they cook through. Do not crowd the pan; cook in batches if making more than two sandwiches. Leftovers can be stored in the fridge for up to 2 days and reheated in a toaster oven or skillet.
- Prep Time: 15 minutes
- Cook Time: 15 minutes
- Category: Main Course
- Cuisine: American
Nutrition
- Serving Size: 1 sandwich
- Calories: 450
- Sugar: 12
- Sodium: 600
- Fat: 28
- Saturated Fat: 14
- Carbohydrates: 35
- Fiber: 4
- Protein: 18
Keywords: grilled cheese, apple cheddar, caramelized onion jam, weeknight dinner, easy recipes, comfort food, budget meals, sourdough, fall recipes



