I remember the exact moment I decided to retire the can of kidney beans from my chili rotation. It was February three years ago, the coldest week of the year, and I had just dragged my three kids through a snowstorm to get ice cream. We came home shivering, hungry, and ready for something warm. I opened the pantry, grabbed the usual beef and tomato base, and then stared at the empty spot where the beans usually lived.
My daughter, who is notoriously picky about texture, looked at me and said, “Mom, I just want the meat and sauce. No mushy beans.” It hit me. For years, I’d been making chili because it was “supposed” to have beans. But really, I just wanted a hearty, filling, budget-friendly dinner that tasted like comfort without the digestive drama that sometimes comes with legumes.
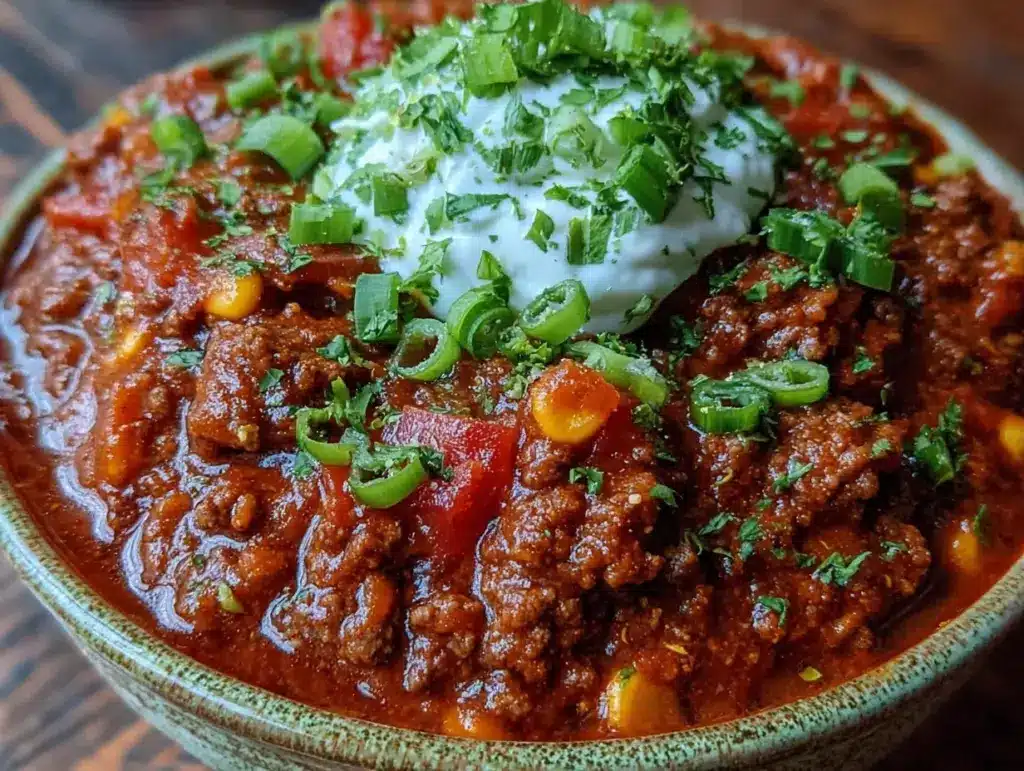
So, I improvised. I doubled the beef. I loaded up on carrots, celery, and bell peppers. I let it simmer until the vegetables melted into the sauce, creating this thick, rich, meaty stew that my kids devour every single time. This Classic Beef and Vegetable Chili No Bean isn’t just a recipe; it’s a lifesaver on busy weeknights. It’s cheaper than takeout, easier than most pasta dishes, and tastes better than anything you’ll find at a chain restaurant. I’ve tested this version dozens of times, tweaking the spice levels and veggie ratios, and I’m finally ready to share the one that works every time.
Why You’ll Love This No-Bean Chili
There are a lot of chili recipes out there, but this one has earned its spot in my weekly rotation for some very practical reasons. If you’re tired of spending an hour chopping or worried about your family’s digestion, this is the answer.
- It’s Stupidly Affordable — Seriously, this is one of the cheapest dinners you can make for a family of four. Ground beef is on sale, and the vegetables are pantry staples or cheap produce. I usually spend less than $12 to feed six people. That’s less than a single pizza delivery.
- Lightning Fast Prep — If you have a good knife, you can chop everything in 10 minutes. The rest is just letting it simmer. I make this on nights when I’m exhausted and just want to throw something in a pot and walk away.
- Kid-Approved (and Picky-Eater Friendly) — Because there are no beans, there are no weird textures to complain about. The vegetables cook down so they’re soft and sweet, not crunchy or obvious. My kids think it’s just “meat sauce,” which is basically a win in my book.
- Makes Amazing Leftovers — Chili always tastes better the next day. The flavors meld together, and the sauce thickens up. I deliberately make a double batch on Sundays so we have lunch sorted for three days. It reheats perfectly in the microwave or on the stove.
- Versatile and Customizable — Want it spicier? Add jalapeños. Want it sweeter? Add a touch of cocoa or brown sugar. This recipe is a canvas. I’ve served this alongside real Mexican street tacos for a fun family taco night, or just with some crusty bread.
This is my go-to when I need dinner to just work. No fancy techniques, no weird ingredients you have to order online, just reliable, delicious food that makes everyone happy.
Ingredients You’ll Need
Here’s the best part: you probably have most of this already. This isn’t a recipe that requires a special trip to a specialty store. It’s built on pantry basics and affordable produce.
For the Base
Ground beef (2 pounds / 900g) — I use 80/20 fat ratio. The fat adds flavor, and since we aren’t using beans to bulk it up, you need that richness. If you want it leaner, you can drain the grease, but I like the taste.
Yellow onion (1 large, diced / about 250g) — This is the flavor foundation. Don’t skip it. It sweats down and becomes sweet and savory.
Garlic (4 cloves, minced / about 2 tablespoons) — Fresh only. Jarred garlic just doesn’t have the punch this needs. I mince it while the onion cooks.
Carrots (3 medium, finely diced / about 200g) — I dice these small so they melt into the sauce. They add natural sweetness and bulk without the bean texture.
Celery (2 stalks, finely diced / about 100g) — Adds that classic savory depth. If you hate celery, you can skip it, but I recommend keeping it for the flavor.
Red bell pepper (1 large, diced / about 150g) — Adds a nice pop of color and a mild sweetness. Green peppers work too, but red is sweeter and kid-friendly.
For the Flavor
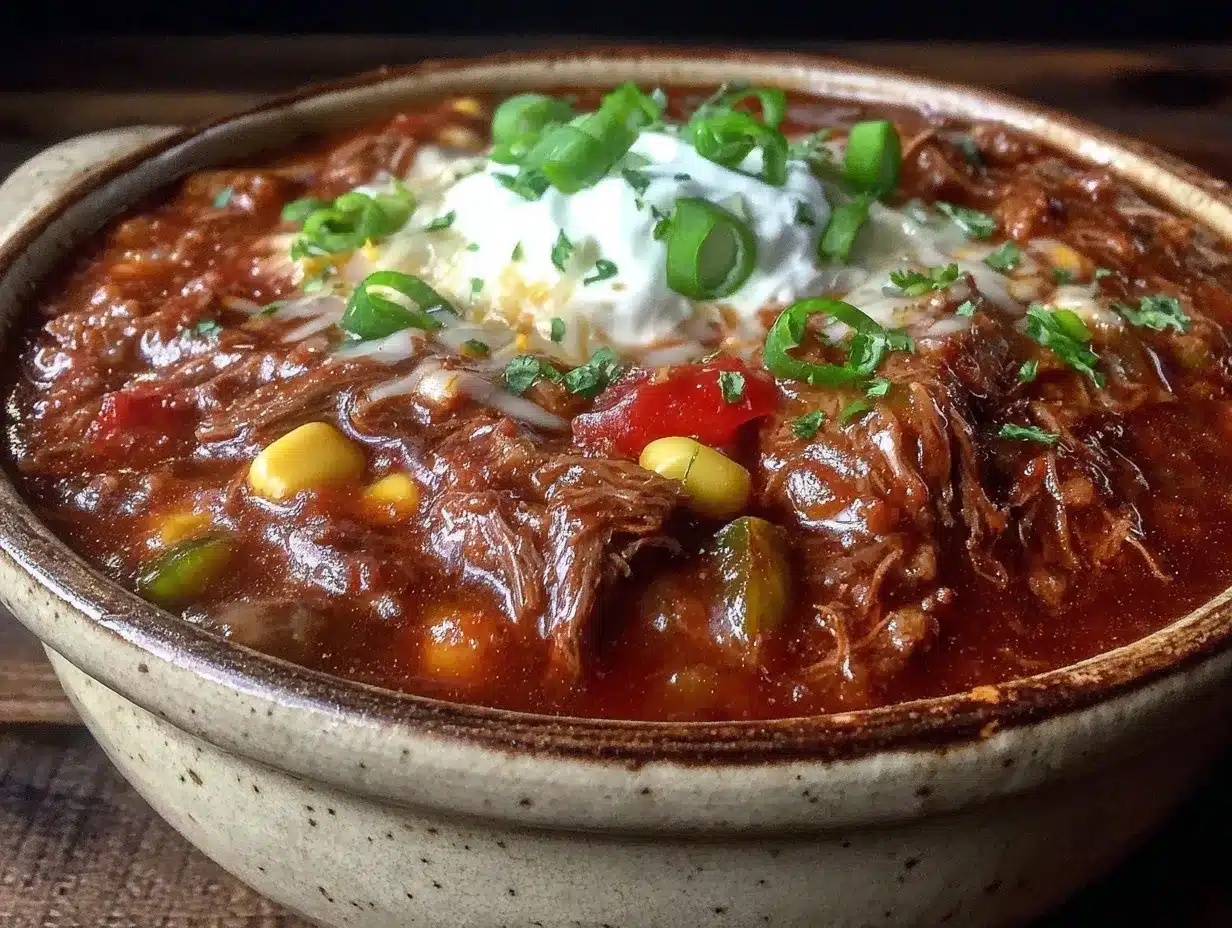
Tomato sauce (2 cans / 28 oz each) — Use good quality here. I like Hunt’s or San Marzano. It forms the liquid base of the chili.
Tomato paste (2 tablespoons) — This concentrates the tomato flavor. It makes the chili taste like it simmered for hours, not 45 minutes.
Beef broth (1 cup / 240ml) — I use low-sodium so I can control the salt. Adds depth and body.
Chili powder (2 tablespoons) — This is the main spice. Use a good brand like McCormick or ground Ancho chili if you want more complexity.
Ground cumin (1 tablespoon) — Essential for that earthy, warm chili taste. Don’t use too much or it’ll taste bitter.
Smoked paprika (1 teaspoon) — This is my secret weapon. It adds a smoky depth that mimics long-simmered flavors. If you don’t have it, regular paprika works, but smoked is better.
Dried oregano (1 teaspoon) — Adds a herbal note that balances the tomato.
Bay leaves (2 leaves) — Throw them in and take them out before serving. They add a subtle background flavor.
Salt and black pepper — To taste. I usually start with 1 teaspoon salt and ½ teaspoon pepper.
Optional: Dark chocolate or cocoa powder (1 square or 1 teaspoon) — This sounds weird, but it adds richness and color, like in mole sauce. It doesn’t make it taste like dessert. I use this trick from my authentic beef birria tacos recipe, and it works wonders here too.
Equipment Needed
You don’t need fancy equipment for this. Here’s what I actually use.
Large Dutch oven or heavy-bottomed pot — I use a 6-quart Dutch oven. It needs to hold 4-5 pounds of ingredients comfortably. Cast iron is great because it holds heat well, but a heavy stainless steel pot works too. Avoid thin pots; they burn easily.
Large skillet (optional) — I usually brown the beef in the pot itself to save on dishes. But if your pot is small, brown the beef in a skillet first, then transfer it.
Sharp chef’s knife — For chopping the veggies. A dull knife makes dicing carrots a nightmare.
Wooden spoon — For stirring. It won’t scratch your pot like metal might.
Measuring cups and spoons — Standard stuff. Dollar store versions work fine.
Can opener — If you forget this, you’re in trouble. I keep one on the counter so I never lose it.
How to Make It: Step-by-Step
Alright, let’s make this! I’m walking you through exactly how I do it, including the little tricks I’ve picked up.
Step 1: Prep Your Veggies (5-8 minutes)
Dice your onion, carrots, celery, and bell pepper. Try to keep them roughly the same size so they cook evenly. Mince your garlic. I know it seems fussy, but having everything chopped before you start makes the cooking process smooth and stress-free.
Step 2: Brown the Beef (8-10 minutes)
Heat your Dutch oven or large pot over medium-high heat. Add the ground beef, breaking it up with your wooden spoon as it cooks. Don’t crowd the pan too much if you’re using a small pot, but with 2 pounds, you might need to do it in two batches. You want a good brown crust on the meat, not just gray steamed beef. This takes about 8-10 minutes. Once browned, drain excess grease if you want it leaner, but leave some for flavor.
Step 3: Sauté the Aromatics (3-4 minutes)
Add the diced onions, carrots, celery, and bell pepper to the browned beef. Cook for 3-4 minutes, stirring occasionally. You want the onions to become translucent and the veggies to start softening. Add the garlic and cook for just 30 seconds more until fragrant. Be careful not to burn the garlic.
Step 4: Bloom the Spices (1-2 minutes)
This is the step most people skip, but it’s crucial. Add the chili powder, cumin, smoked paprika, and oregano. Stir everything together and let it cook for 1-2 minutes. The spices will toast in the beef fat, releasing their oils and intensifying their flavor. It will smell incredible.
Step 5: Build the Sauce (2 minutes)
Stir in the tomato paste and cook for 1 minute to caramelize it slightly. Then, pour in the tomato sauce and beef broth. Add the bay leaves. Stir well, scraping up any browned bits from the bottom of the pot—those bits are pure flavor.
Step 6: Simmer (30-40 minutes)
Bring the chili to a boil, then reduce the heat to low. Cover the pot with a lid, leaving it slightly ajar to let steam escape. Let it simmer gently for 30-40 minutes. This is the magic time. The vegetables will soften, and the flavors will meld. Stir it every 10 minutes or so to prevent sticking.
Step 7: Finish and Serve
Remove the bay leaves. Taste the chili. Add salt and pepper as needed. If it’s too thin, let it simmer uncovered for another 10 minutes. If it’s too thick, add a splash of water or broth. Serve hot with your favorite toppings.
Expert Tips & Tricks
Here’s everything I’ve learned from making this dozens of times. These tips will save you from my mistakes.
Don’t Rush the Browning
I know it’s tempting to just dump the beef in and stir, but browning the meat properly creates that deep, savory flavor (the Maillard reaction). If the beef is gray and pale, your chili will taste flat. Take the time to get a good crust.
Toast Your Spices
As mentioned in Step 4, toasting the spices in the fat before adding liquid unlocks their full potential. It’s a small step that makes a huge difference in flavor complexity.
Use Fresh Veggies, Not Frozen
While frozen veggies are convenient, they release too much water and can make the chili watery. Fresh carrots, celery, and peppers hold their texture better and add a sweeter, cleaner flavor. If you must use frozen, thaw and drain them first.
Make It Ahead
Chili tastes better the next day. The flavors have time to settle and blend. I often make this on Sunday and eat it throughout the week. It stores beautifully in the fridge for up to 4 days.
Double the Batch
This recipe freezes incredibly well. I always make a double batch. Freeze portions in quart-sized freezer bags or containers. It’s the ultimate meal prep hack for busy weeks. Just thaw in the fridge overnight and reheat on the stove.
Variations & Substitutions
Once you’ve nailed the basic version, here’s how you can mix it up. I’ve tried all of these.
Slow Cooker Version
Brown the beef and sauté the veggies in a skillet first (don’t skip this step!). Transfer everything to your slow cooker. Add the remaining ingredients. Cook on low for 6-8 hours or high for 3-4 hours. The flavor is just as good, and it’s even easier.
Spicy Version
Add 1-2 diced jalapeños when you sauté the onions. Add 1 teaspoon of cayenne pepper with the other spices. Serve with hot sauce on top.
Turkey Chili
Swap ground beef for ground turkey. Use olive oil instead of beef fat. It’s leaner and lighter, but still delicious. I sometimes mix half beef and half turkey for the best of both worlds.
Veggie-Heavy Version
Add diced zucchini or yellow squash in the last 15 minutes of cooking. It adds bulk and nutrients without changing the flavor profile much. This is great for stretching the meal further.
Dietary Modifications
Gluten-Free: This recipe is naturally gluten-free. Just check your chili powder and broth labels to ensure they don’t have added wheat.
Dairy-Free: Naturally dairy-free. Serve with corn chips or tortilla chips for crunch.
Serving & Storage
How to Serve:
I usually serve this straight from the pot. It’s rustic and comforting. Here are some classic toppings:
- Shredded cheddar cheese
- Sour cream or Greek yogurt
- Chopped fresh cilantro
- Diced white onions
- Crushed tortilla chips
- Lime wedges
It’s also amazing served over baked potatoes or rice if you want to stretch it further.
Storage Instructions:
Refrigerator: Store in an airtight container for up to 4 days. The chili will thicken in the fridge—this is normal. Just add a splash of water or broth when reheating to loosen it up.
Freezer: This freezes beautifully for up to 3 months. Cool completely before freezing. I use freezer bags, laying them flat to save space. Thaw in the fridge overnight before reheating.
Reheating: Reheat on the stove over medium-low heat, stirring occasionally. You can also reheat in the microwave, but stir halfway through to ensure even heating. Don’t boil it vigorously, or the tomatoes might separate.
Nutrition Information
I’m not a nutritionist, but here’s the breakdown if you’re tracking. Keep in mind that this is an estimate based on 8 servings.
Per Serving:
- Calories: 320
- Protein: 25g
- Carbs: 12g
- Fiber: 3g
- Fat: 18g
- Sodium: 450mg (varies based on broth and salt)
It’s a protein-packed, veggie-loaded meal that’s satisfying without being overly heavy. It’s definitely not “diet food,” but it’s a balanced, wholesome dinner that fuels your family well.
Final Thoughts
So that’s my go-to Classic Beef and Vegetable Chili No Bean! I’ve probably talked your ear off at this point, but when you make a recipe this often, you have a lot to say about it.
This has saved weeknight dinners more times than I can count. It’s my answer to “what’s for dinner” when I’m tired, don’t want takeout, and still want something that tastes really good. My kids are happy, my husband’s happy, and I’m happy because I’m not stressed about cooking.
Make it yours! Try different add-ins, swap in your favorite vegetables, adjust the spice level. The best recipes are the ones you adapt to your family’s tastes. If you make this, drop a comment and let me know what you think! I love hearing how recipes turn out in your kitchen. And if something doesn’t work, tell me that too—I’m here to help troubleshoot.
Happy cooking! And I hope your kitchen smells half as good as mine does right now.
Frequently Asked Questions
Can I use ground turkey instead of beef?
Yes, absolutely. I use ground turkey sometimes for a lighter version. Just make sure to add a little extra oil to the pan since turkey is leaner. It’s delicious, but the flavor will be slightly different. I also like mixing half beef and half turkey for a nice balance of flavor and leanness.
Why is my chili too watery?
This usually happens if you didn’t simmer it long enough, or if you added too much broth. Let it simmer uncovered for another 15-20 minutes to reduce the liquid. Also, make sure you’re not using canned tomatoes with added liquid unless you account for it. Tomato paste helps thicken it, so adding a spoonful can help too.
Can I make this in the Instant Pot?
Yes! Brown the beef on the Sauté setting. Add veggies and spices, then sauté for 2 minutes. Add liquids, seal the pot, and cook on High Pressure for 10 minutes. Let it Natural Release for 10 minutes, then Quick Release. It’s a great option for speed.
How do I reheat leftovers without it getting dry?
Add a splash of water, broth, or even a little milk when reheating. This helps loosen the sauce and brings back the creamy texture. Stir frequently over low heat. If you’re microwaving, cover it with a damp paper towel to trap steam.
Can I freeze this chili?
Yes, it freezes very well for up to 3 months. Cool it completely first. I freeze it in portions so I can just grab one serving for lunch. It thaws quickly in the fridge overnight.
Is this chili spicy?
The base recipe is mild and kid-friendly. If you want more heat, add jalapeños, cayenne pepper, or hot sauce. You can control the spice level to your liking. I usually serve it with hot sauce on the side so everyone can adjust their own bowl.
Pin This Recipe!
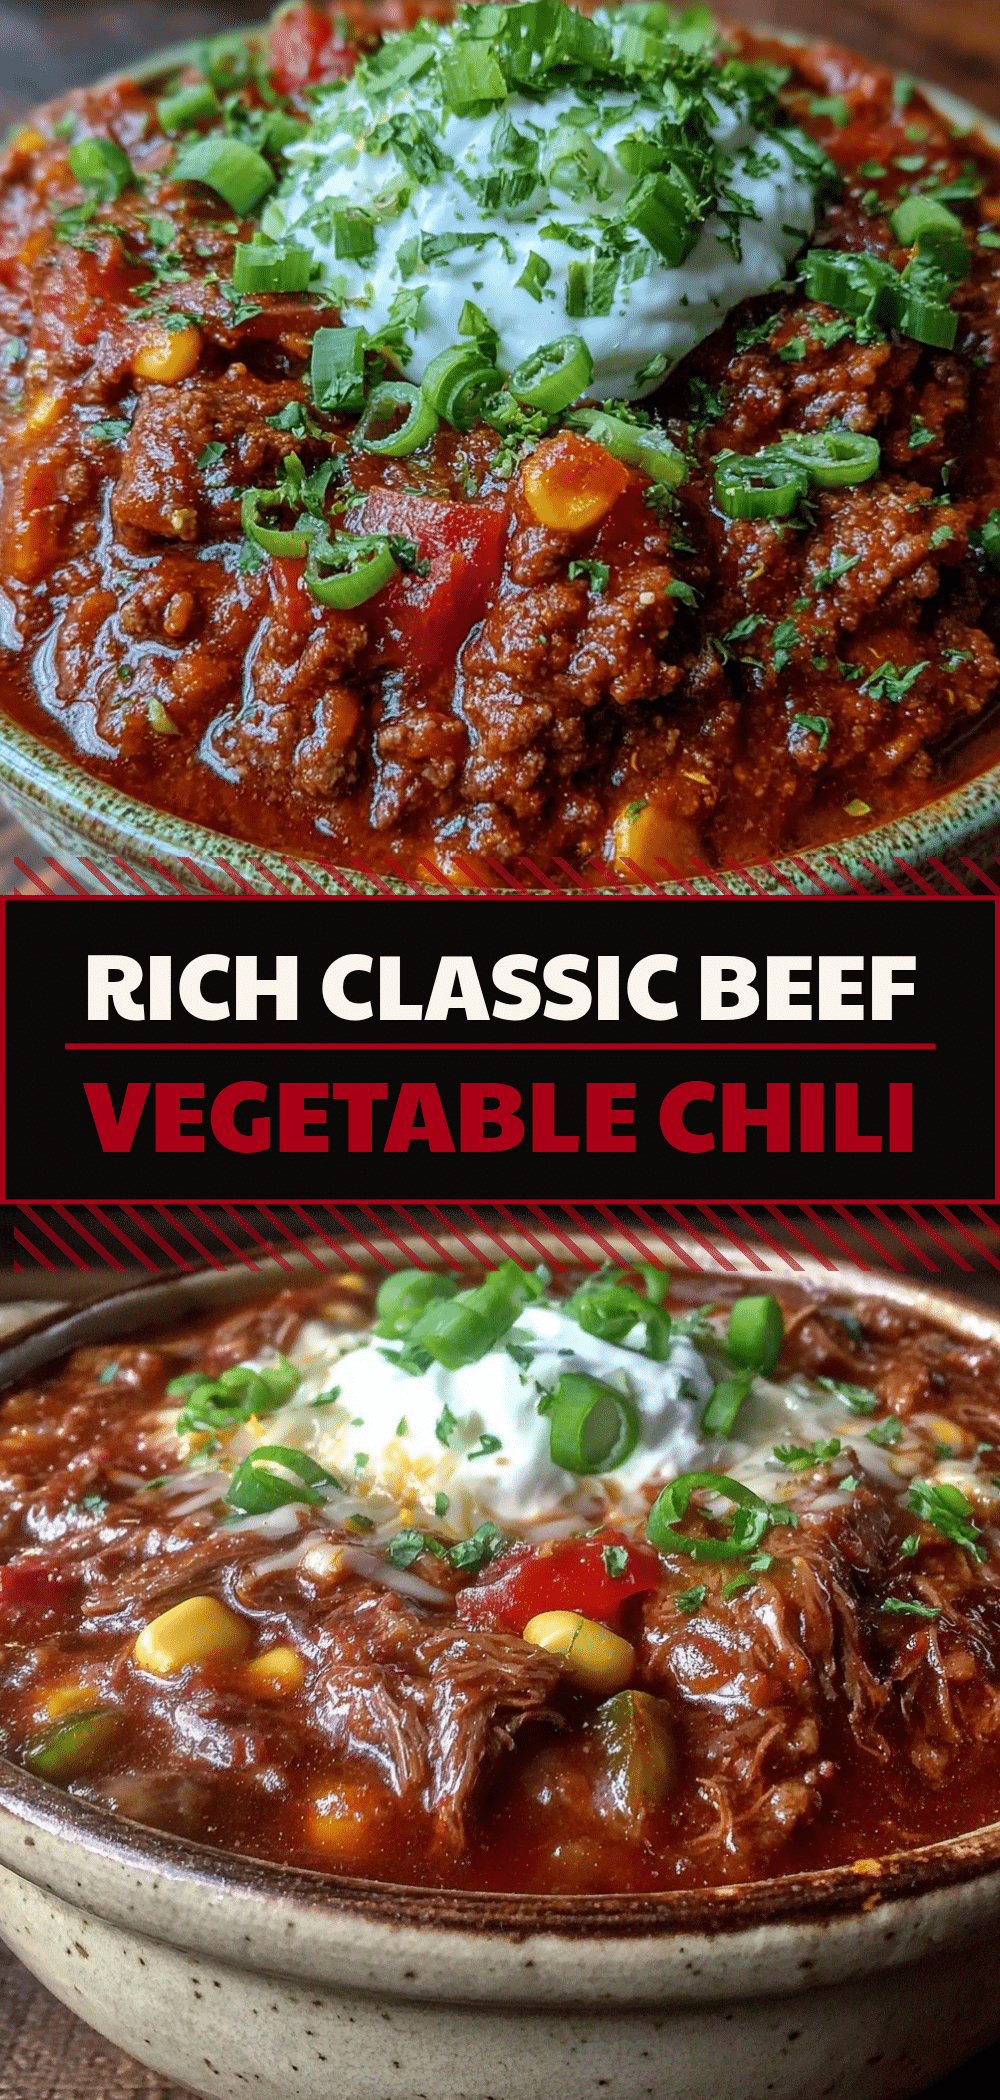

Classic Beef and Vegetable Chili No Bean
- Total Time: 55 minutes
- Yield: 8 servings 1x
Description
A hearty, budget-friendly, and kid-approved chili made with ground beef and vegetables but no beans. This easy family dinner simmers to create a thick, rich stew that is perfect for busy weeknights and freezes well for meal prep.
Ingredients
- 2 pounds ground beef (80/20 fat ratio)
- 1 large yellow onion, diced
- 4 cloves garlic, minced
- 3 medium carrots, finely diced
- 2 stalks celery, finely diced
- 1 large red bell pepper, diced
- 2 cans (28 oz each) tomato sauce
- 2 tablespoons tomato paste
- 1 cup beef broth (low-sodium)
- 2 tablespoons chili powder
- 1 tablespoon ground cumin
- 1 teaspoon smoked paprika
- 1 teaspoon dried oregano
- 2 bay leaves
- 1 teaspoon salt (or to taste)
- 1/2 teaspoon black pepper (or to taste)
- Optional: 1 square dark chocolate or 1 teaspoon cocoa powder
Instructions
- Dice the onion, carrots, celery, and bell pepper. Mince the garlic.
- Heat a large Dutch oven or heavy-bottomed pot over medium-high heat. Add the ground beef and break it up with a wooden spoon. Brown for 8-10 minutes until a crust forms. Drain excess grease if desired.
- Add the diced onions, carrots, celery, and bell pepper to the beef. Sauté for 3-4 minutes until onions are translucent and veggies start to soften. Add garlic and cook for 30 seconds until fragrant.
- Add chili powder, cumin, smoked paprika, and oregano. Stir and cook for 1-2 minutes to toast the spices in the beef fat.
- Stir in the tomato paste and cook for 1 minute. Pour in tomato sauce and beef broth. Add bay leaves. Stir well, scraping up browned bits from the bottom of the pot.
- Bring to a boil, then reduce heat to low. Cover with lid slightly ajar and simmer for 30-40 minutes, stirring every 10 minutes, until vegetables are soft and flavors meld.
- Remove bay leaves. Taste and adjust salt and pepper. If too thin, simmer uncovered for 10 more minutes. Serve hot with desired toppings.
Notes
For best flavor, do not rush the browning of the beef. Toasting the spices in the fat before adding liquid unlocks their full potential. This recipe freezes well for up to 3 months. It can also be made in a slow cooker (low 6-8 hours) or Instant Pot (High Pressure 10 minutes).
- Prep Time: 10 minutes
- Cook Time: 45 minutes
- Category: Main Course
- Cuisine: American
Nutrition
- Serving Size: 1 bowl
- Calories: 320
- Sugar: 6
- Sodium: 450
- Fat: 18
- Saturated Fat: 7
- Carbohydrates: 12
- Fiber: 3
- Protein: 25
Keywords: beef chili, no bean chili, family dinner, easy chili, ground beef recipe, meal prep, gluten-free dinner, kid-friendly meals